Cougar

PAINTED! Time for Interior Dress Up

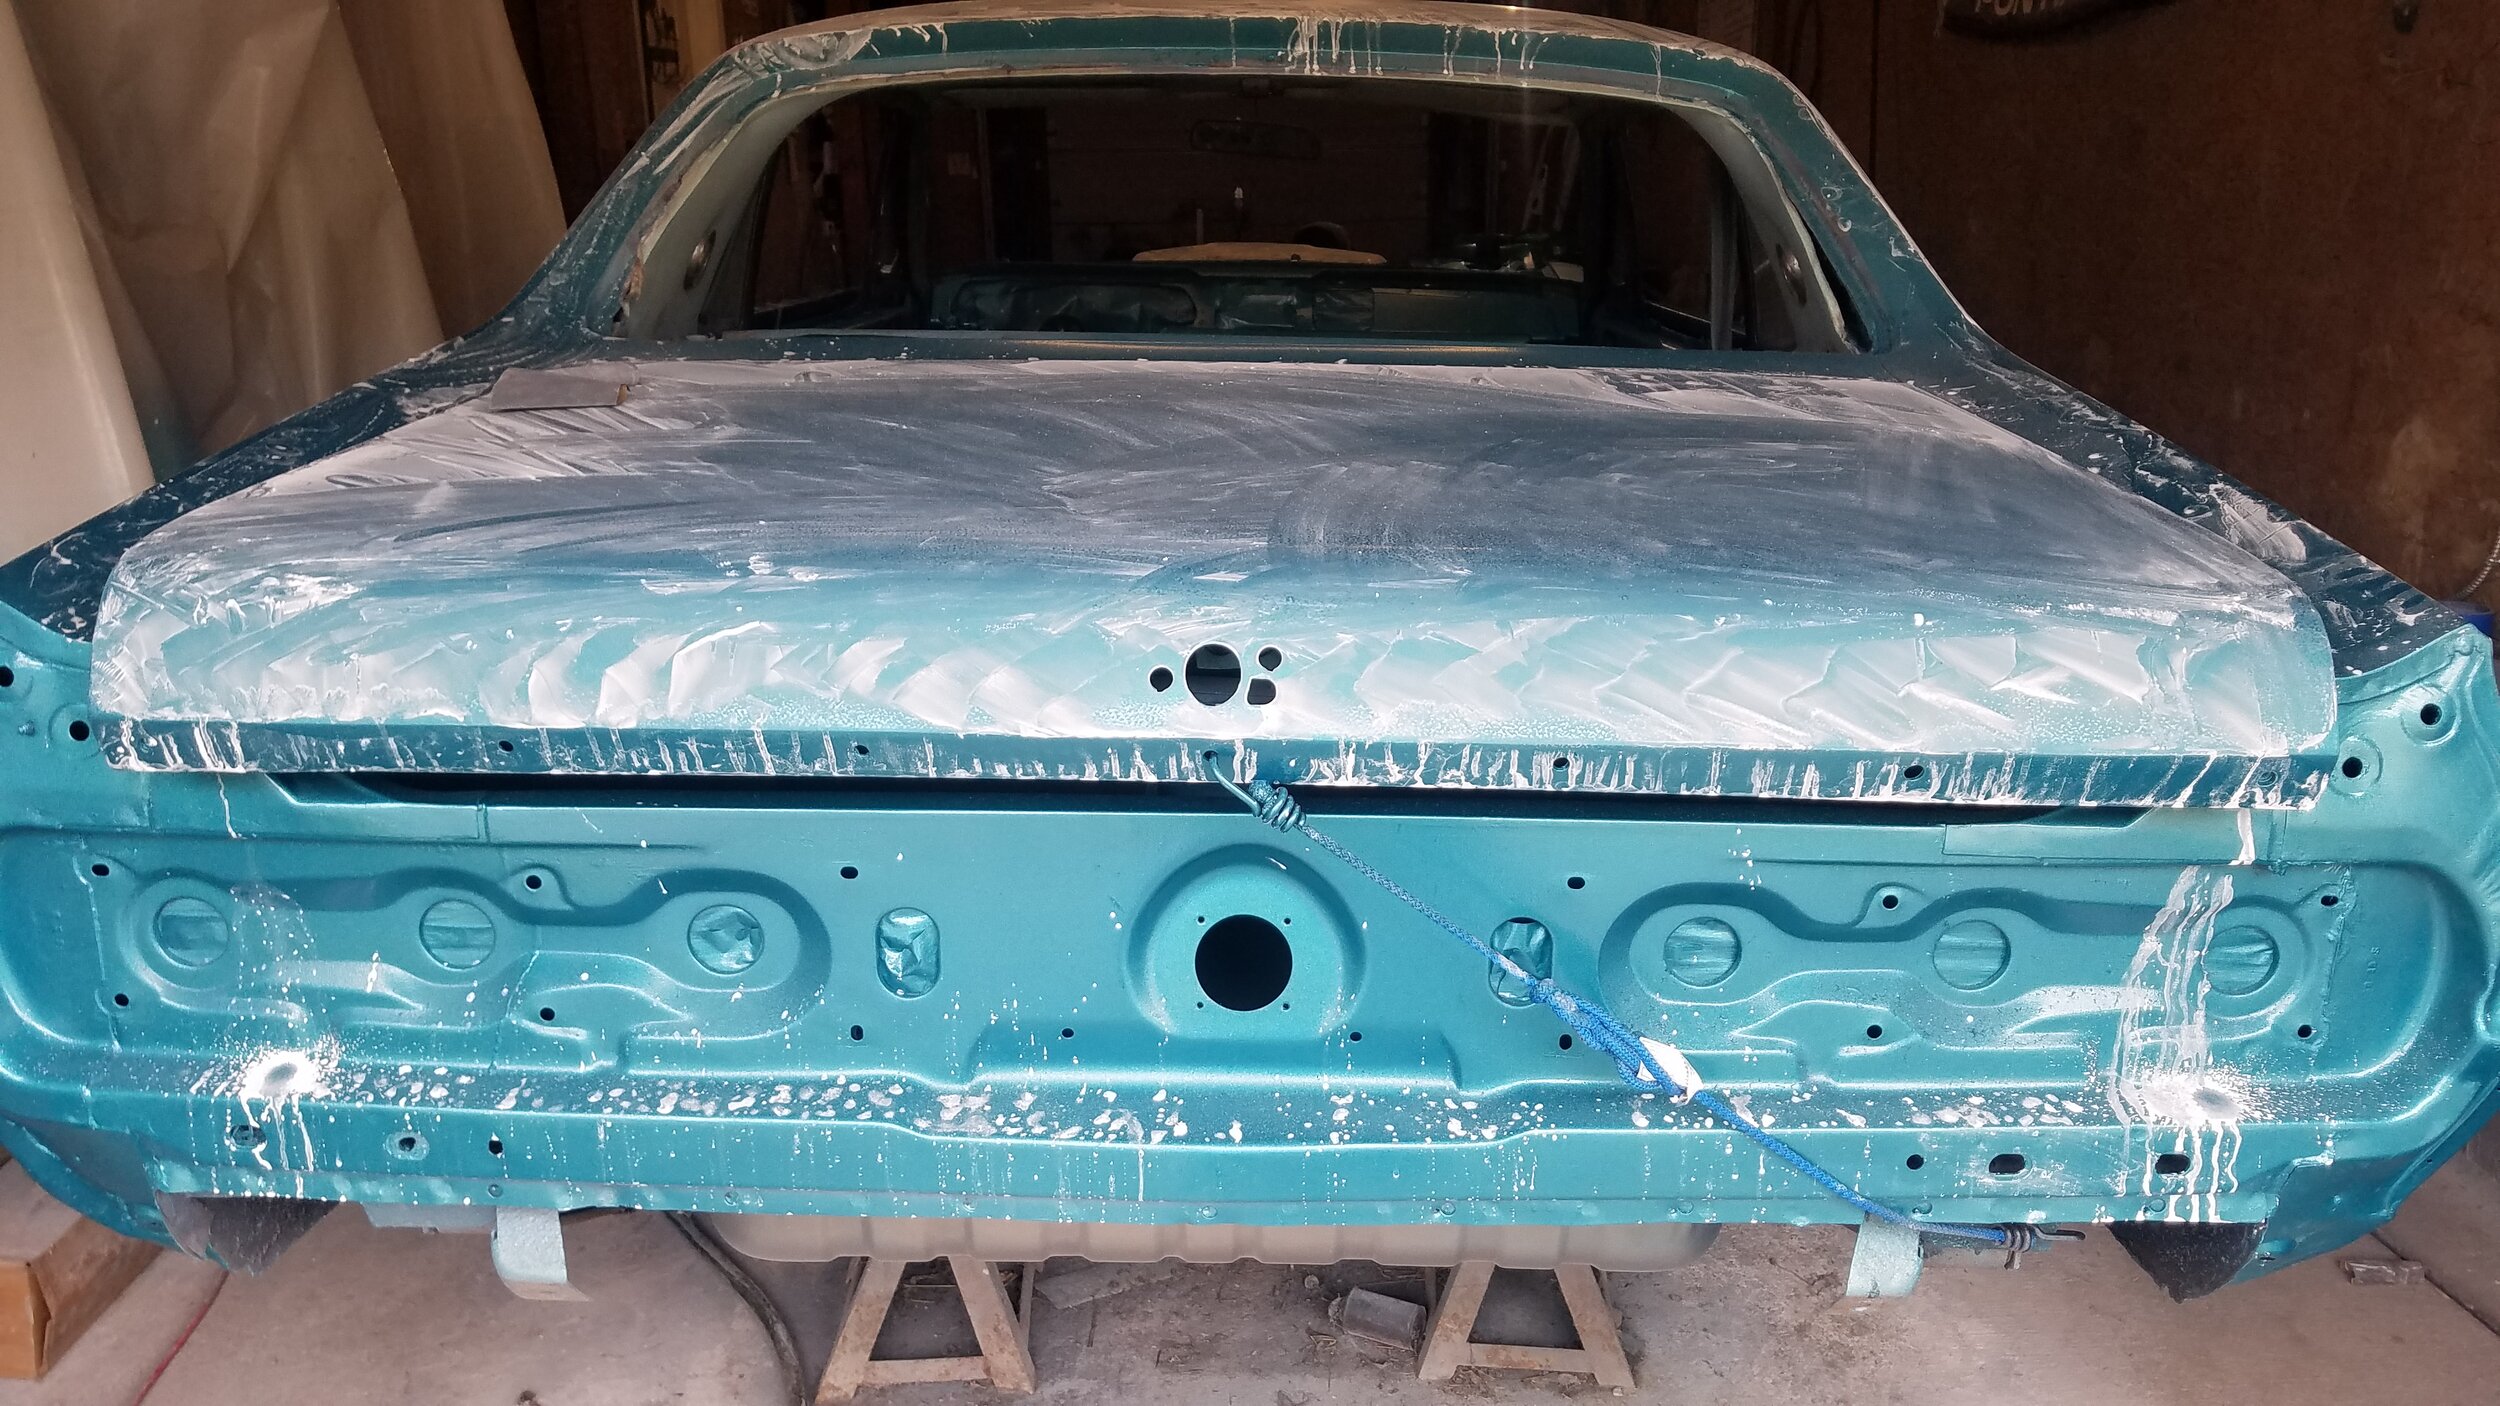
OMG! IT’S PAINTED !

And it looks fantastic. I’m really happy the way the color turned out, and I’m happy it’s not as light as some of the pictures I saw online. My cousin did a fantastic job. He also said that it’s the reason why he used the gray primer the second time around to be sure it wasn’t too light. It really does look freaking awesome, and sparkly.

I can see myself driving it in no time! Uhhh….wait, I’ve got a lot to do now. All the stuff in boxes needs to get back into the car, but some pieces are quite ready yet.

Since, I’ve found out that cleaning and painting takes so long, I took the whole weekend to make sure all trim pieces that needs to be painted, did.

Used vinyl paint to paint the dash pad and package tray. But before that, spent hours taping up the chrome pieces of the headlight grill and taillights. This was so I could paint them black and the chrome will really POP! I will say this was not a fun activity of cleaning taping, painting, waiting, painting waiting.

I will say, when in doubt buy extra paint. It’s no fun running out to the store multiple times during your productive day.

Backbone is Connected to the ... Radio?

Today started off with lots of confidence. I was convinced I was going to get the dash fully put back together. It’s only like 5 pieces, right?

Well I found some dash trim pieces that I had previously painted that were scratched, so those needed to be repainted. Oh, and I found the hold down trim pieces for the dash pad and package tray. I didn’t even know they went to my car. I had forgotten how or when I removed them. They were not painted so I needed to paint those black.

After cleaning the dirt and dust on the rest of the dash pieces, I realized that the black dash pad will need to be re-painted as it was pretty discolored.

As I was painting the trim pieces and cleaning parts to put back in, Dad stopped by to admire the paint job. Between finding the parts, several paint coats, and cleaning, the morning quickly disappeared, and the dash was still empty. I replaced all the bulbs for the gauges, but could not install them because the dash pad needs to be re-painted and needs to go in first. Lots of work today that didn’t look like progress.

After lunch, I was determined to get the radio and new speakers hooked up. My cousin had dropped off some speaker wire and a small 6x4 oval speaker to replace the front speaker that sits in the middle of the dash. He and wired up the connector to the important parts (ground, ignition, yadda yadda). All I needed to do was hook up the speakers. Looking at the wire and speakers and the connector wires, I was thoroughly confused. Needed a few YouTube videos and a call out to my cousin to figure it out.

Fingers crossed my wiring job works.

Engine Assembly

The pieces are painted, so now they all need to get back together.

I started off by grinding the gaskets off of the valve covers so the new ones would work well. This was hard to do. Old cork casket was on there pretty good. Replaced the gaskets and set it back on the block.

I found 4 thermostat housings in my box of “Stuff that make it go Vroom”. Ultimately, went with a chrome one, with o-ring gasket, and replaced the thermostat with a new one my dad had bought as well.

All the wheelies went back on, including the fan. Needed to buy new bolts, as we couldn’t find them.

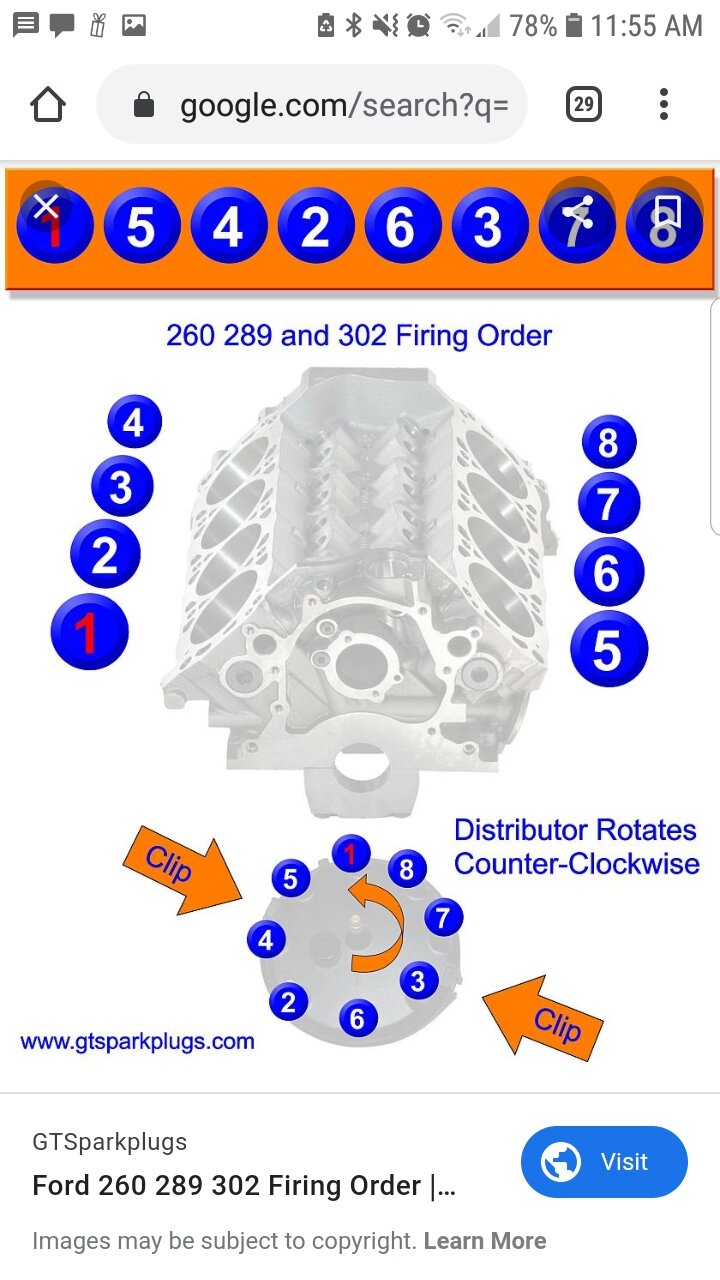
Purchased new spark plugs and plug wires. Connecting them was easy. Are they in the right order? I guess we’ll find out when we try to turn it on. My cousin manually turned over the engine while I used a screwdriver to help find the position of the 1st piston, and place the first plug wire. However, there are 2 different firing orders for my 302. So we chose one, and hooked up all the rest of the wires. If it doesn’t work when we try turn it on later, we’ll repeat this step with the other firing order.