Taillights

PAINTED! Time for Interior Dress Up

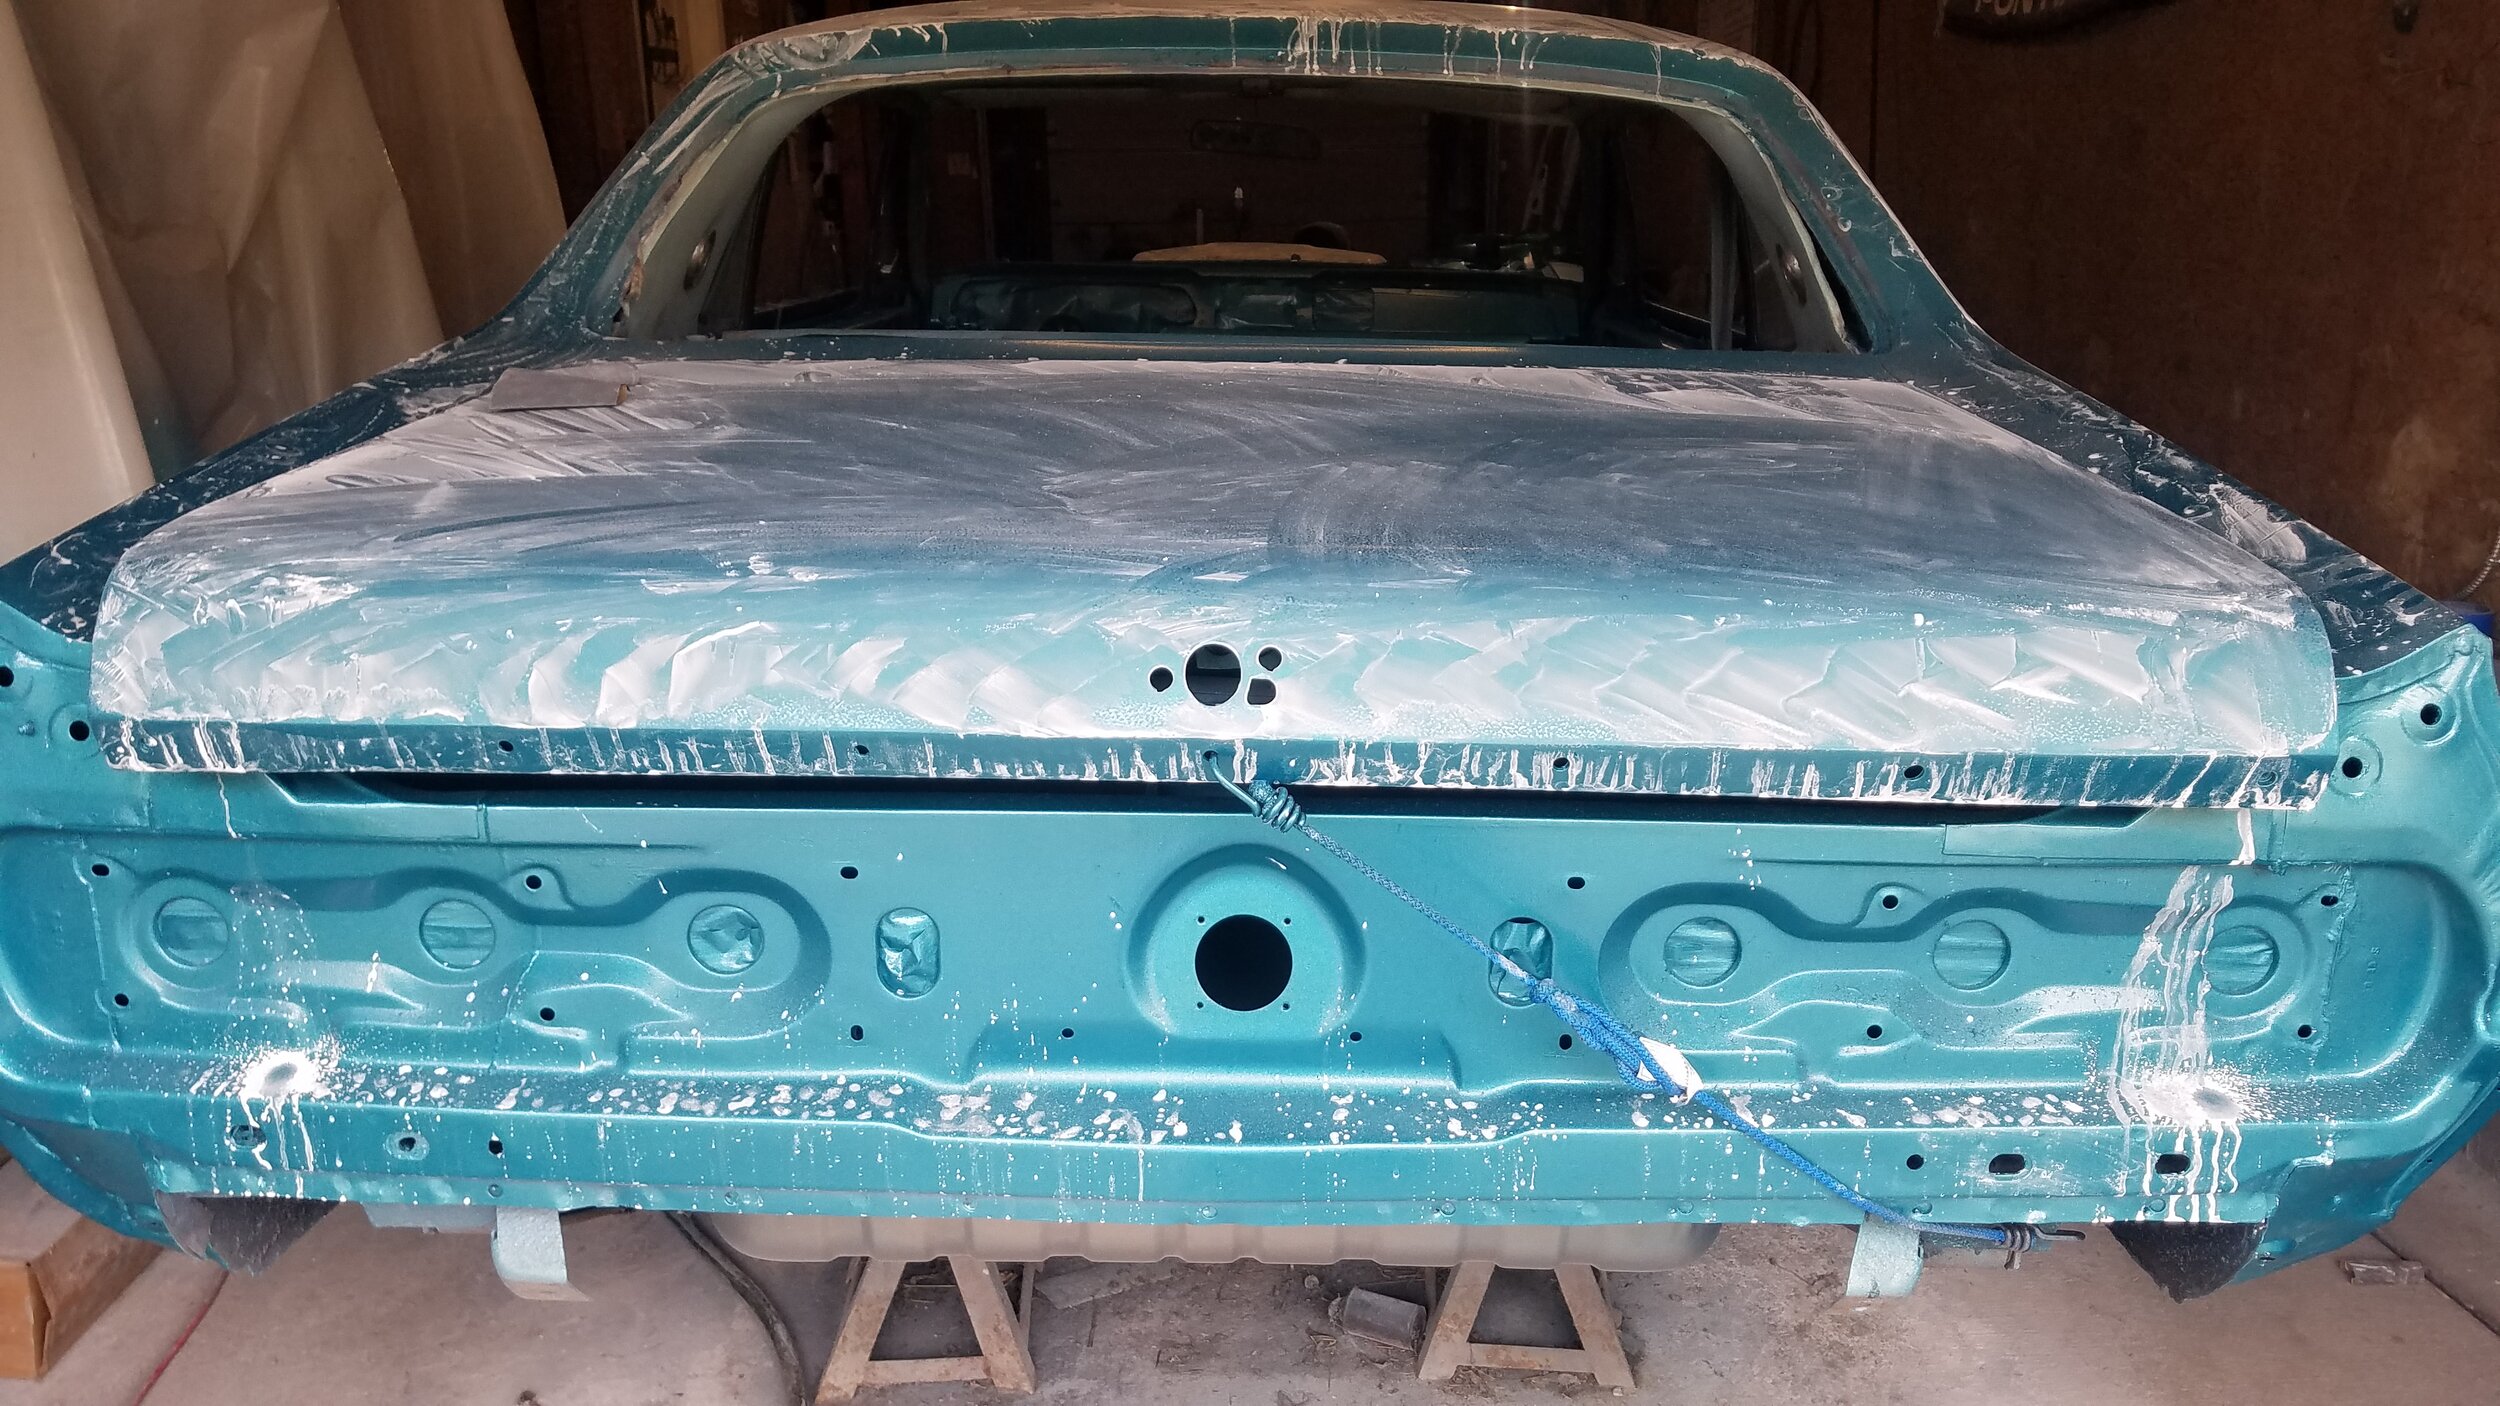
OMG! IT’S PAINTED !

And it looks fantastic. I’m really happy the way the color turned out, and I’m happy it’s not as light as some of the pictures I saw online. My cousin did a fantastic job. He also said that it’s the reason why he used the gray primer the second time around to be sure it wasn’t too light. It really does look freaking awesome, and sparkly.

I can see myself driving it in no time! Uhhh….wait, I’ve got a lot to do now. All the stuff in boxes needs to get back into the car, but some pieces are quite ready yet.

Since, I’ve found out that cleaning and painting takes so long, I took the whole weekend to make sure all trim pieces that needs to be painted, did.

Used vinyl paint to paint the dash pad and package tray. But before that, spent hours taping up the chrome pieces of the headlight grill and taillights. This was so I could paint them black and the chrome will really POP! I will say this was not a fun activity of cleaning taping, painting, waiting, painting waiting.

I will say, when in doubt buy extra paint. It’s no fun running out to the store multiple times during your productive day.

Wire Brush and Organize

I bought some high heat paint to paint the engine and exhaust parts. Bought spray can of Aluminum, Black, and Old Ford Blue. I couldn’t paint though, it would be better to spray outside, but it was raining. Which is okay since I can’t decide if I want to paint the headers black or aluminum. Got any thoughts?

So I used the time to prep the headers for painting, by cleaning them up pretty good with a wire brush. They looked pretty nasty at the beginning, but they are pretty solid and in good shape. The clean up worked out really well.

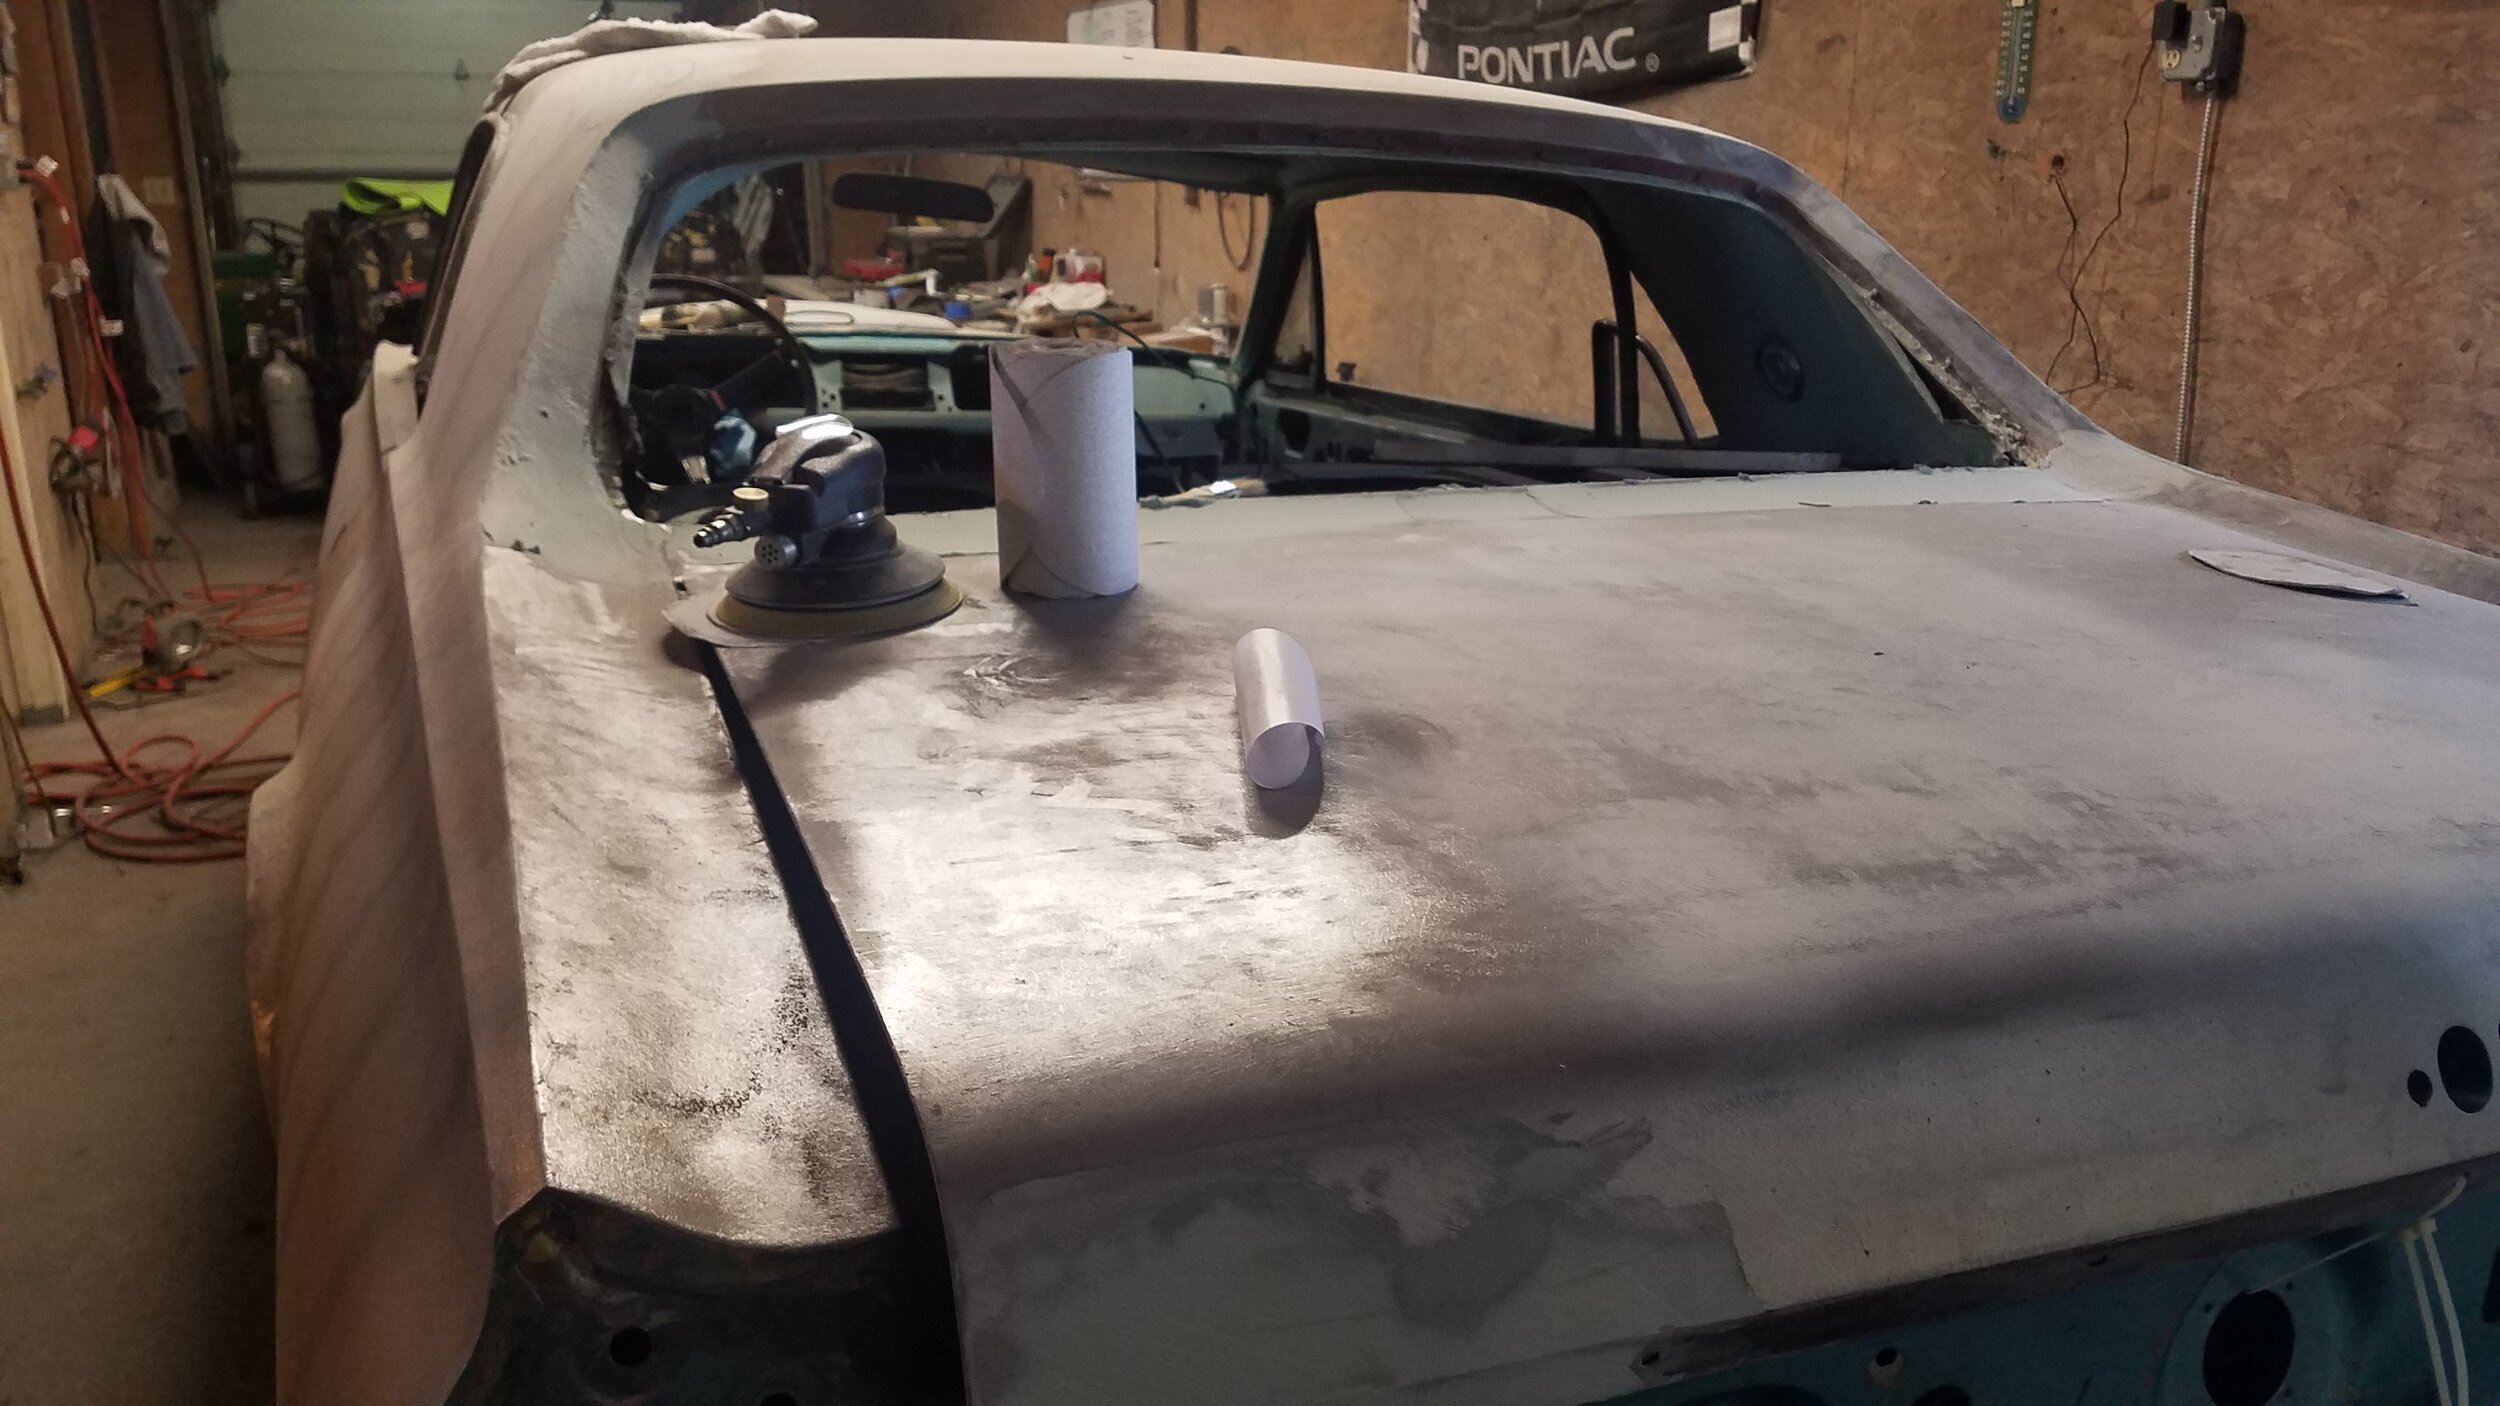
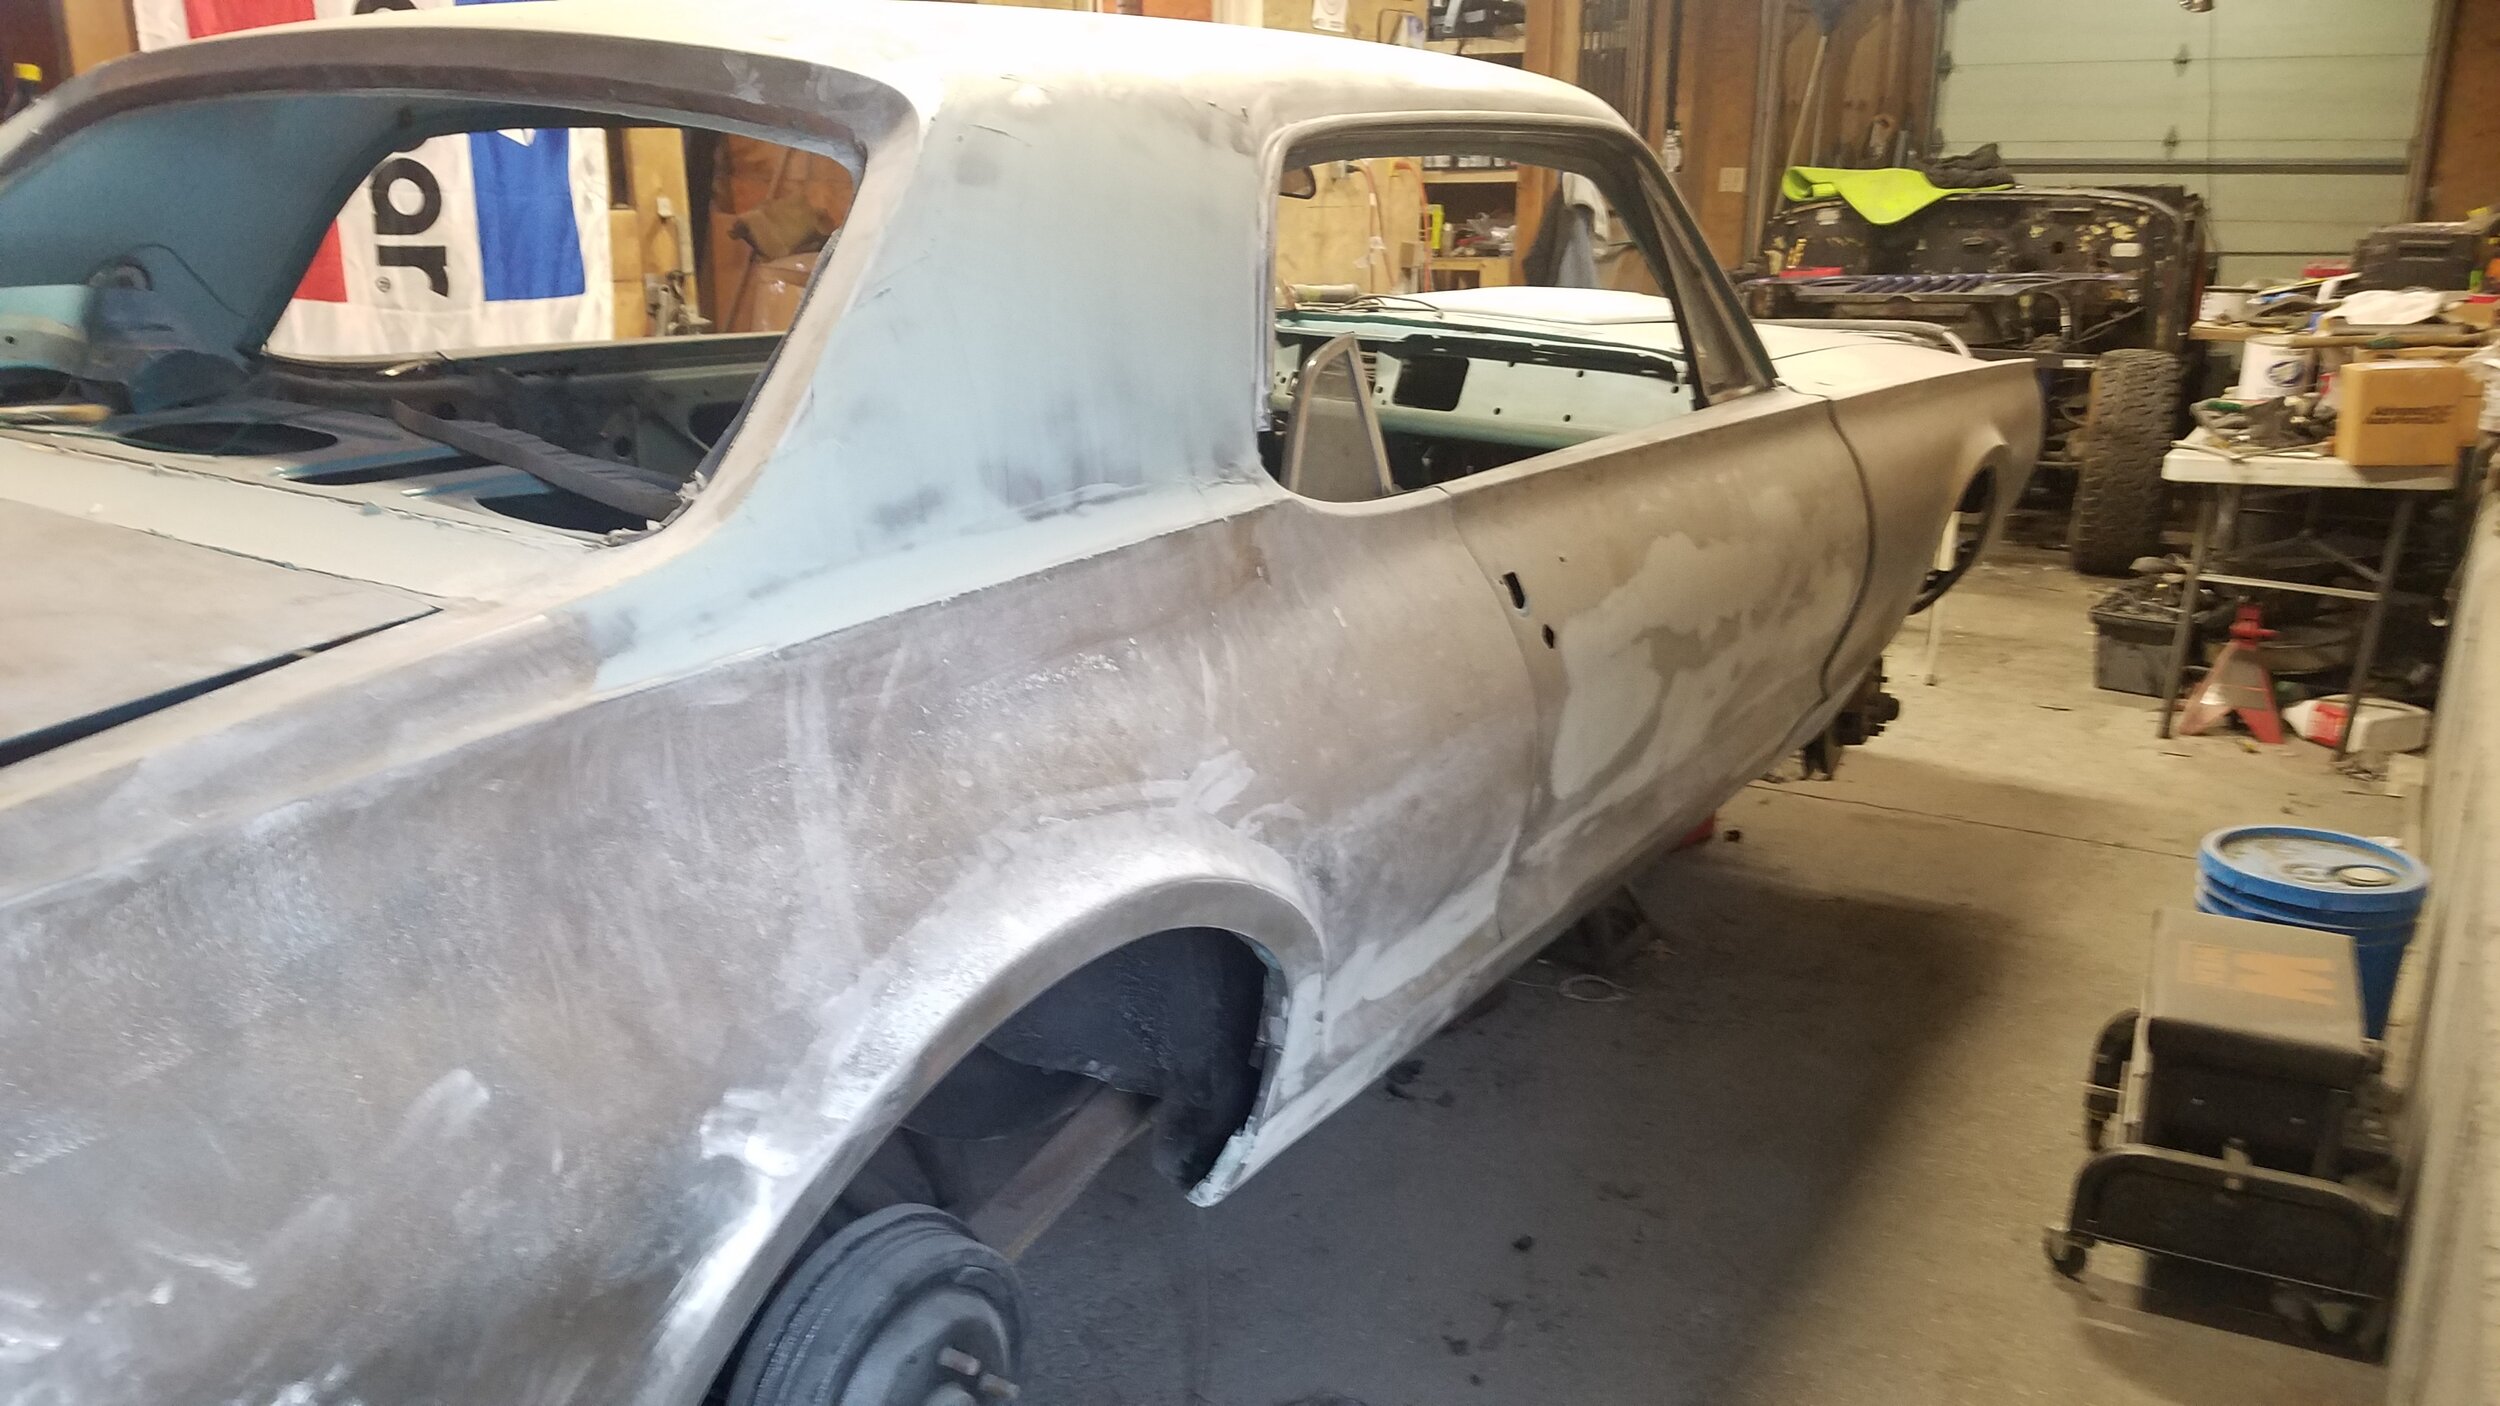
My cousin also had done some work on the body to make sure everything is very very smooth. He also cut out the nostrils in the hood scoop. It fits way better now, and makes it seem more stock functionality for airflow, and not an add-on.

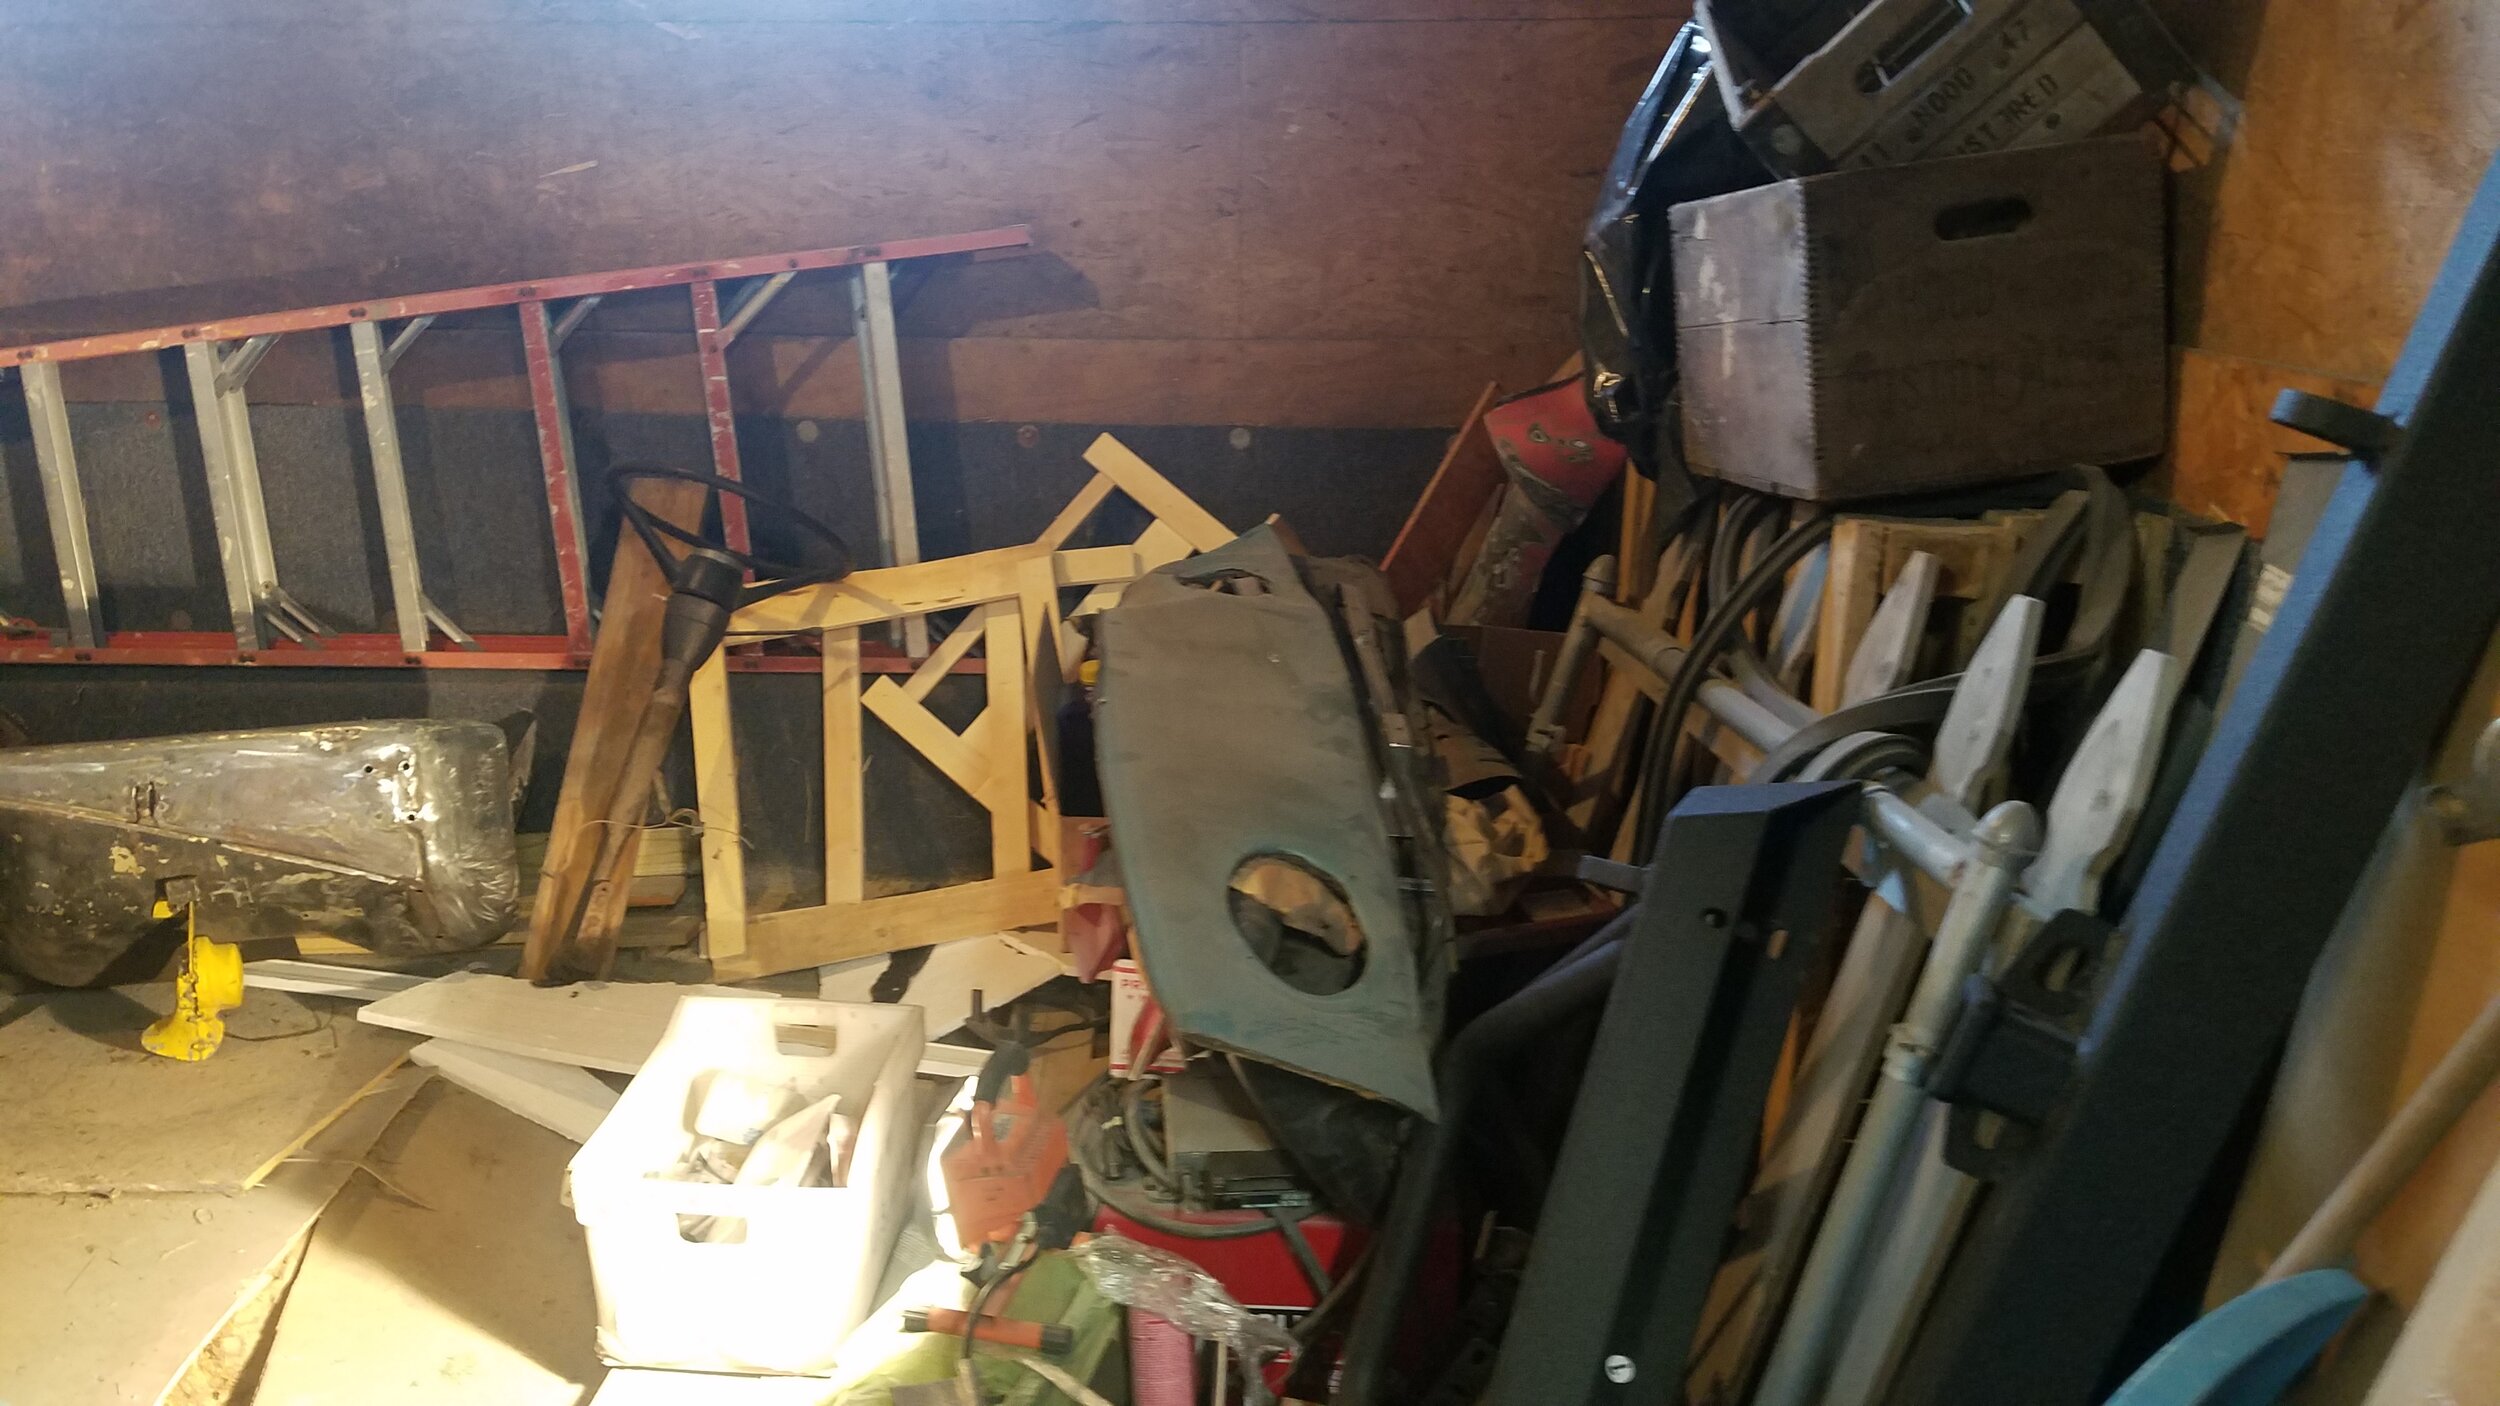
I used the rest of the time to organize the parts. It took a solid couple of hours. There were lots of parts. I organized based on groupings for body, mechanical, lighting, interior, trim, and a box for the ‘things that make it go vroom and stop’.

Only 1 major problem! I can’t find the battery, master cylinder, and a WHOLE TAILLIGHT! I hope I can find it next weekend. I’m not sure how they would just disappear, they aren’t very small.

Removal Day 2

I was able to find a video on West Coast Classic Cougars that demonstrated how to find the practically hidden bolts that holds together to 2 pieces of the grille housing. It took a little while for me to find a wrench that fit, but I finally was able to take the left side off. VICTORY! The right one came off much pretty quickly.

The hideaway lights are run on vacuum hoses and a canister. My dad let me know that there is likely a leak or a problem with them, so my cousin also wanted me to remove that. The canister was locate behind the driver's side fender. Besides some rust falling in my eyes, (I know, I know. Always wear safety goggles...) it was pretty easy to remove. 

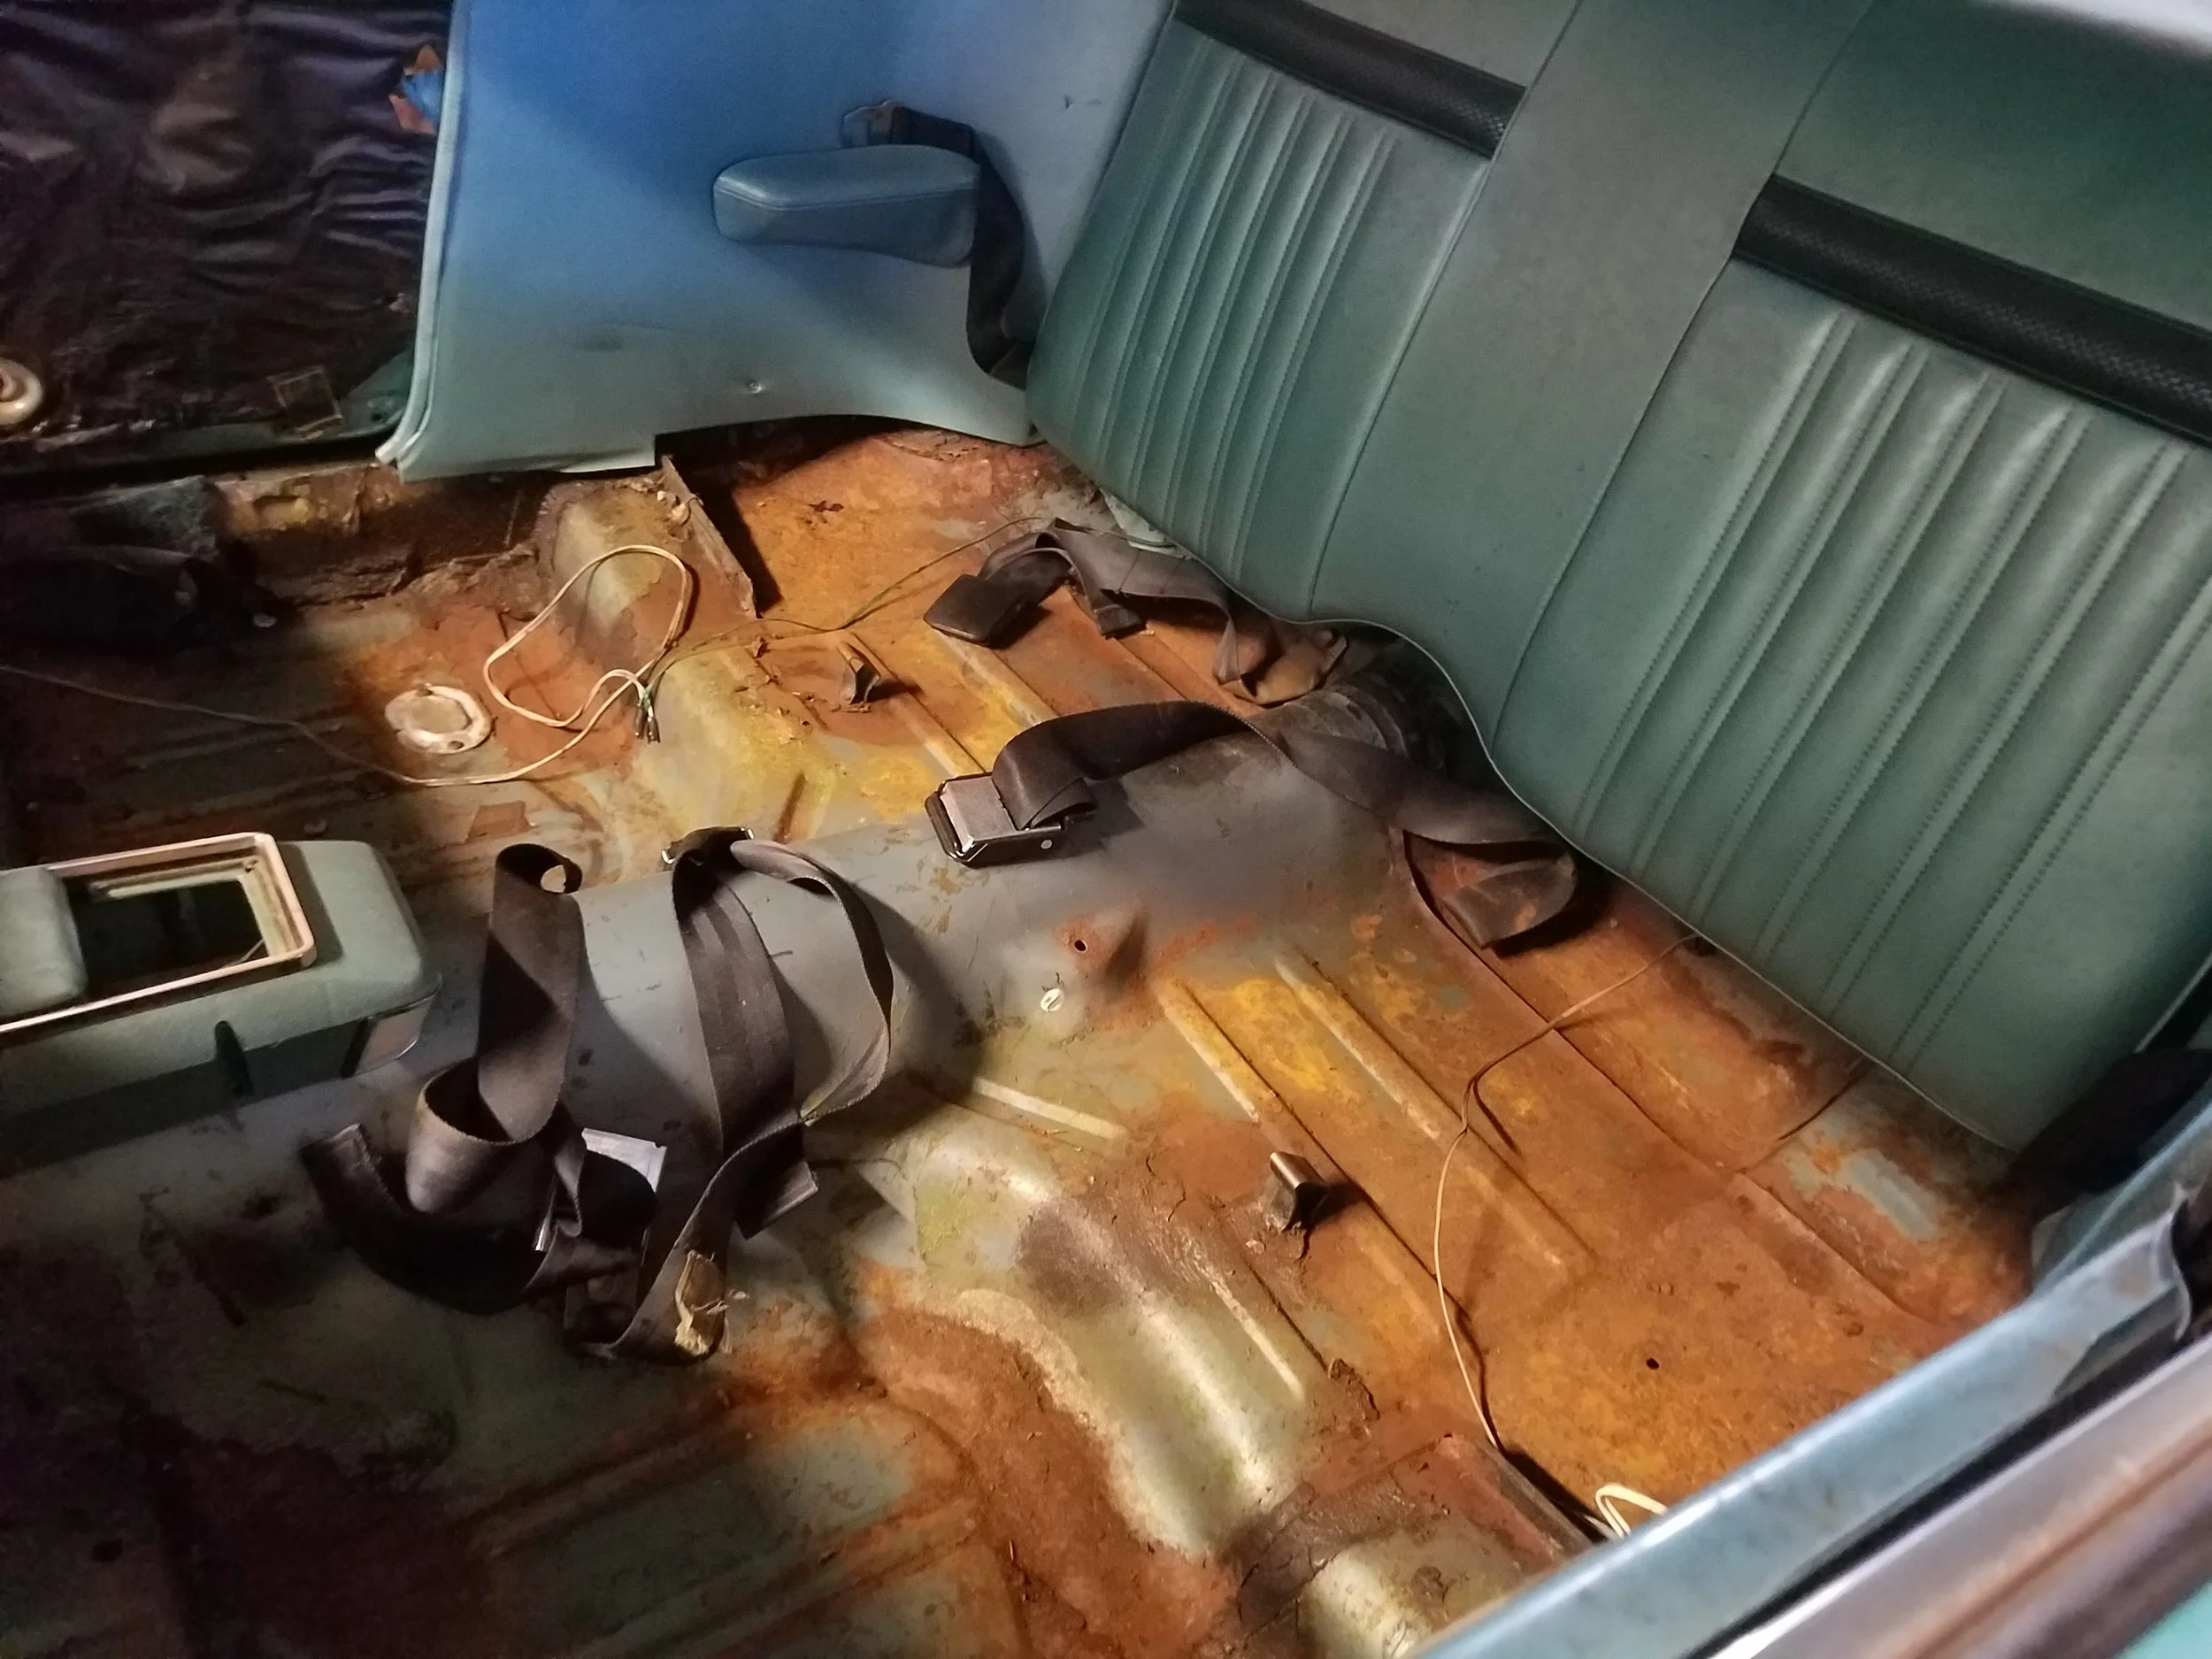
I spent the majority of my day removing the rest of the carpet and liner, and cleaning out all the rust to get the floor pans as clean as possible. I found about a dollar in change, but no gold. It smelled terrible in there! Probably could have used a mask. The soggy cardboard like floor liner definitely did a number on floor pan and there are some parts that I can see right through. Floor pans aren't that expensive though for this car, so we'll patch and replace where necessary.

My brother came by later in the day to lend a hand. He was able to remove the wheel trim, some door trim, and pop out the tail lights as well. There's still lots of trim on this car to remove. Taking time with it though, because all of the trim is in great shape, and I have all the pieces. I don't want to break anything.