Trim

Backbone is Connected to the ... Radio?

Today started off with lots of confidence. I was convinced I was going to get the dash fully put back together. It’s only like 5 pieces, right?

Well I found some dash trim pieces that I had previously painted that were scratched, so those needed to be repainted. Oh, and I found the hold down trim pieces for the dash pad and package tray. I didn’t even know they went to my car. I had forgotten how or when I removed them. They were not painted so I needed to paint those black.

After cleaning the dirt and dust on the rest of the dash pieces, I realized that the black dash pad will need to be re-painted as it was pretty discolored.

As I was painting the trim pieces and cleaning parts to put back in, Dad stopped by to admire the paint job. Between finding the parts, several paint coats, and cleaning, the morning quickly disappeared, and the dash was still empty. I replaced all the bulbs for the gauges, but could not install them because the dash pad needs to be re-painted and needs to go in first. Lots of work today that didn’t look like progress.

After lunch, I was determined to get the radio and new speakers hooked up. My cousin had dropped off some speaker wire and a small 6x4 oval speaker to replace the front speaker that sits in the middle of the dash. He and wired up the connector to the important parts (ground, ignition, yadda yadda). All I needed to do was hook up the speakers. Looking at the wire and speakers and the connector wires, I was thoroughly confused. Needed a few YouTube videos and a call out to my cousin to figure it out.

Fingers crossed my wiring job works.

Removal Day 3

I think today I finally learned my lesson. I need to take my to-do list for the day and cut it in HALF. This work is a lot harder and a lot more time consuming than I ever seem to think it is. I have a lot of half finished to-dos. Either because some bolts are too hard to get off and take a lot of elbow grease, (I need to get back to the gym) or we need to research how to take things apart first. Today was supposed to be a remove and replace day, but we got to some of the removal only. 

My brother helped out again today. First, we each took a door, and removed the handles and lock cylinders. We had to take the panels off to reach inside the door to get at some of the bolts and nuts. Then we moved on to tackle the gas tank.

My brother had to drill out some of the bolts on the on the tank that wouldn't budge. My cousin removed the drain plug, and we started to drain the gas out, while tackling some more trim removal and the removal of the tie rods. I was only able to get 1 outer tie rod removed today.

Once the gas seemed drained, we needed to remove the fill pip that attaches to the tank and leads behind the license plate between the the taillights. Removing the bolts were straight forward, but the fill pipe was still sealed to the tank pretty well. My brother was able to remove it, but not without it swiftly coming through the back and knocking him where the sun don't shine. OUCH!

I was safe under the car, tipping the remaining of the gas out, and removing the fuel lines connecting to the tank. Removed the float from inside the tank that indicates when you are low on gas. I'm hoping it works and can be reused in the new tank. 

Check out the picture below showing the 3 different shades of blue this car has been painted. The badge on the inside of the door was a great find though, and indicates the color code, as well the other specs, of the car when purchased.  

Removal Day 2

I was able to find a video on West Coast Classic Cougars that demonstrated how to find the practically hidden bolts that holds together to 2 pieces of the grille housing. It took a little while for me to find a wrench that fit, but I finally was able to take the left side off. VICTORY! The right one came off much pretty quickly.

The hideaway lights are run on vacuum hoses and a canister. My dad let me know that there is likely a leak or a problem with them, so my cousin also wanted me to remove that. The canister was locate behind the driver's side fender. Besides some rust falling in my eyes, (I know, I know. Always wear safety goggles...) it was pretty easy to remove. 

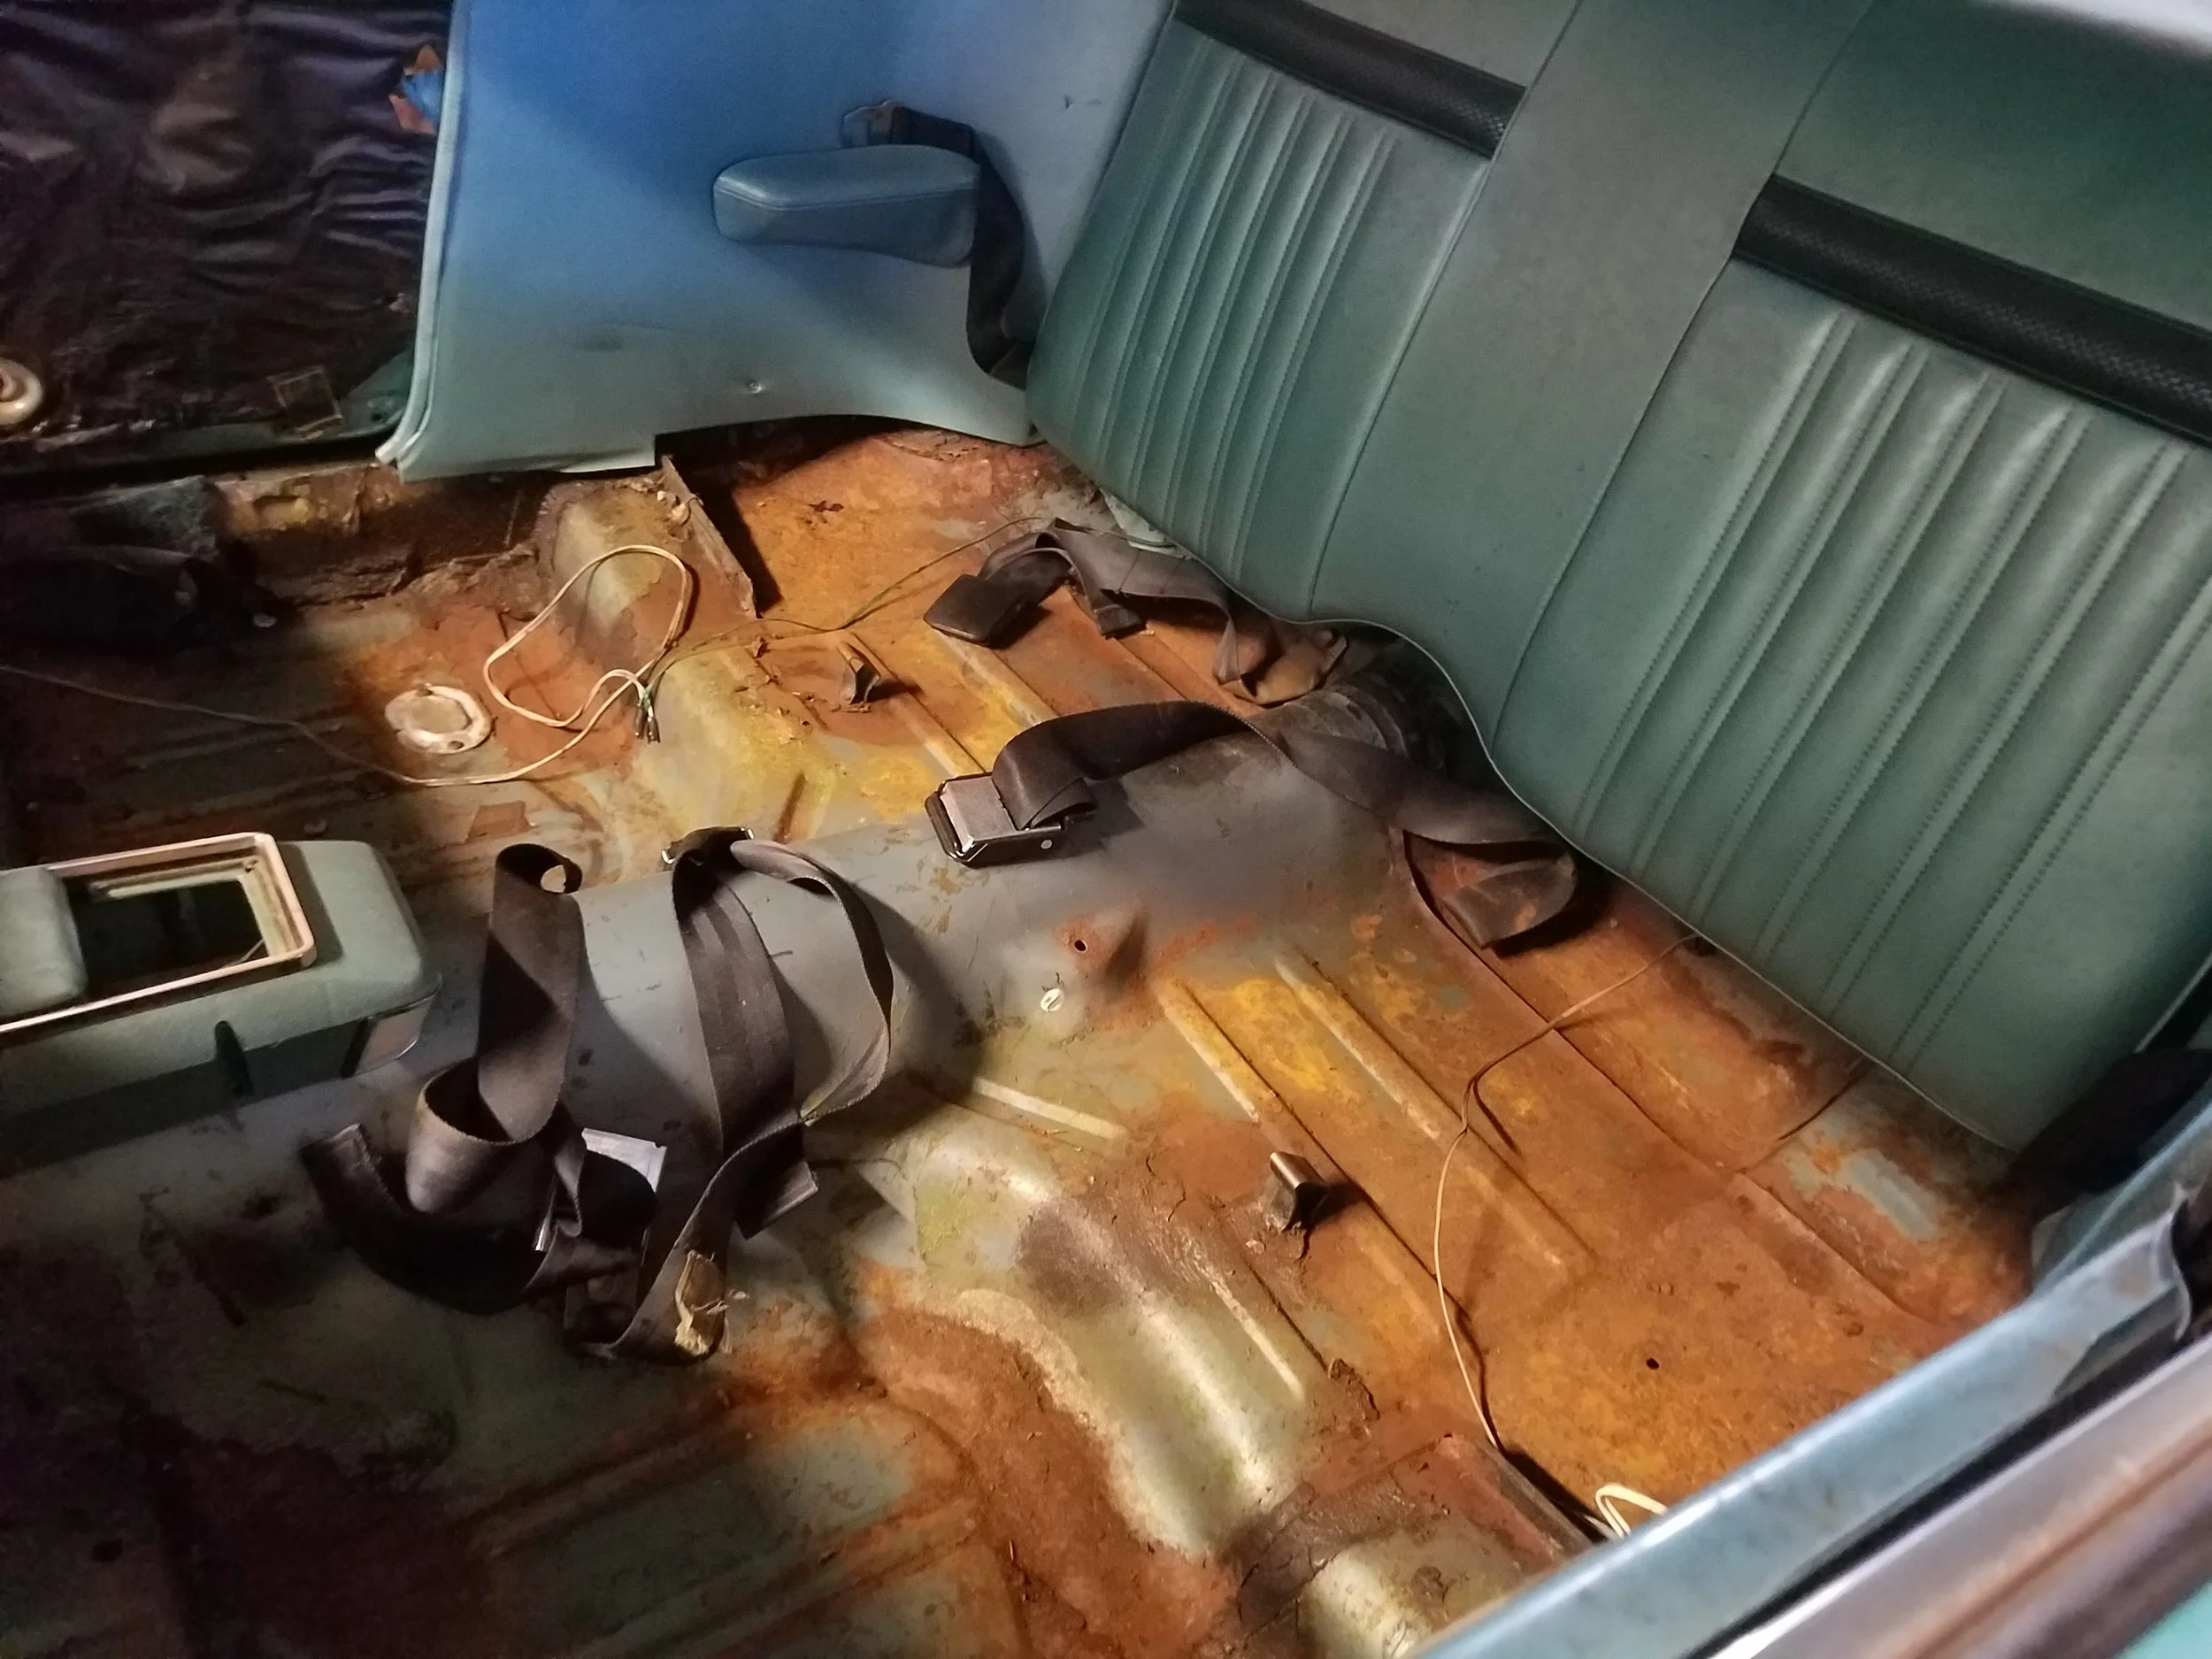
I spent the majority of my day removing the rest of the carpet and liner, and cleaning out all the rust to get the floor pans as clean as possible. I found about a dollar in change, but no gold. It smelled terrible in there! Probably could have used a mask. The soggy cardboard like floor liner definitely did a number on floor pan and there are some parts that I can see right through. Floor pans aren't that expensive though for this car, so we'll patch and replace where necessary.

My brother came by later in the day to lend a hand. He was able to remove the wheel trim, some door trim, and pop out the tail lights as well. There's still lots of trim on this car to remove. Taking time with it though, because all of the trim is in great shape, and I have all the pieces. I don't want to break anything.