Gas Tank

What Patch?

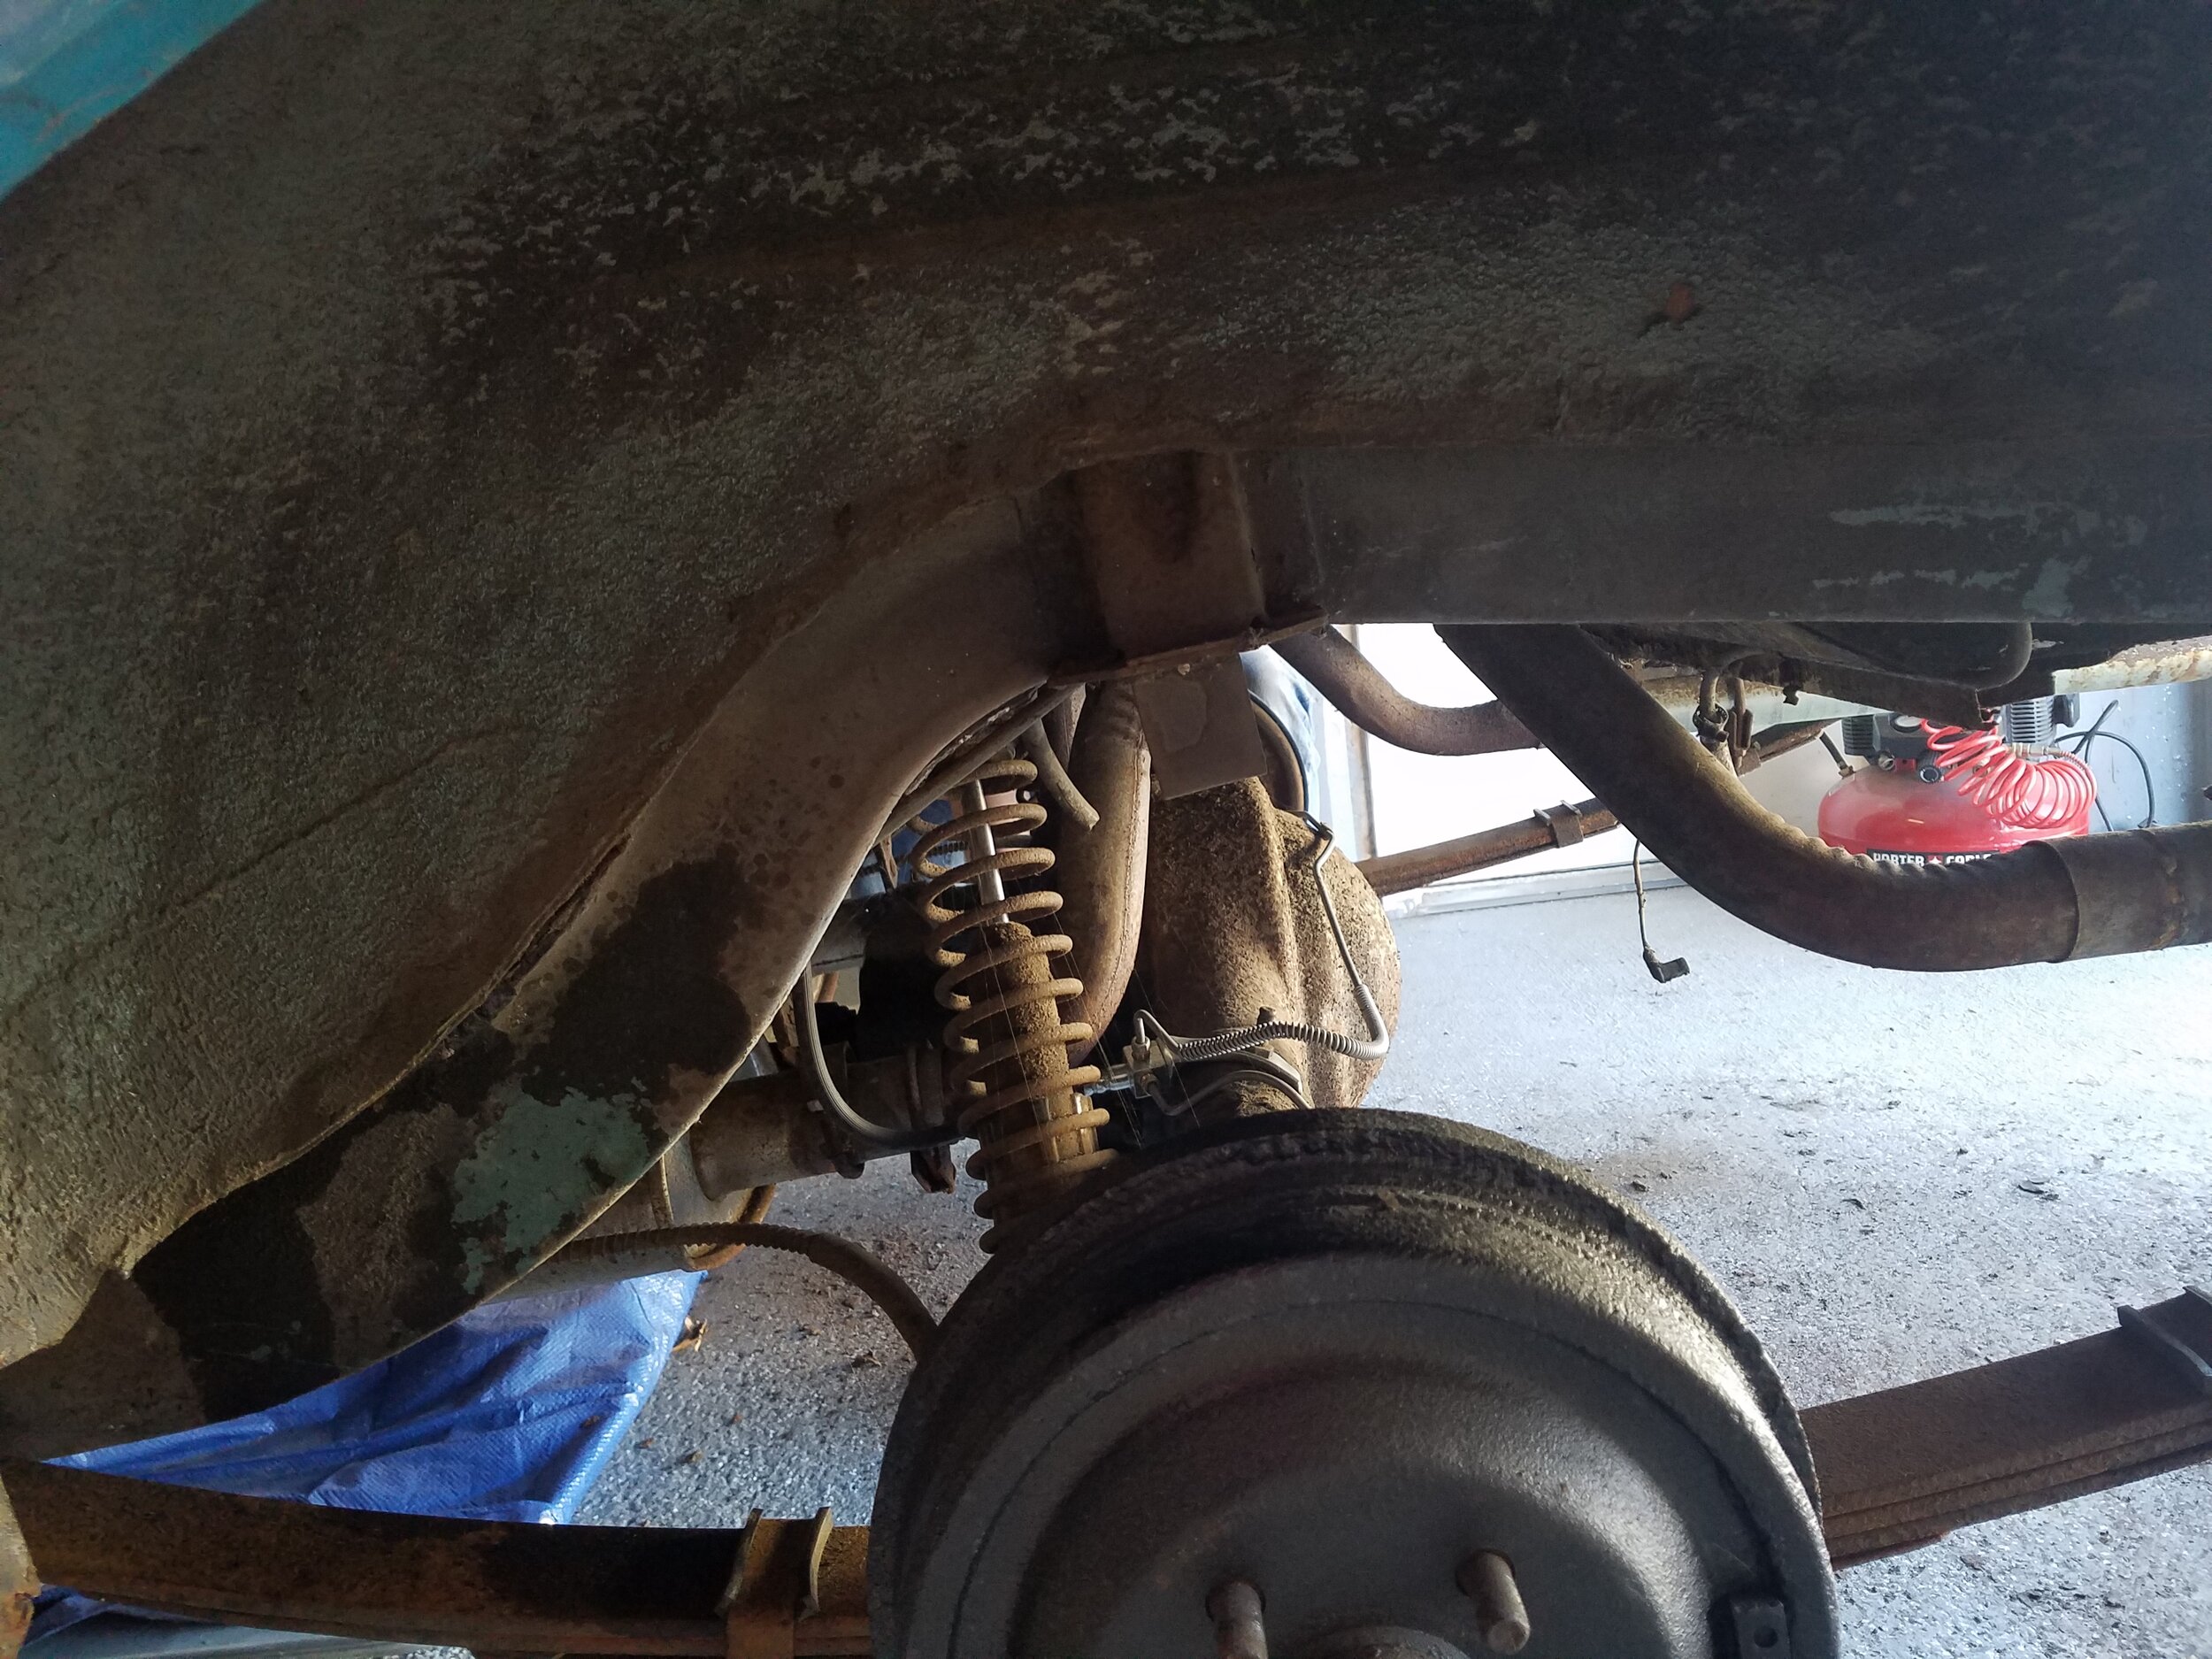
Can you see that patch? How about that seam? Nope. The texture of the Herculiner Truck Bed Liner paint hides it! Hopefully, it will provide some extra sound deadening inside as well.

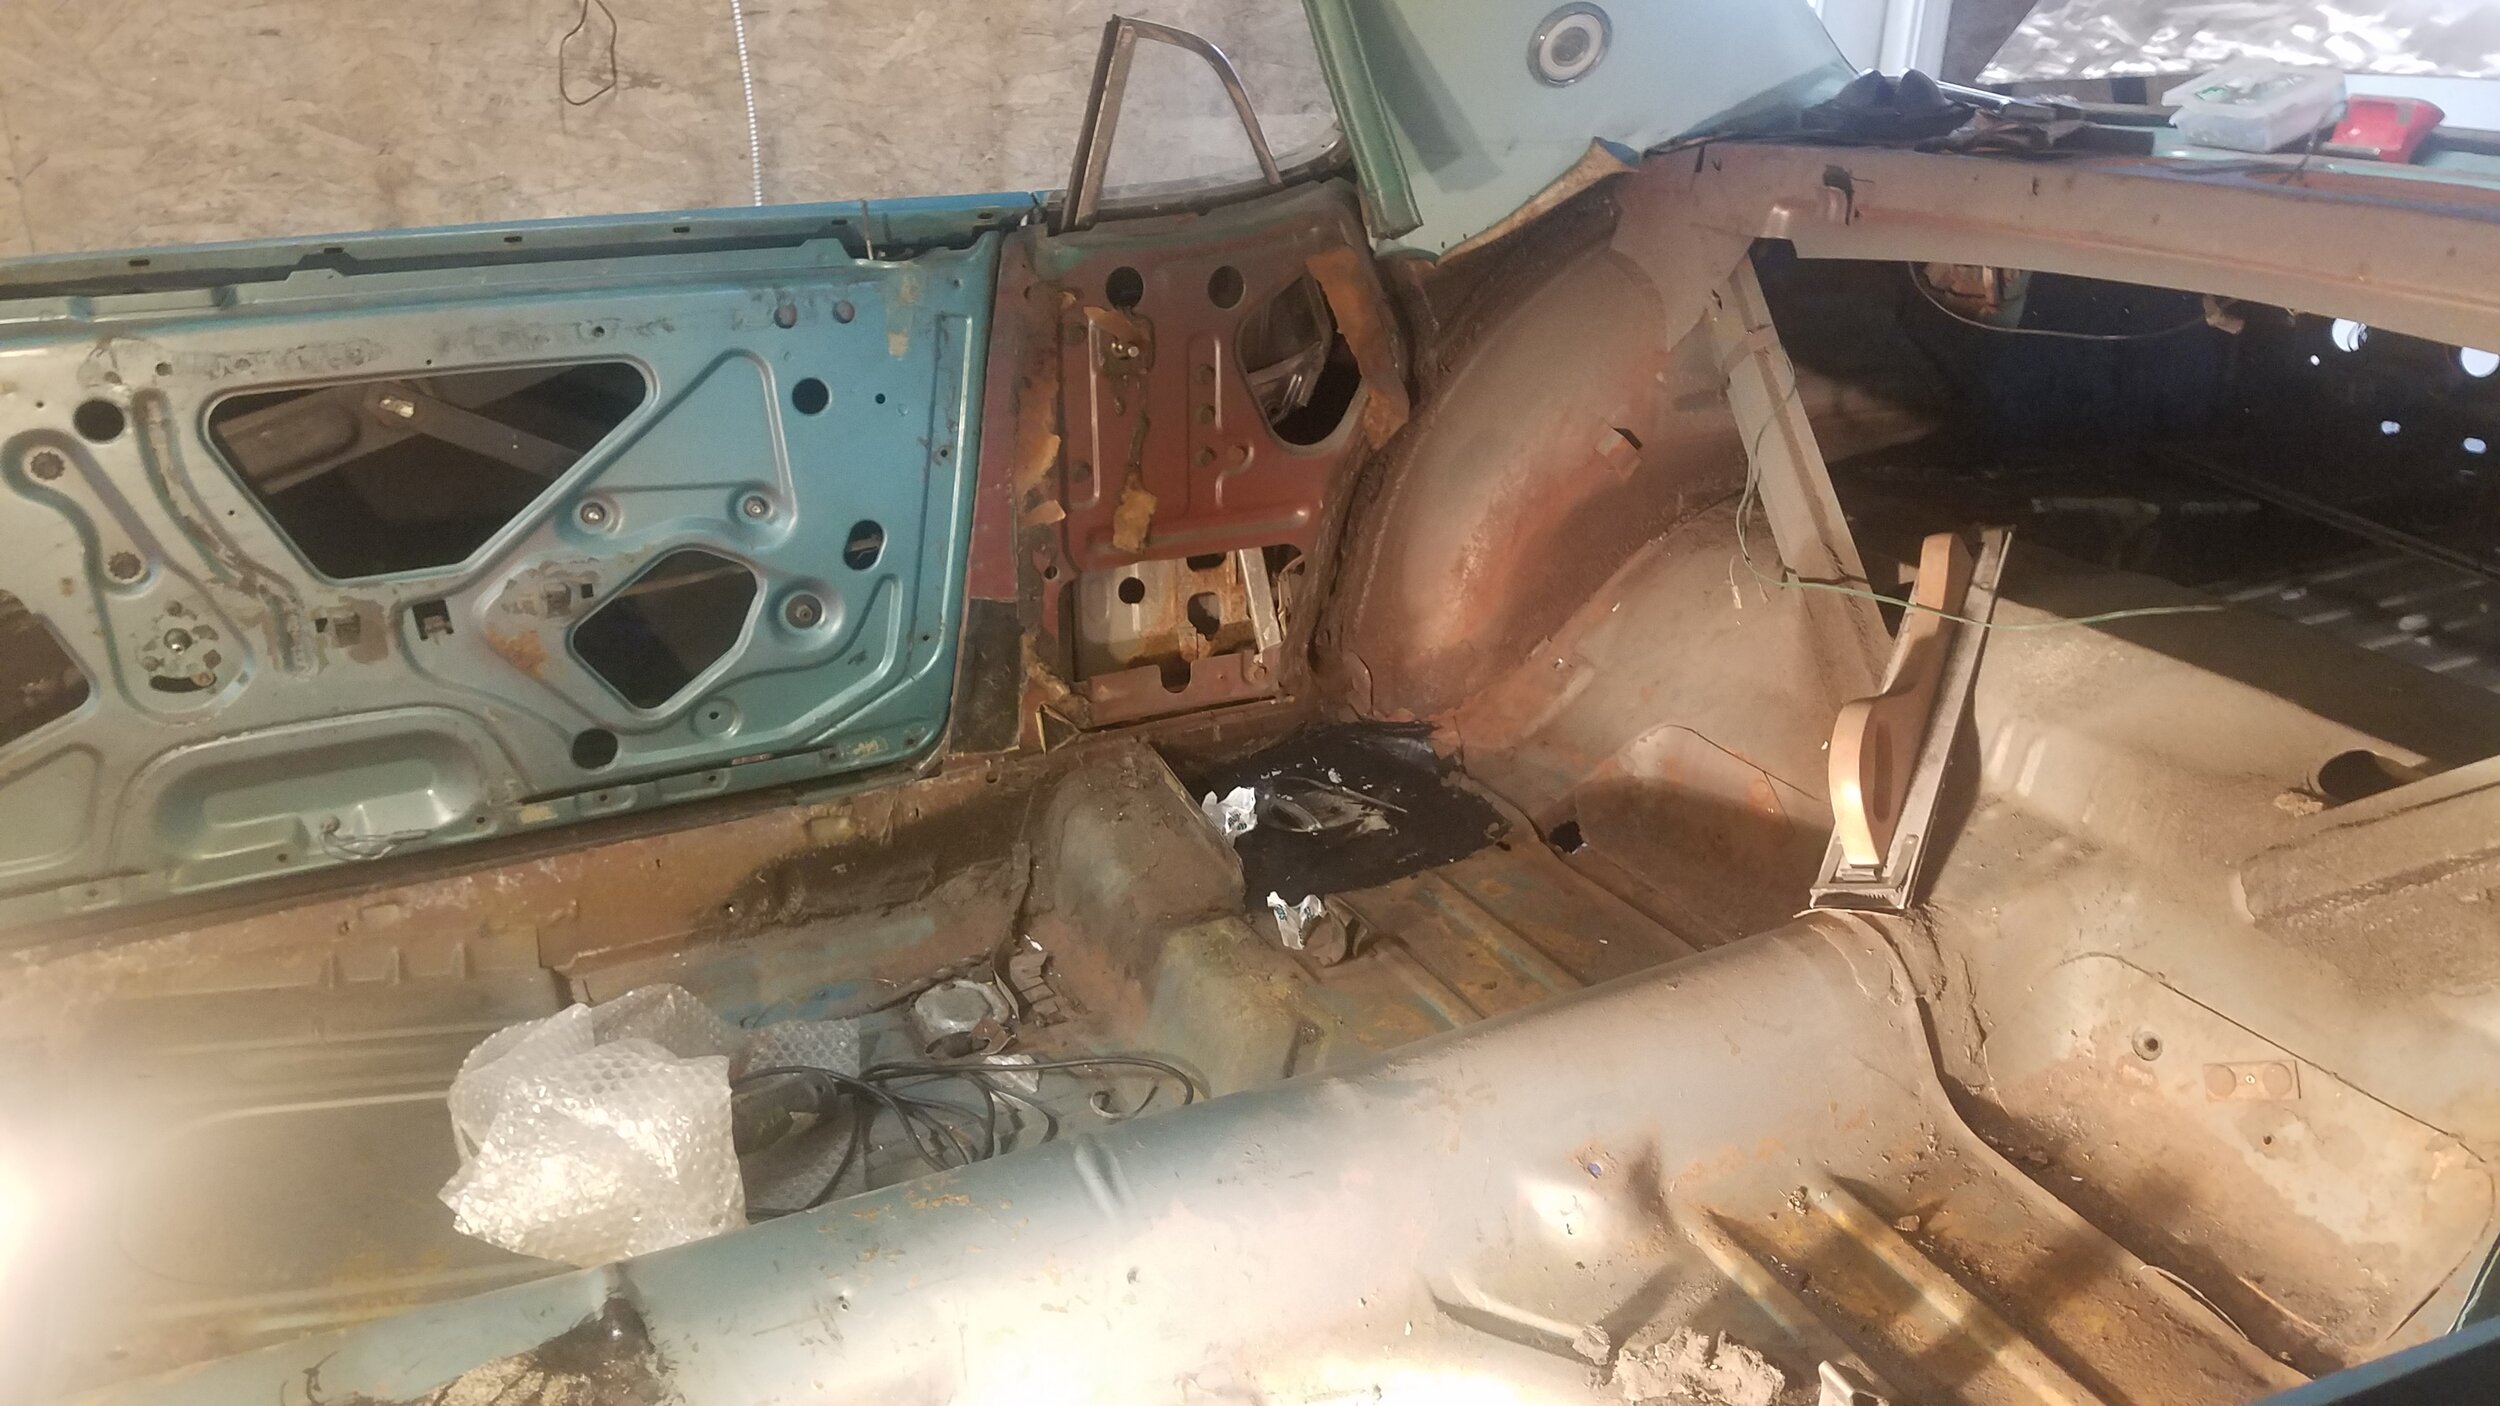
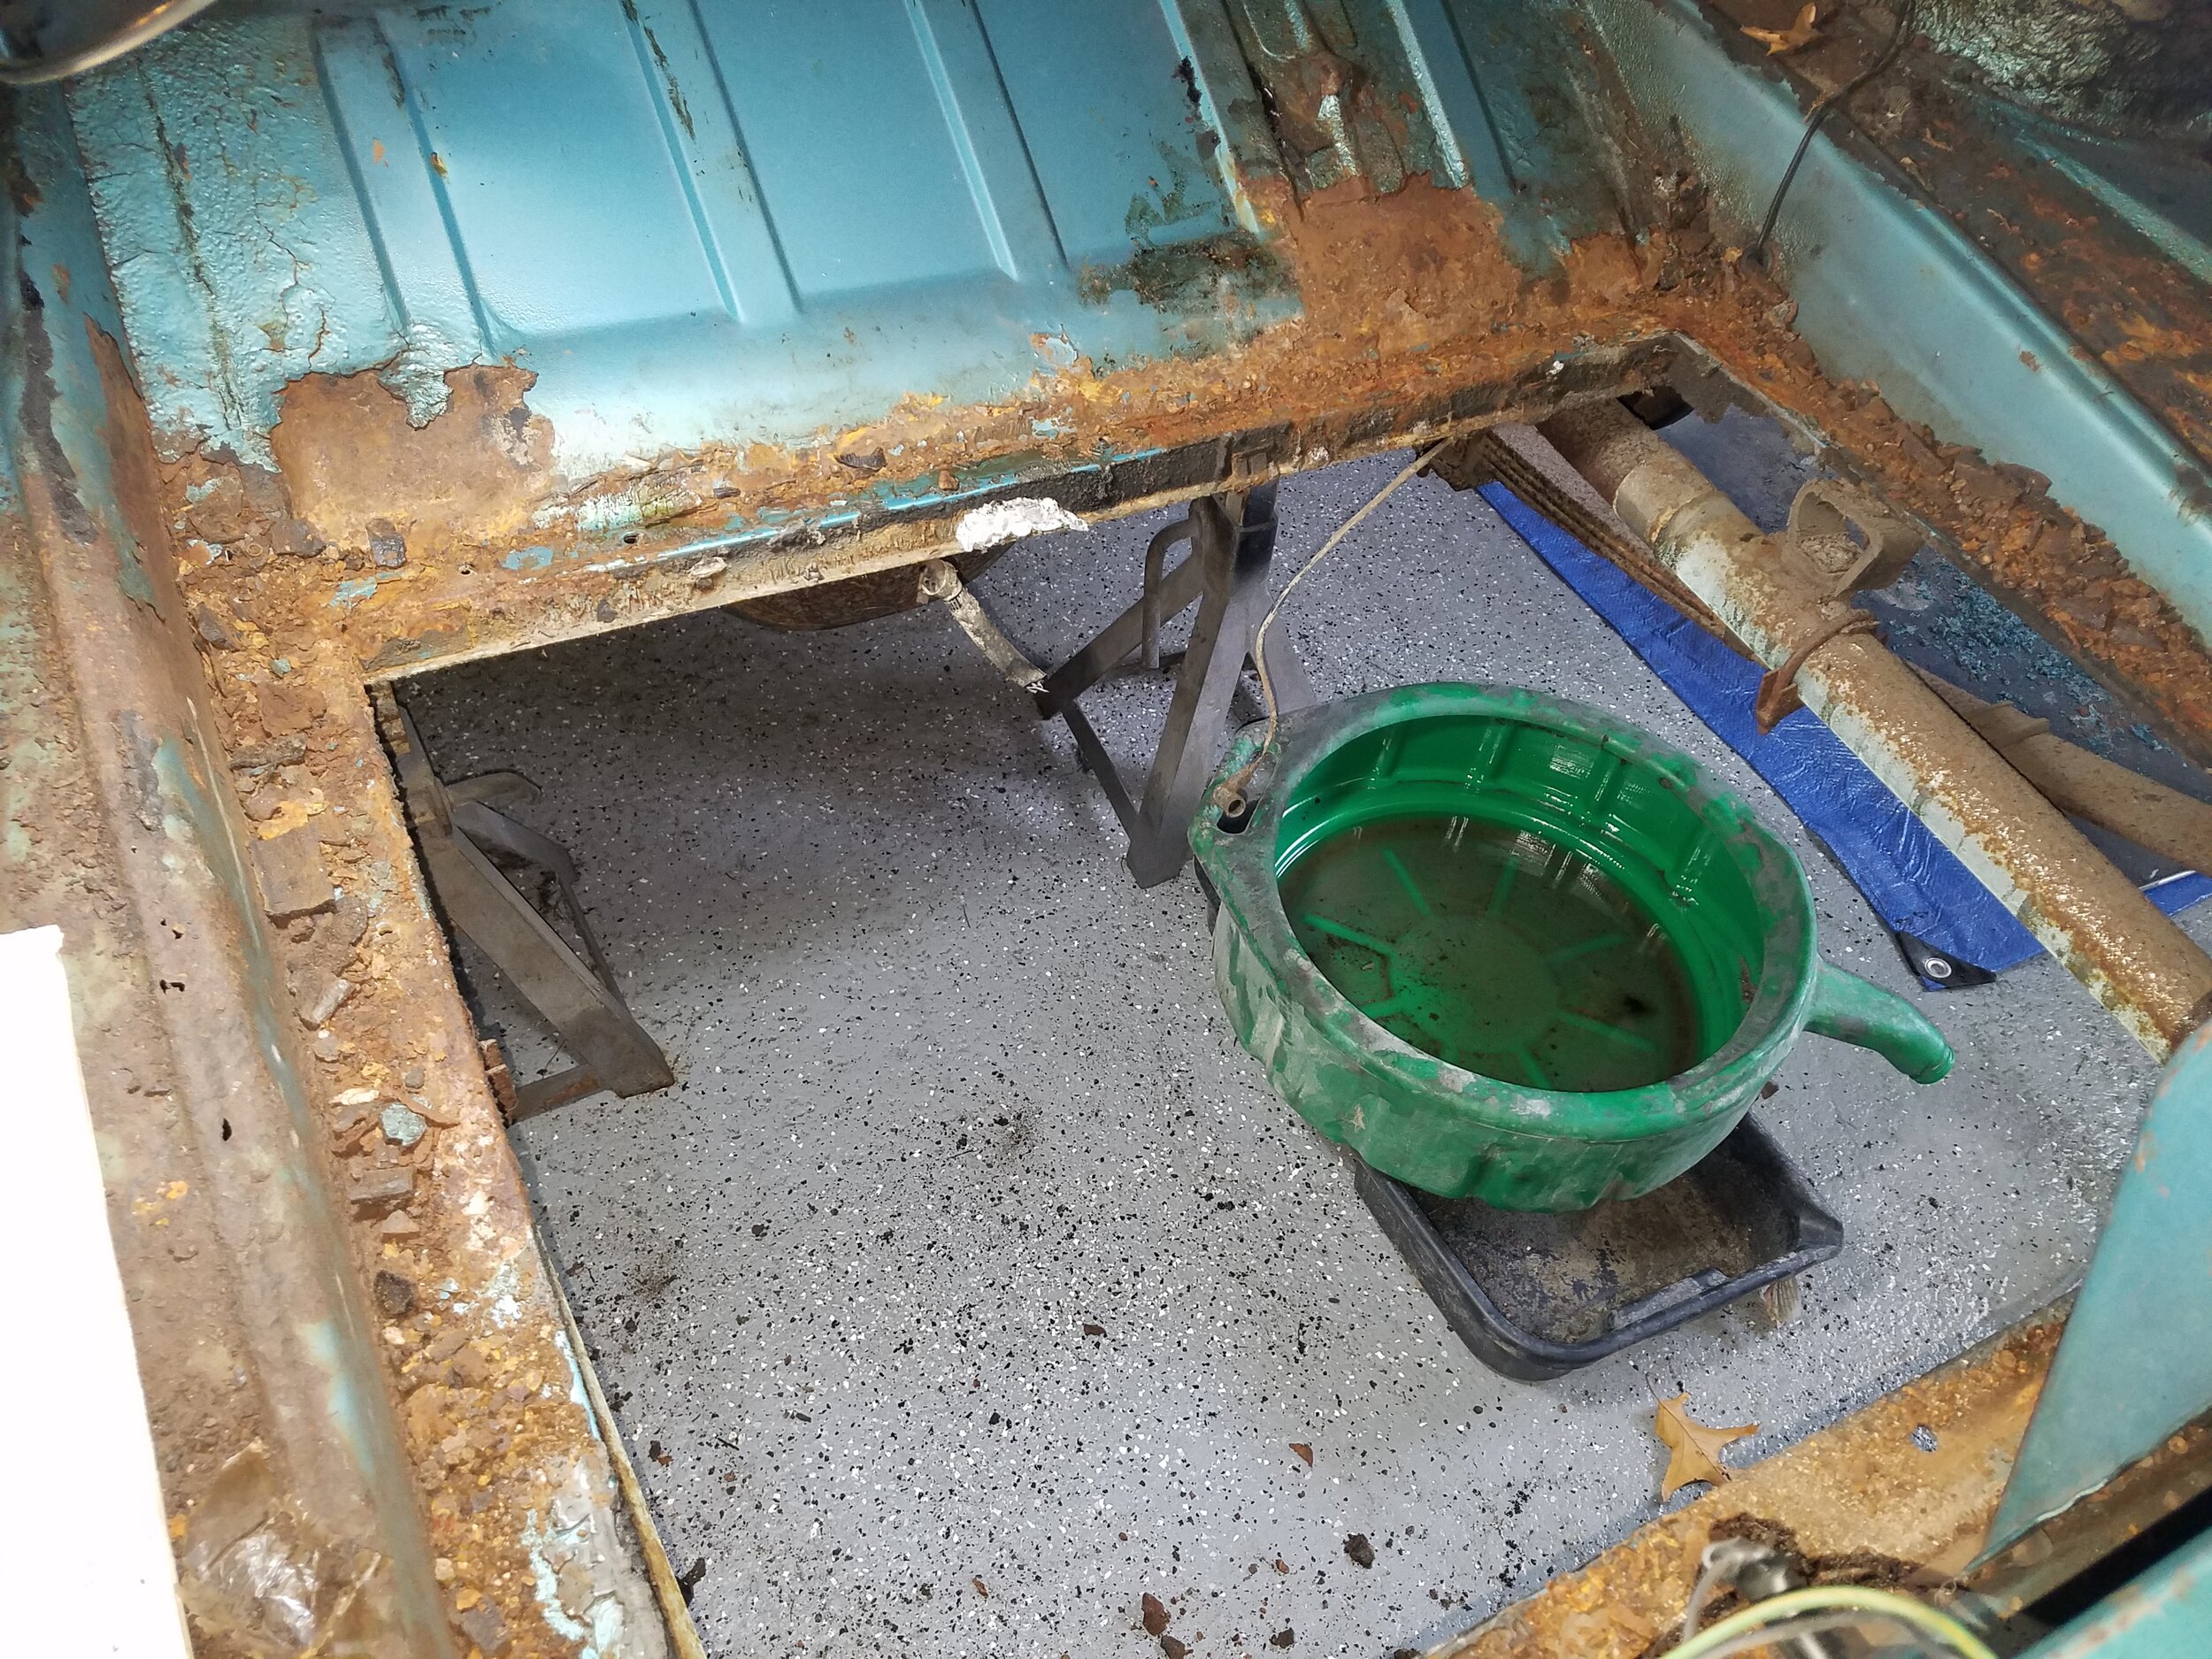
It took a few days, and 2 full coats to roll on the paint. 1 Gallon covered the entire floor, trunk, rear wheel wells, and top of the brand new gas tank. I think it really looks awesome, and it’s a sign of things really starting to come together. I don’t even recognize the pictures of it before. I had almost forgotten all of the mice nests and rusty spots. My cousin did a great job patching and replacing the front floor panels. Herculiner did a great job of giving everything a more uniform look.

Started by prepping all the surfaces by hitting it all with a wire brush to get any loose dirt and rust off. Then vacuuming and using Prep-all to clean it all. The truck bed liner is pretty thick, but still easy to work with. The kit came with a roller that gave it its textured look. Definitely plan on using disposable brushes to get into the cracks. Though the can said it would dry to the touch in 2 hours, it took a day before being able to supply the second coat.

Not a glamorous job, but the results were well worth it. It should prevent rust and scratches for a very long time.

OH and if you get the paint on your skin, it will STAY. Use baby oil to get it off. It was the only way I could get it off my face when I splattered it taking the roller off the handle.

Pro Tip: Be sure to put plastic wrap under the lid of the can between uses. The liner hardens and will make it difficult to get the lid off.

Safety First

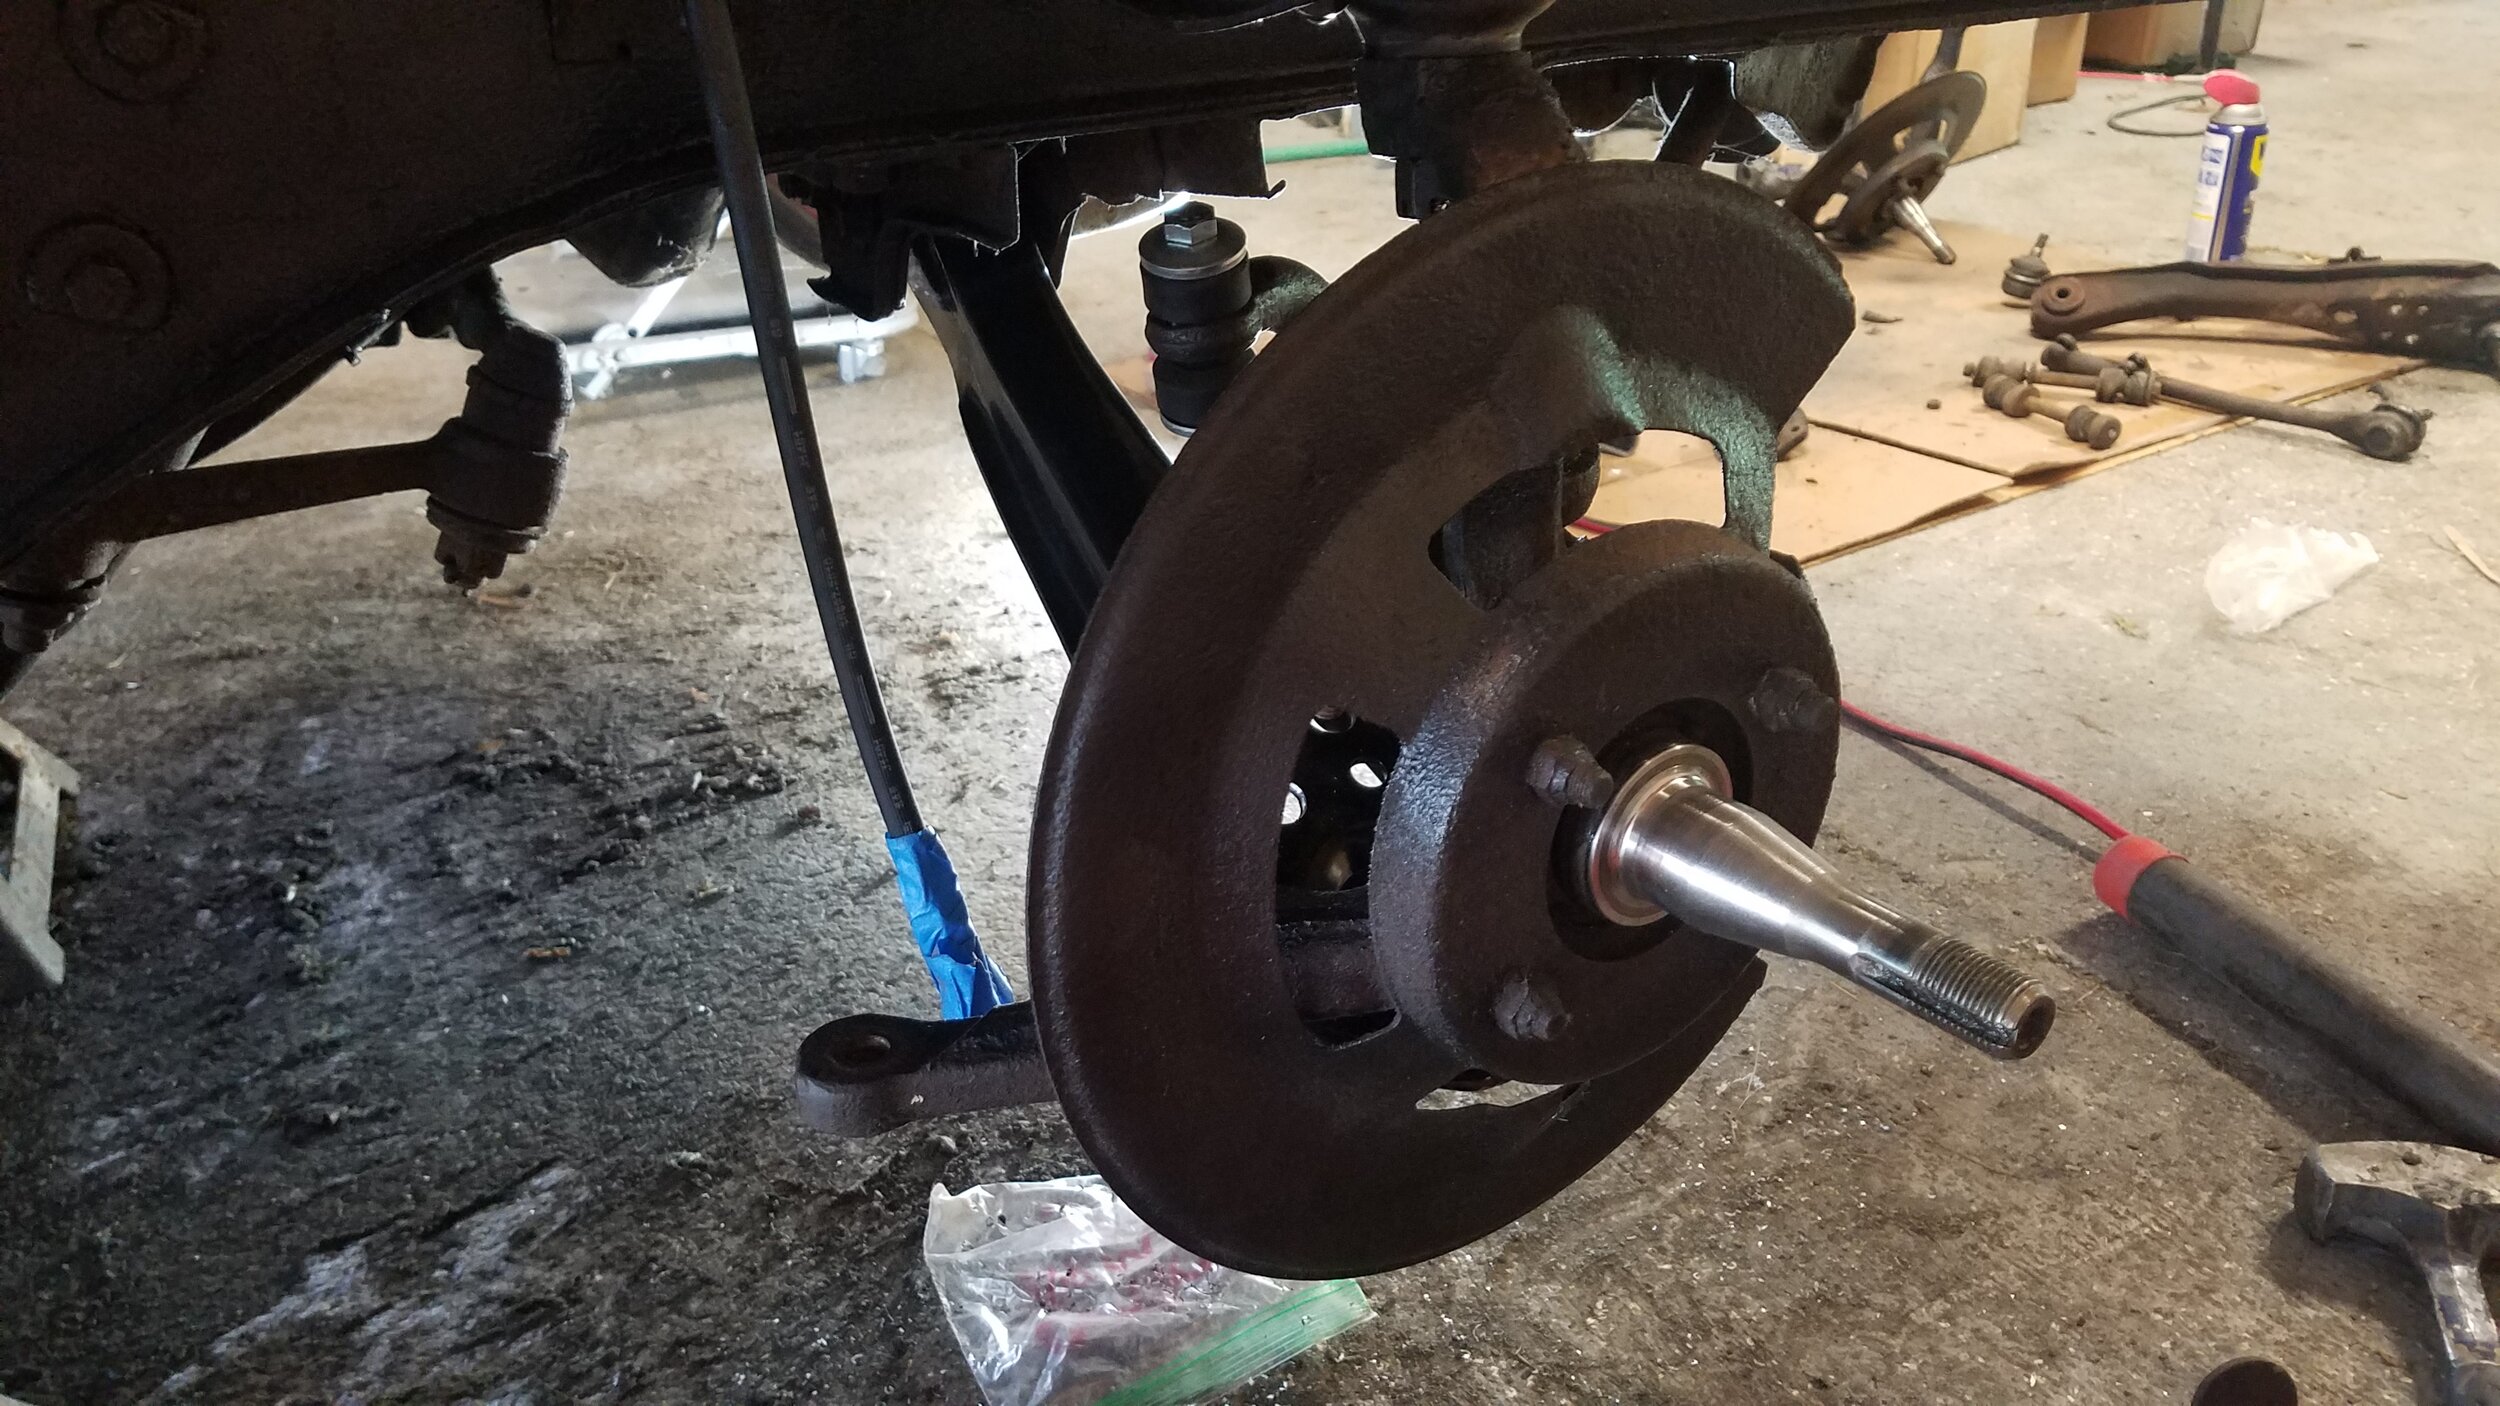
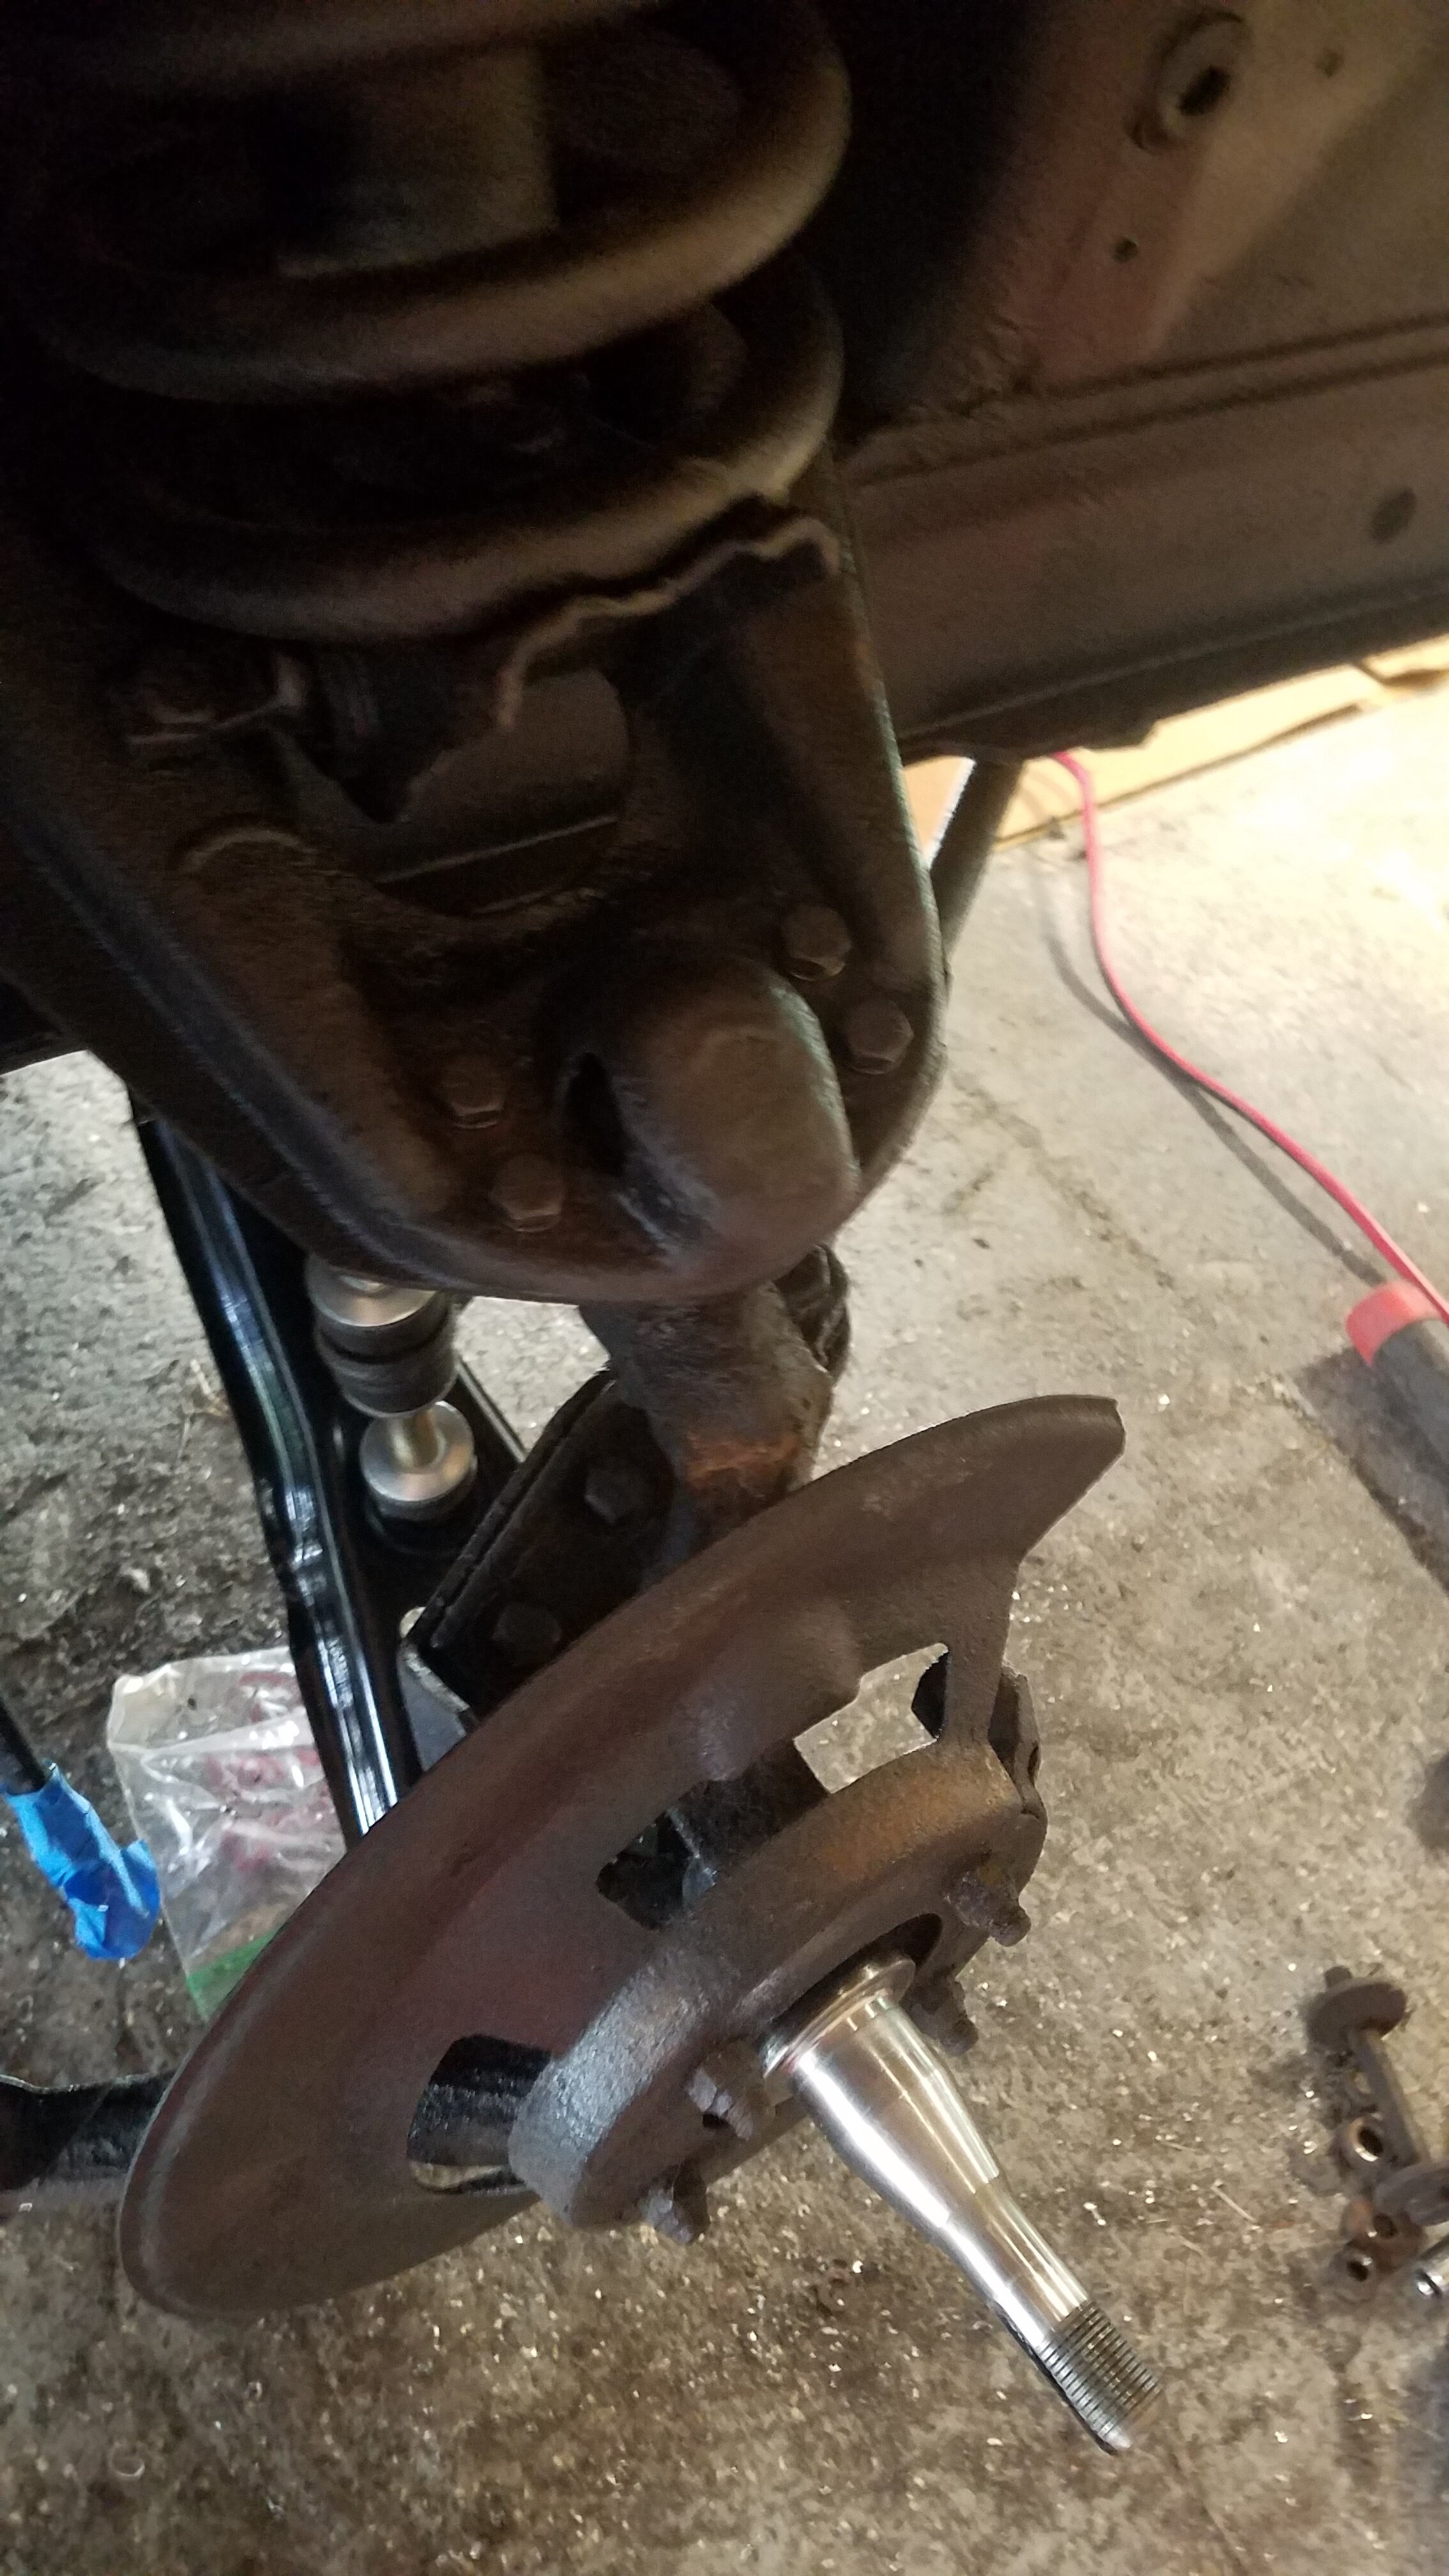
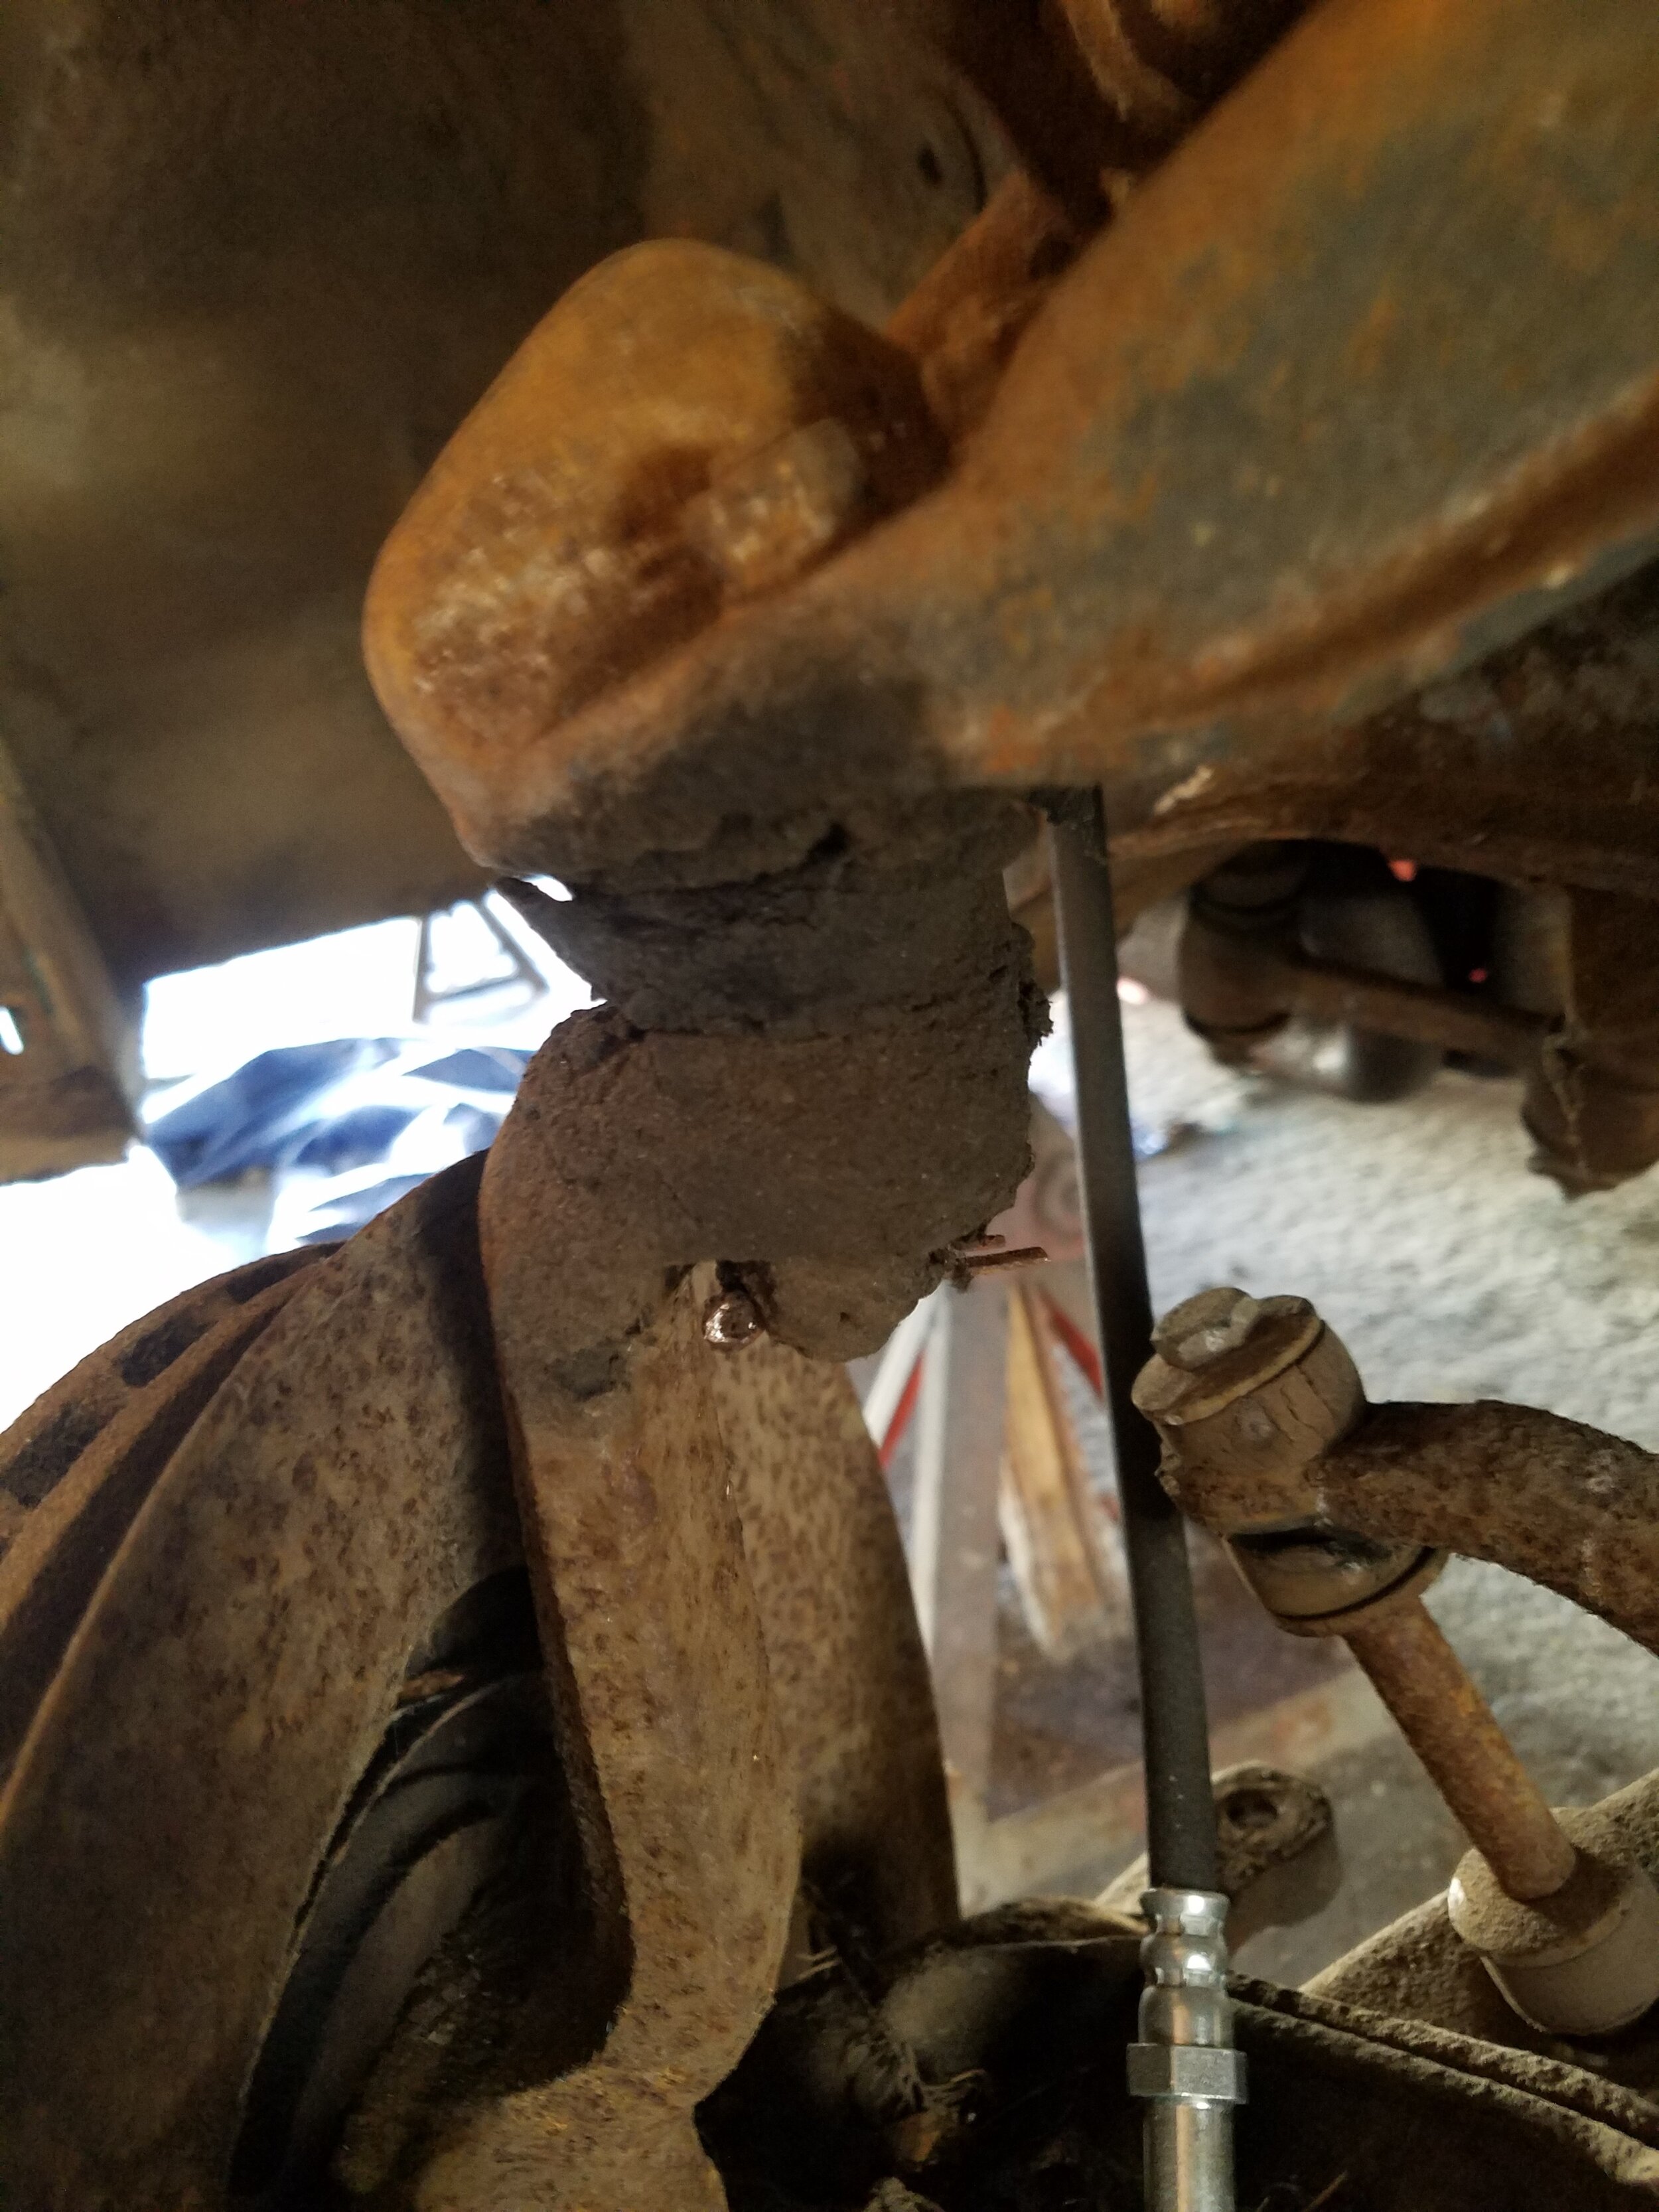
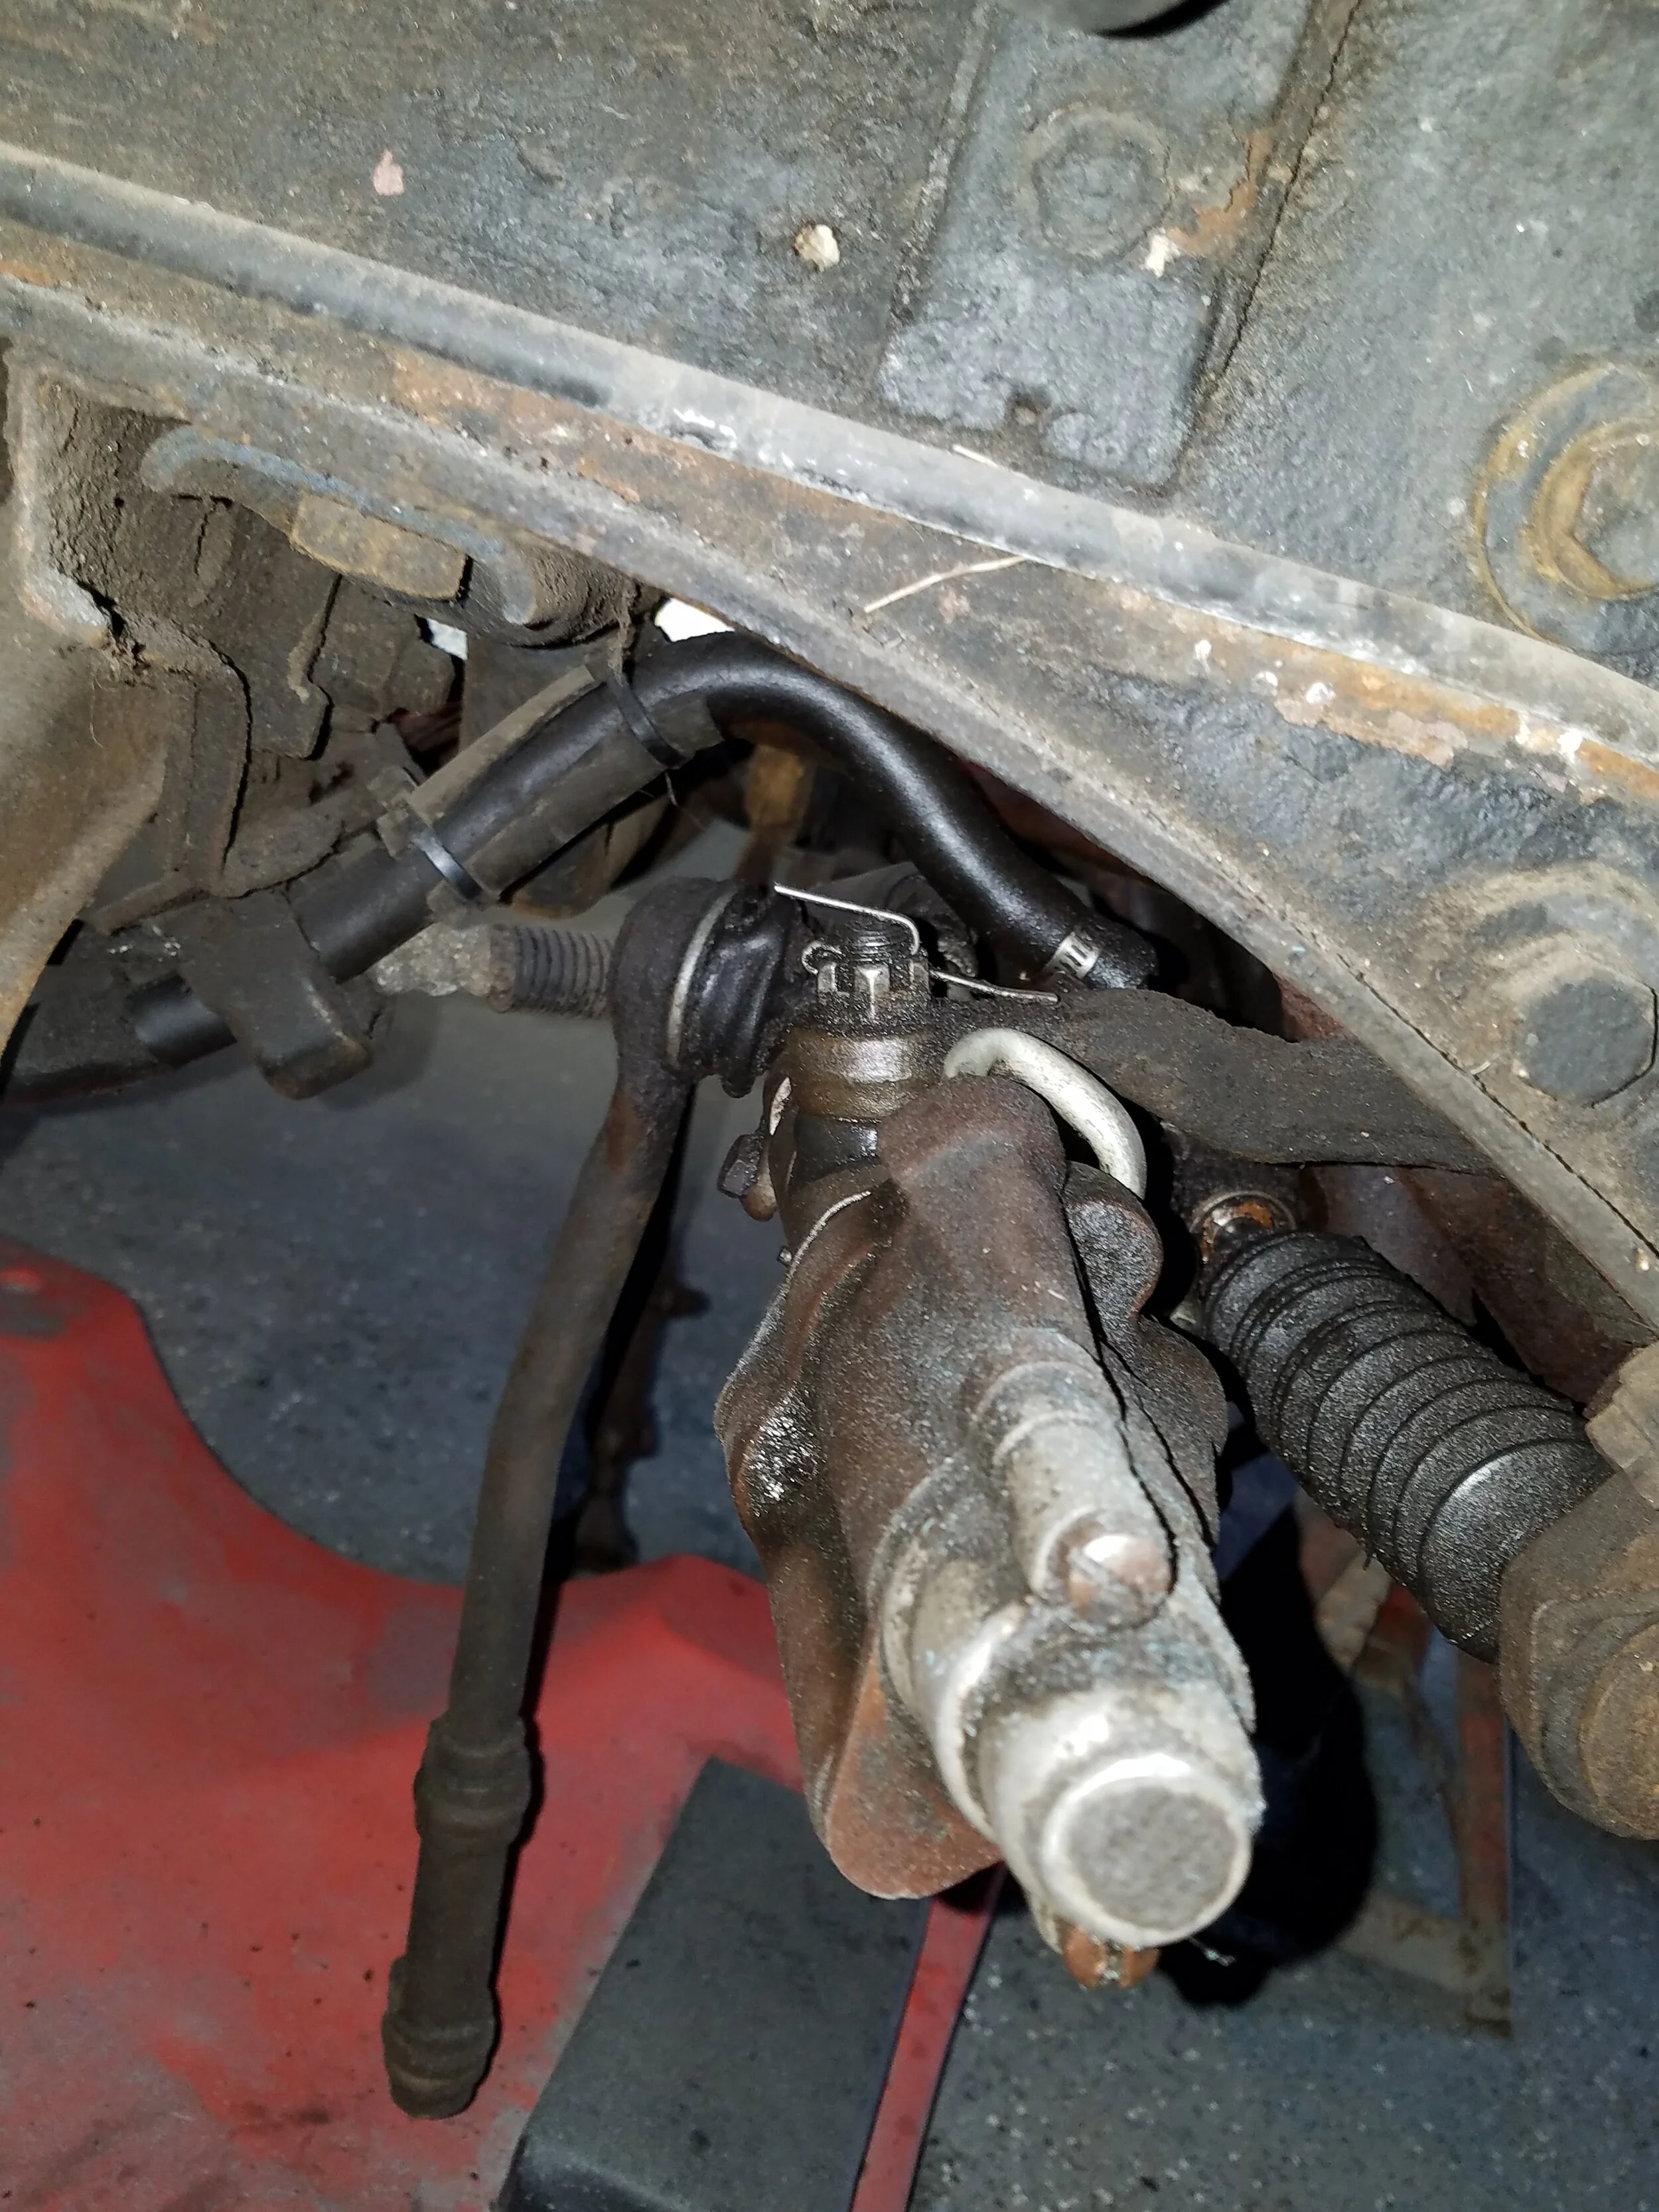
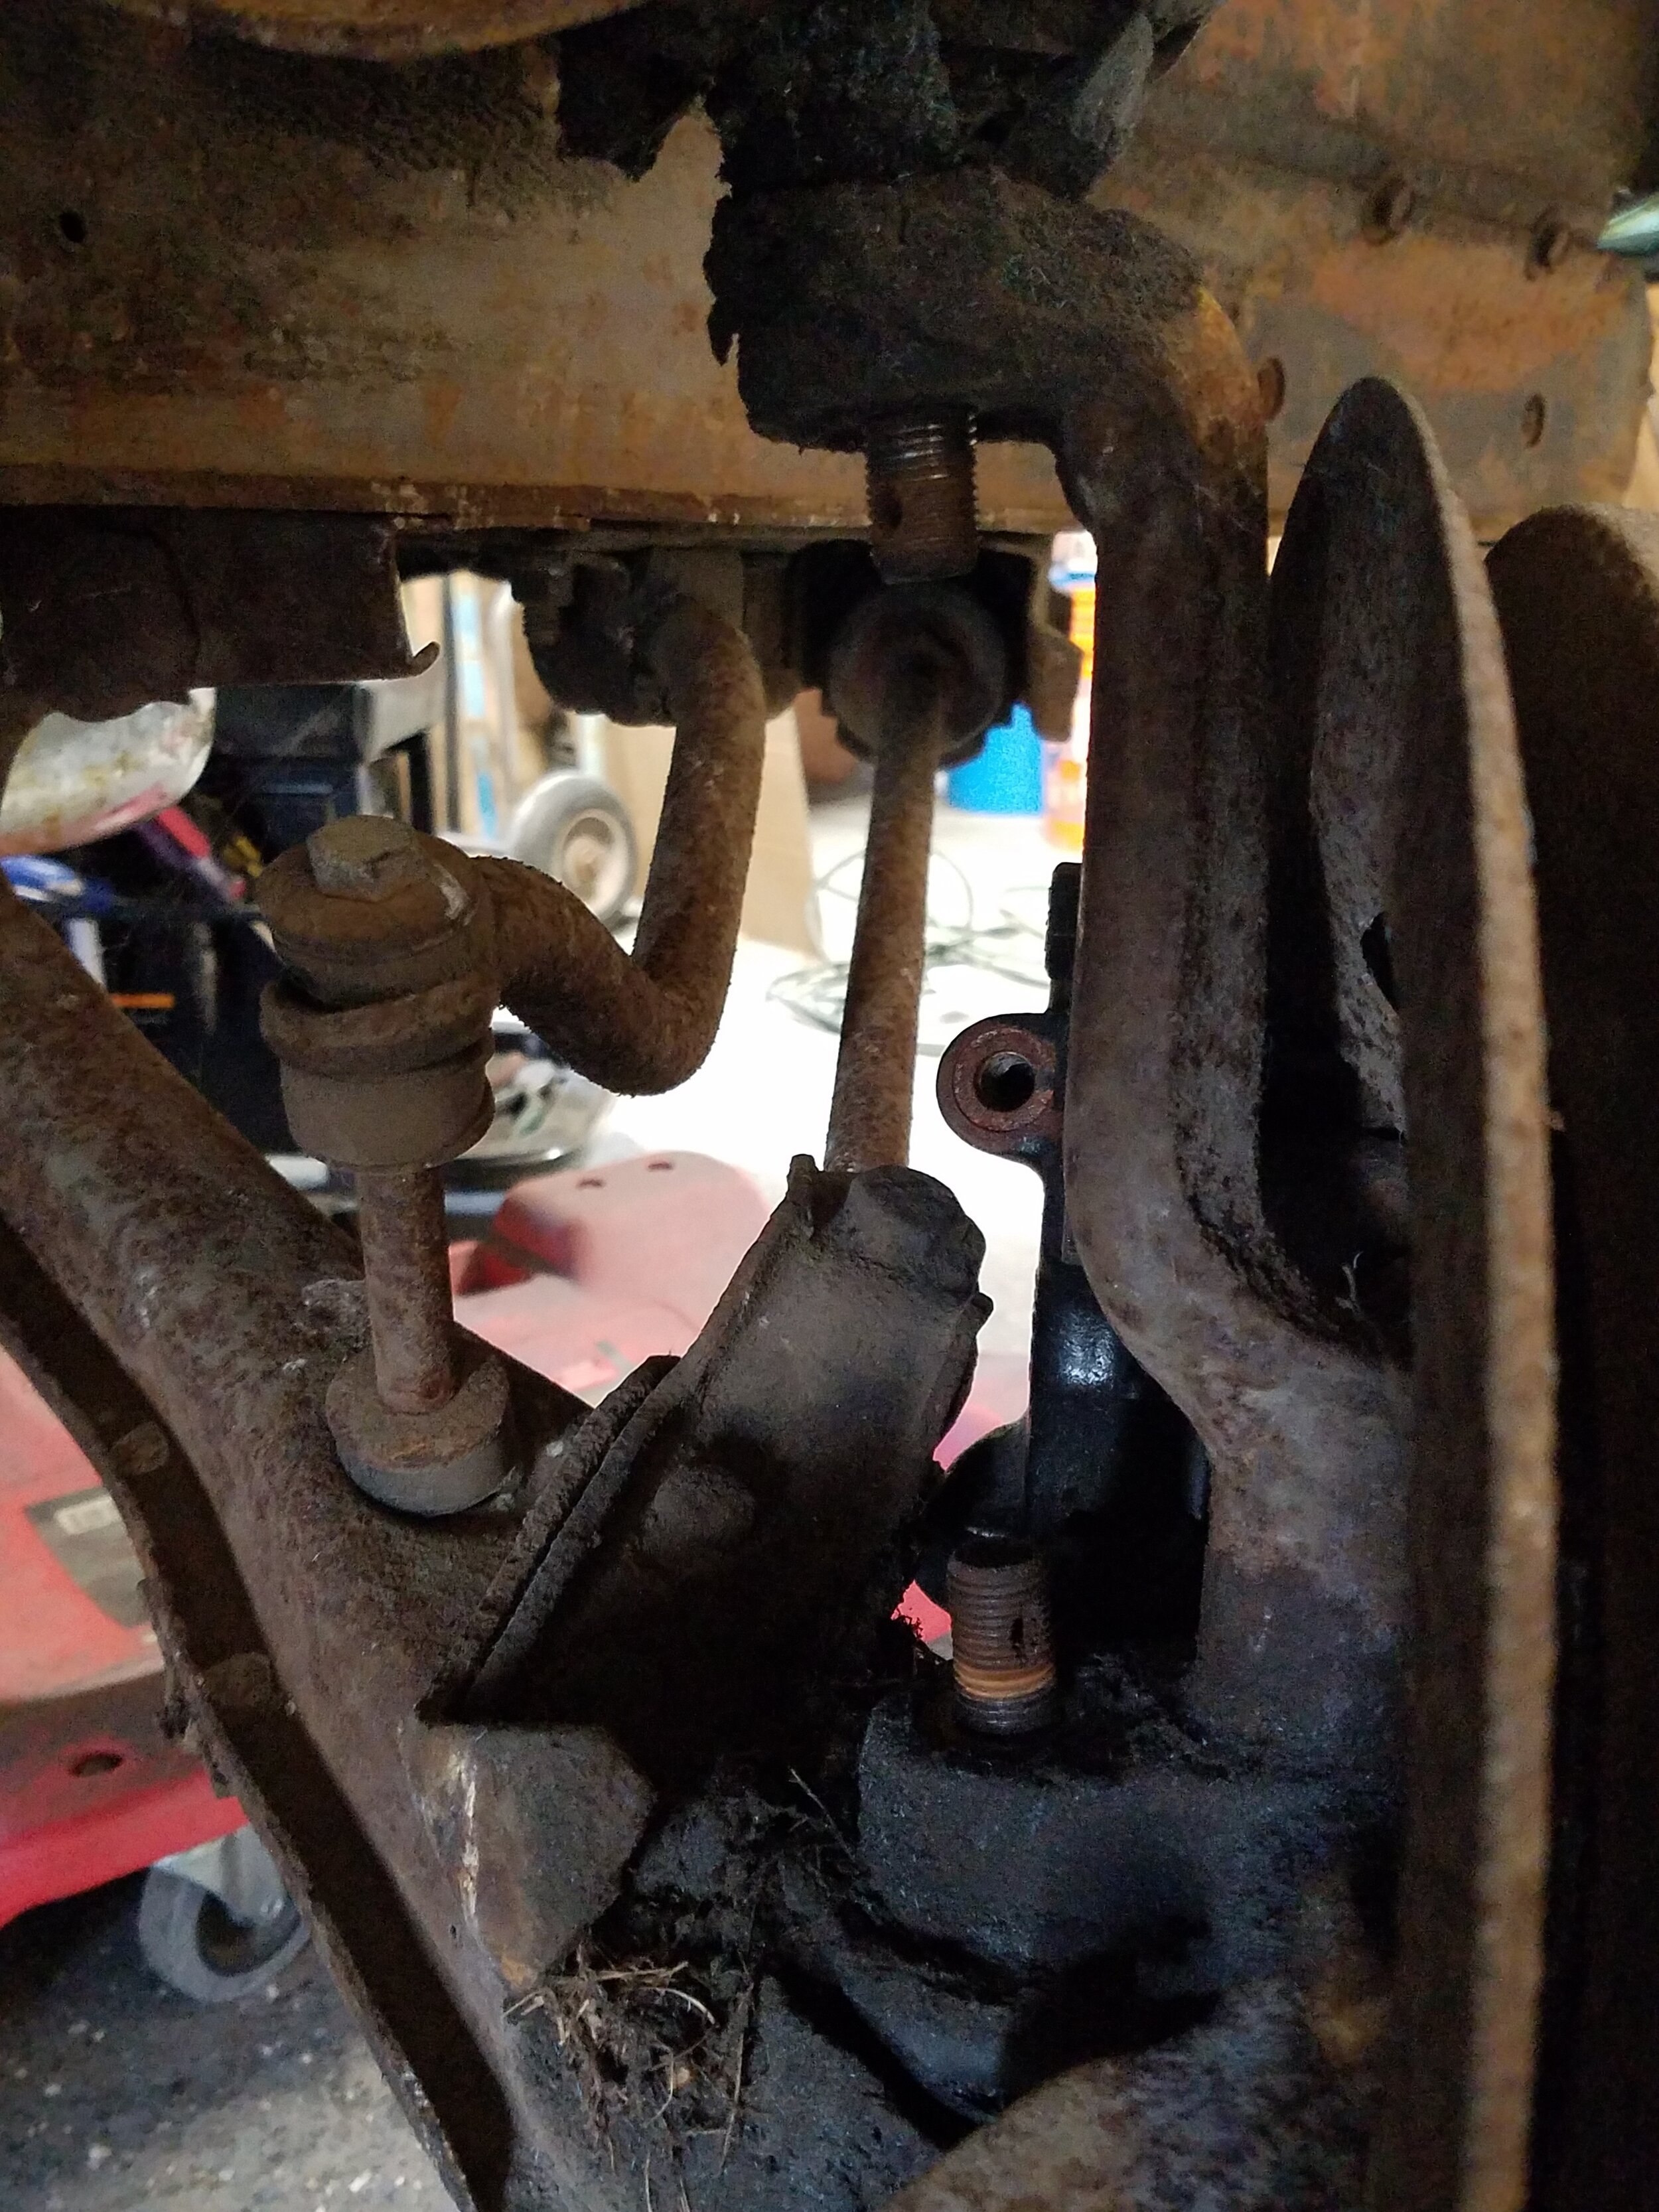
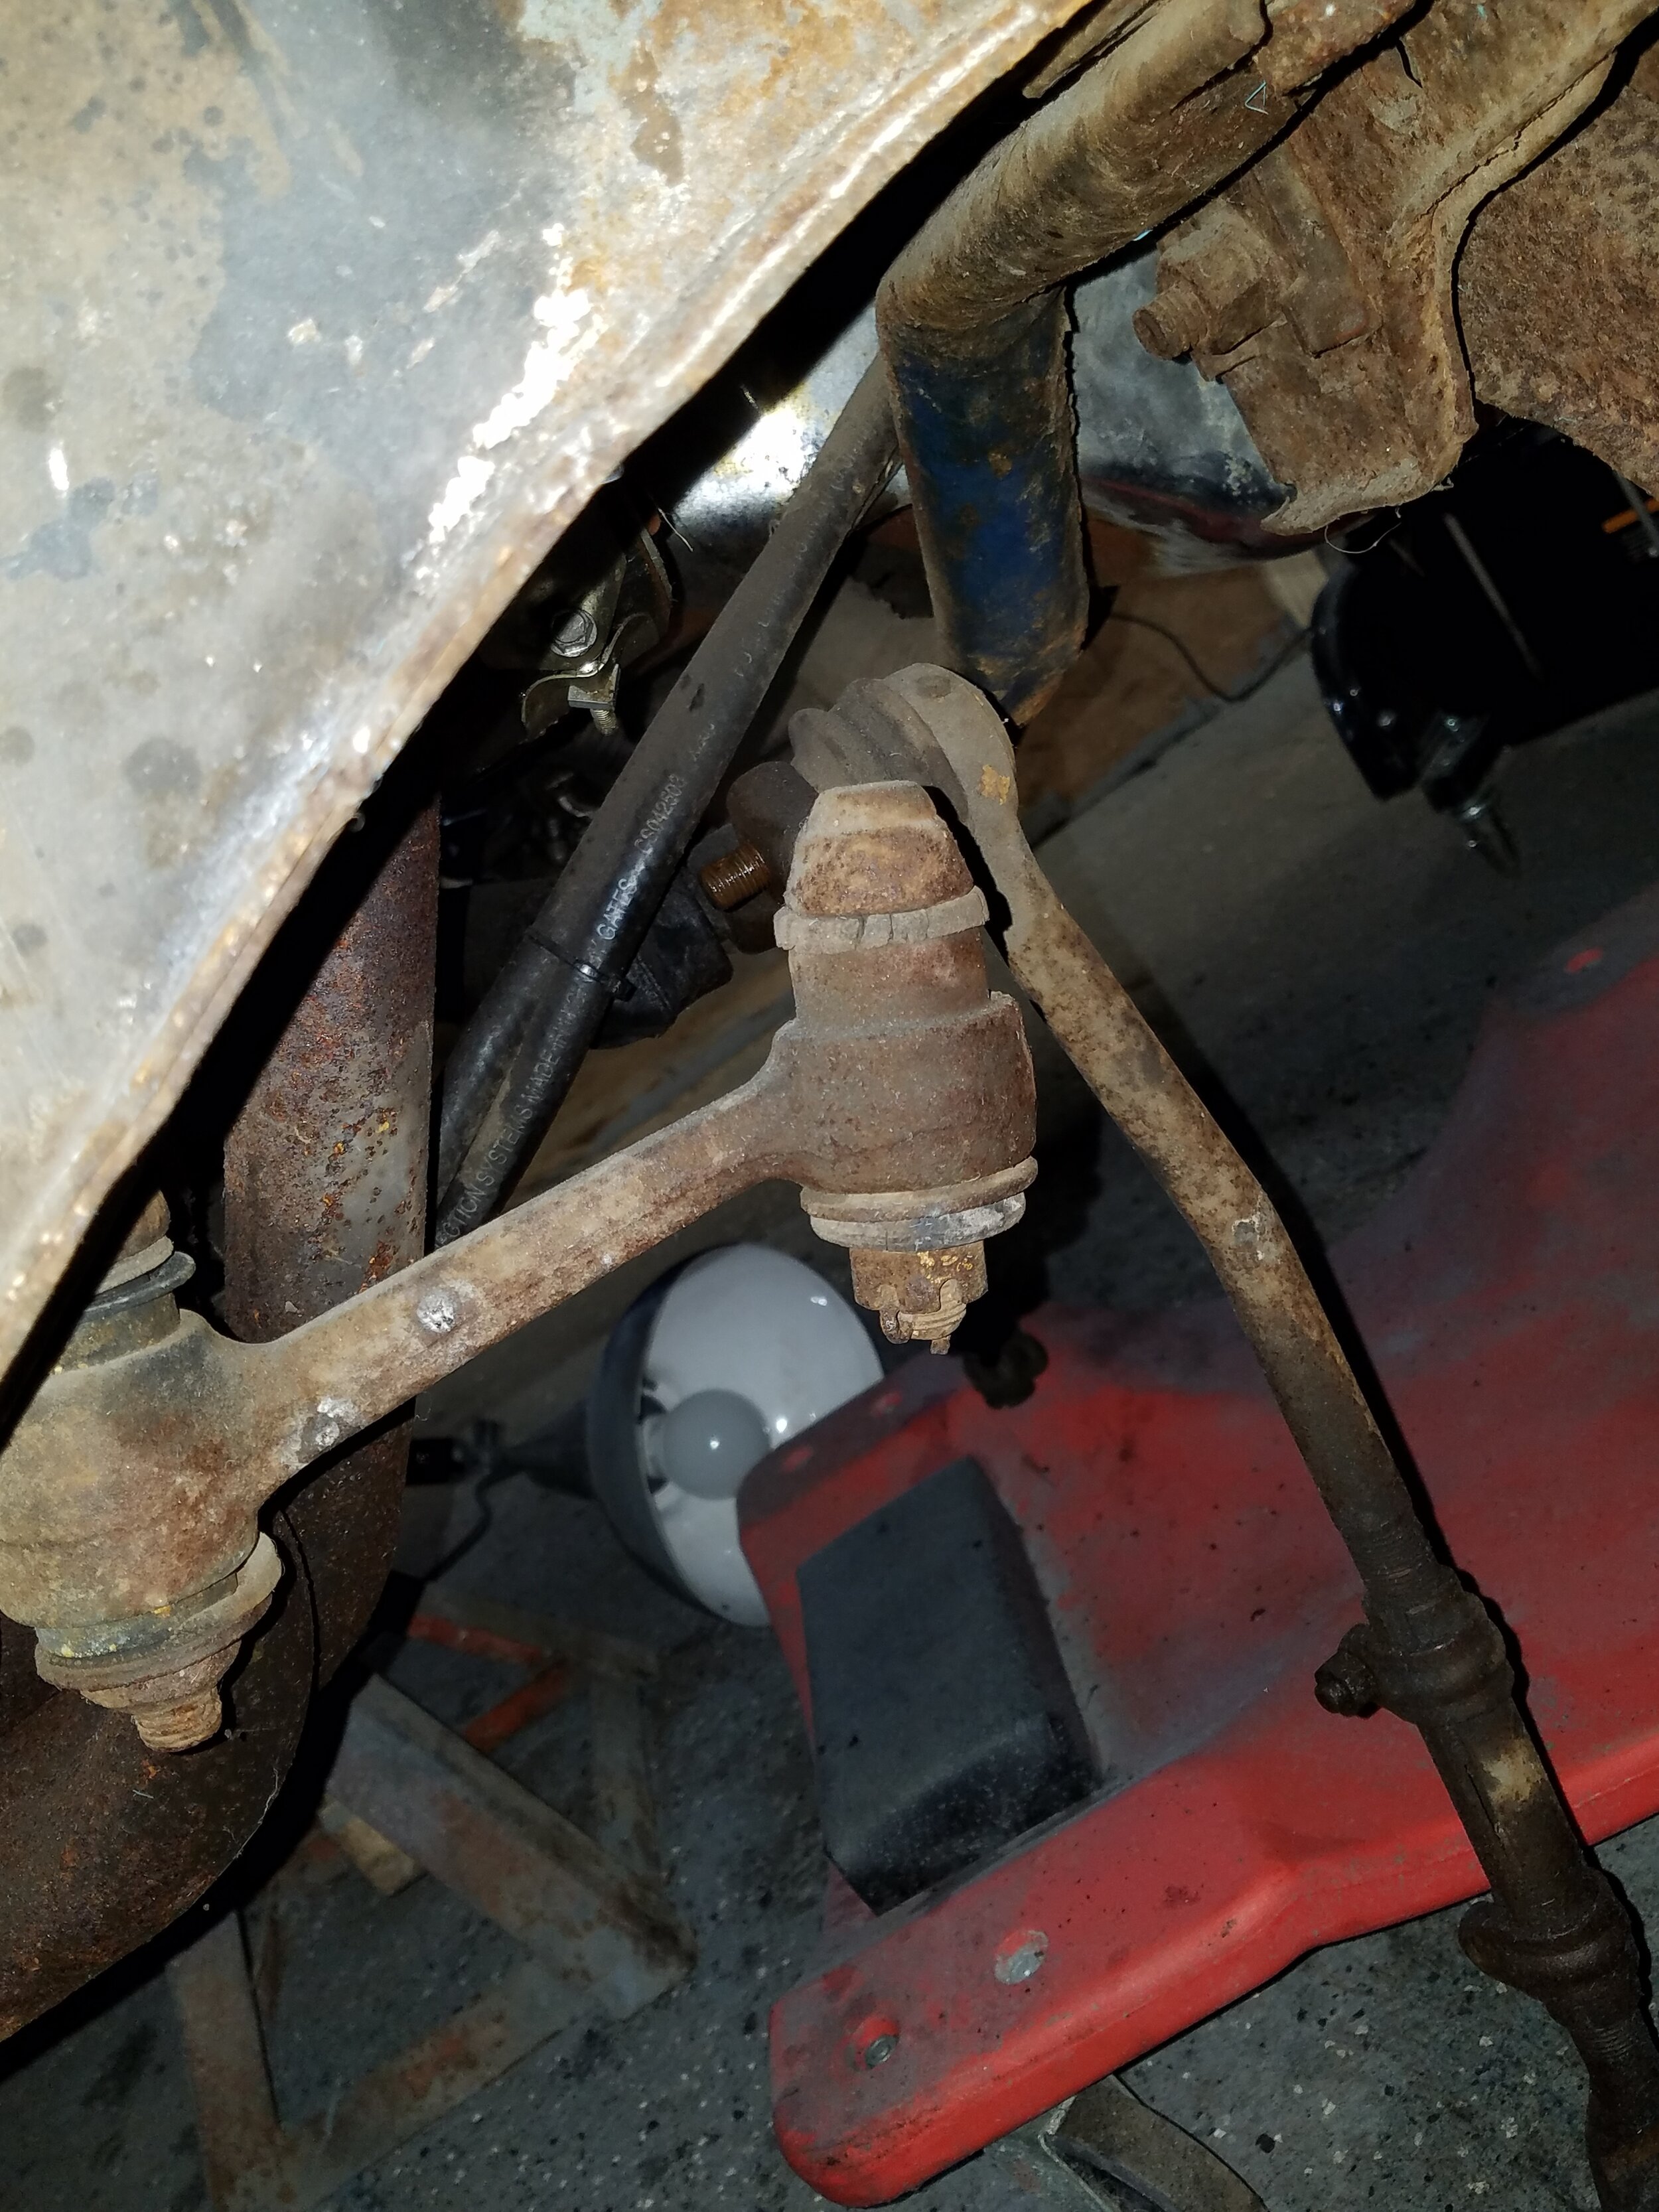
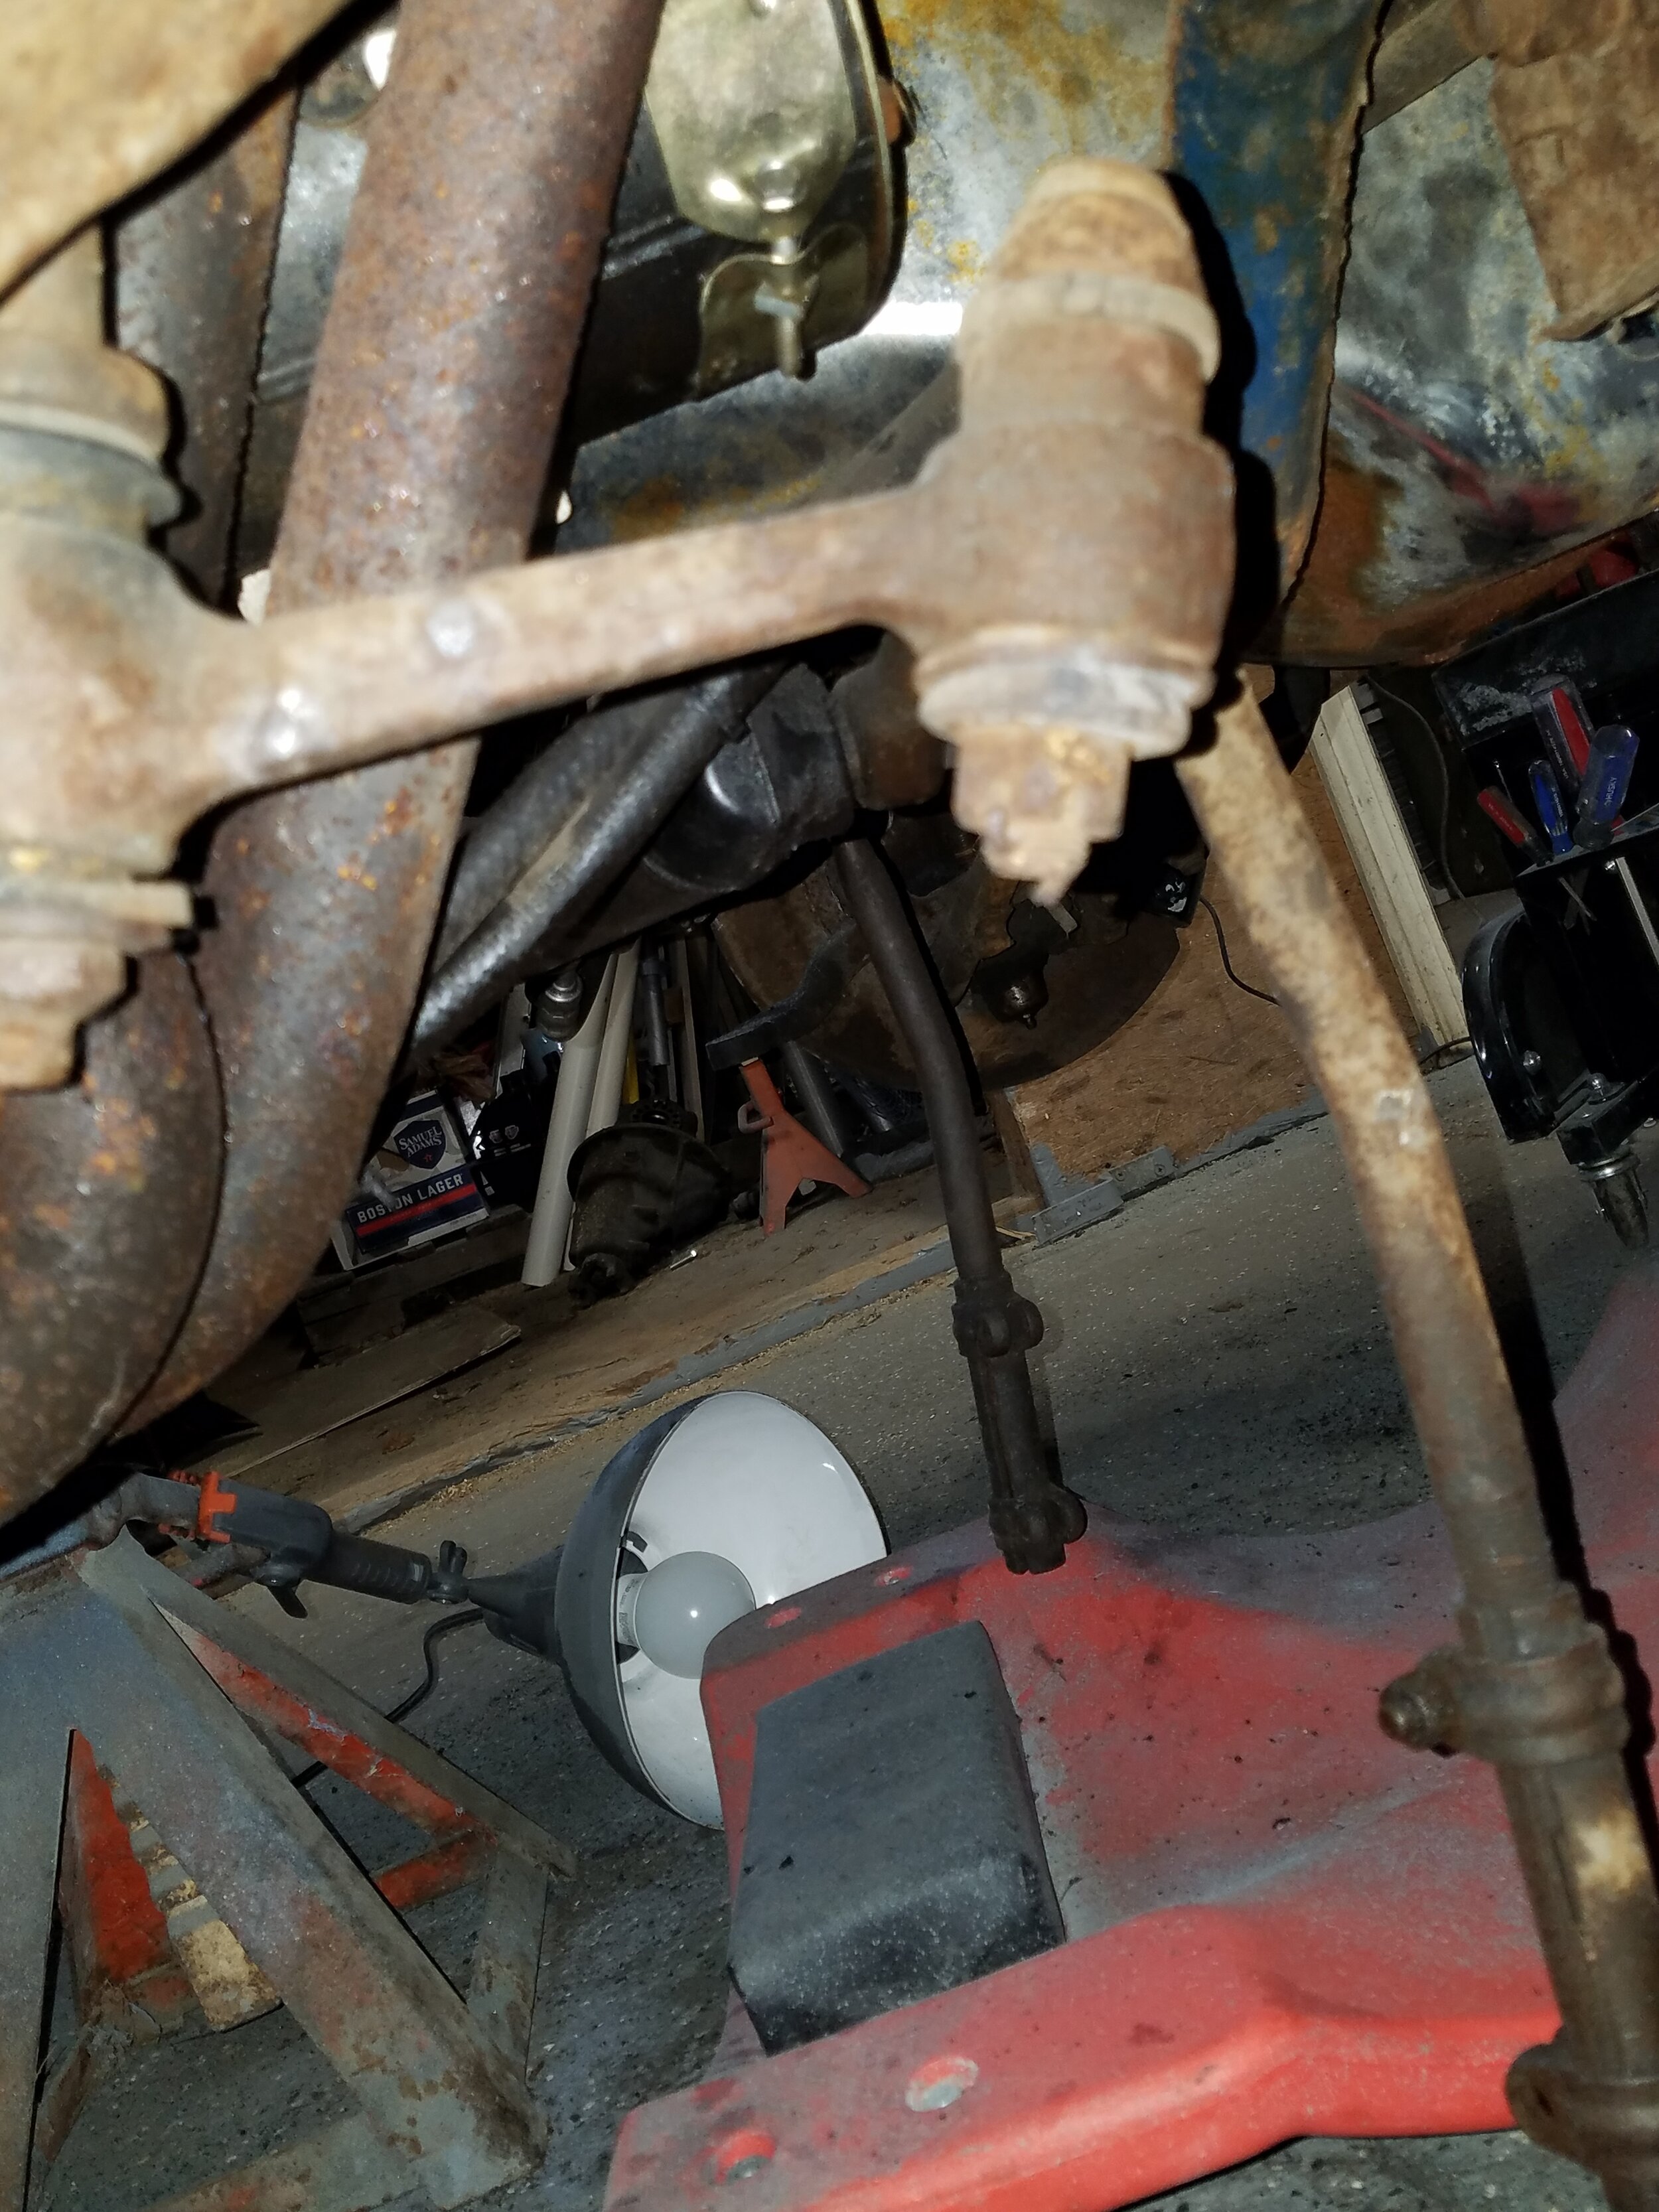
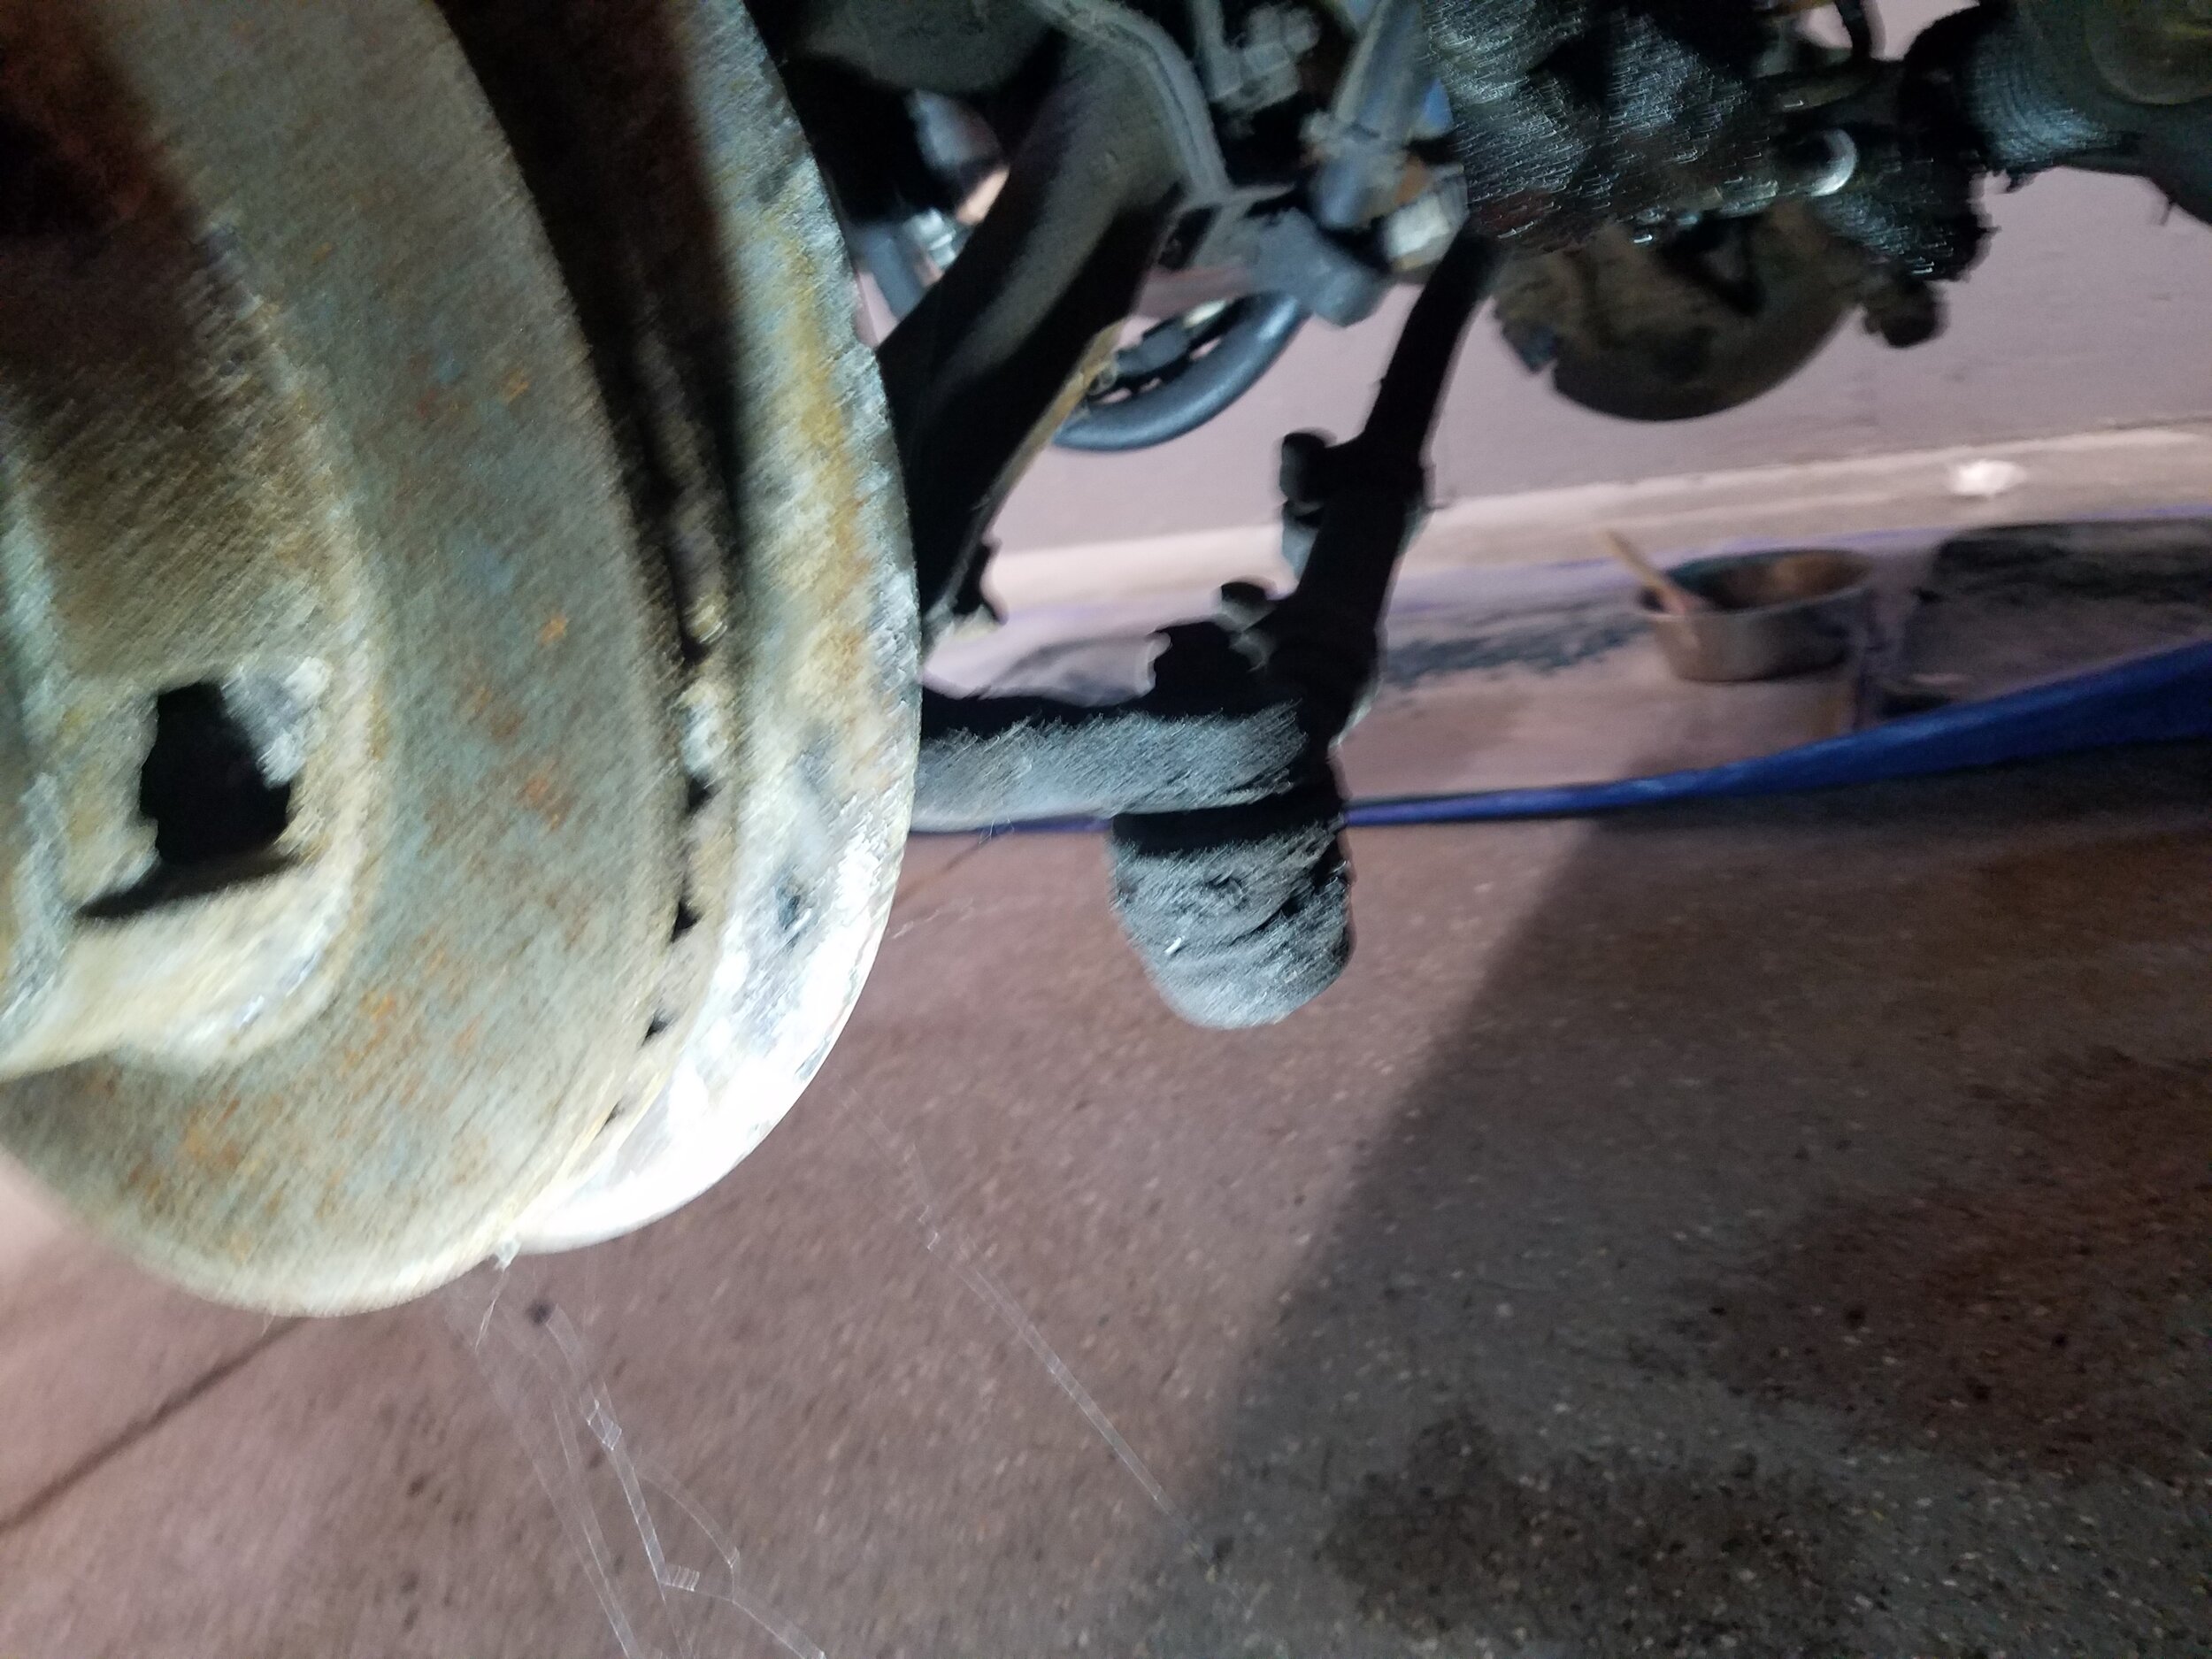
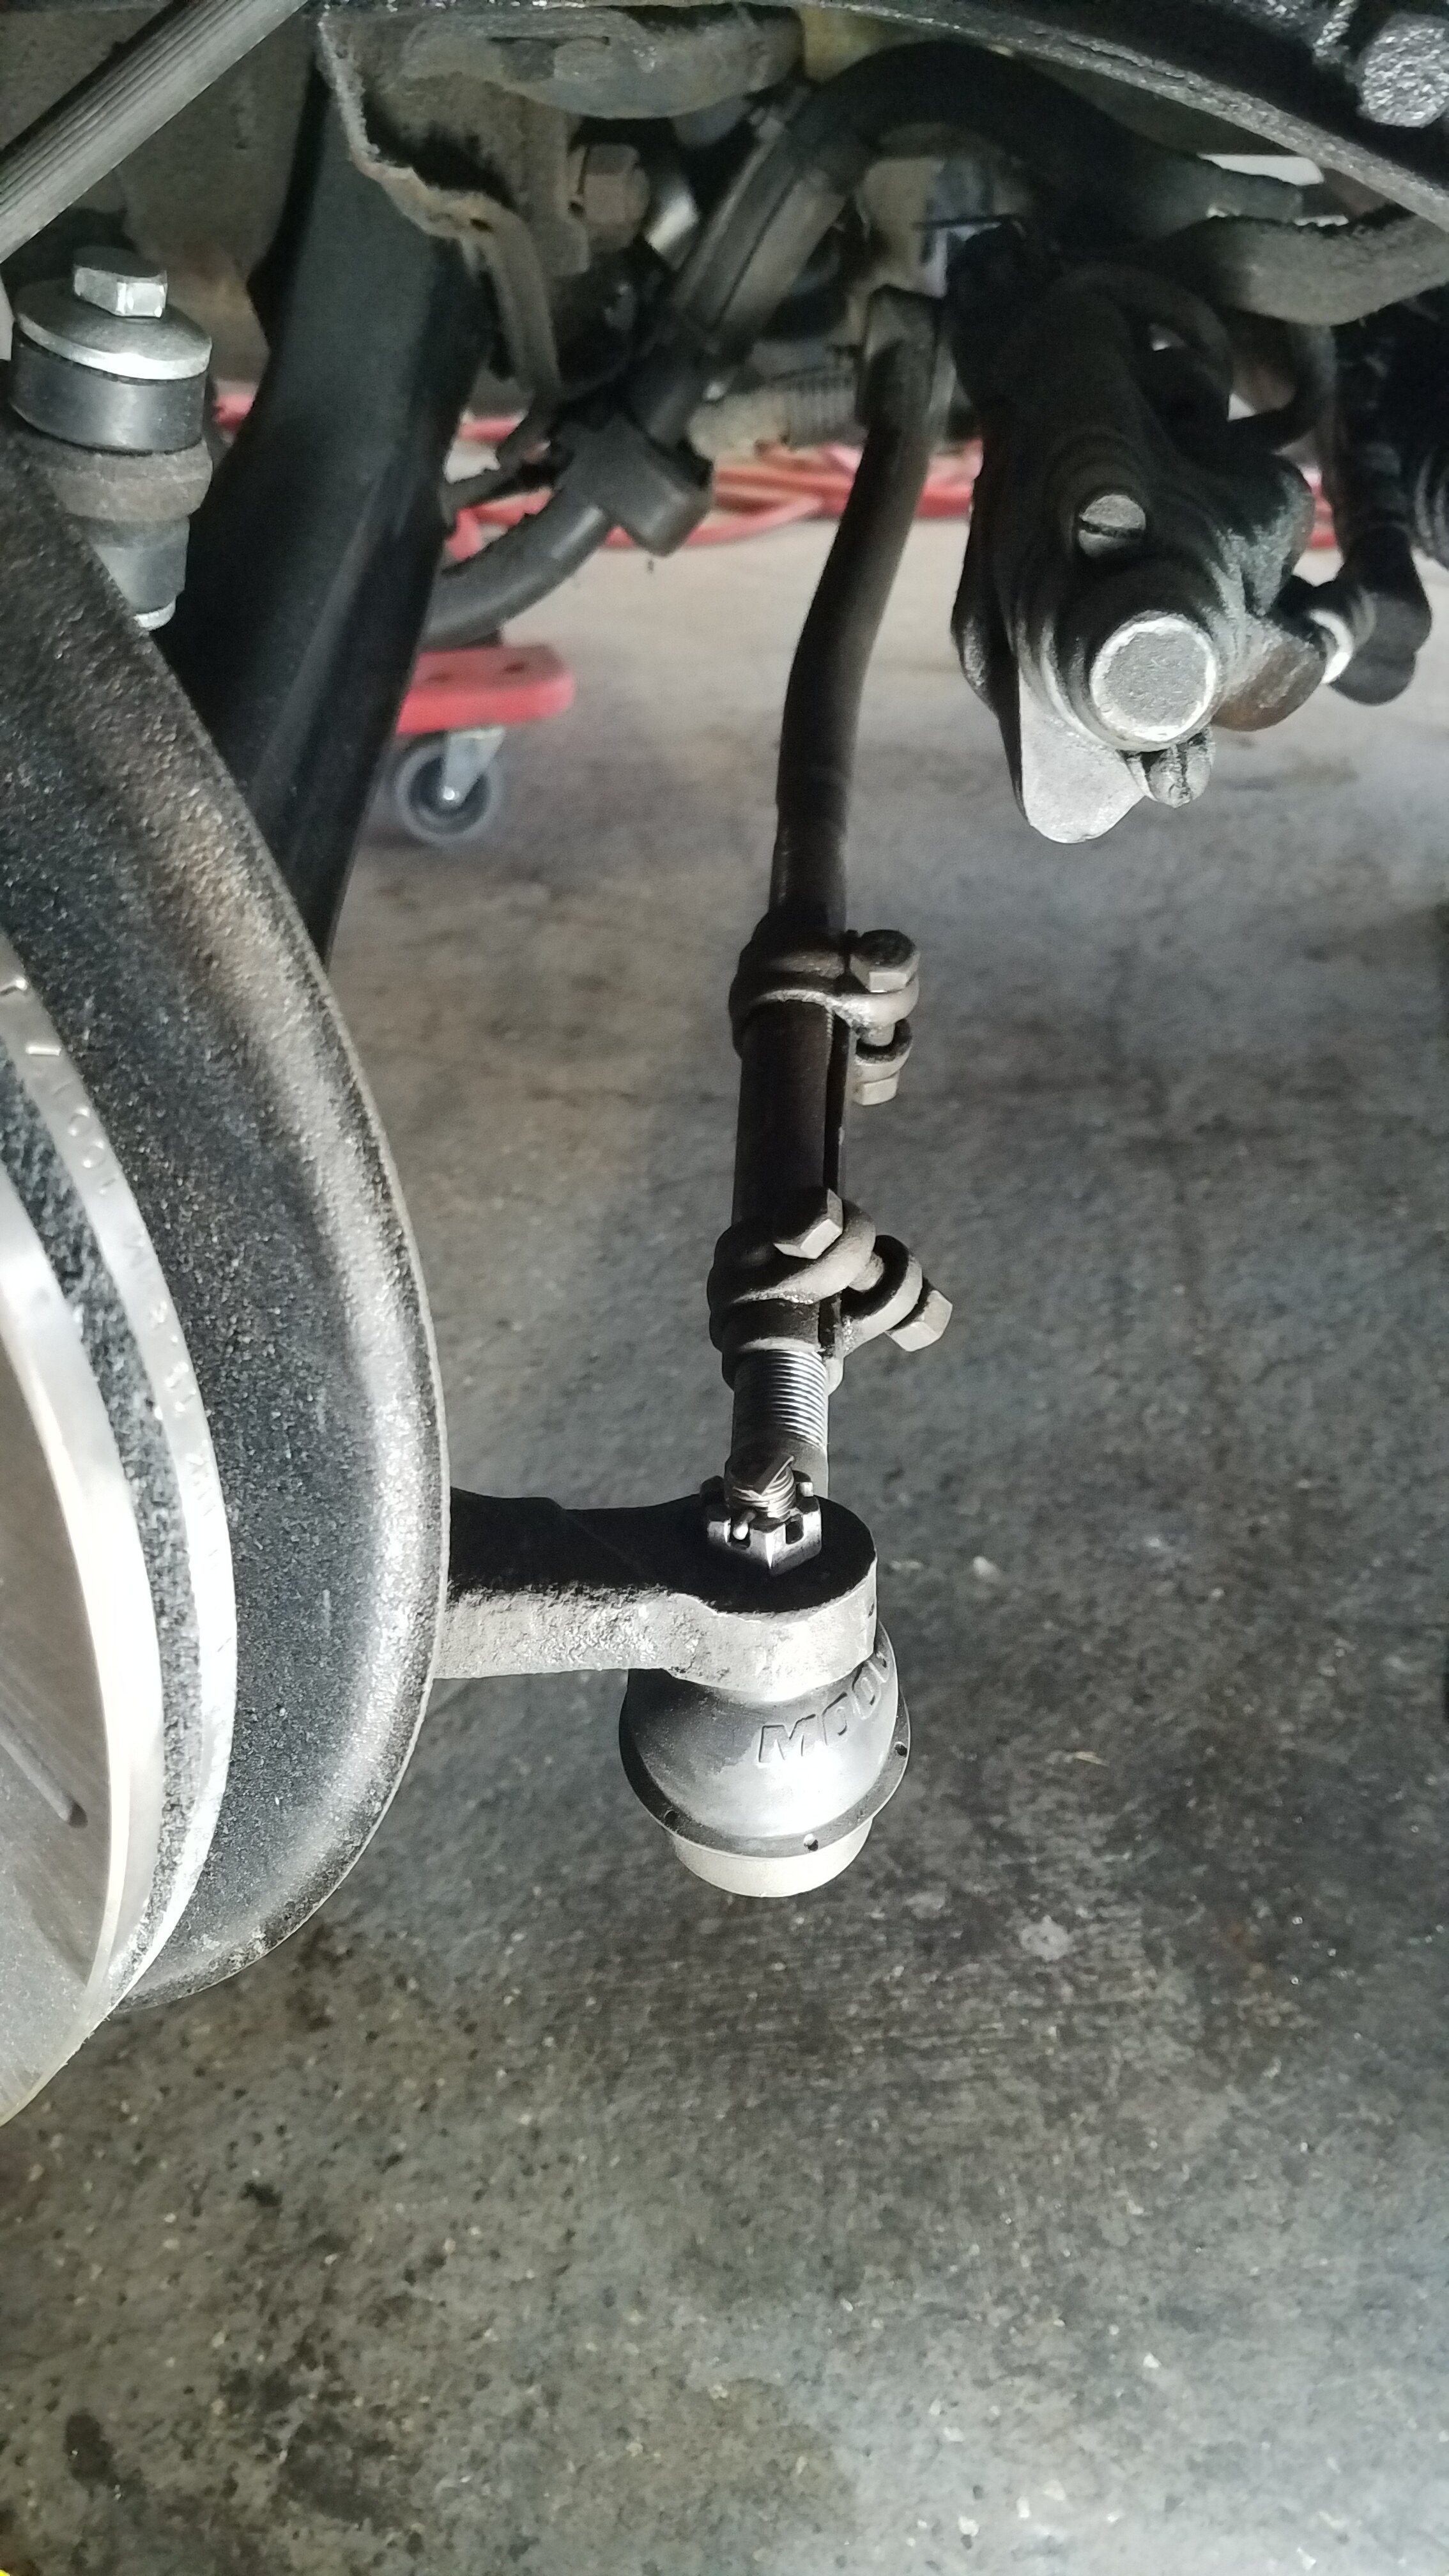
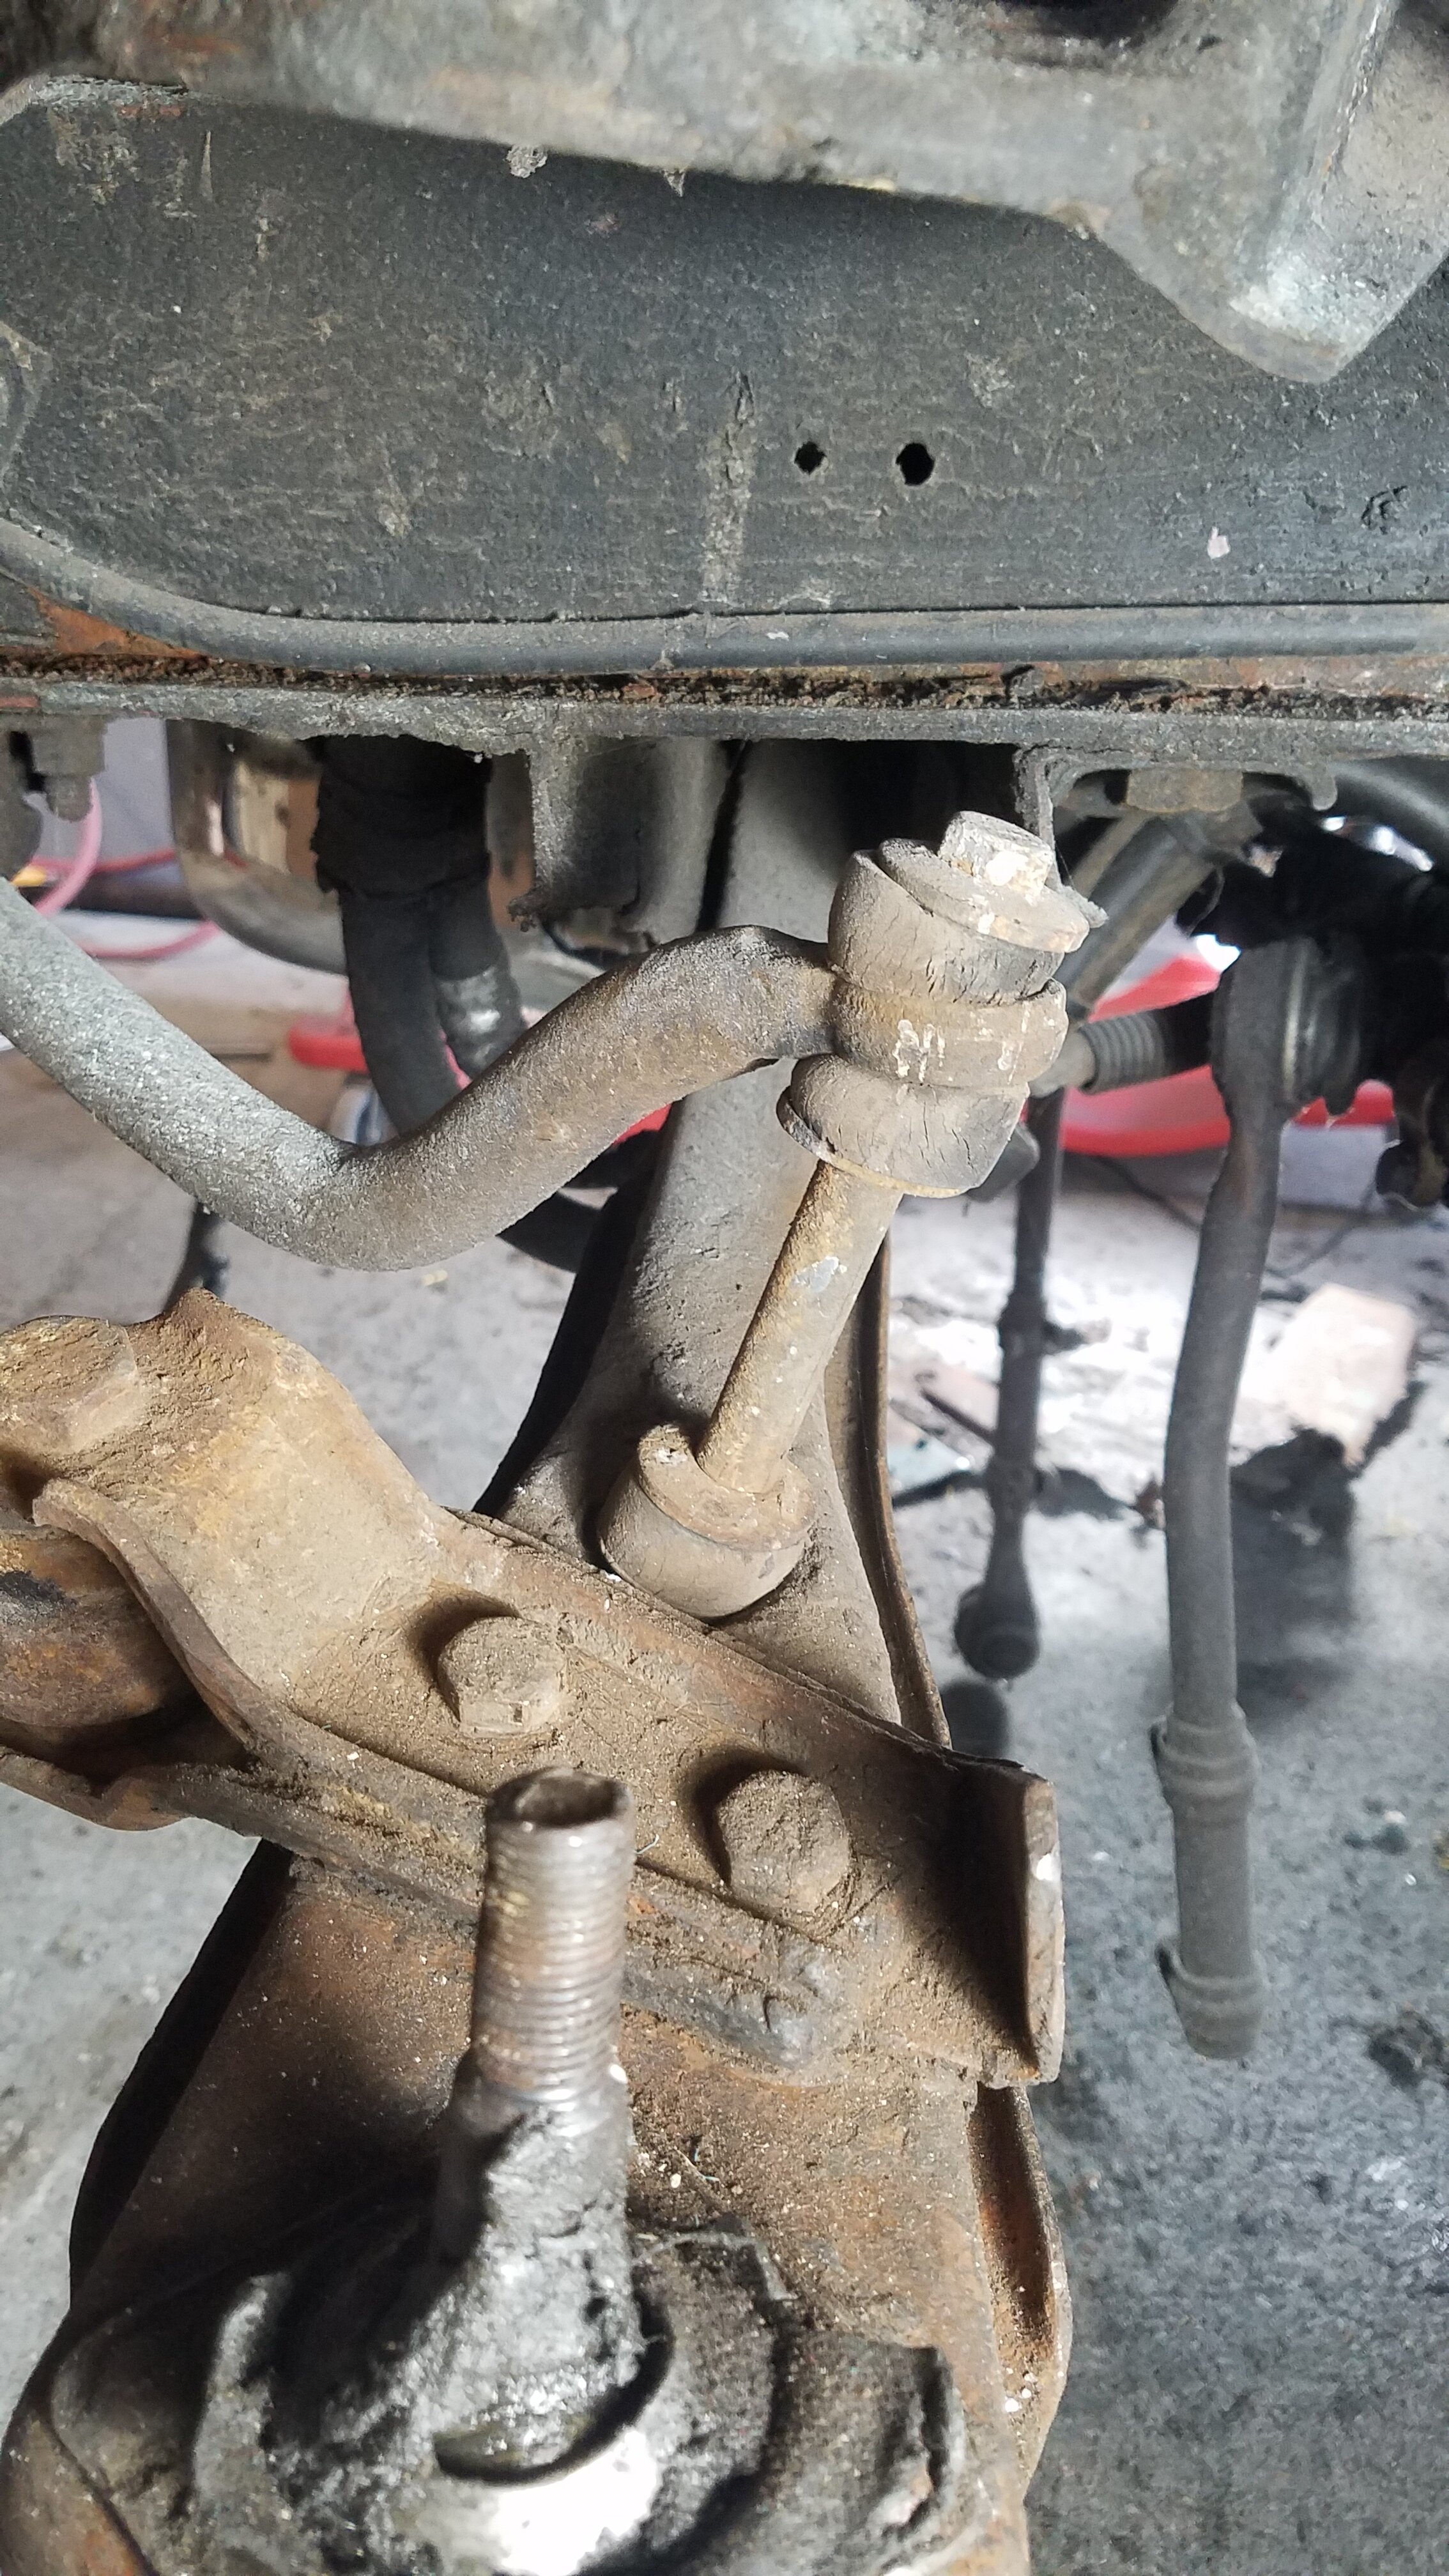
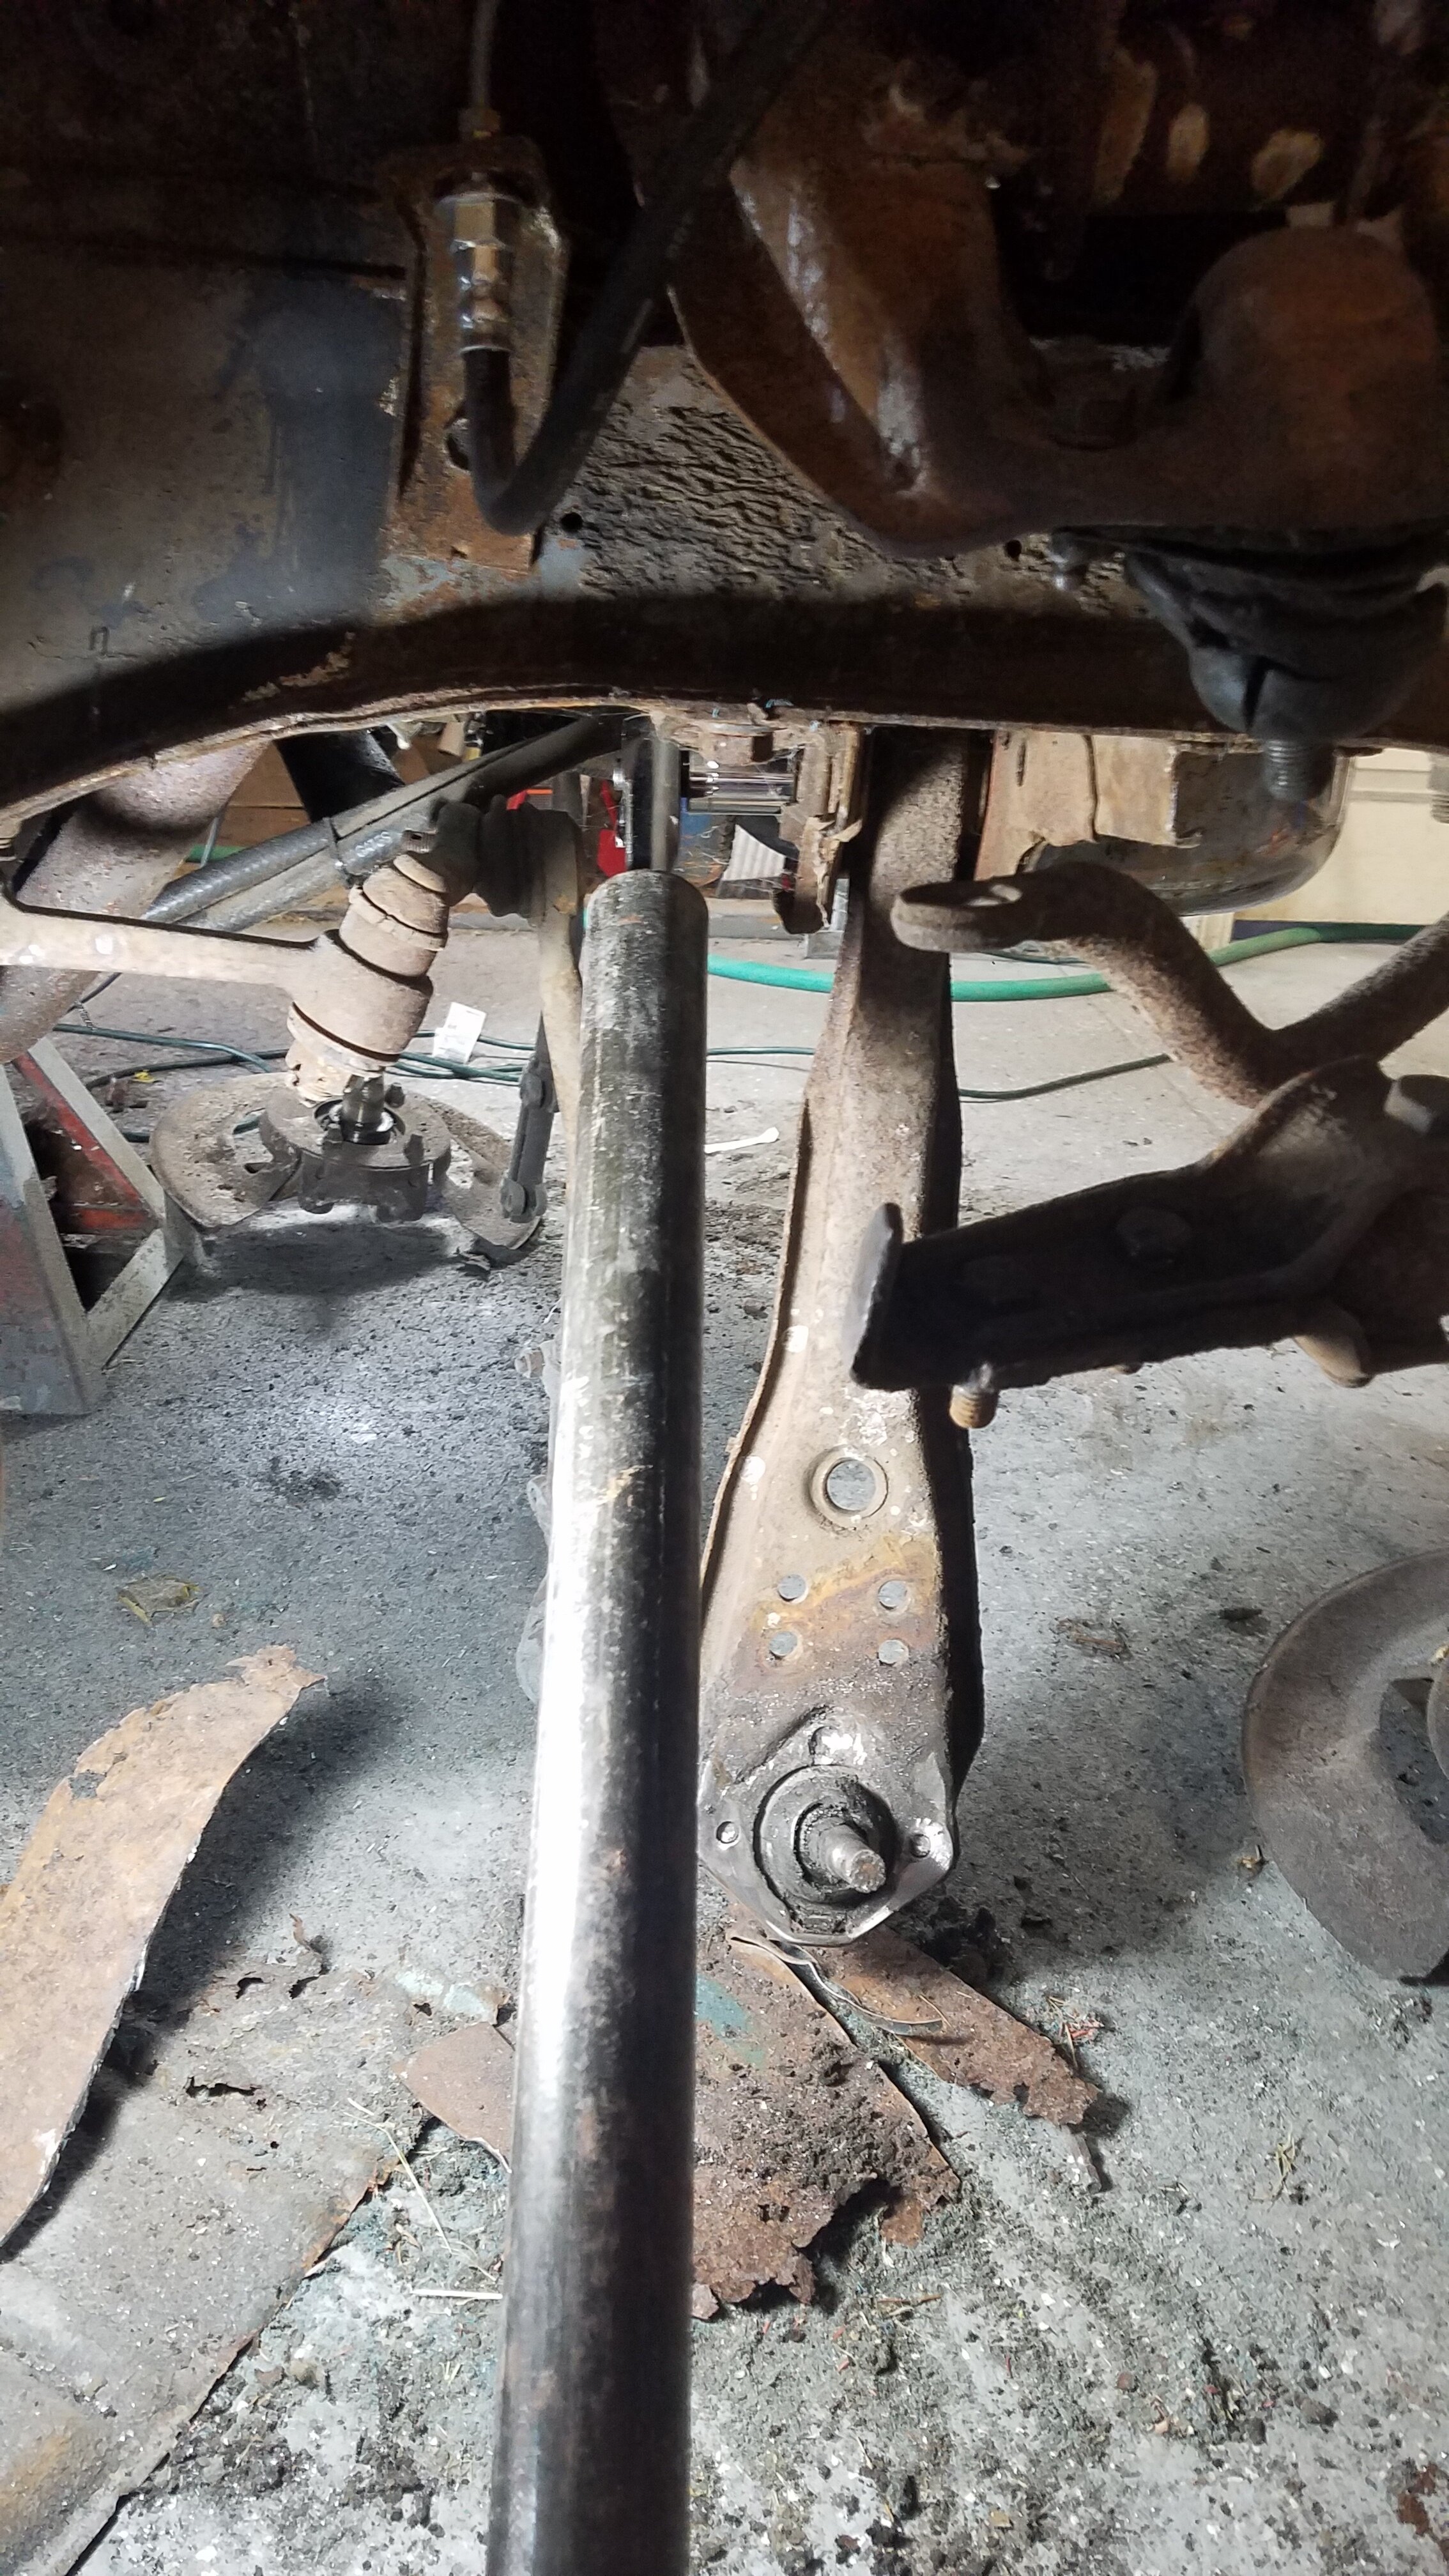
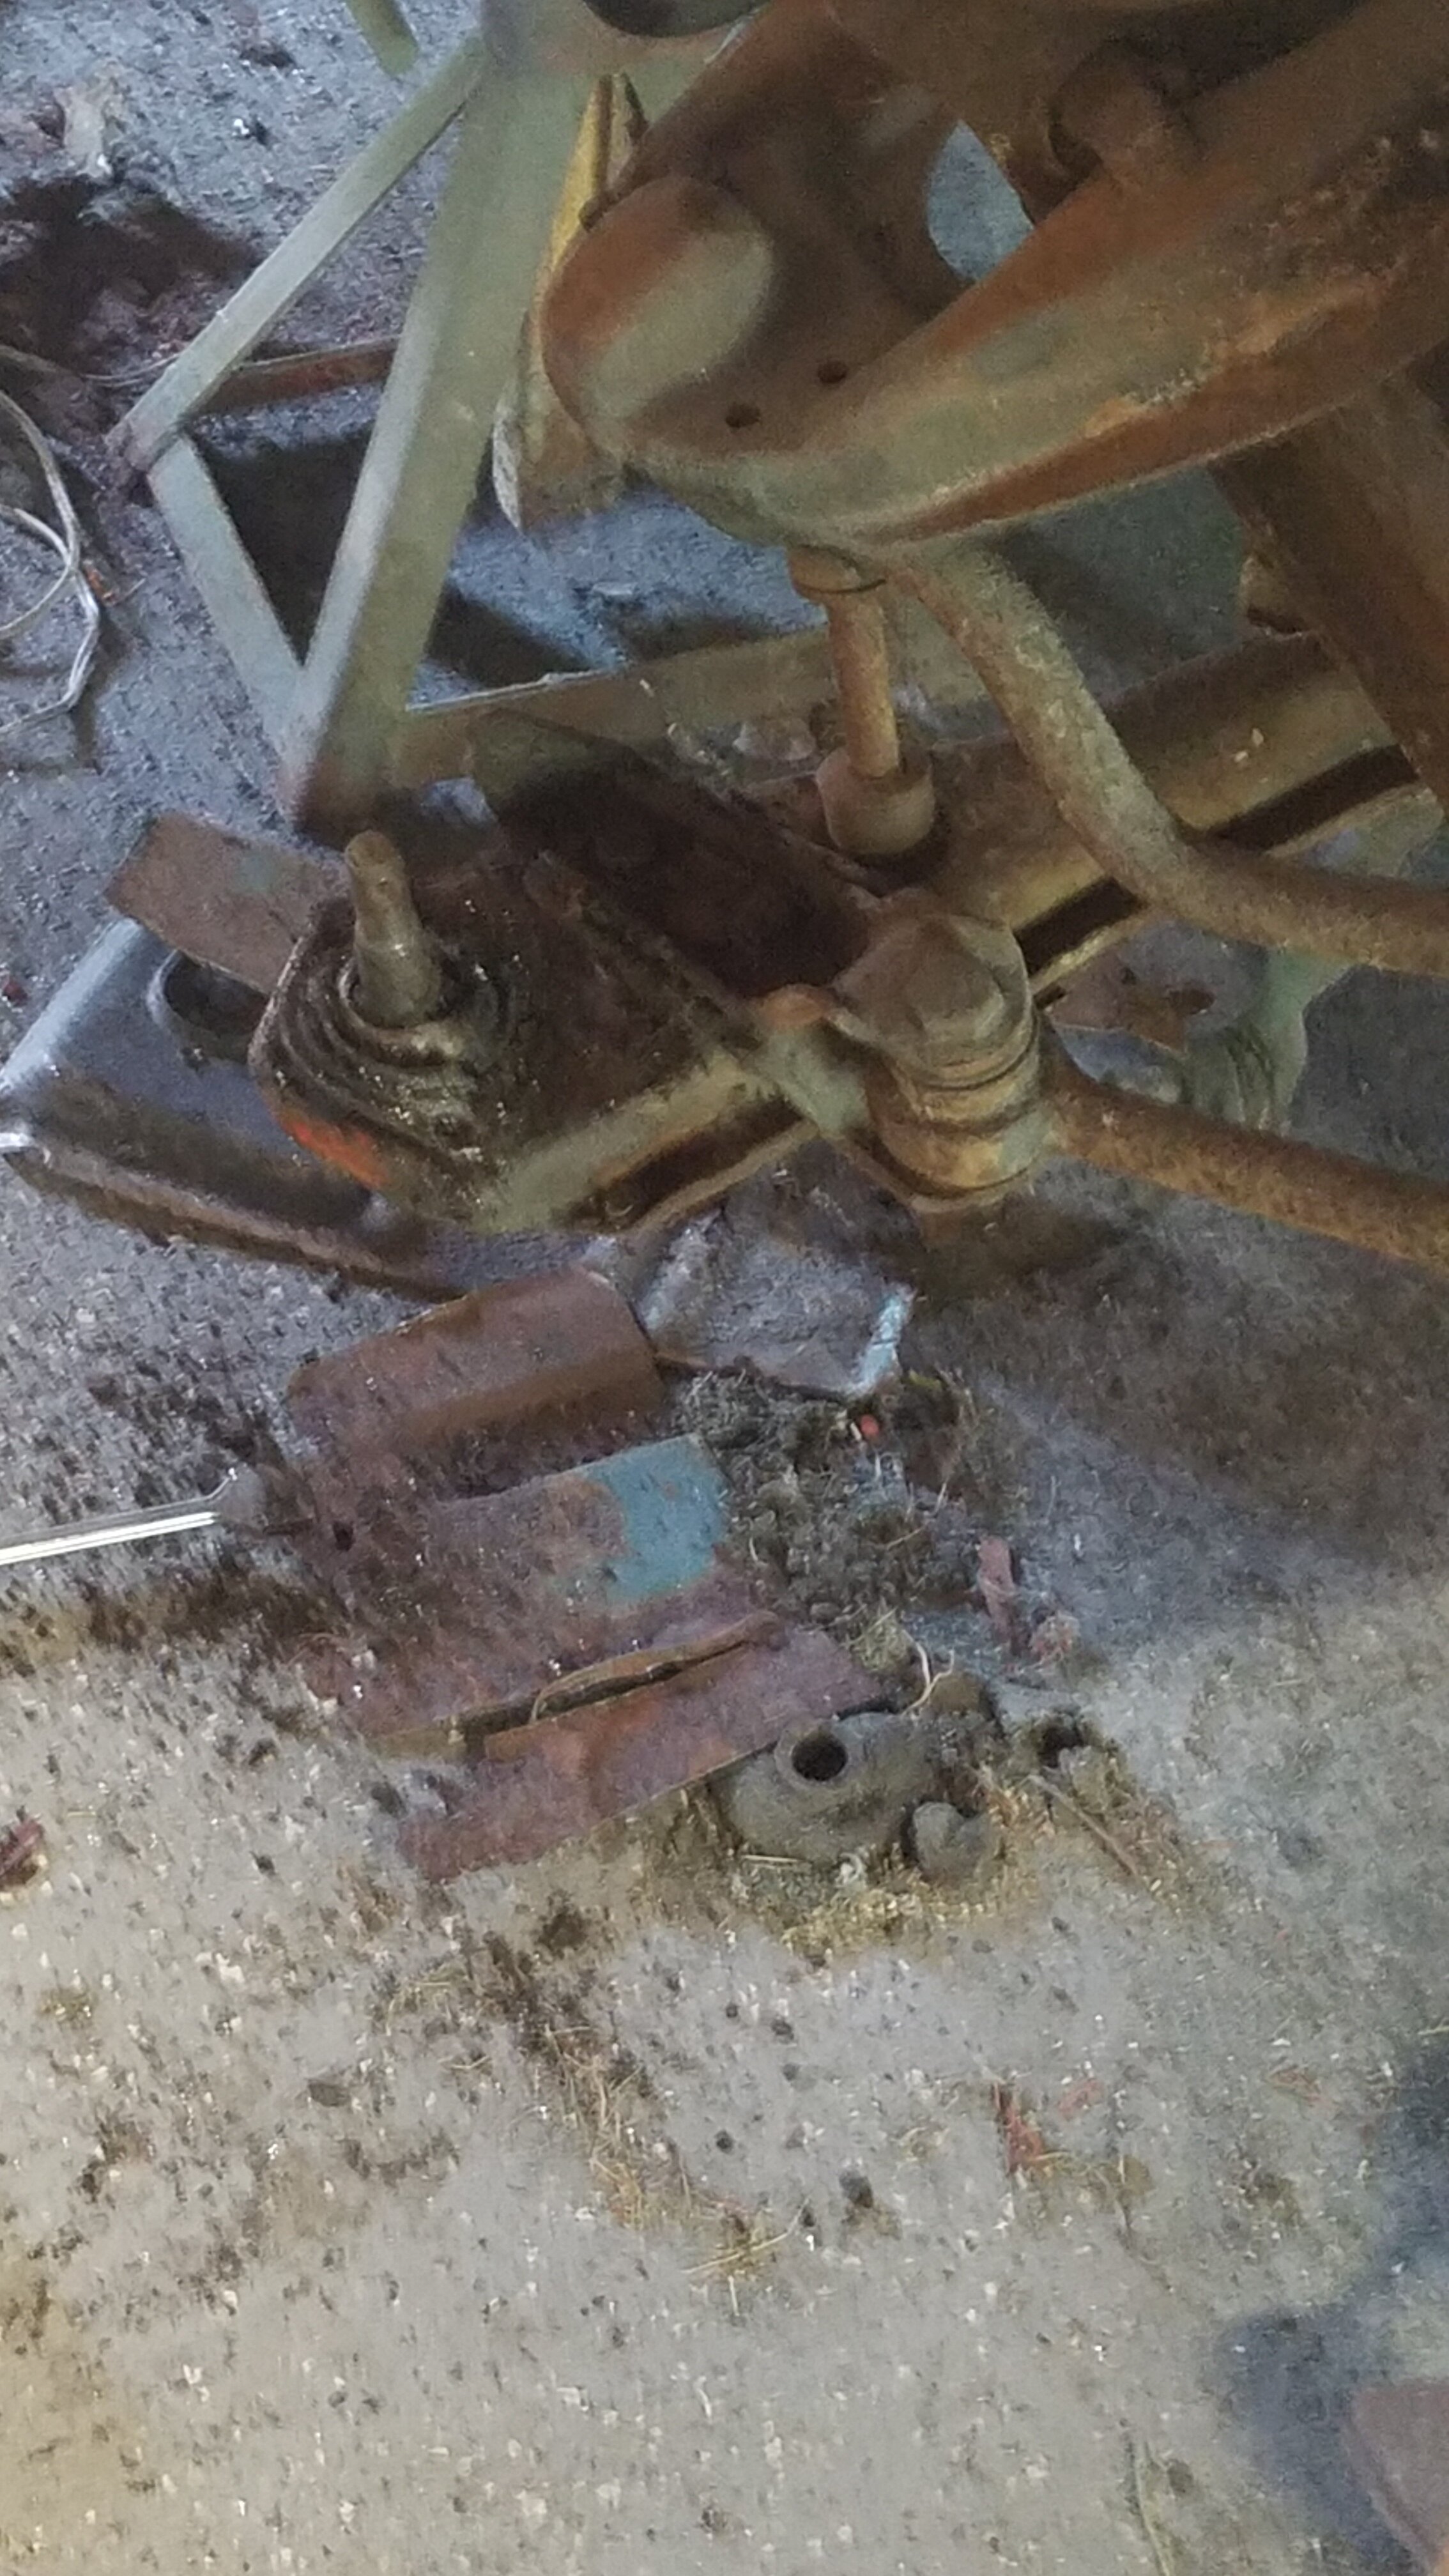
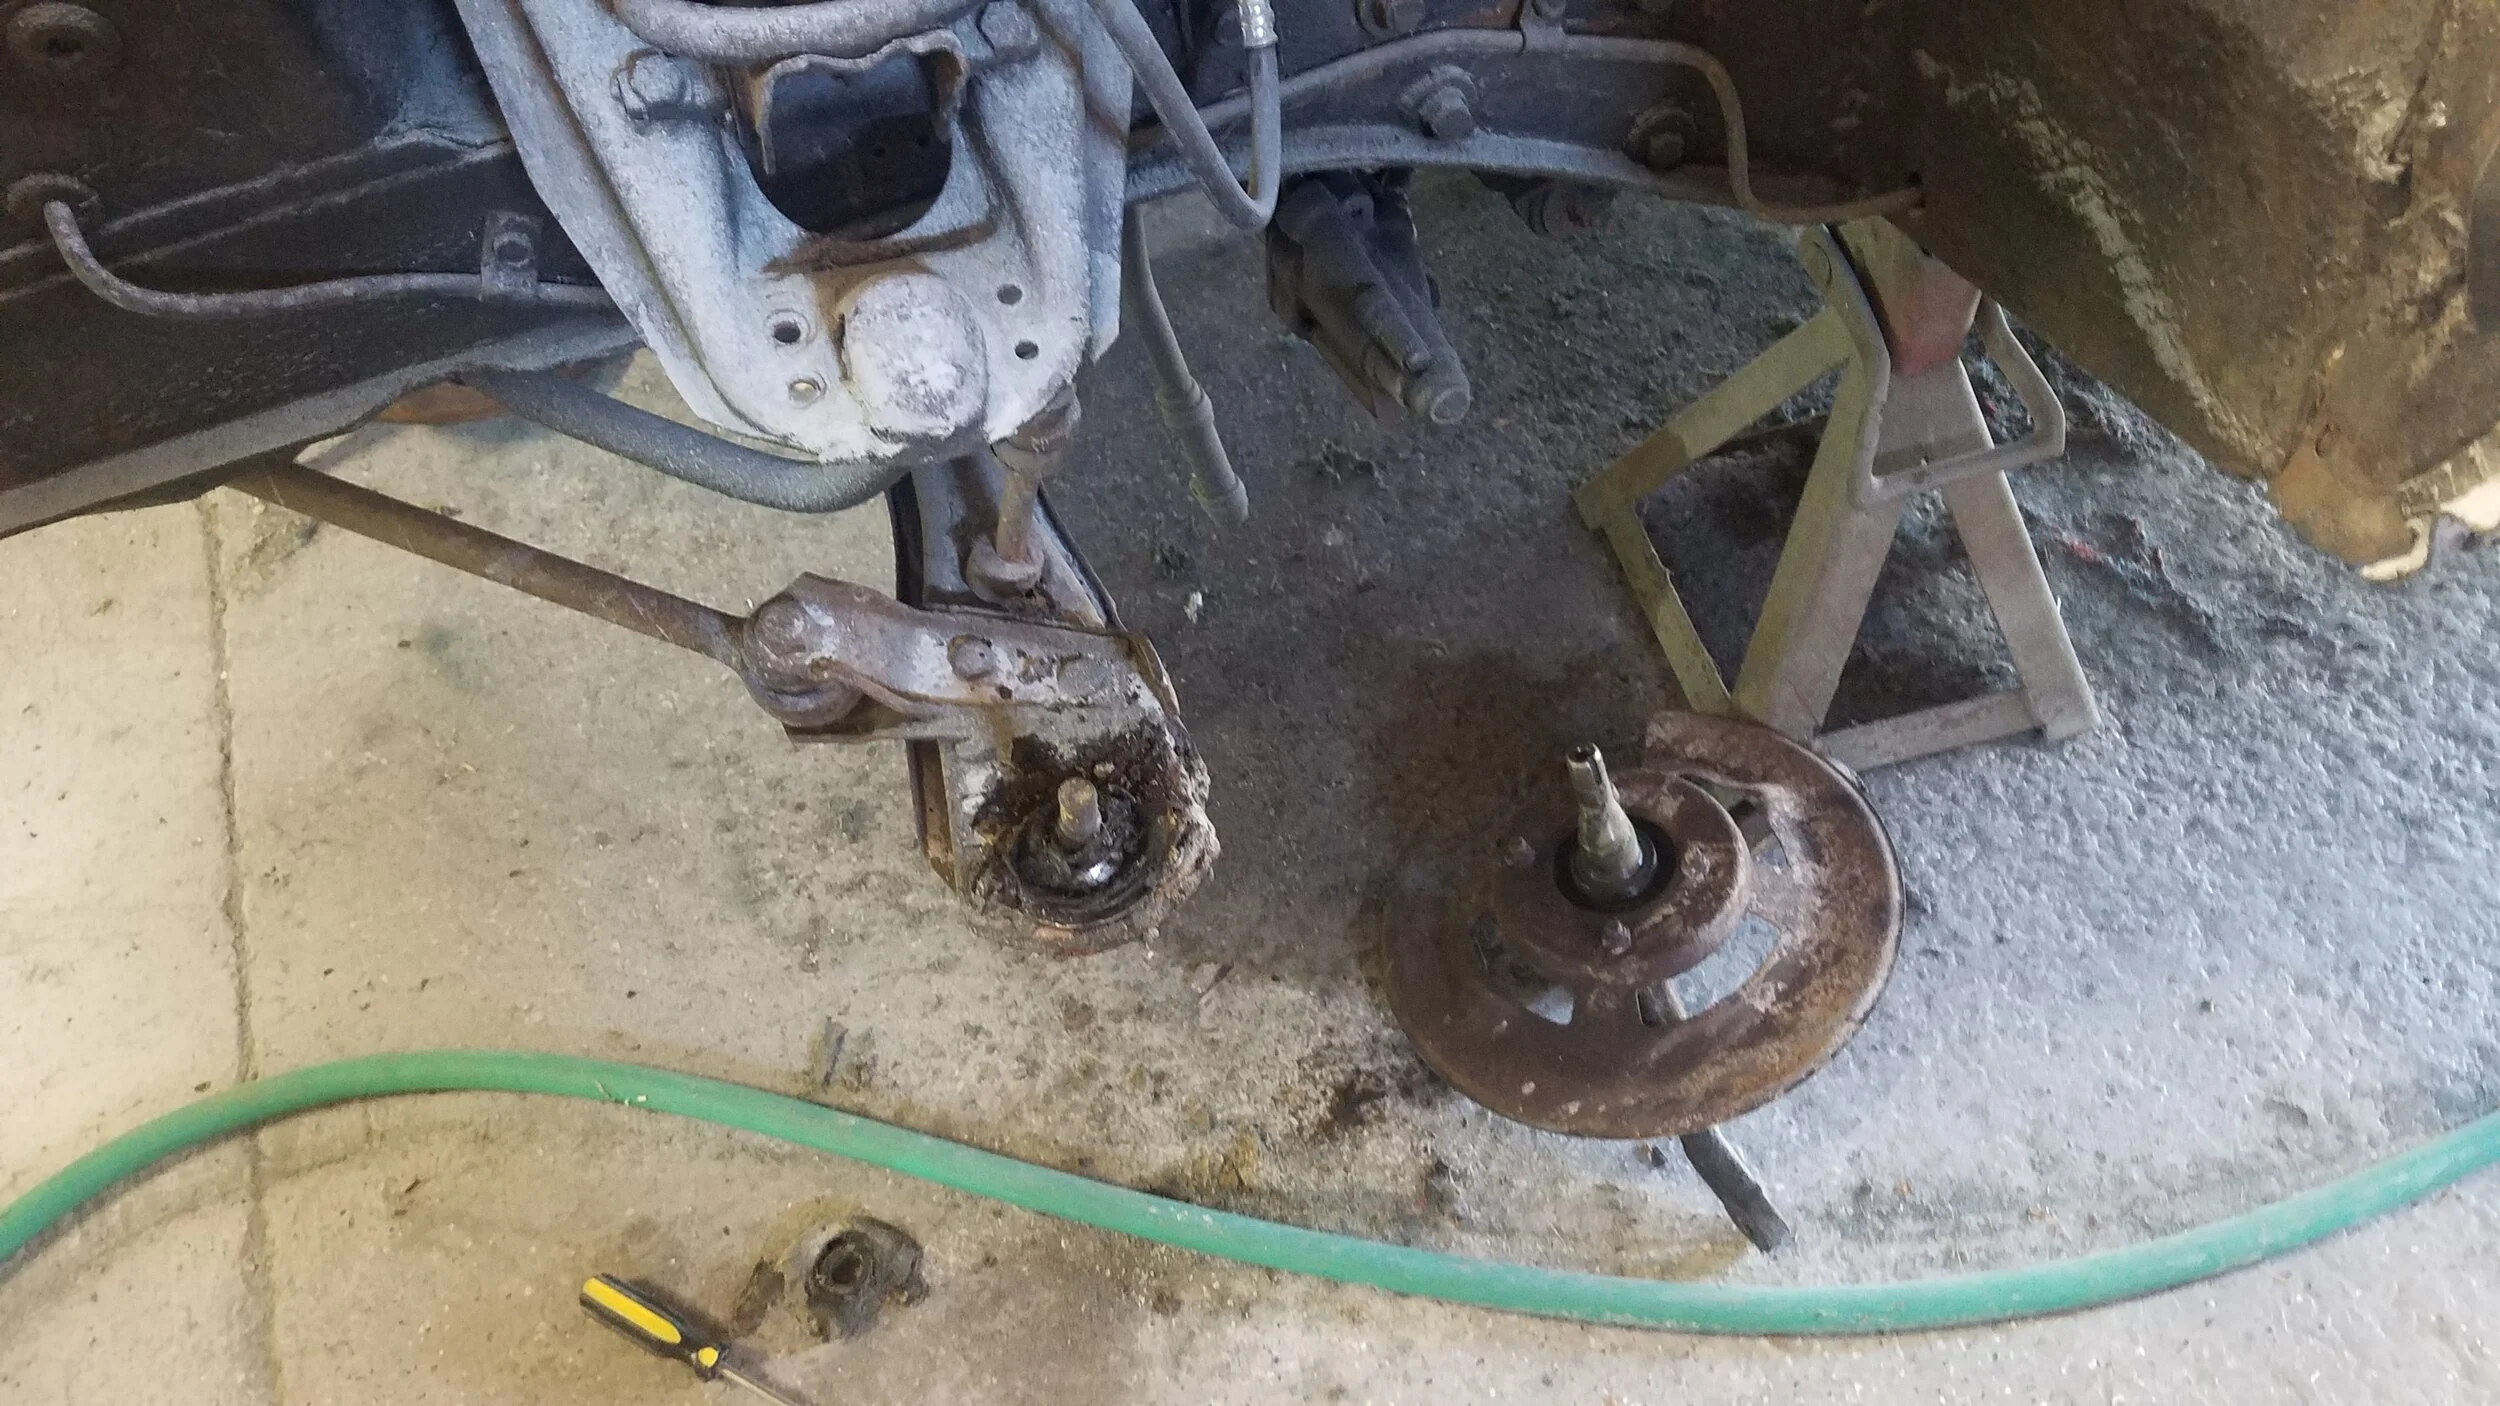
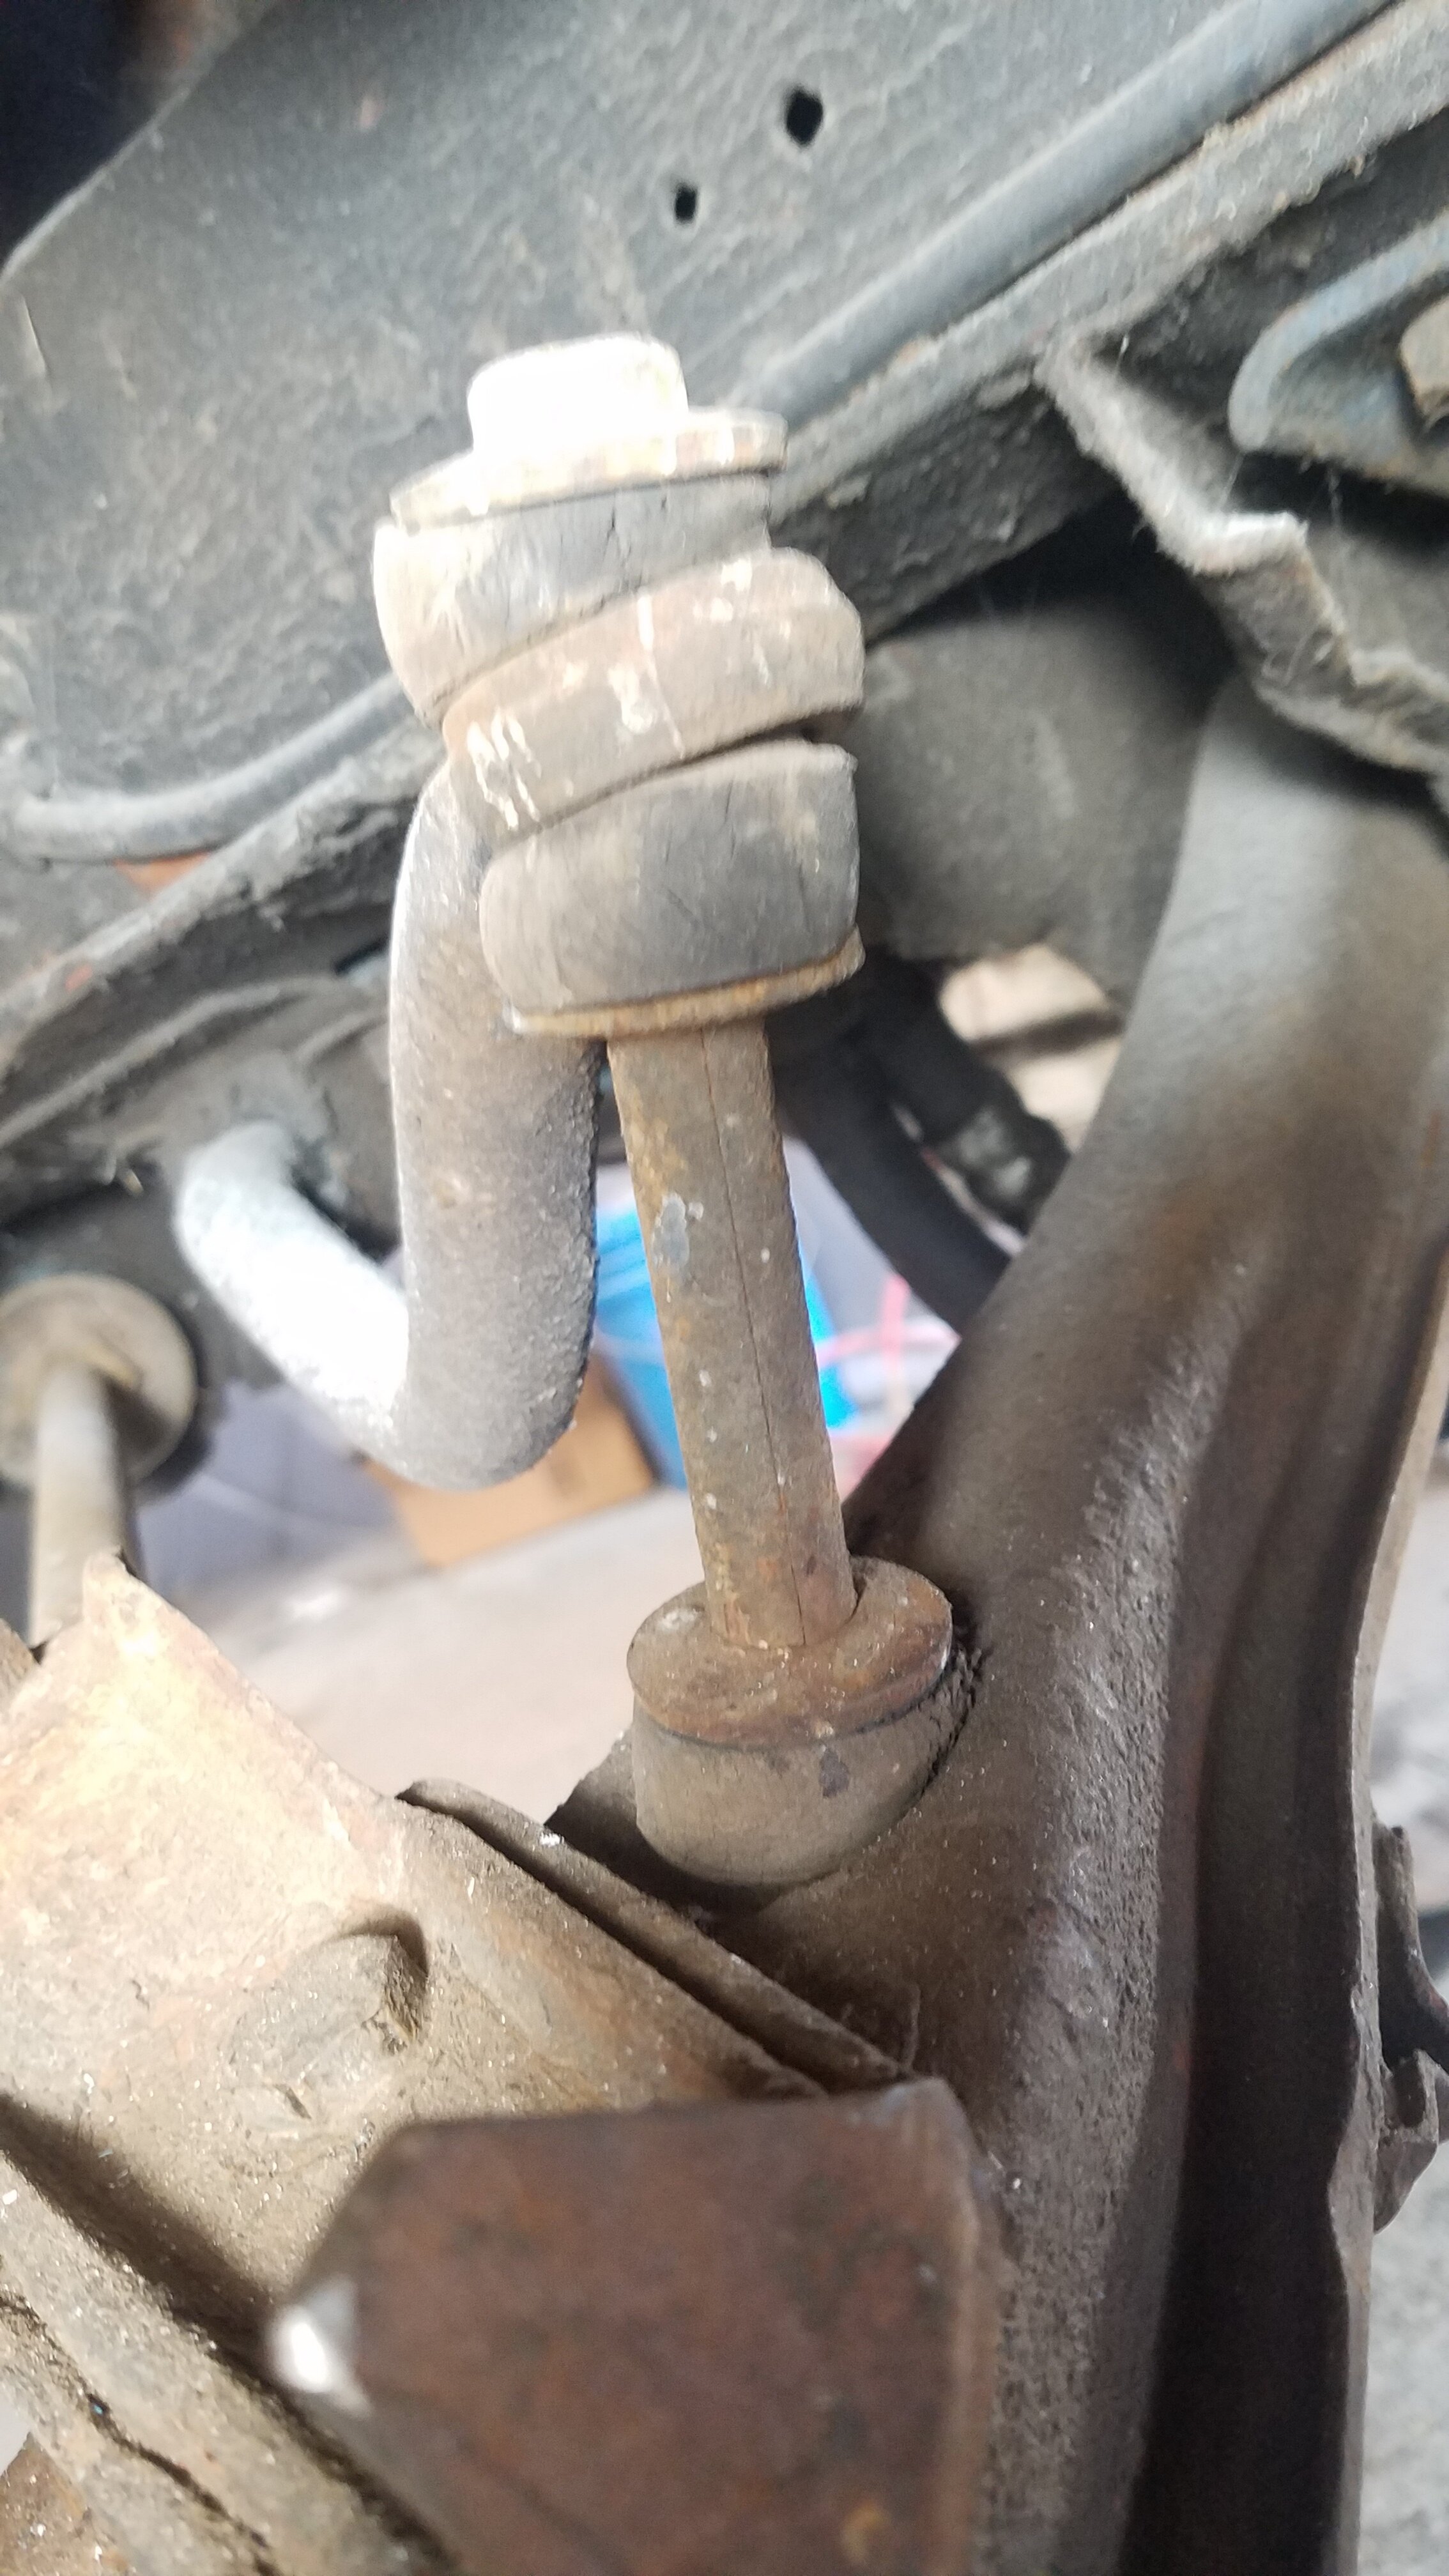
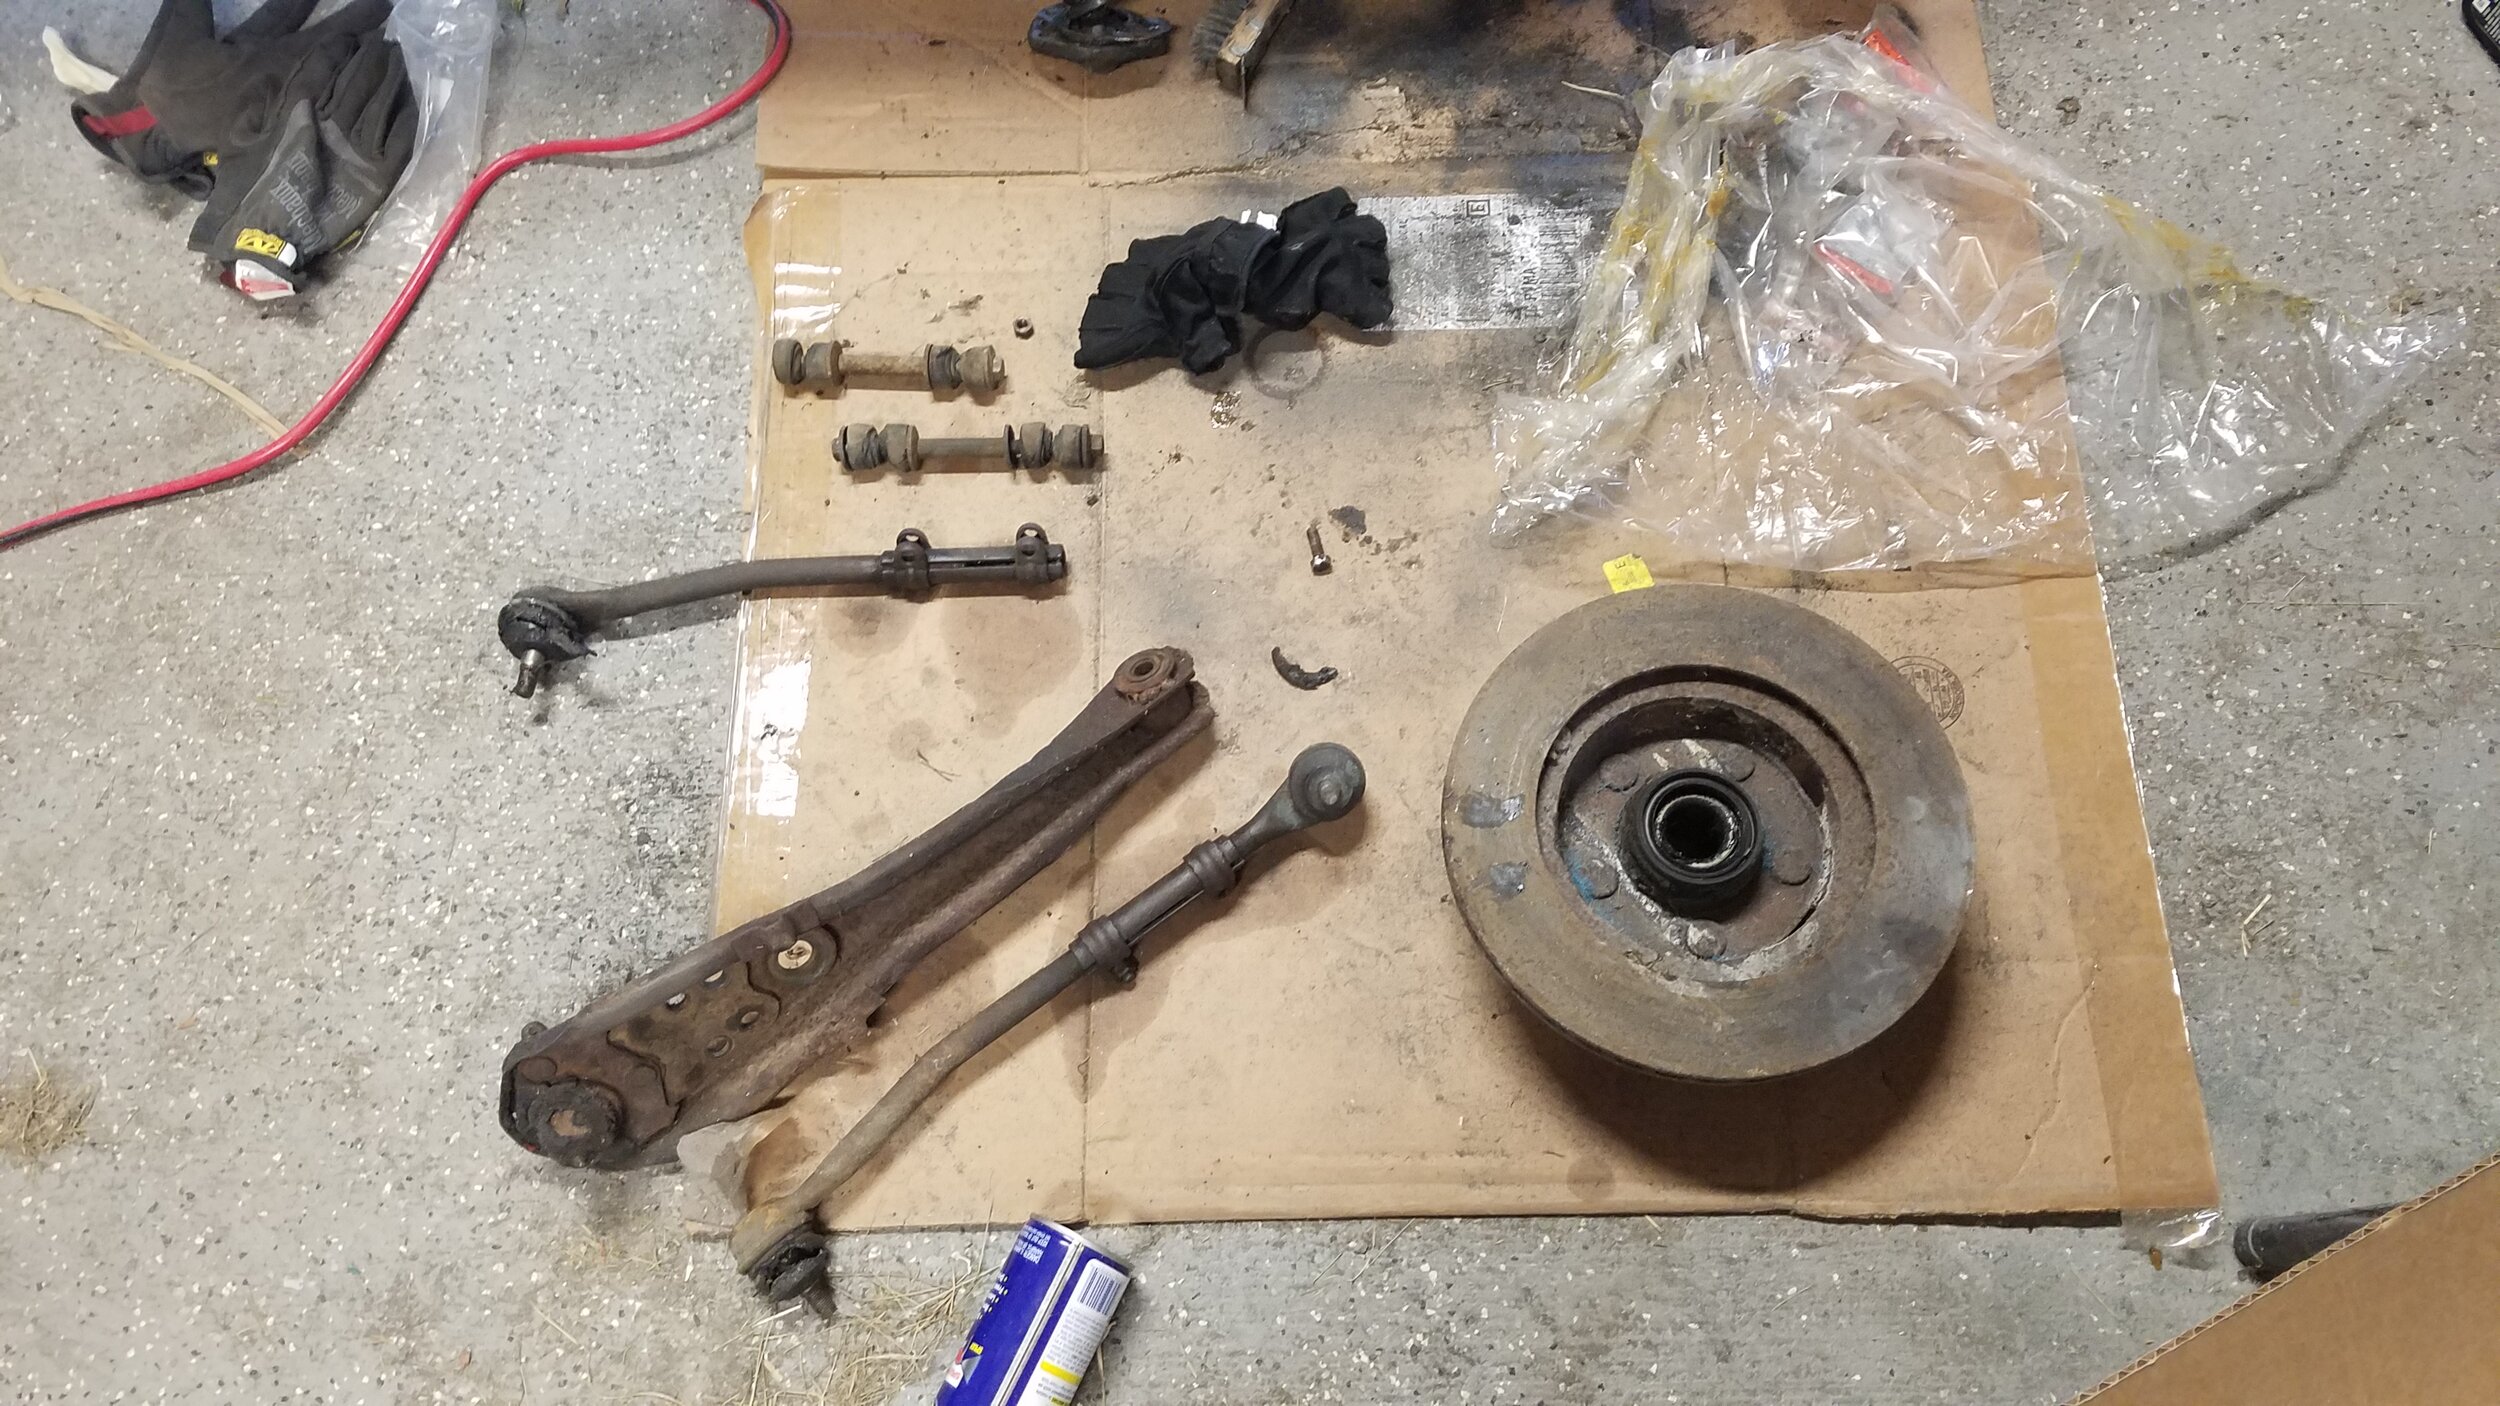
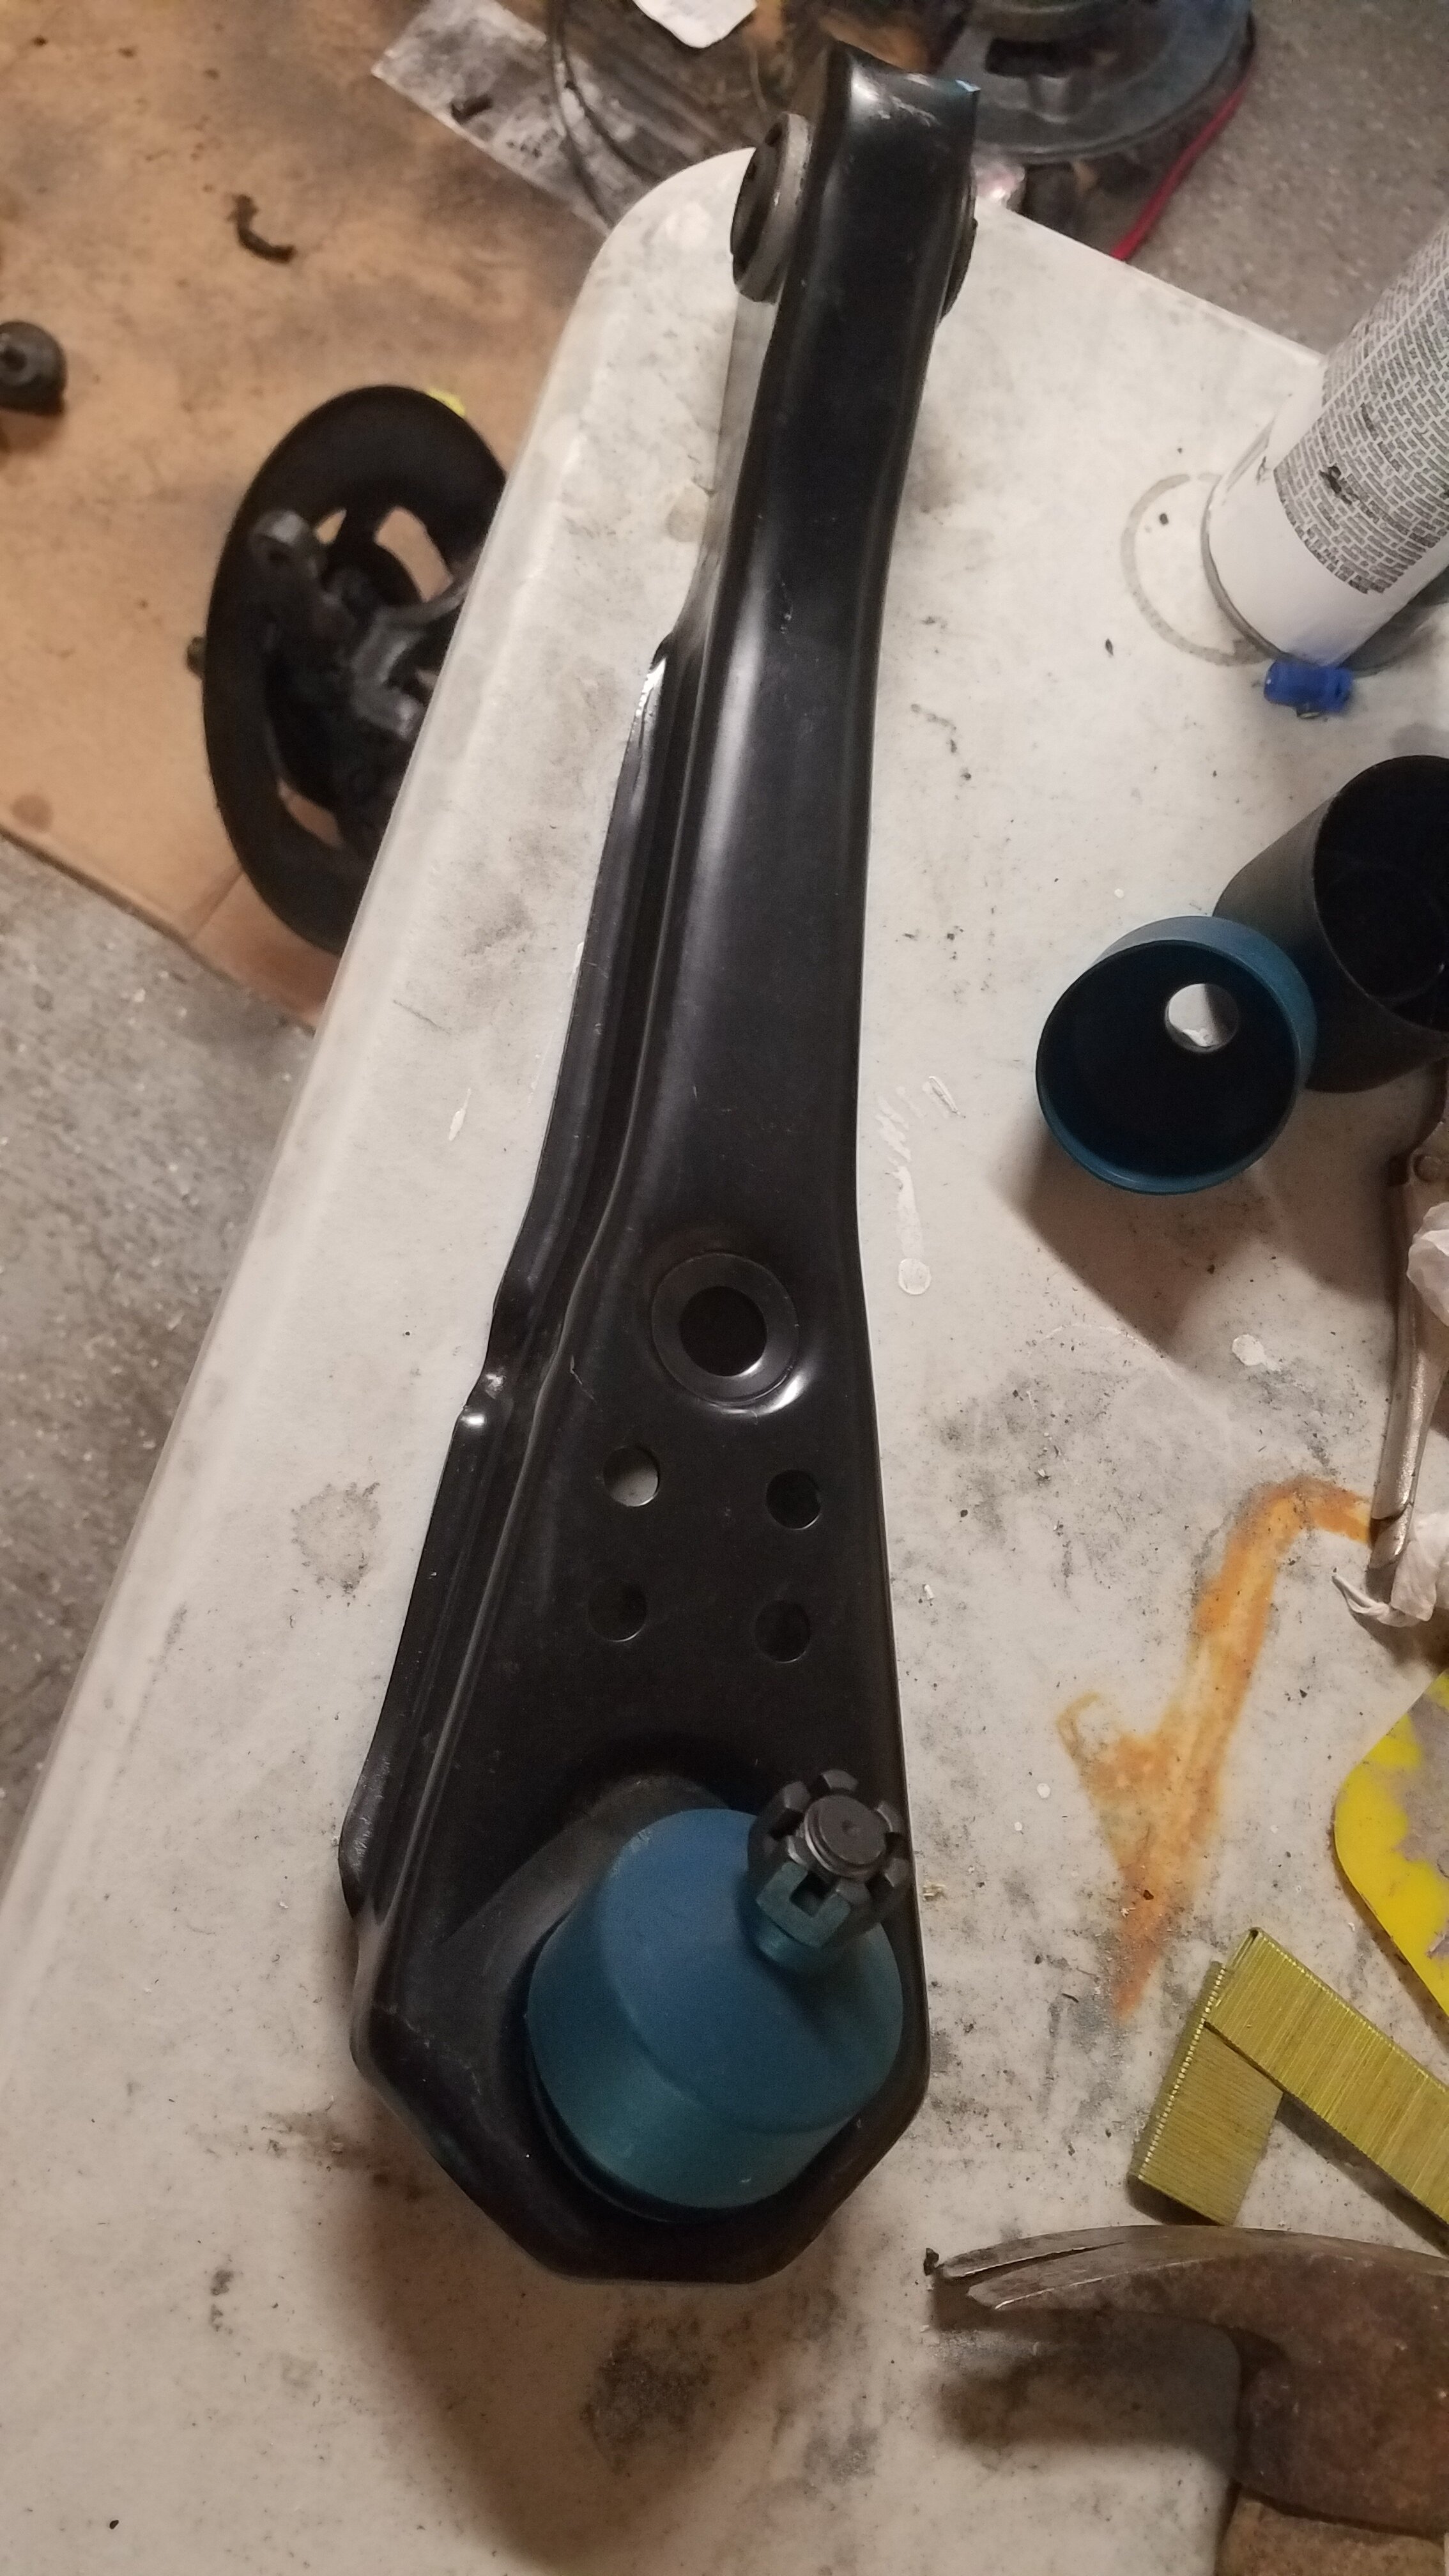
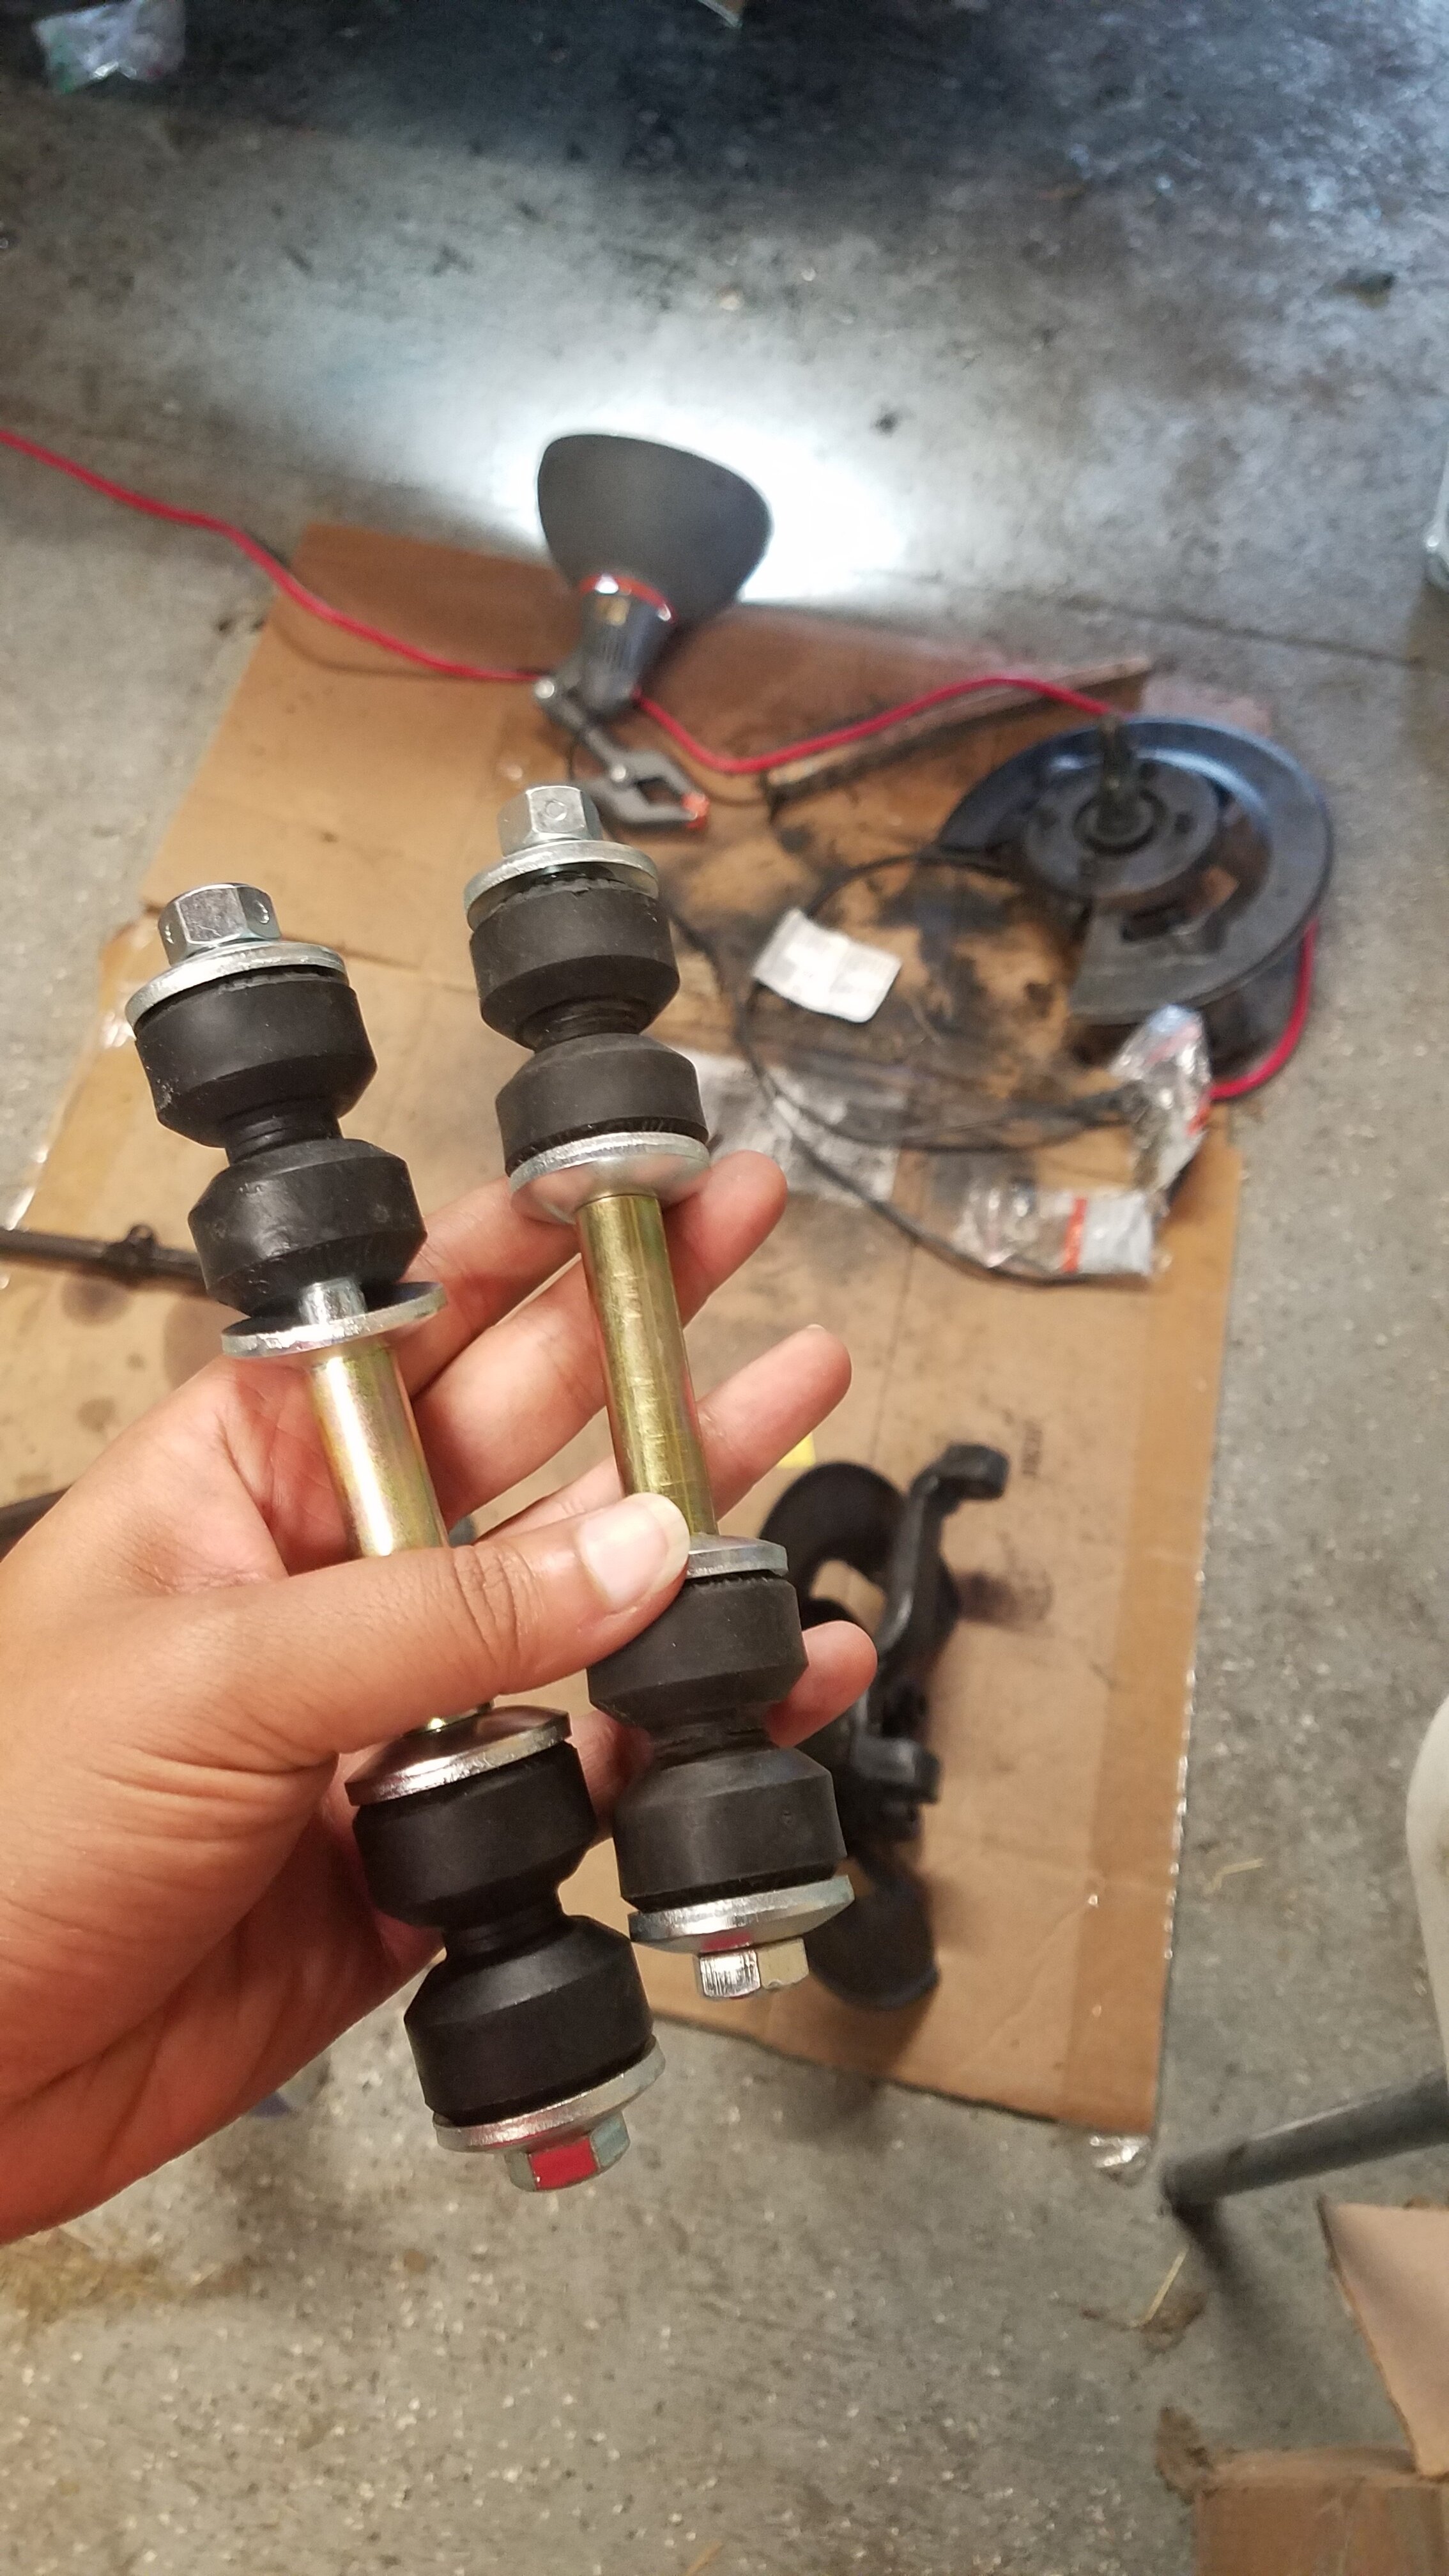
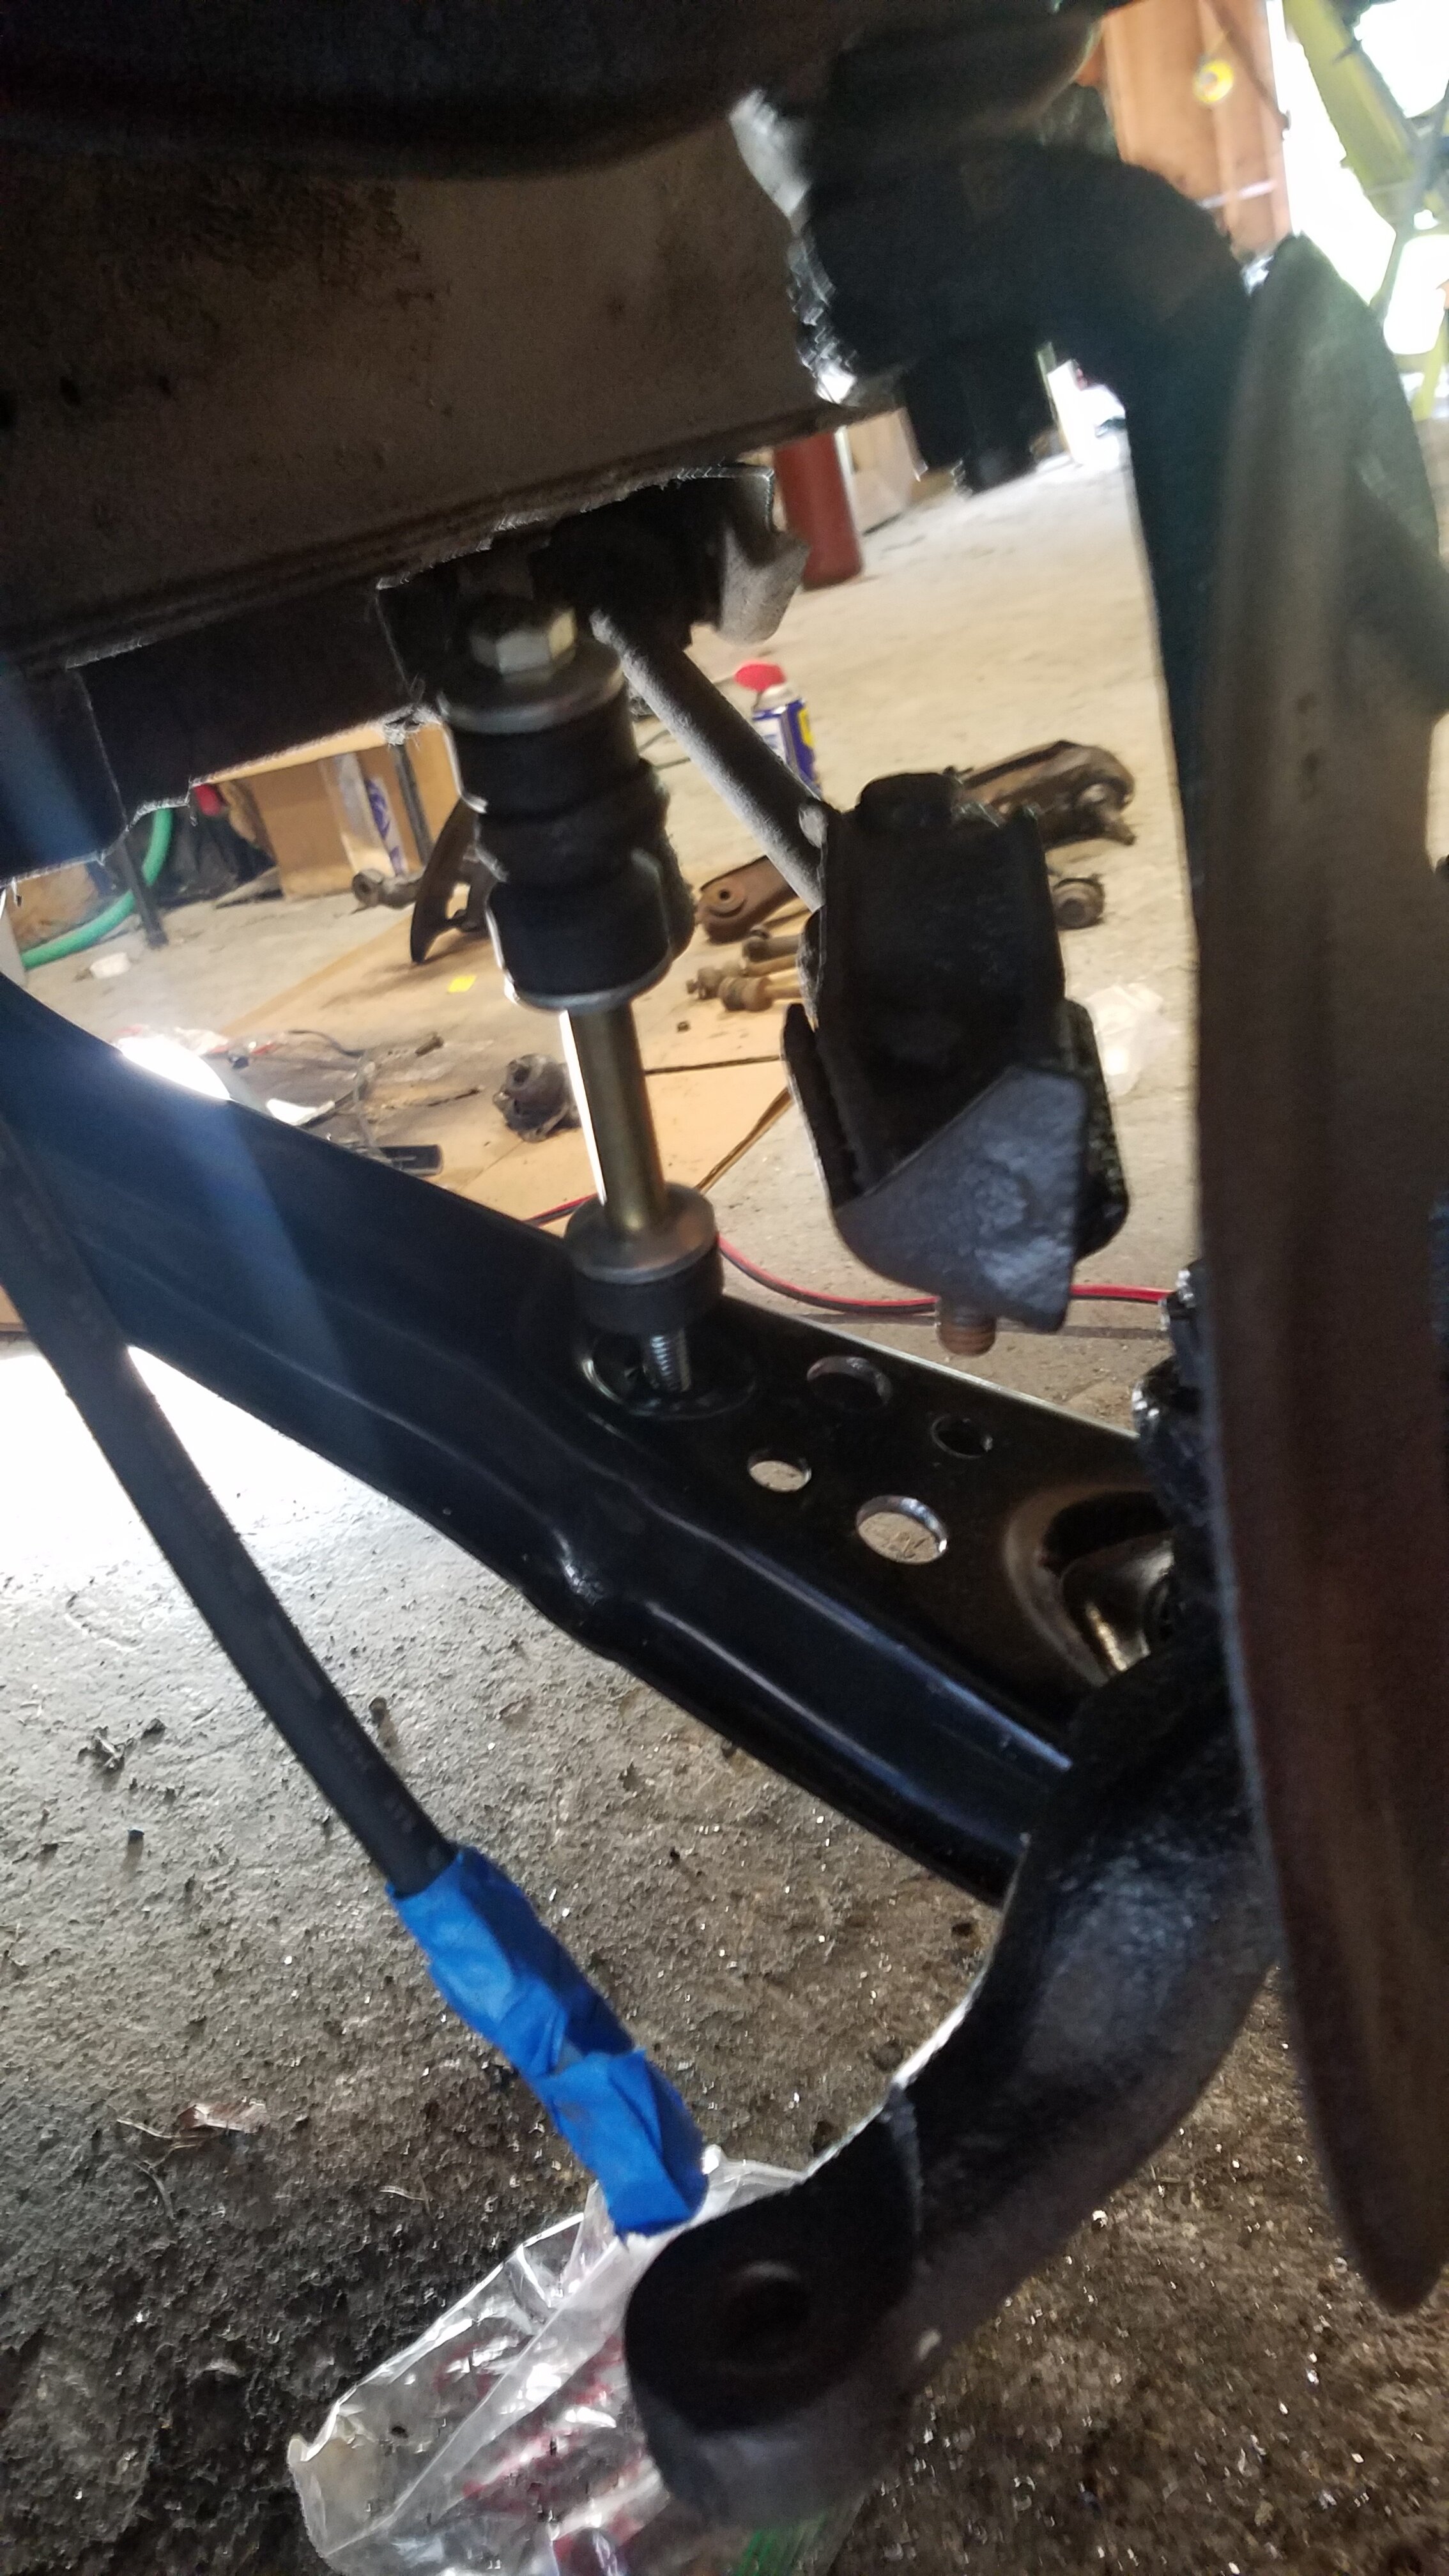
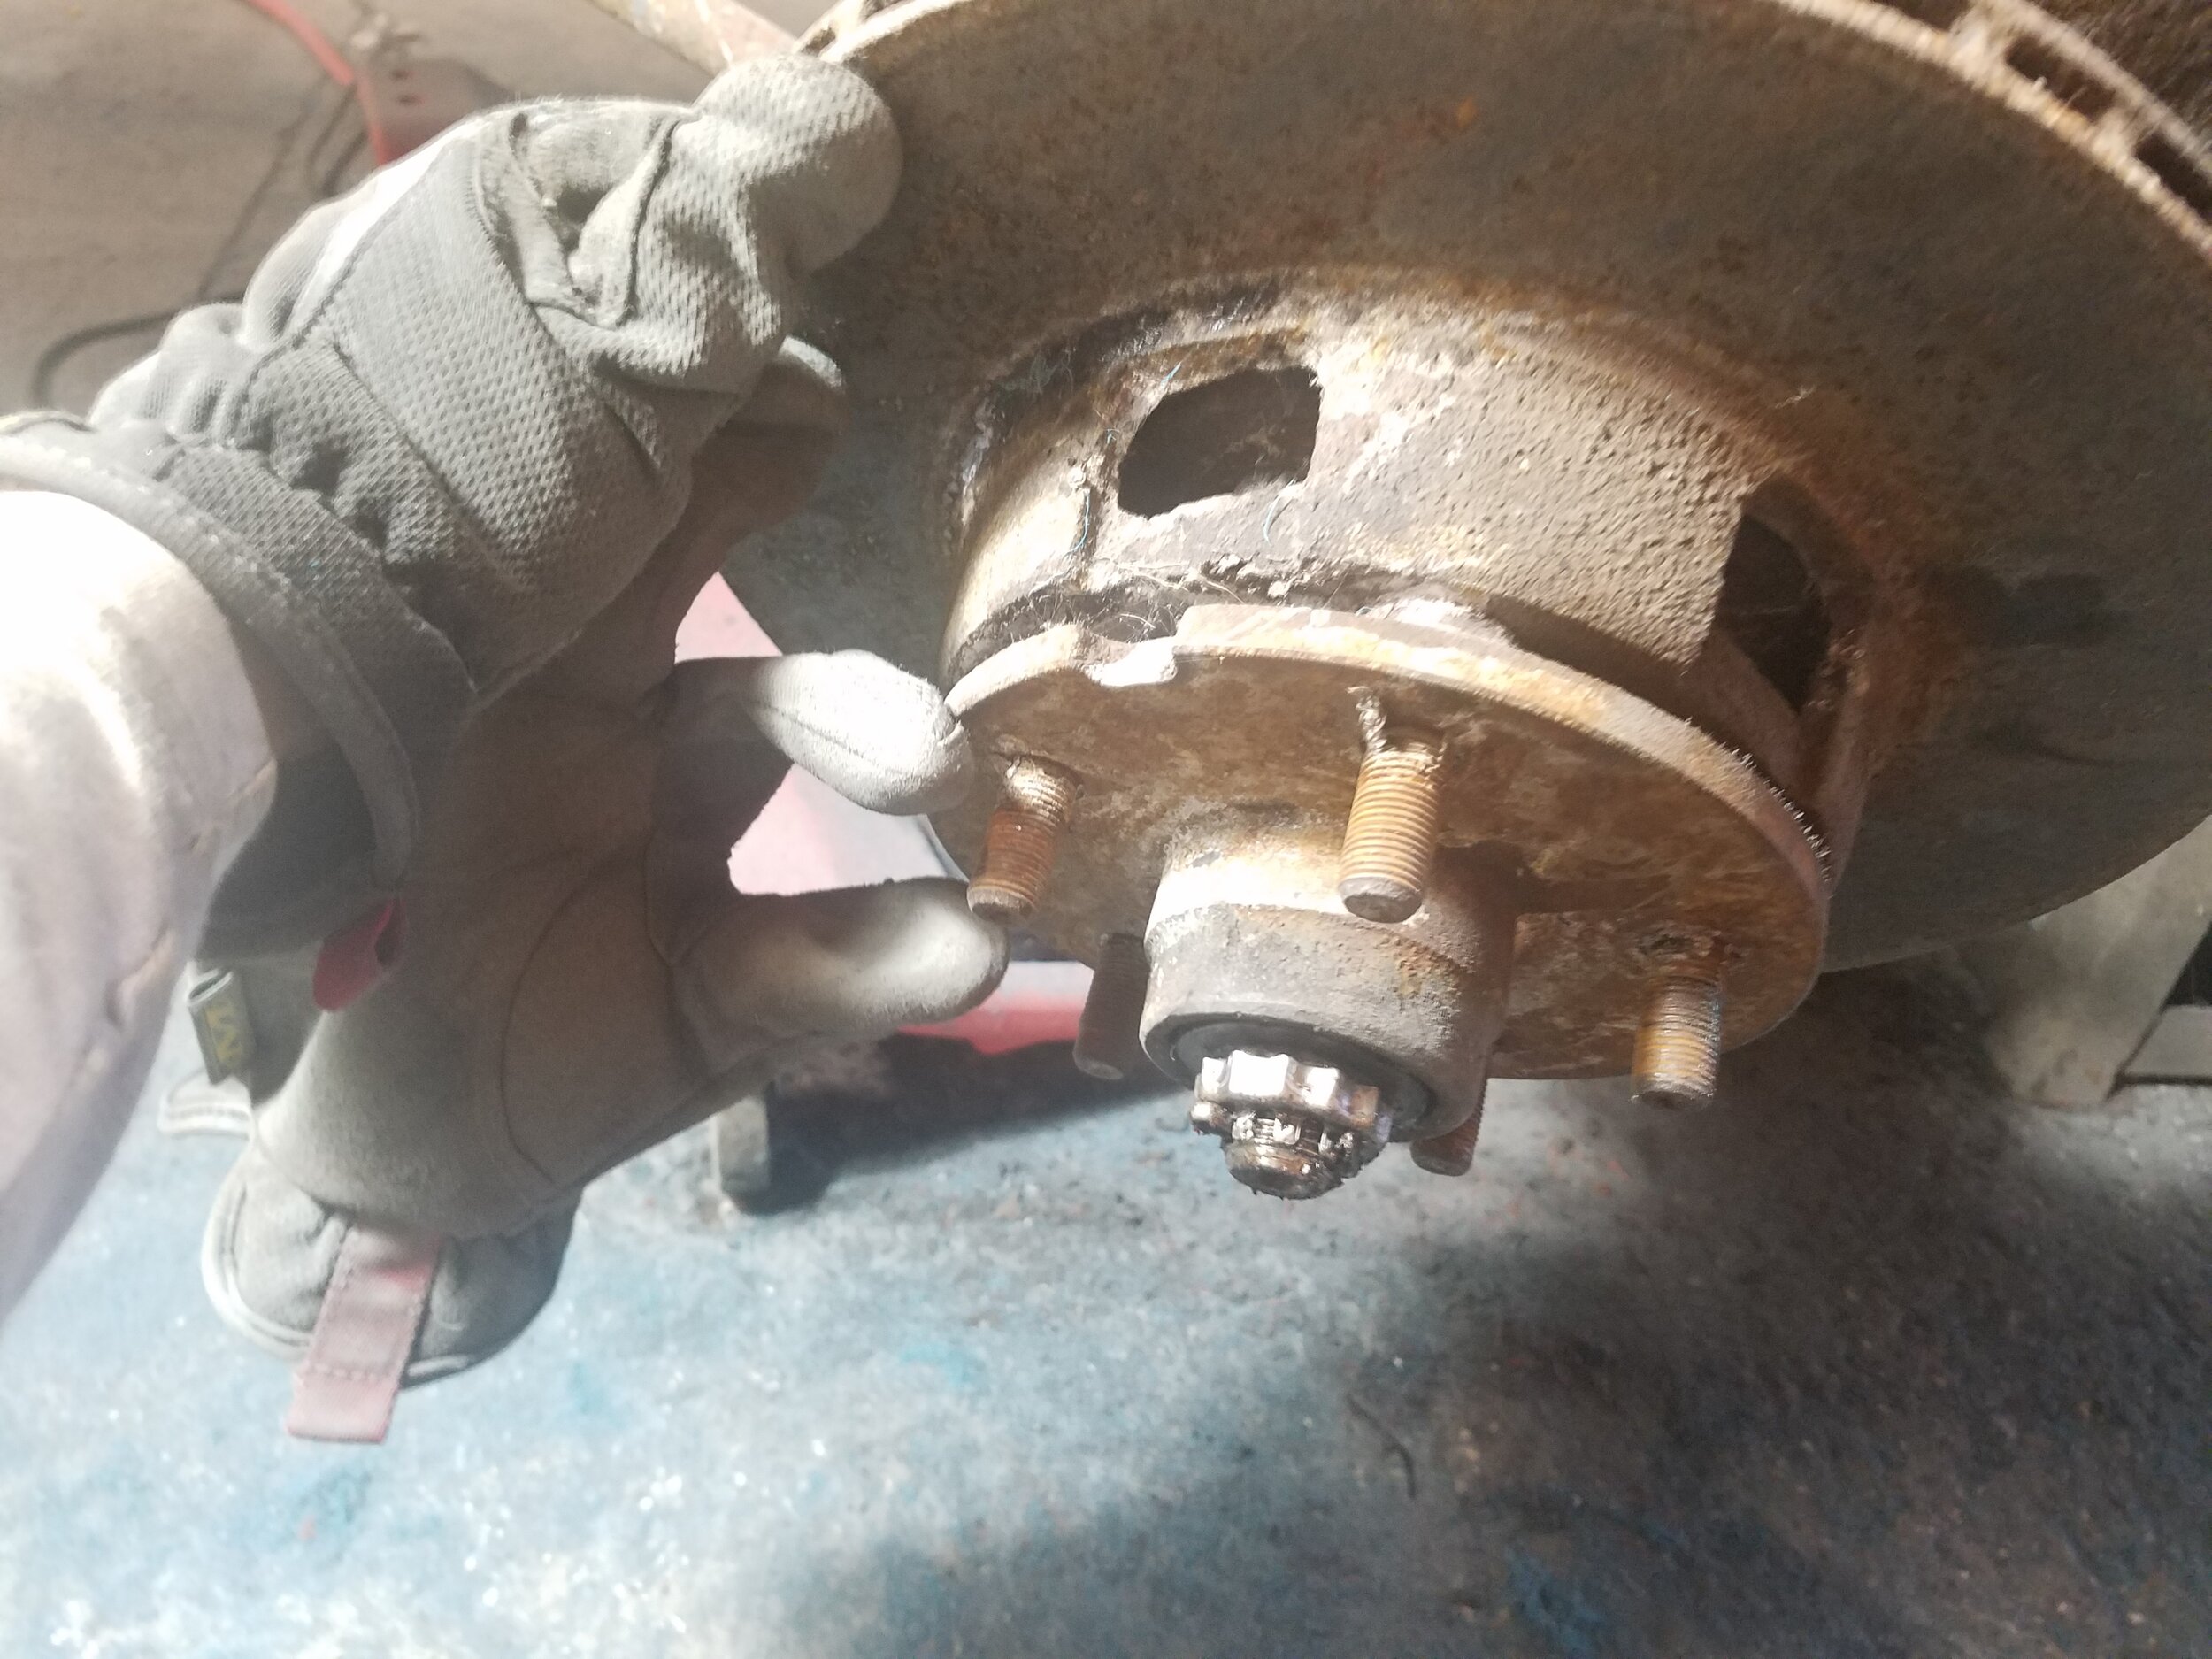
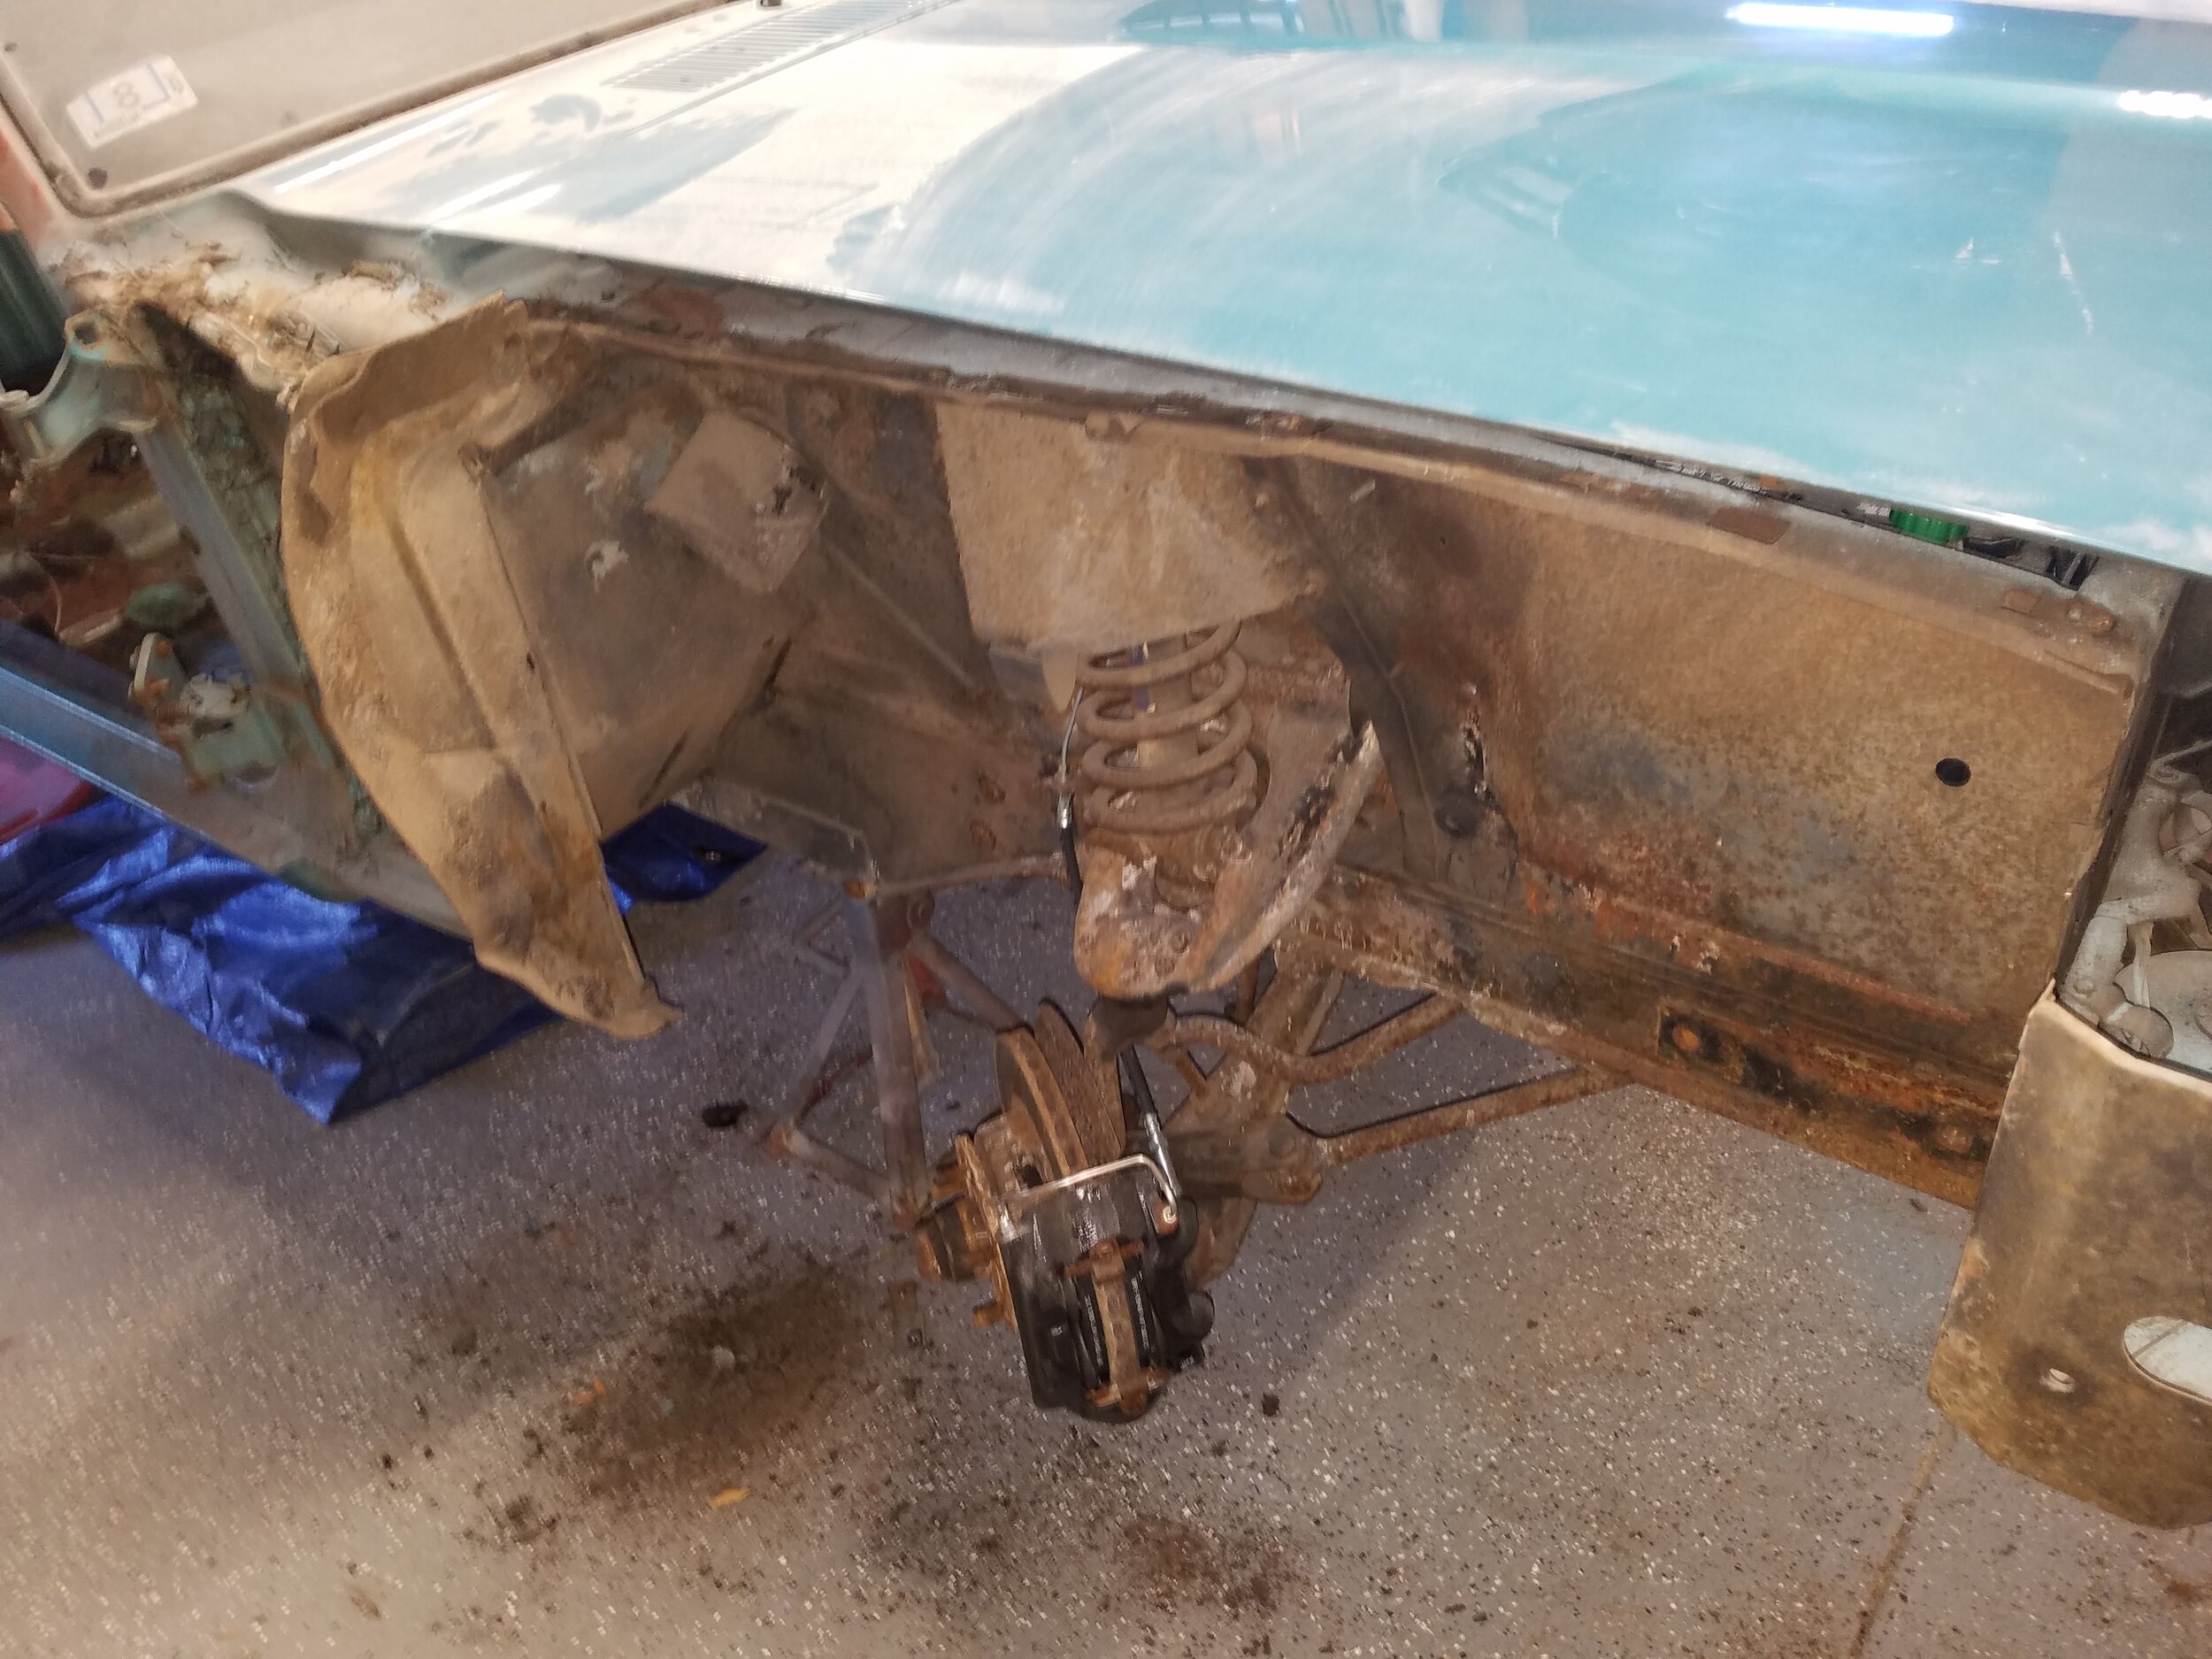
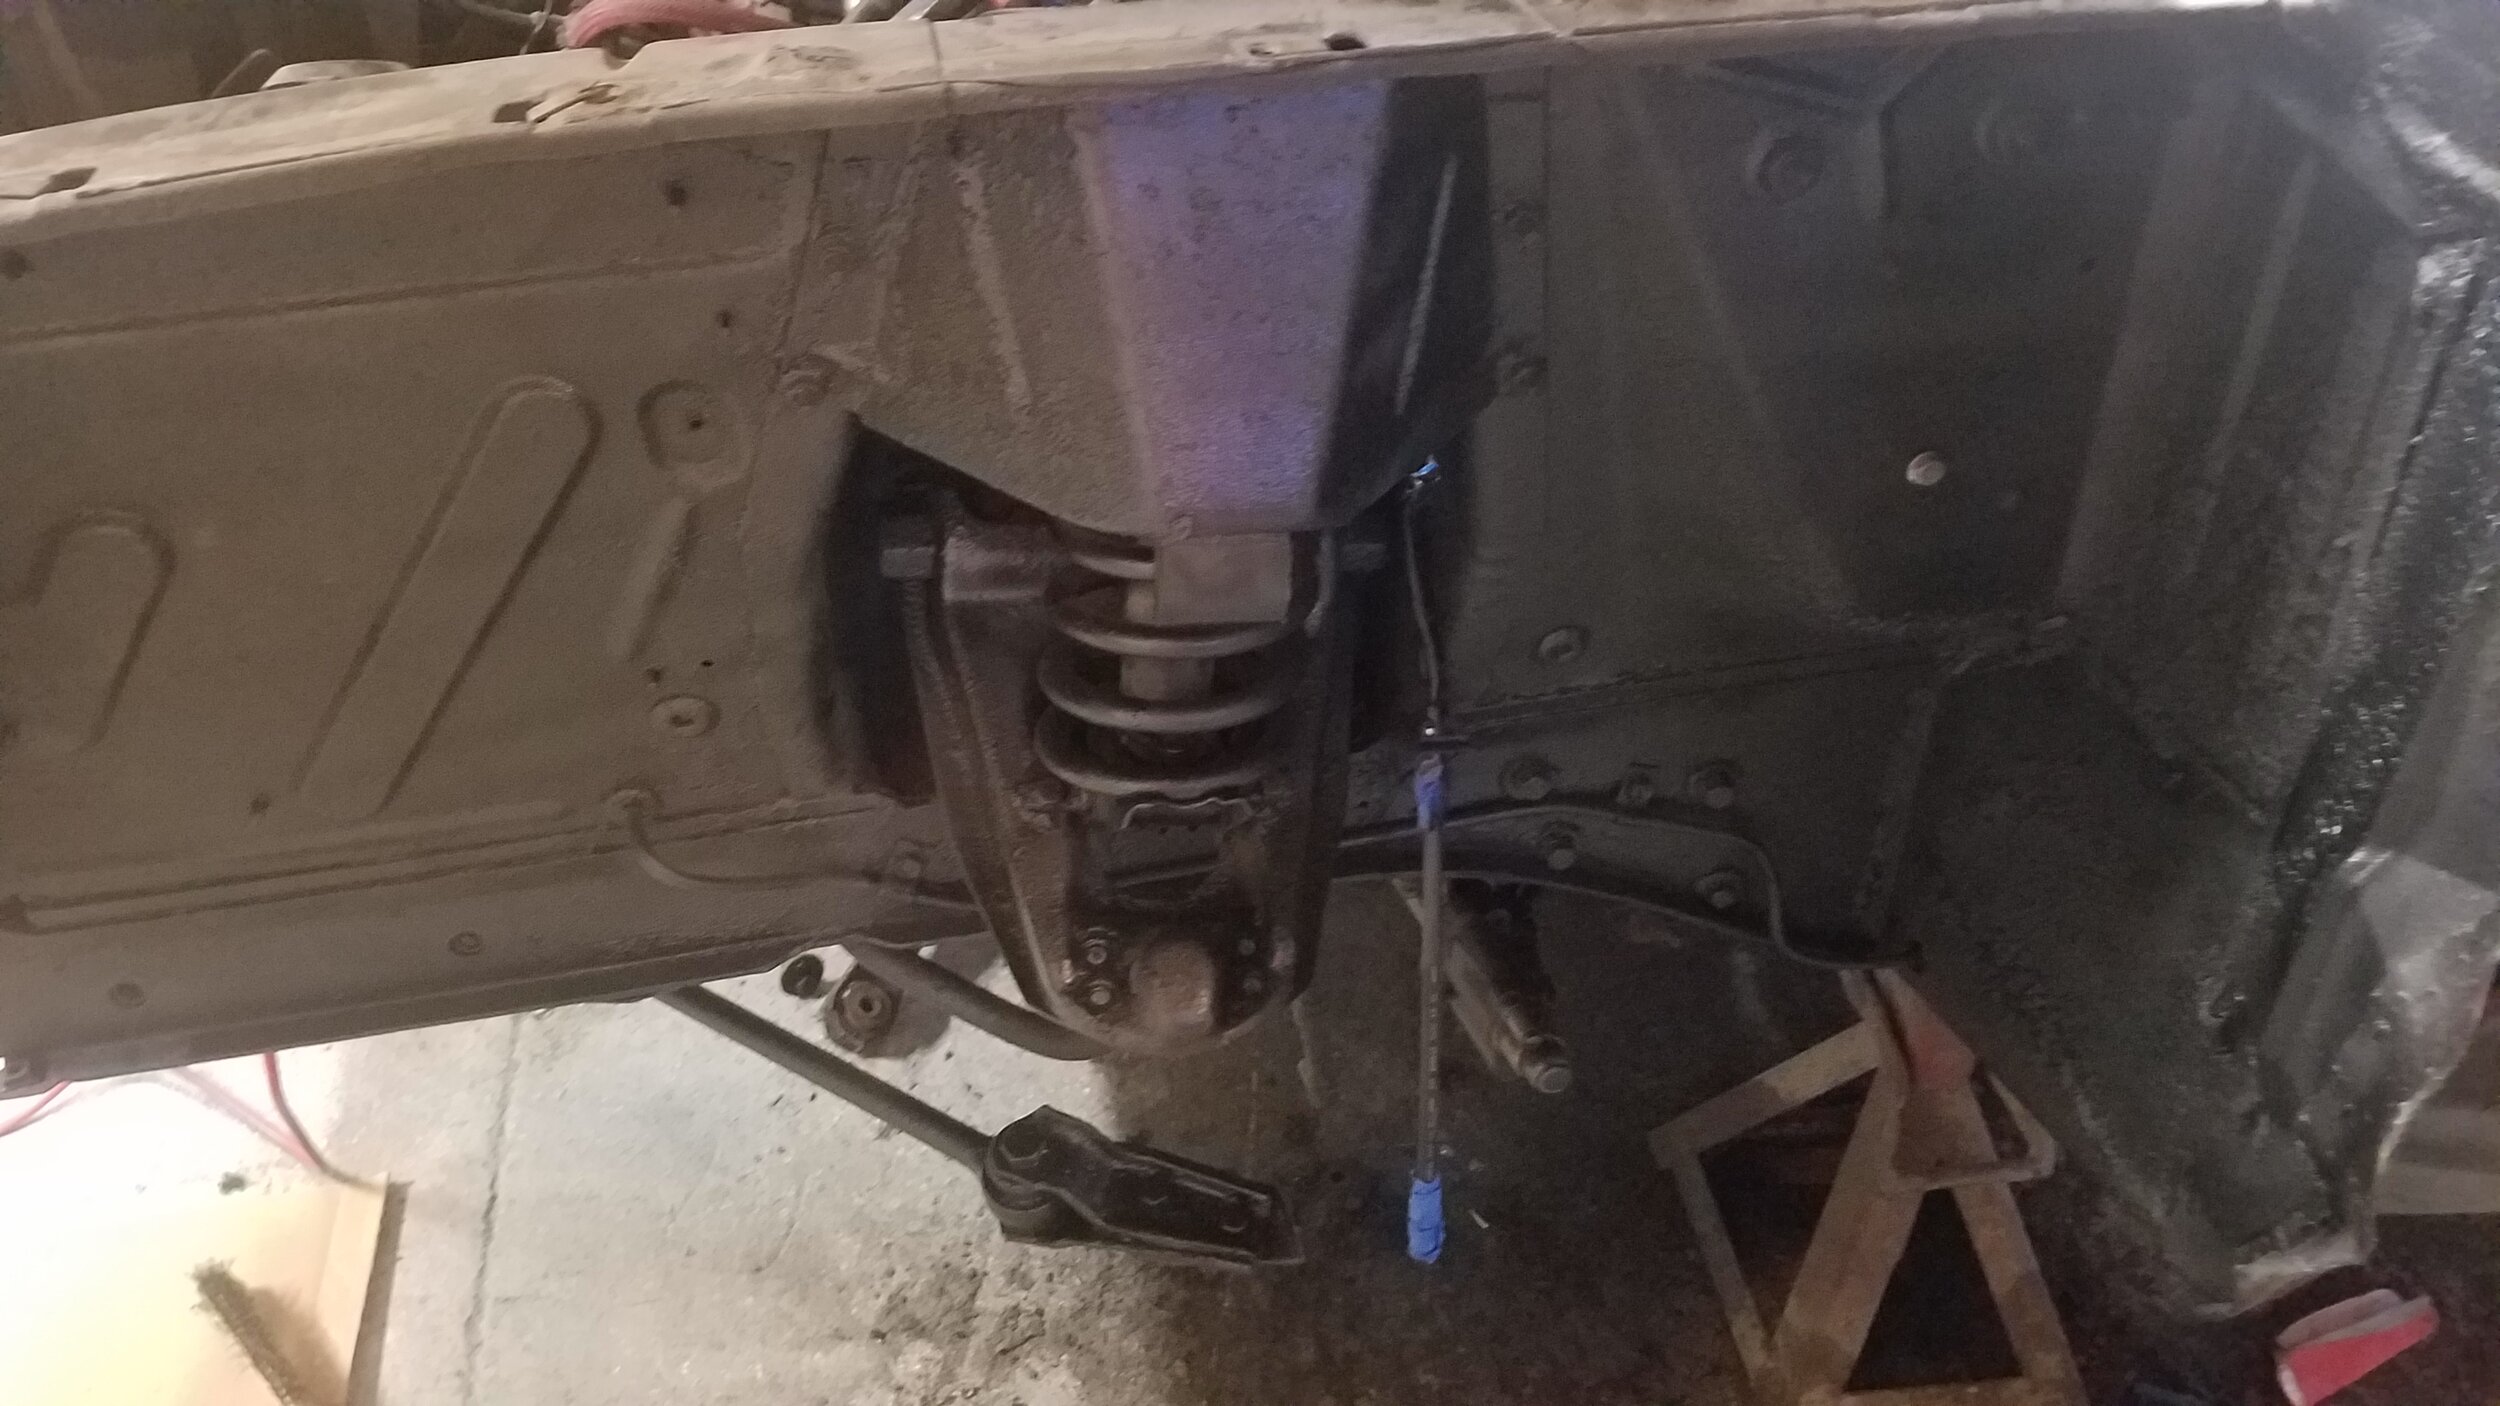
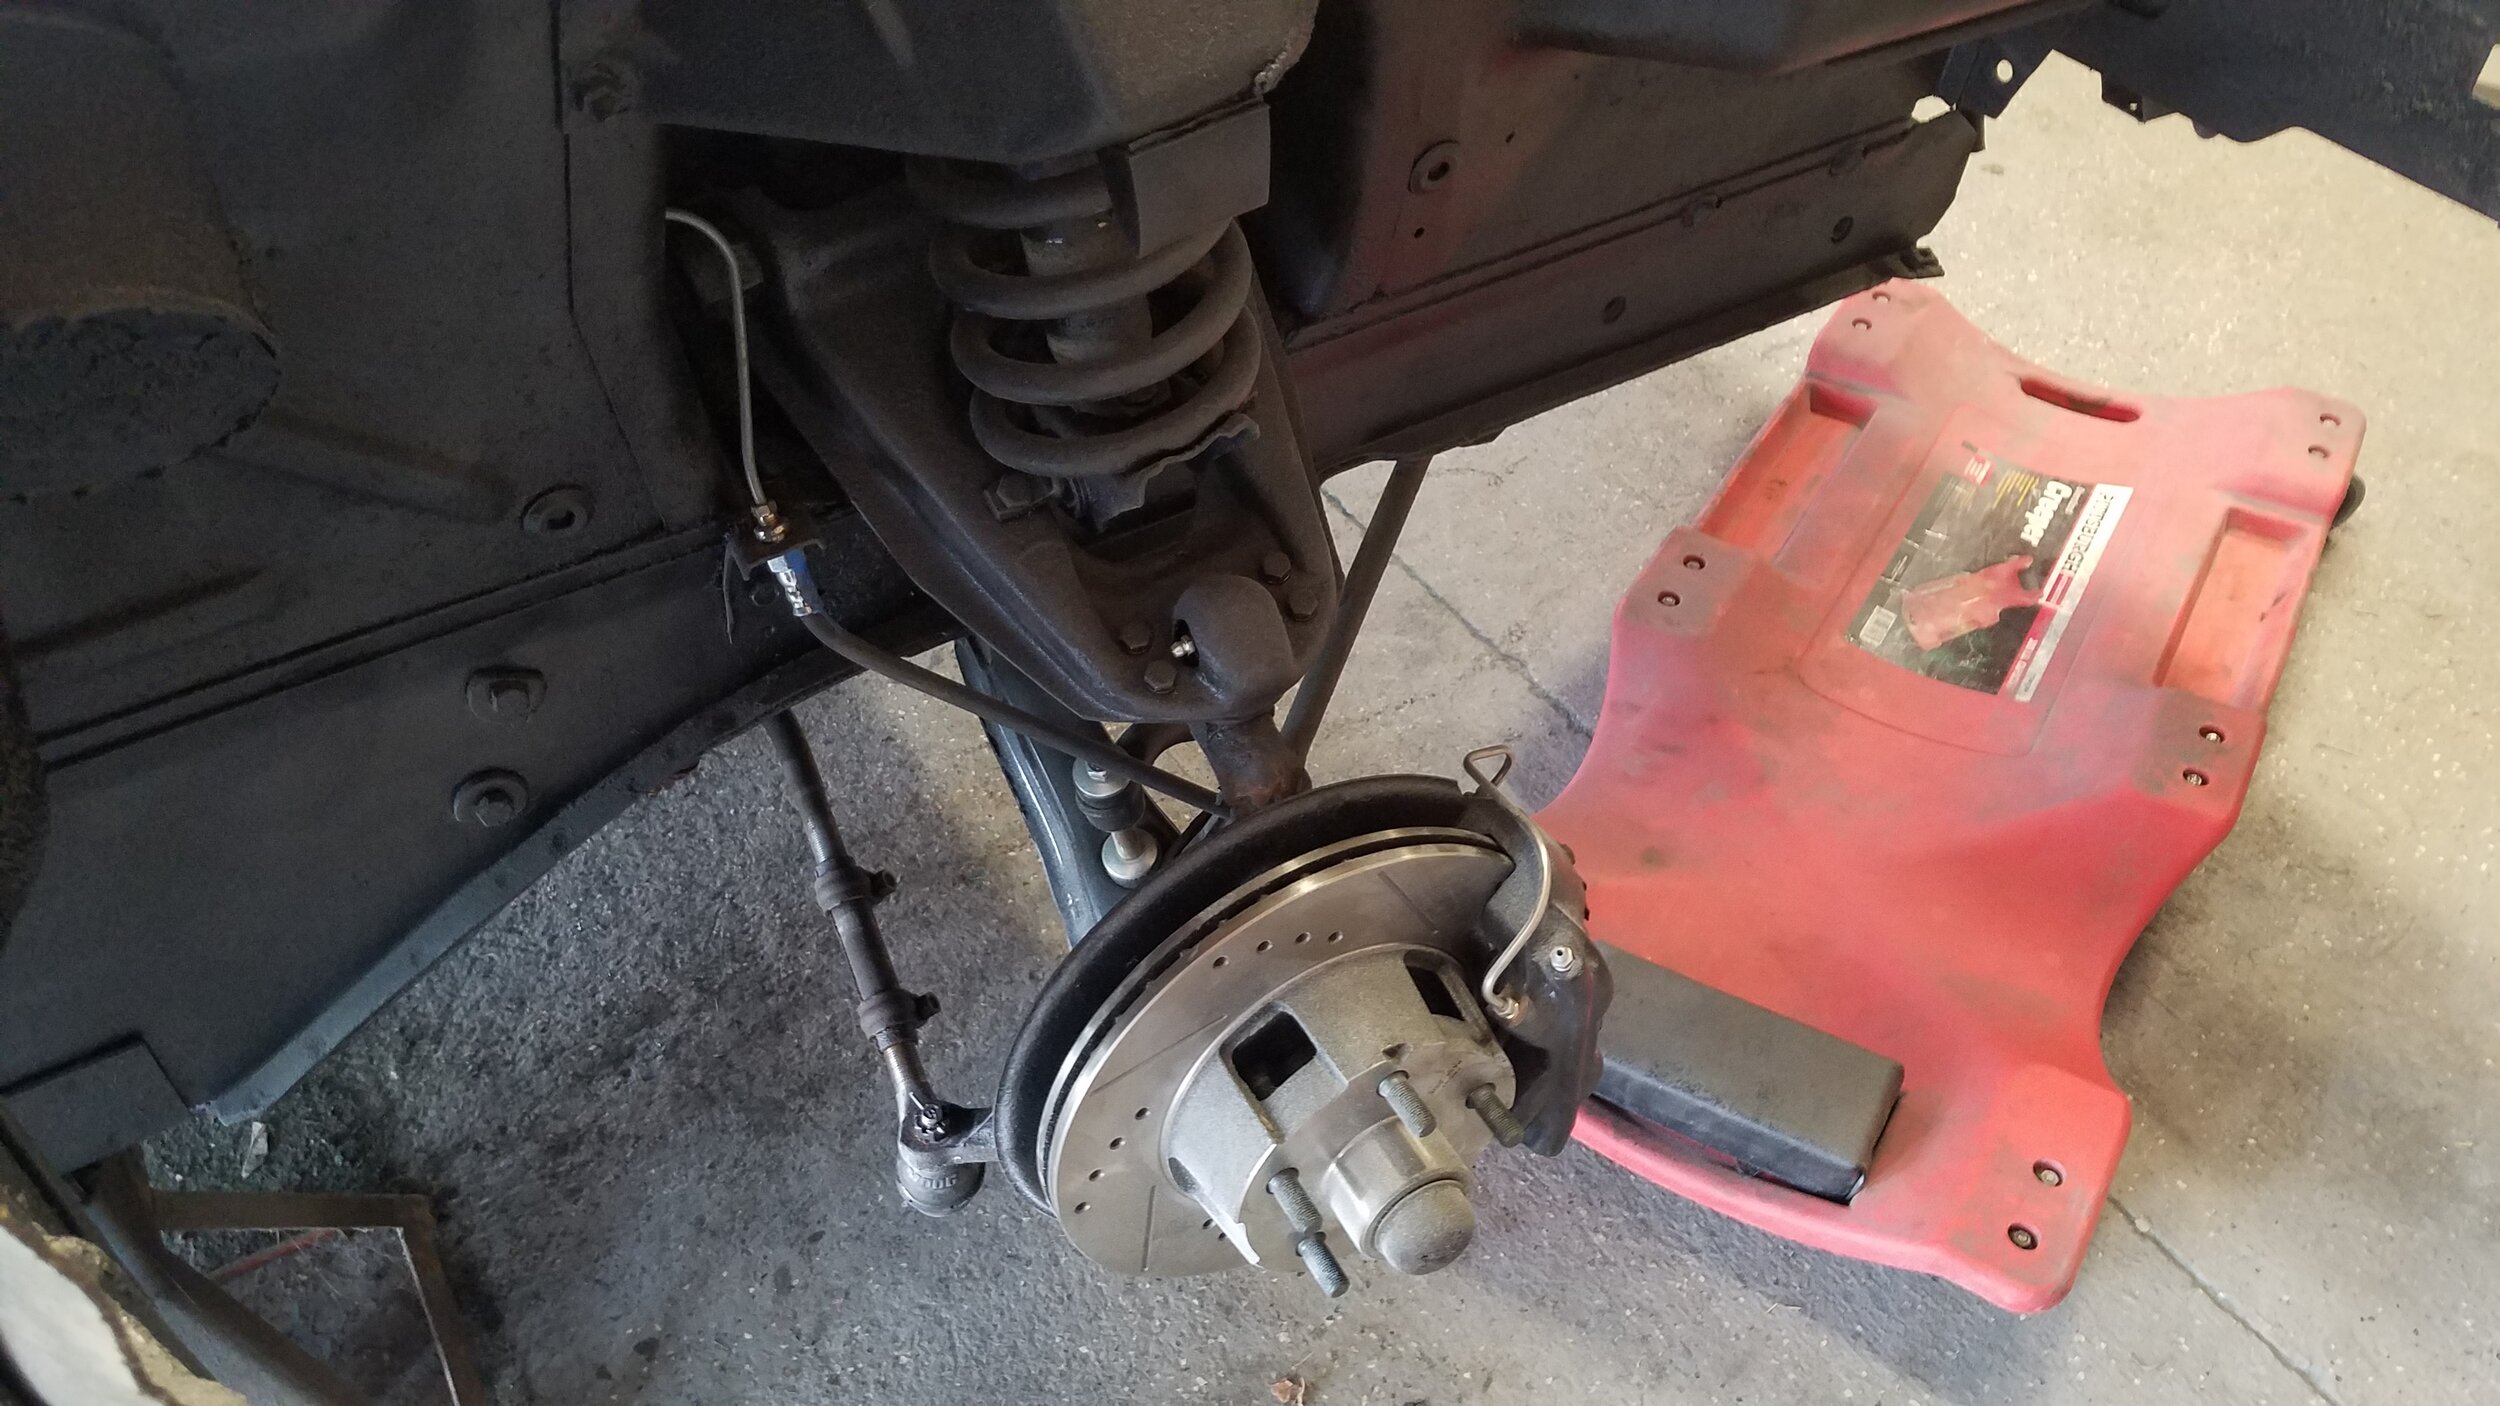
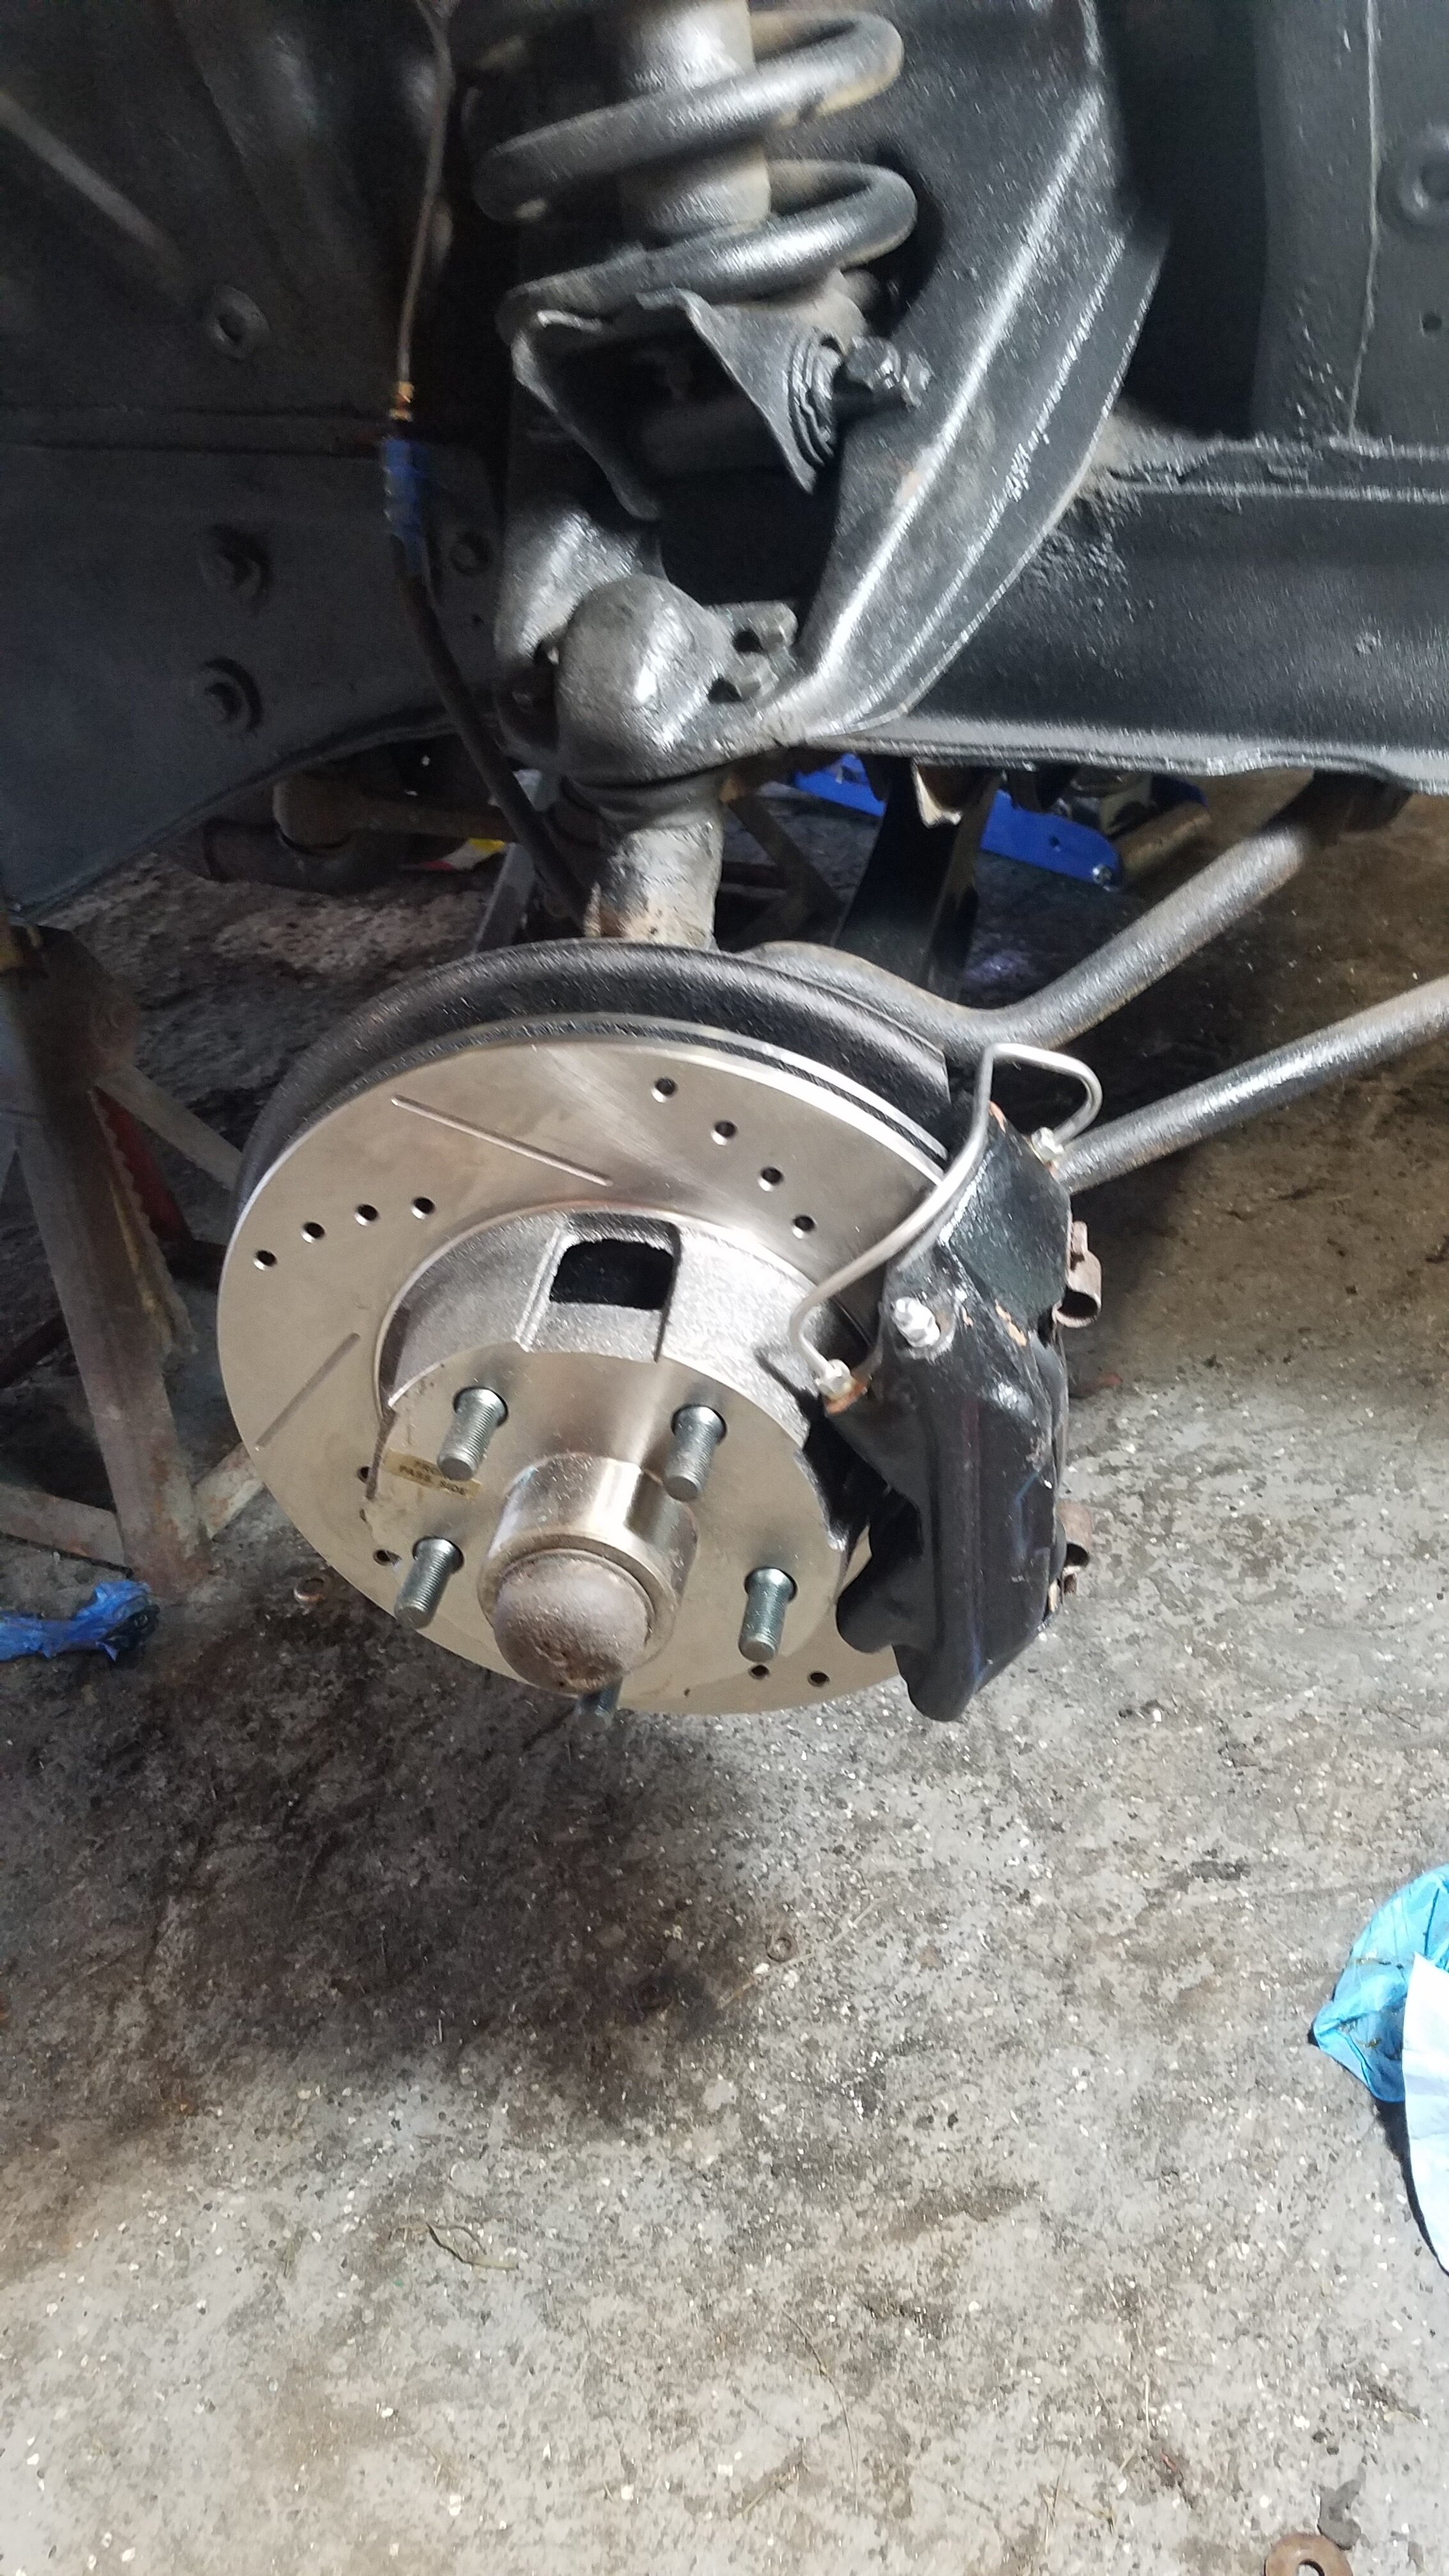
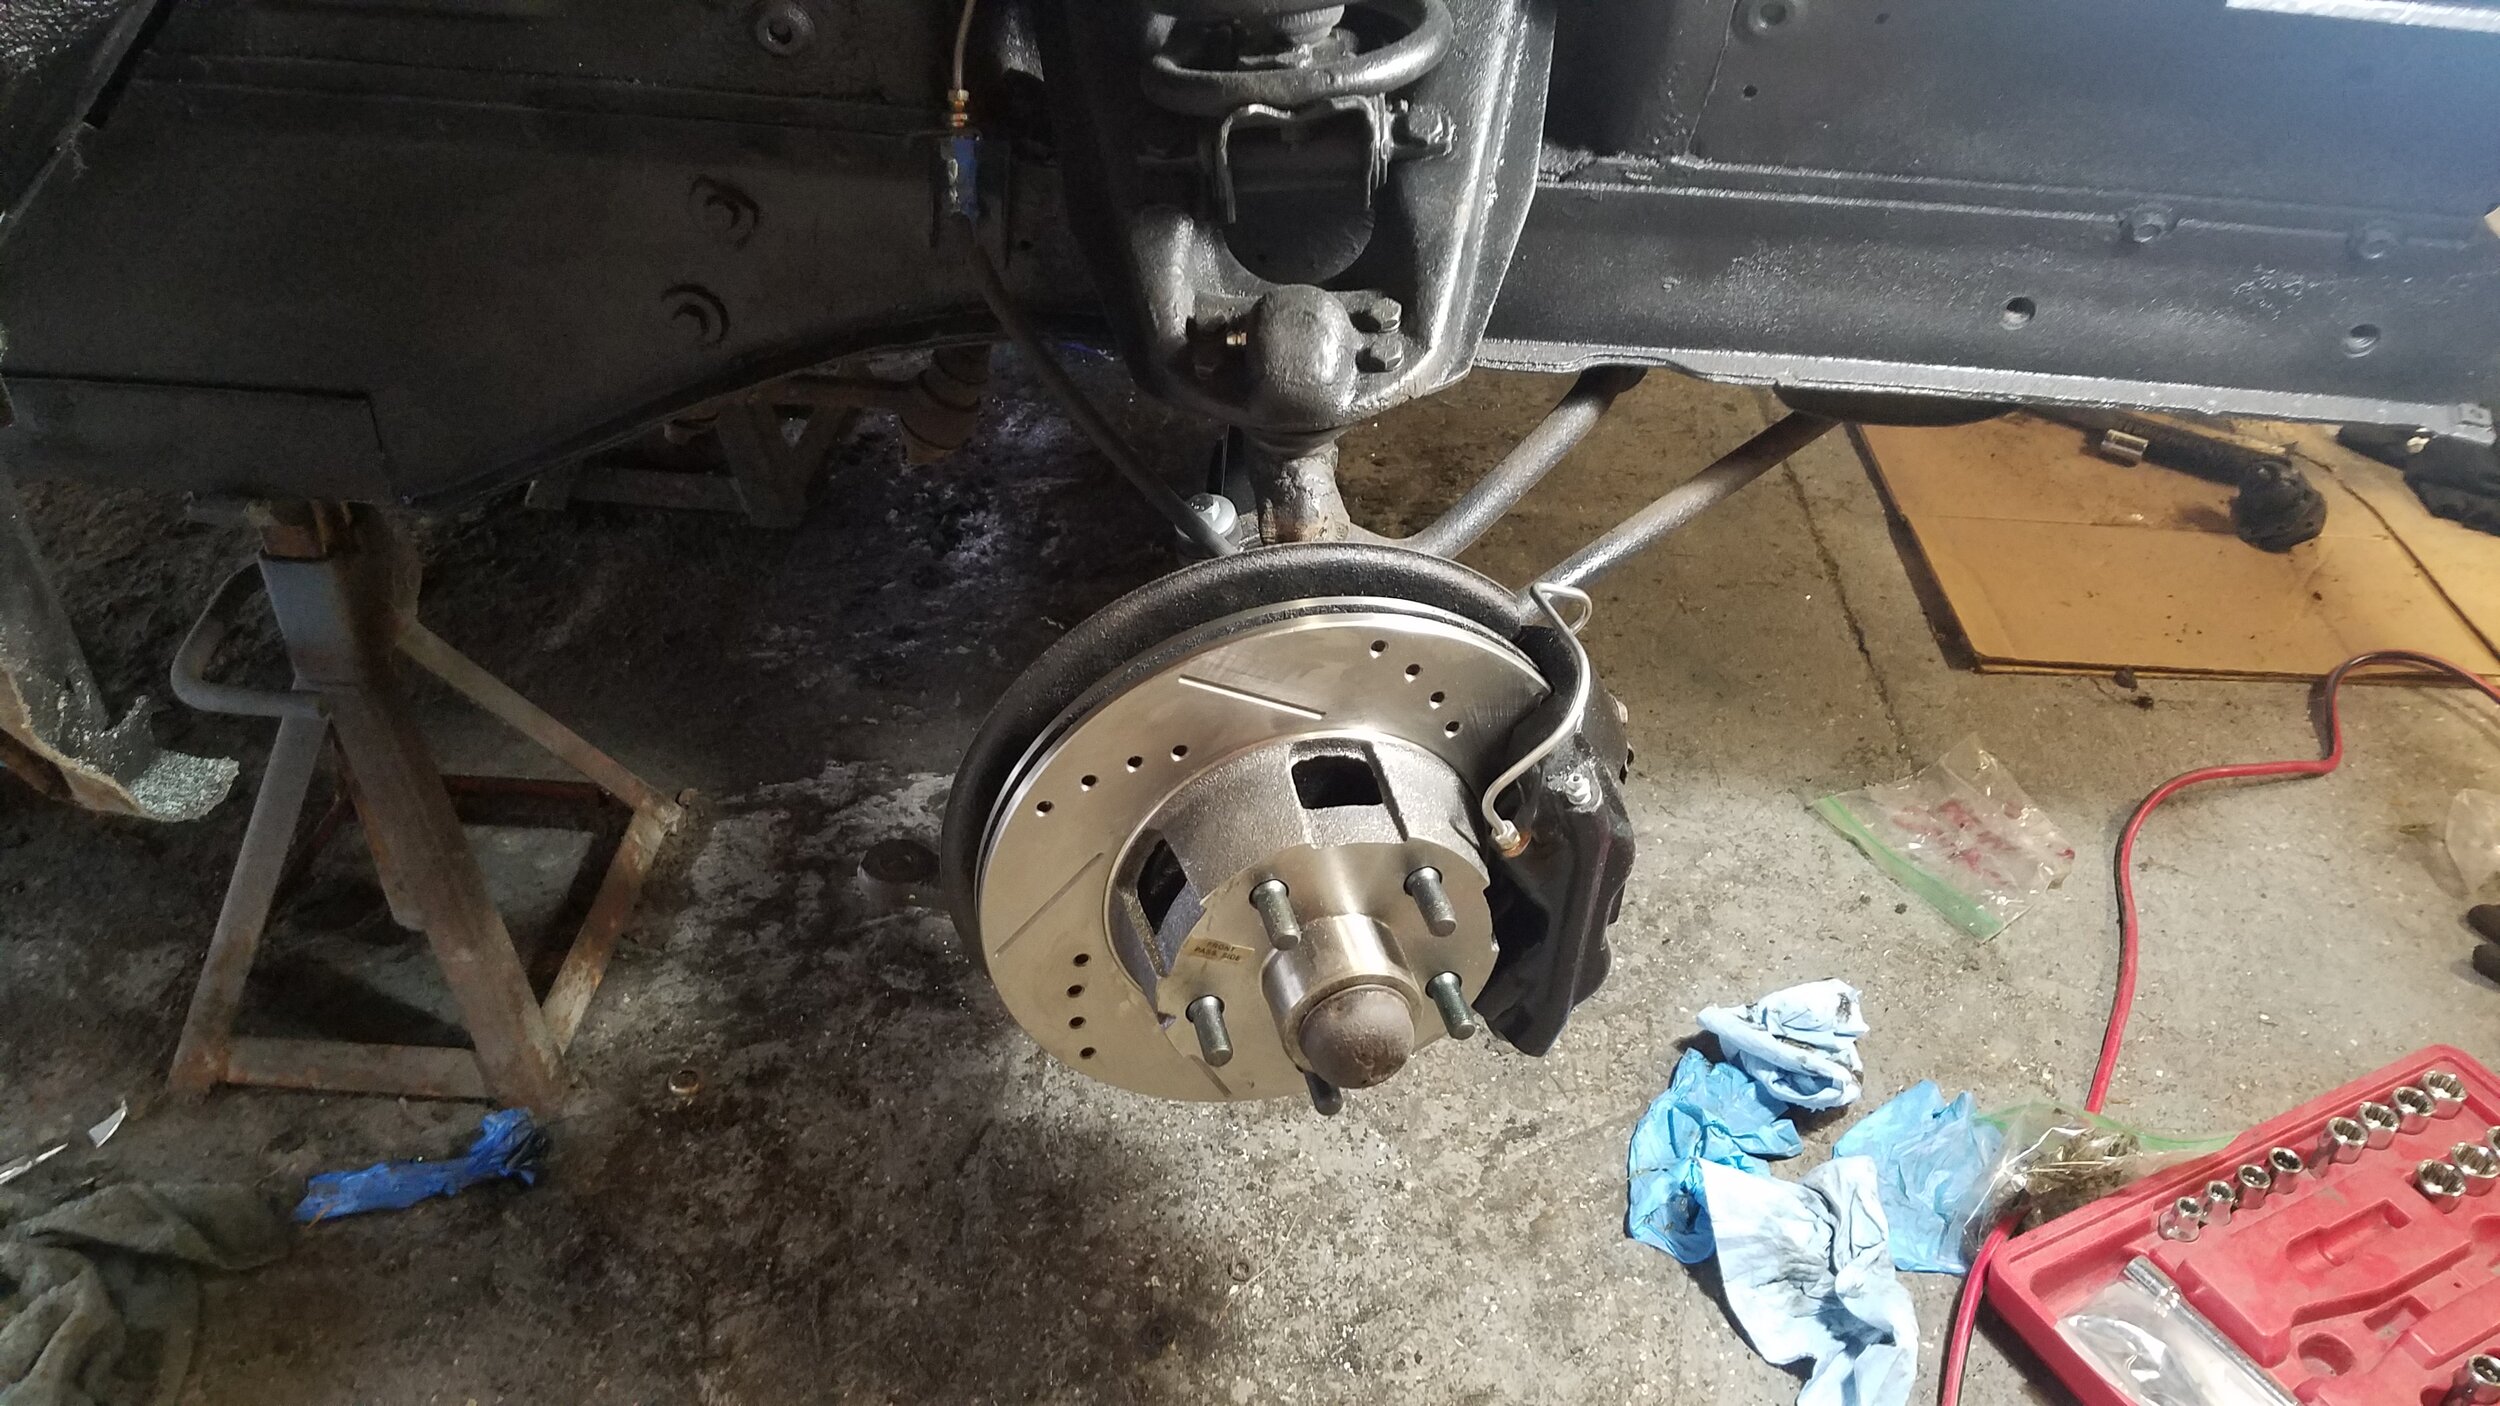
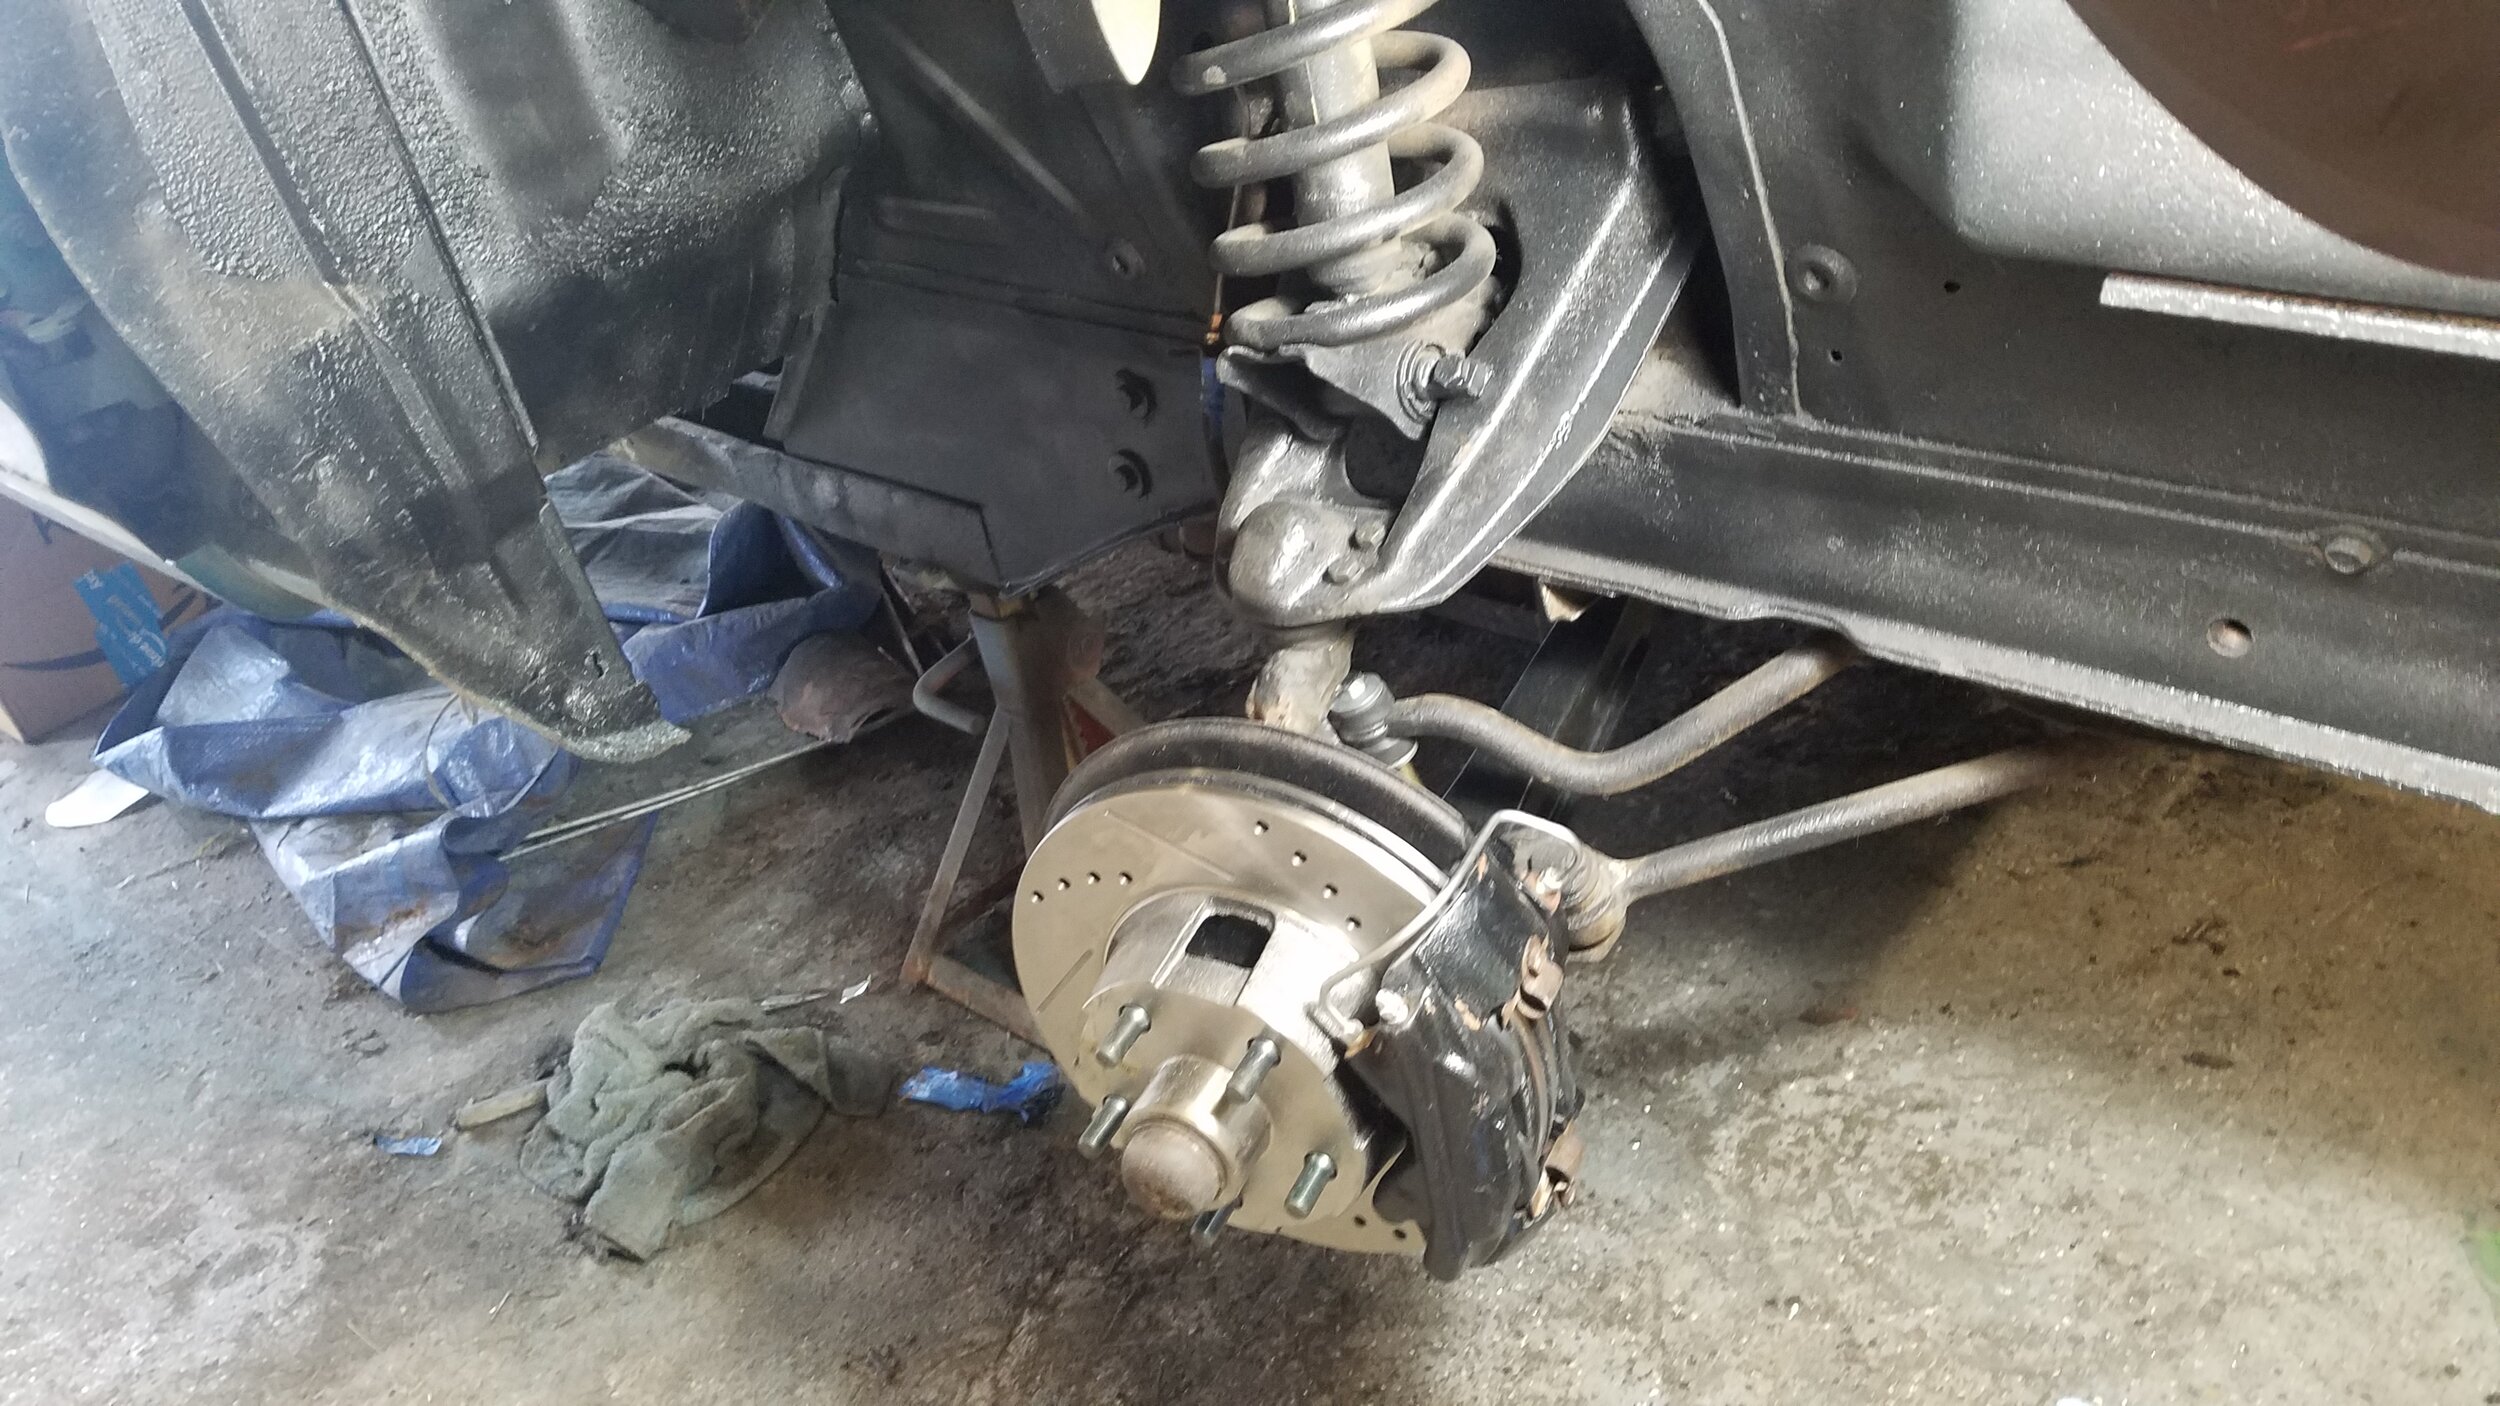
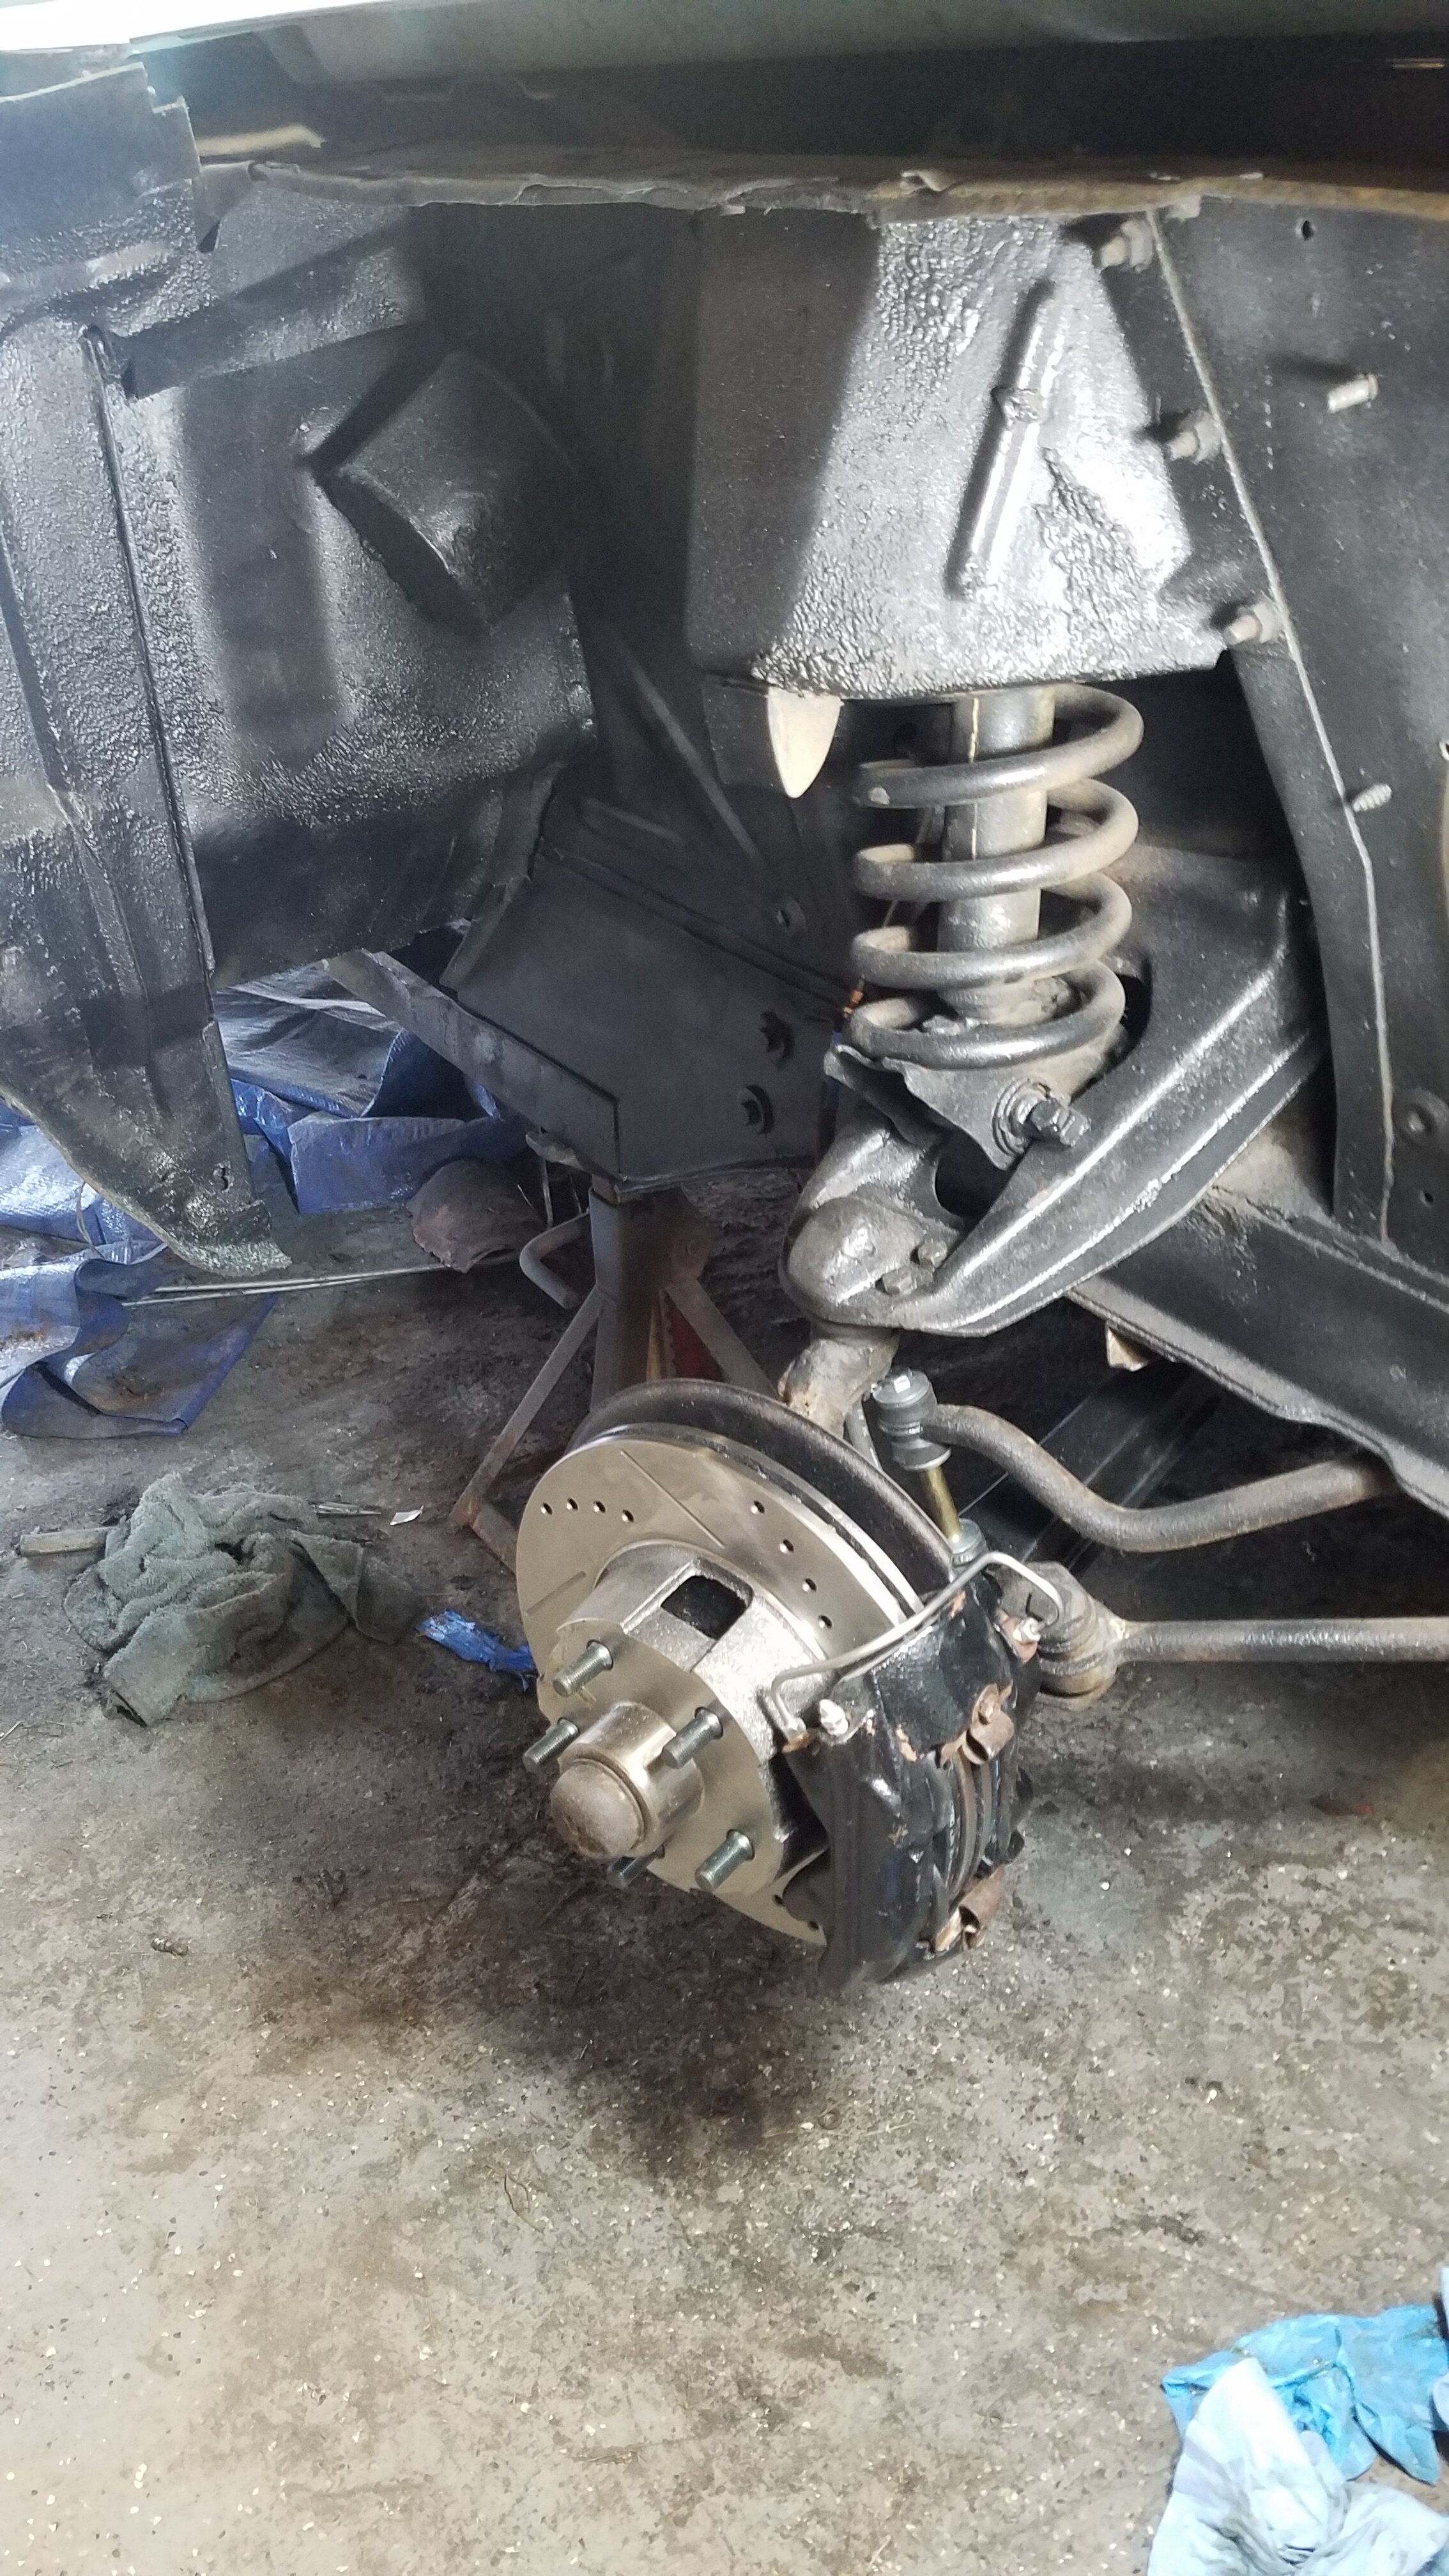
Control Arms, Ball Joints, Tied Rods, and Bearings…OH MY!

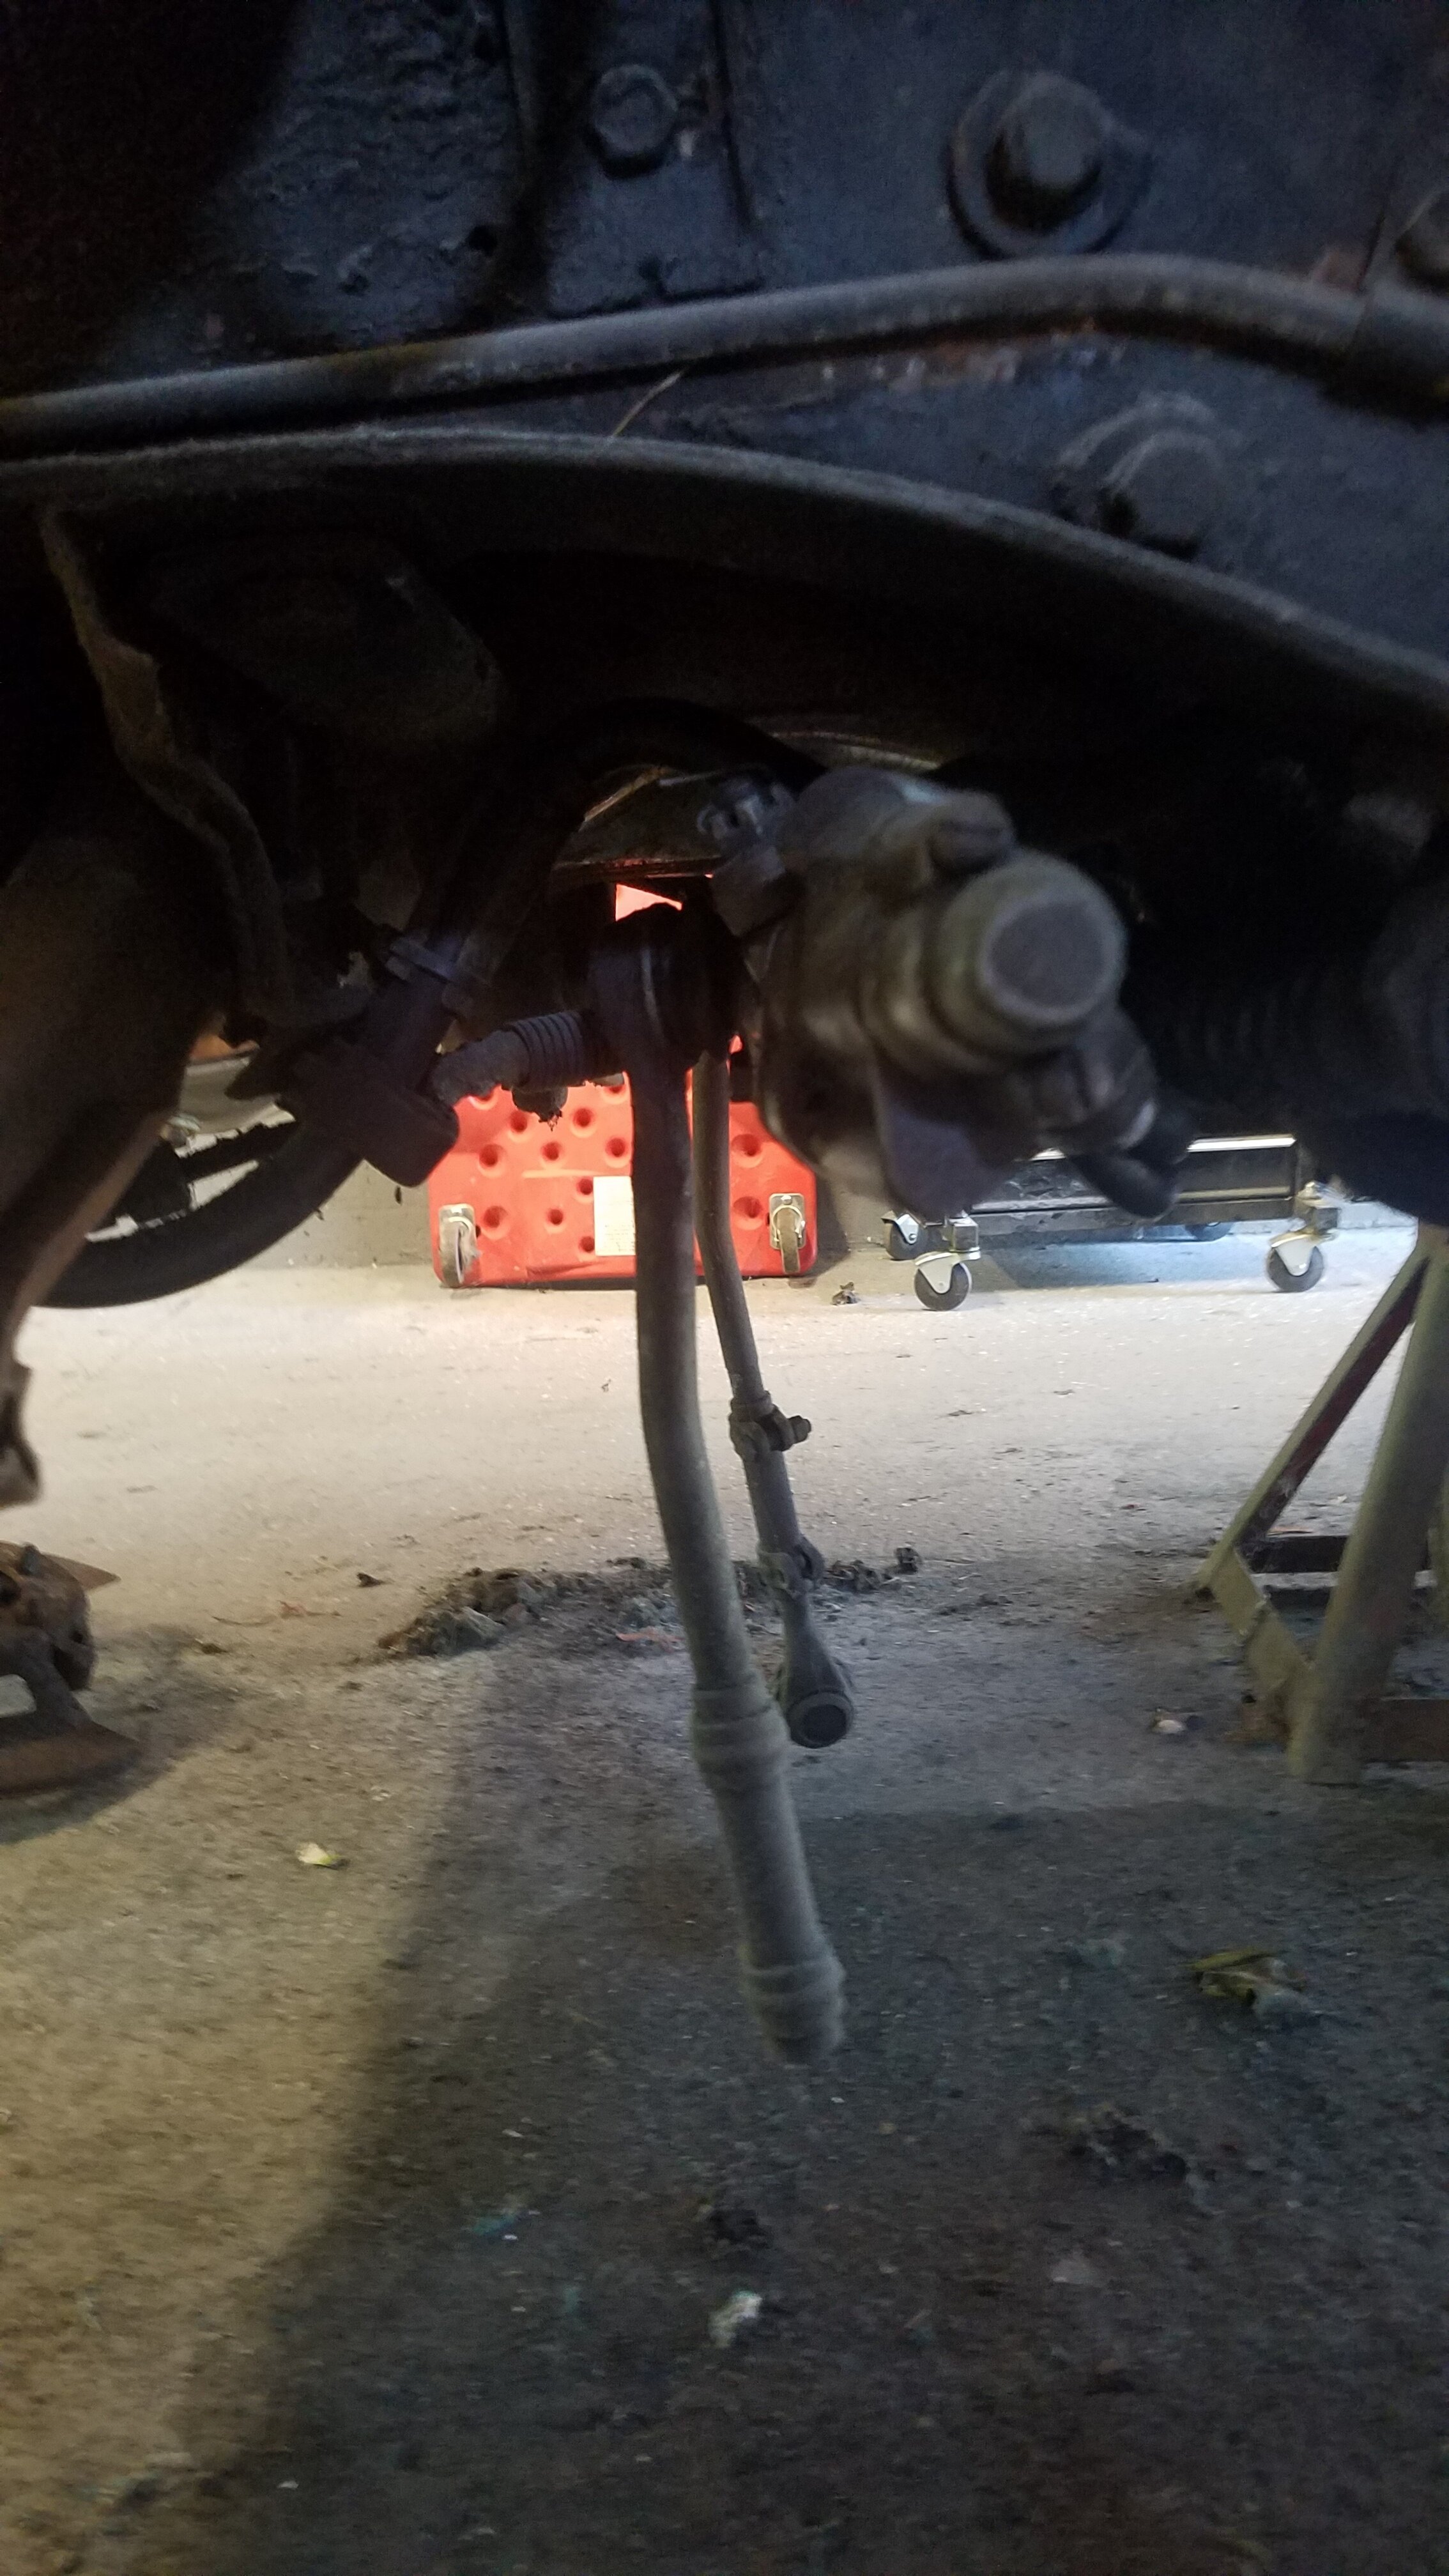
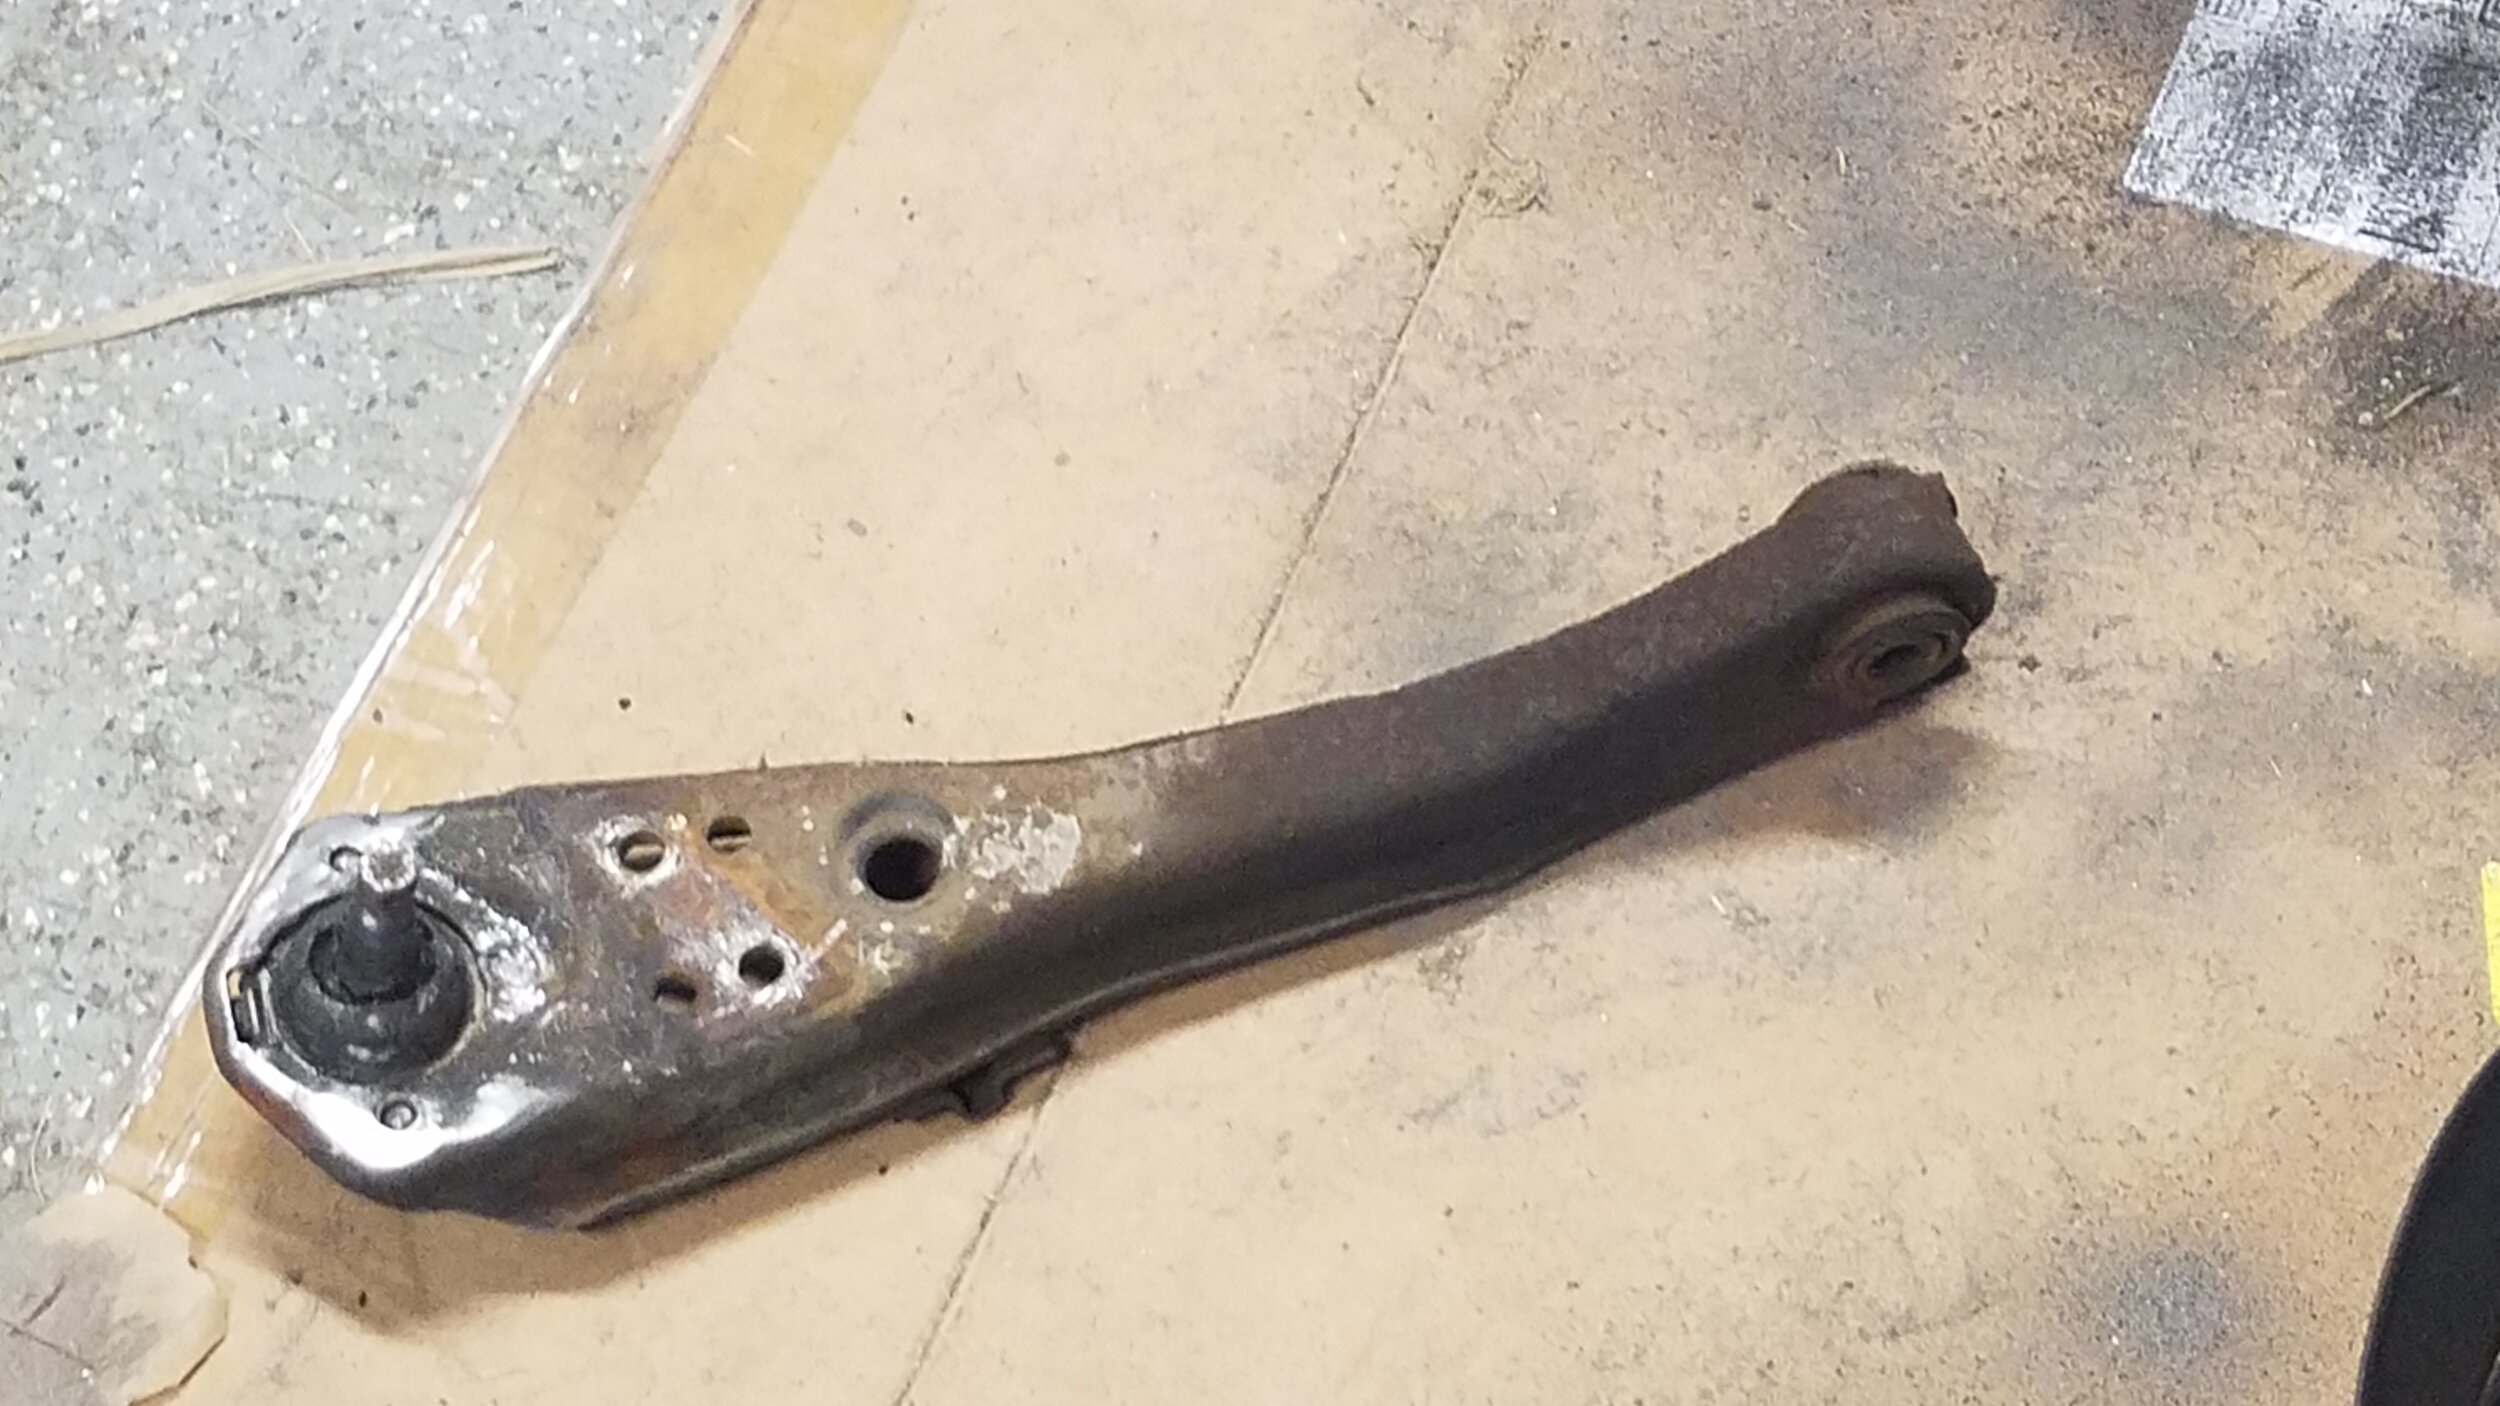
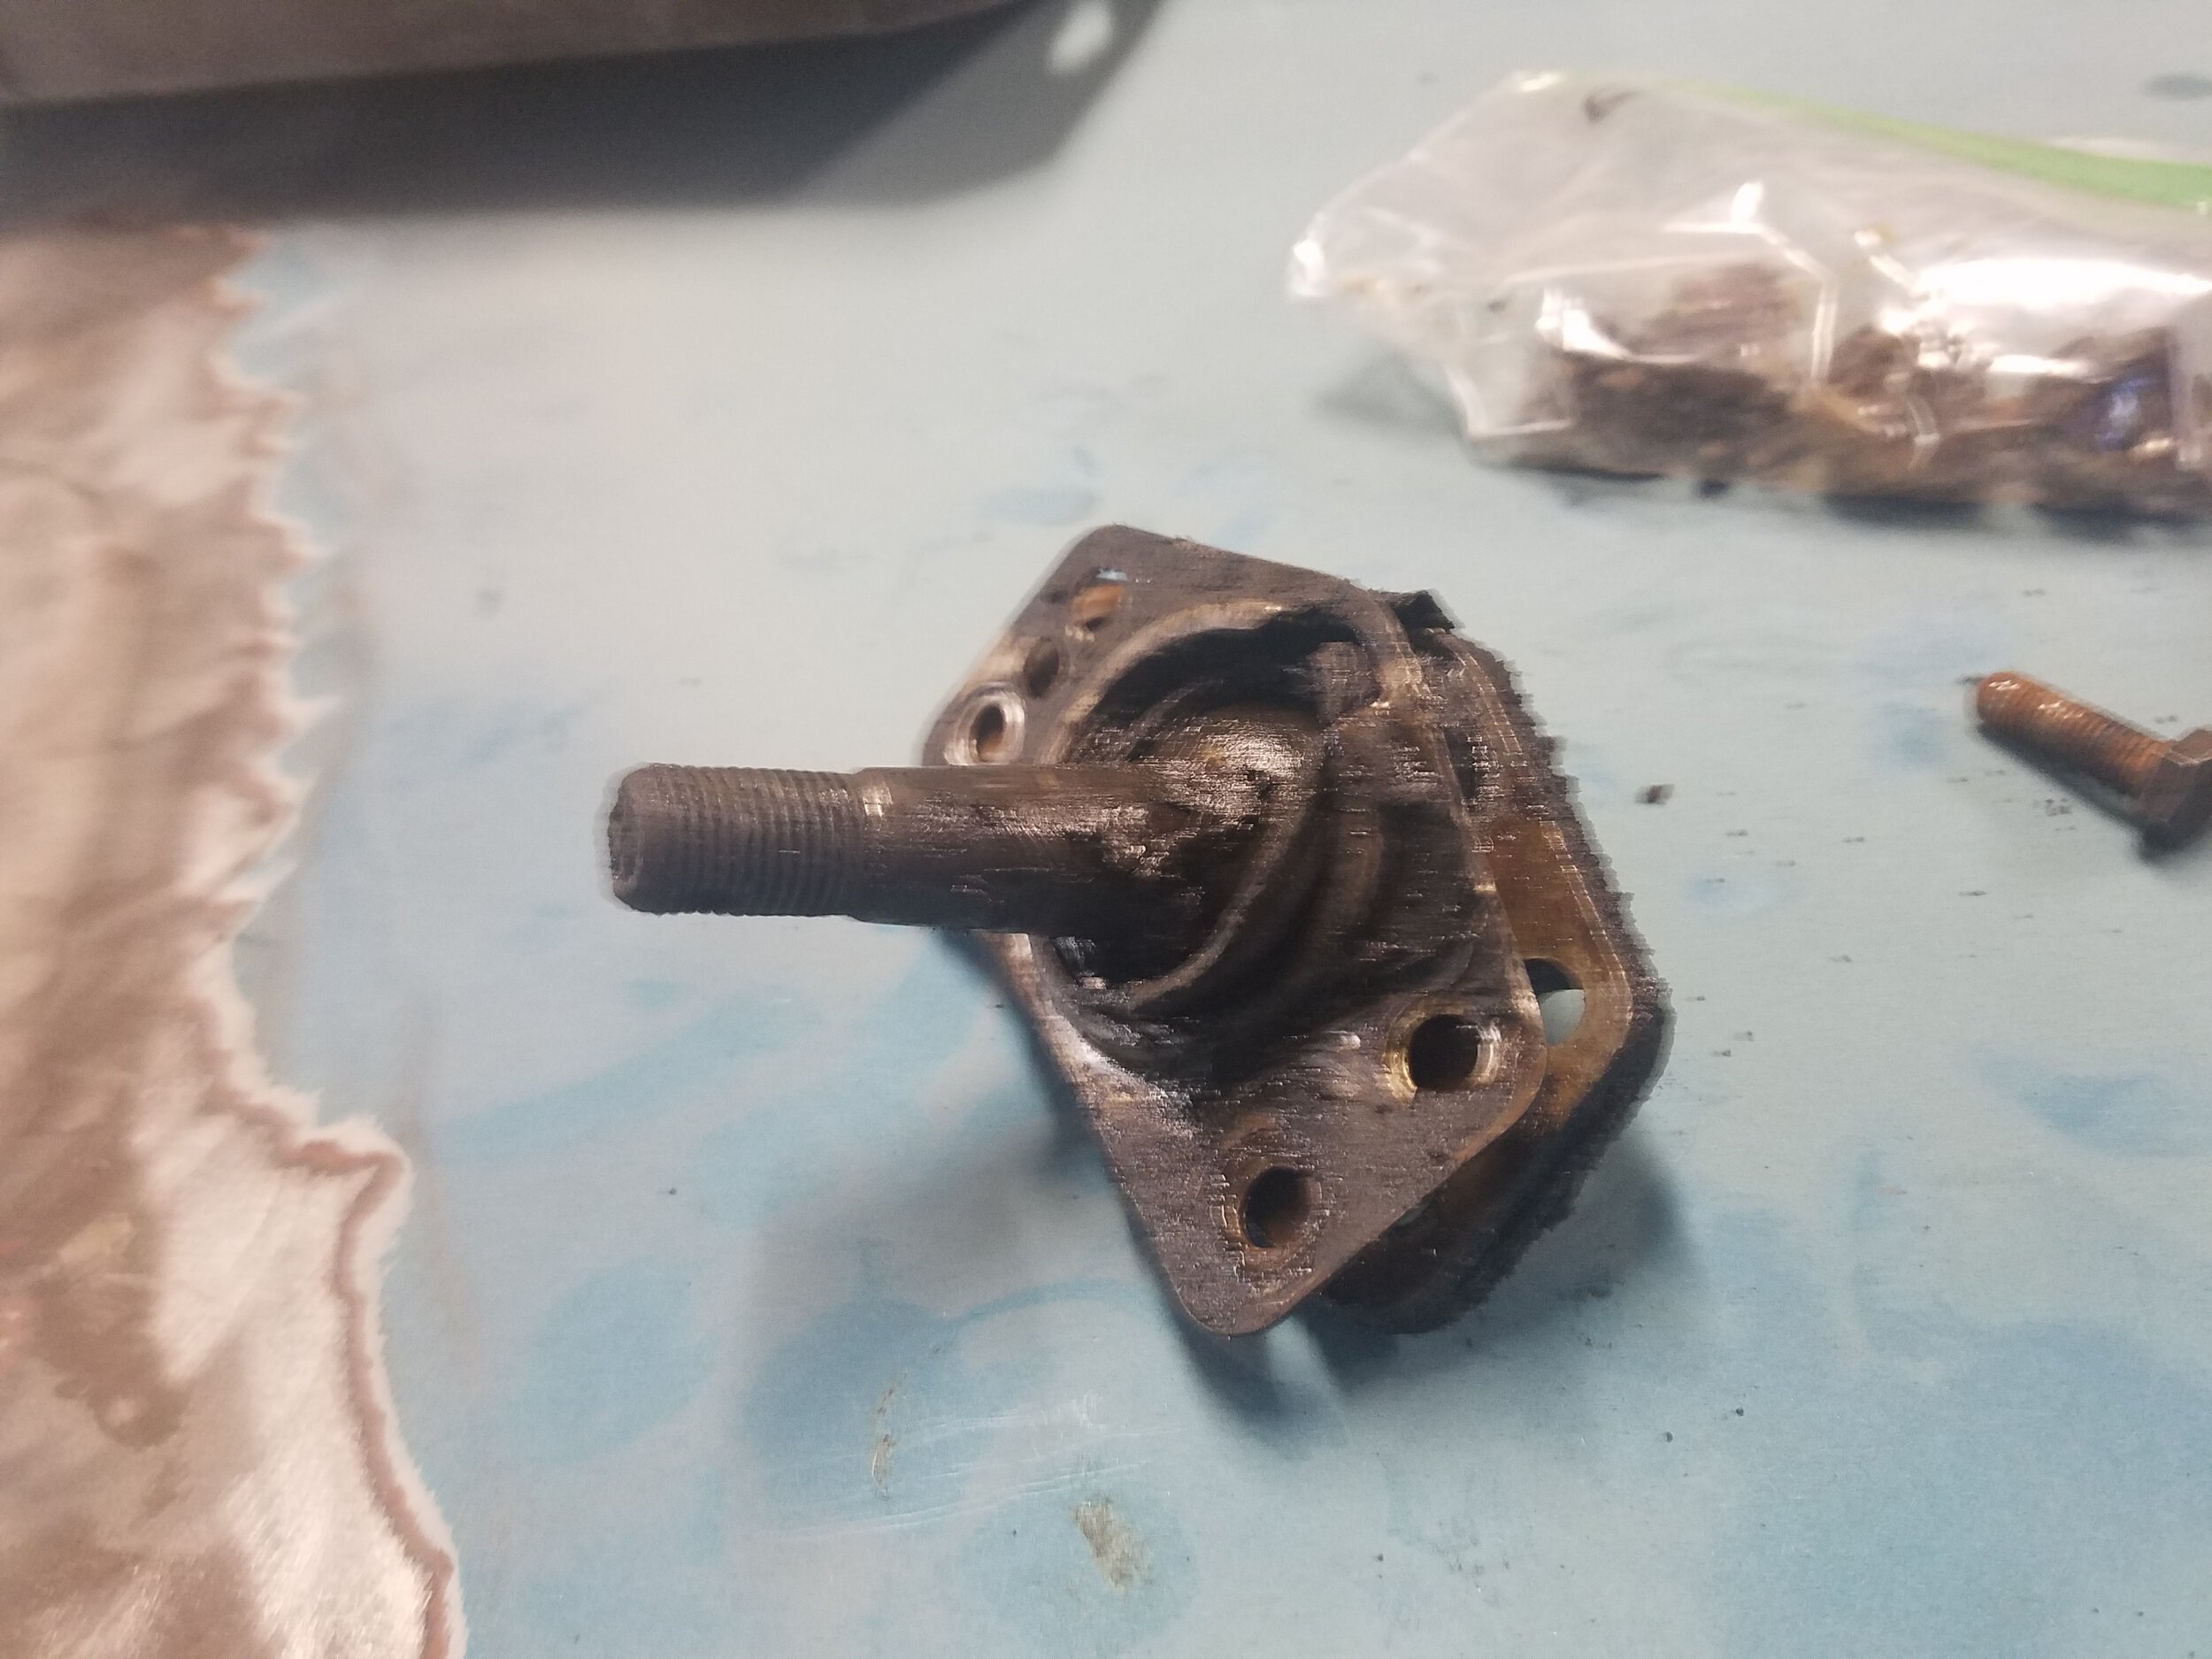
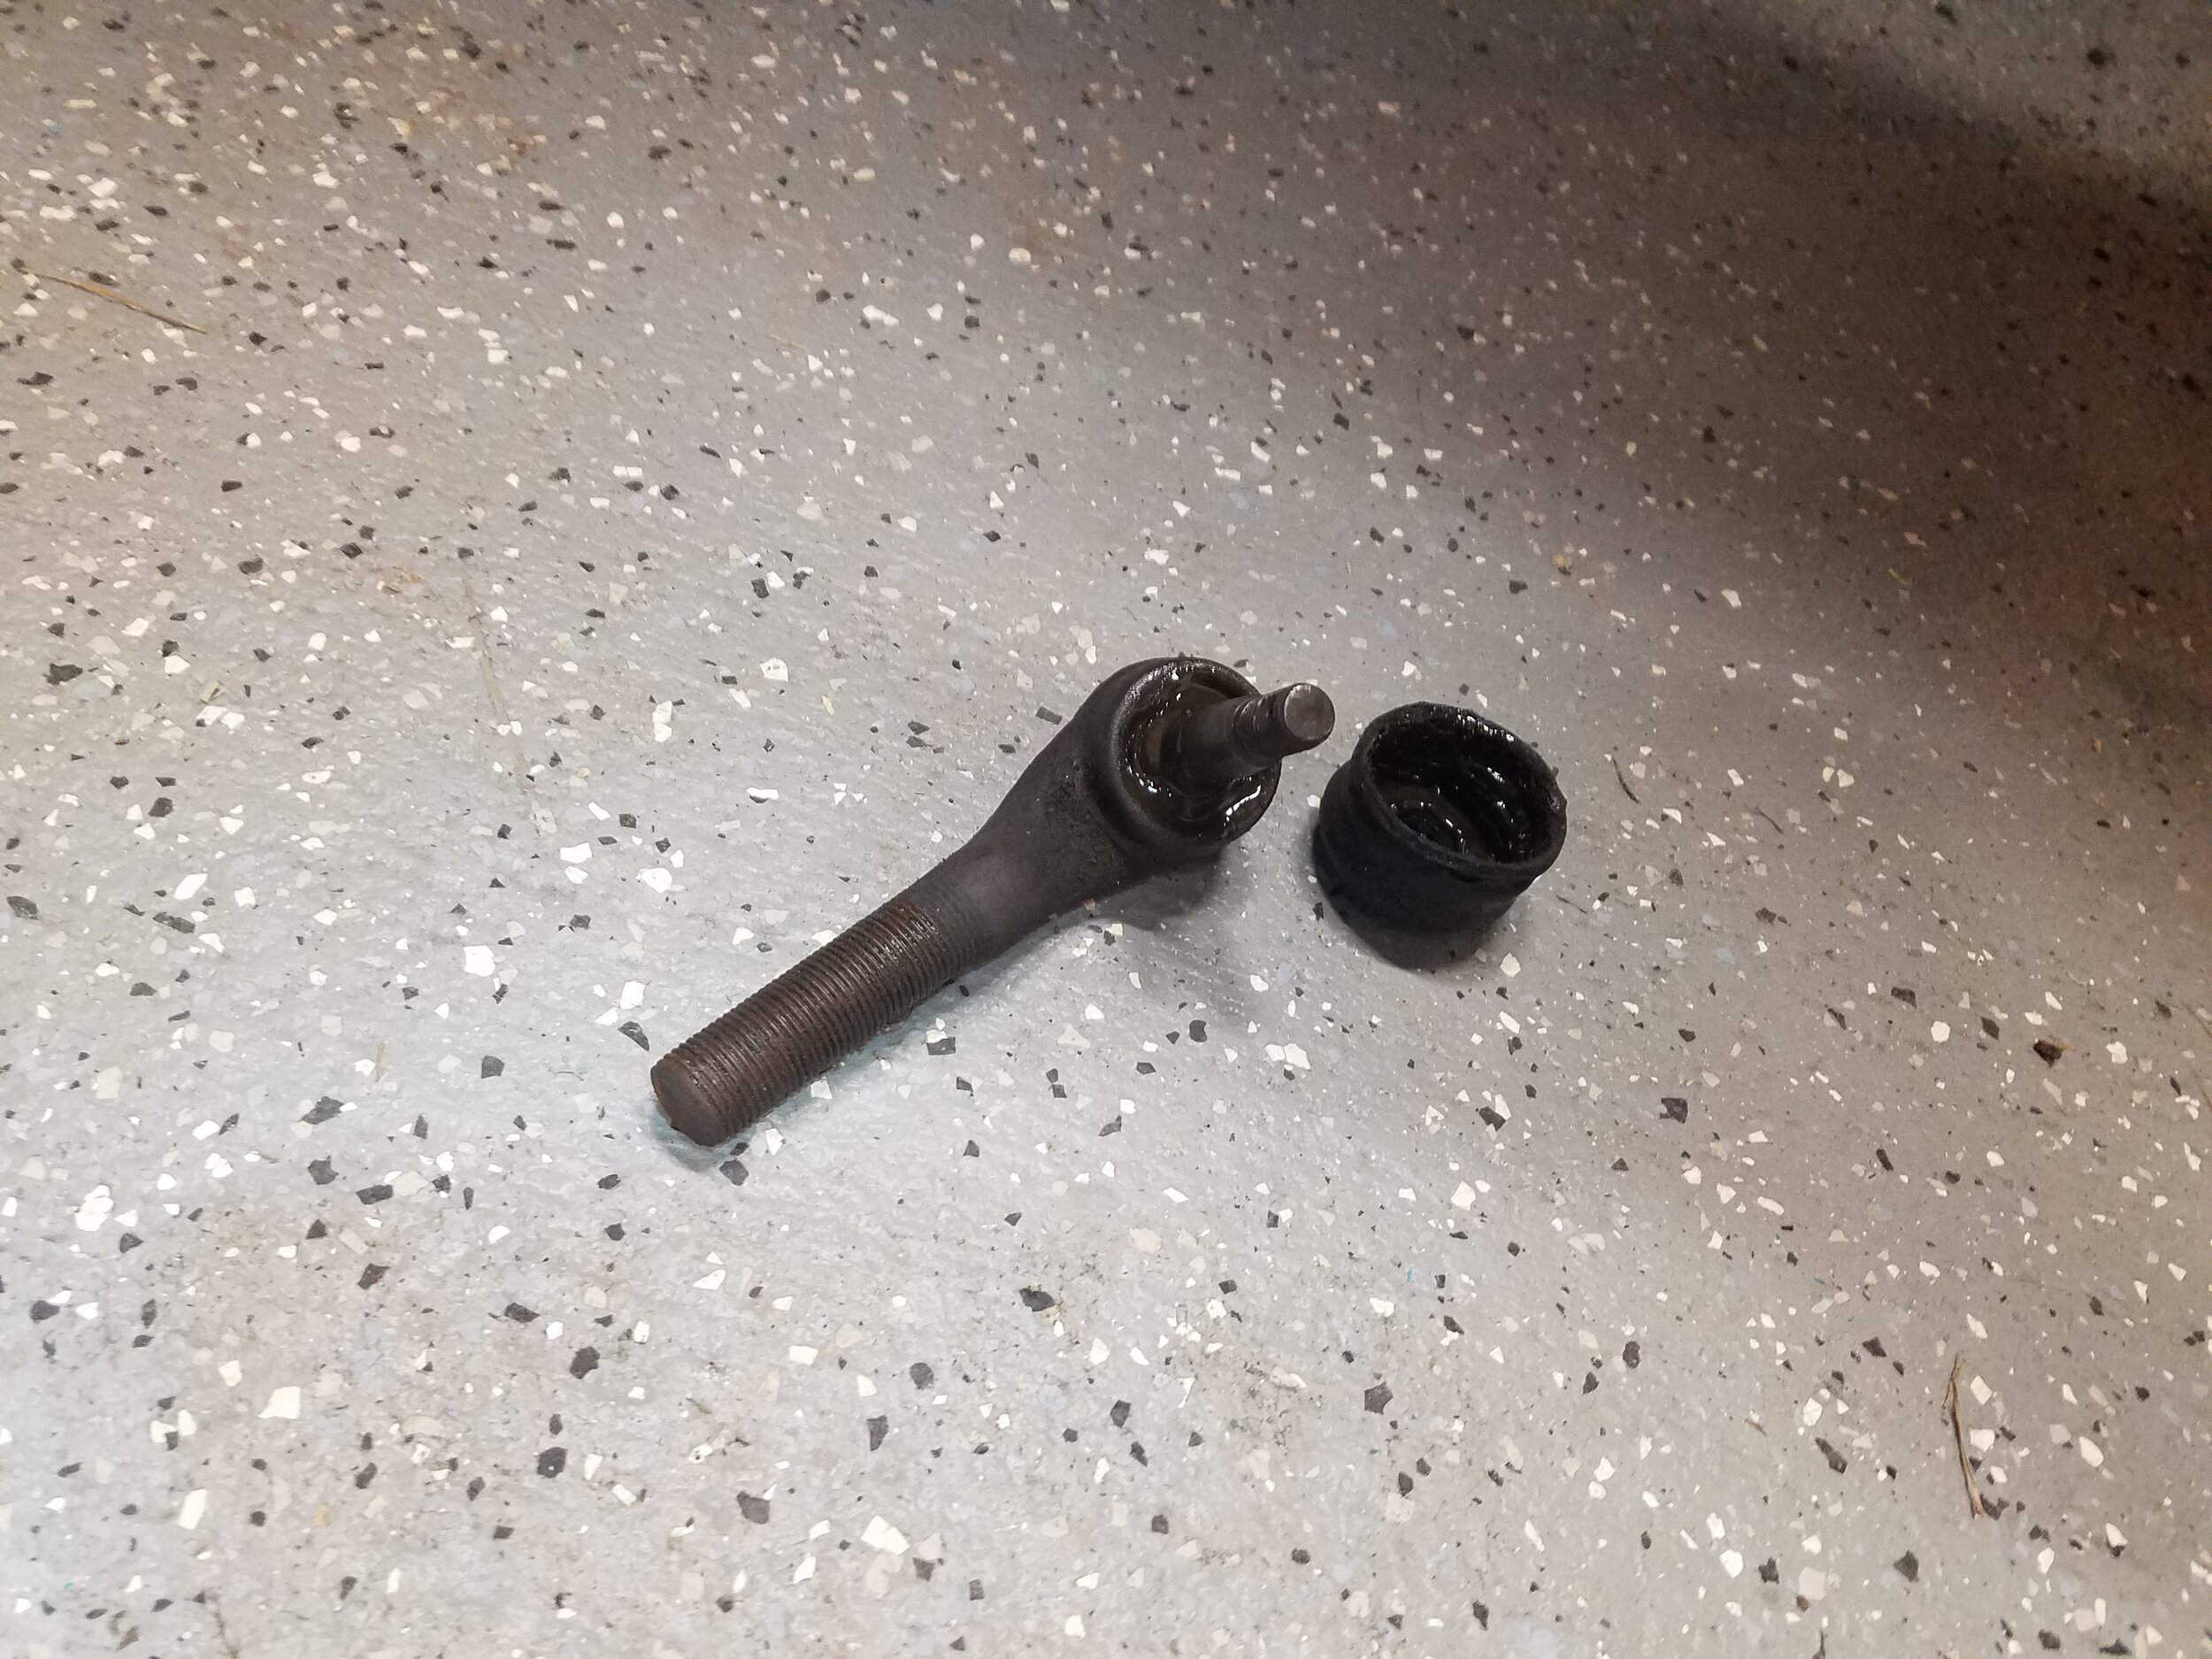
Who needs these things??? I sure did. Apparently all of these suspension parts are very critical to the safety of the car when driving. And mine were in less than ideal shape. Tie Rods were loose, and it was just an overall good idea to replace it all new.

And, we also replaced the rotors. Here I thought brakes were done…

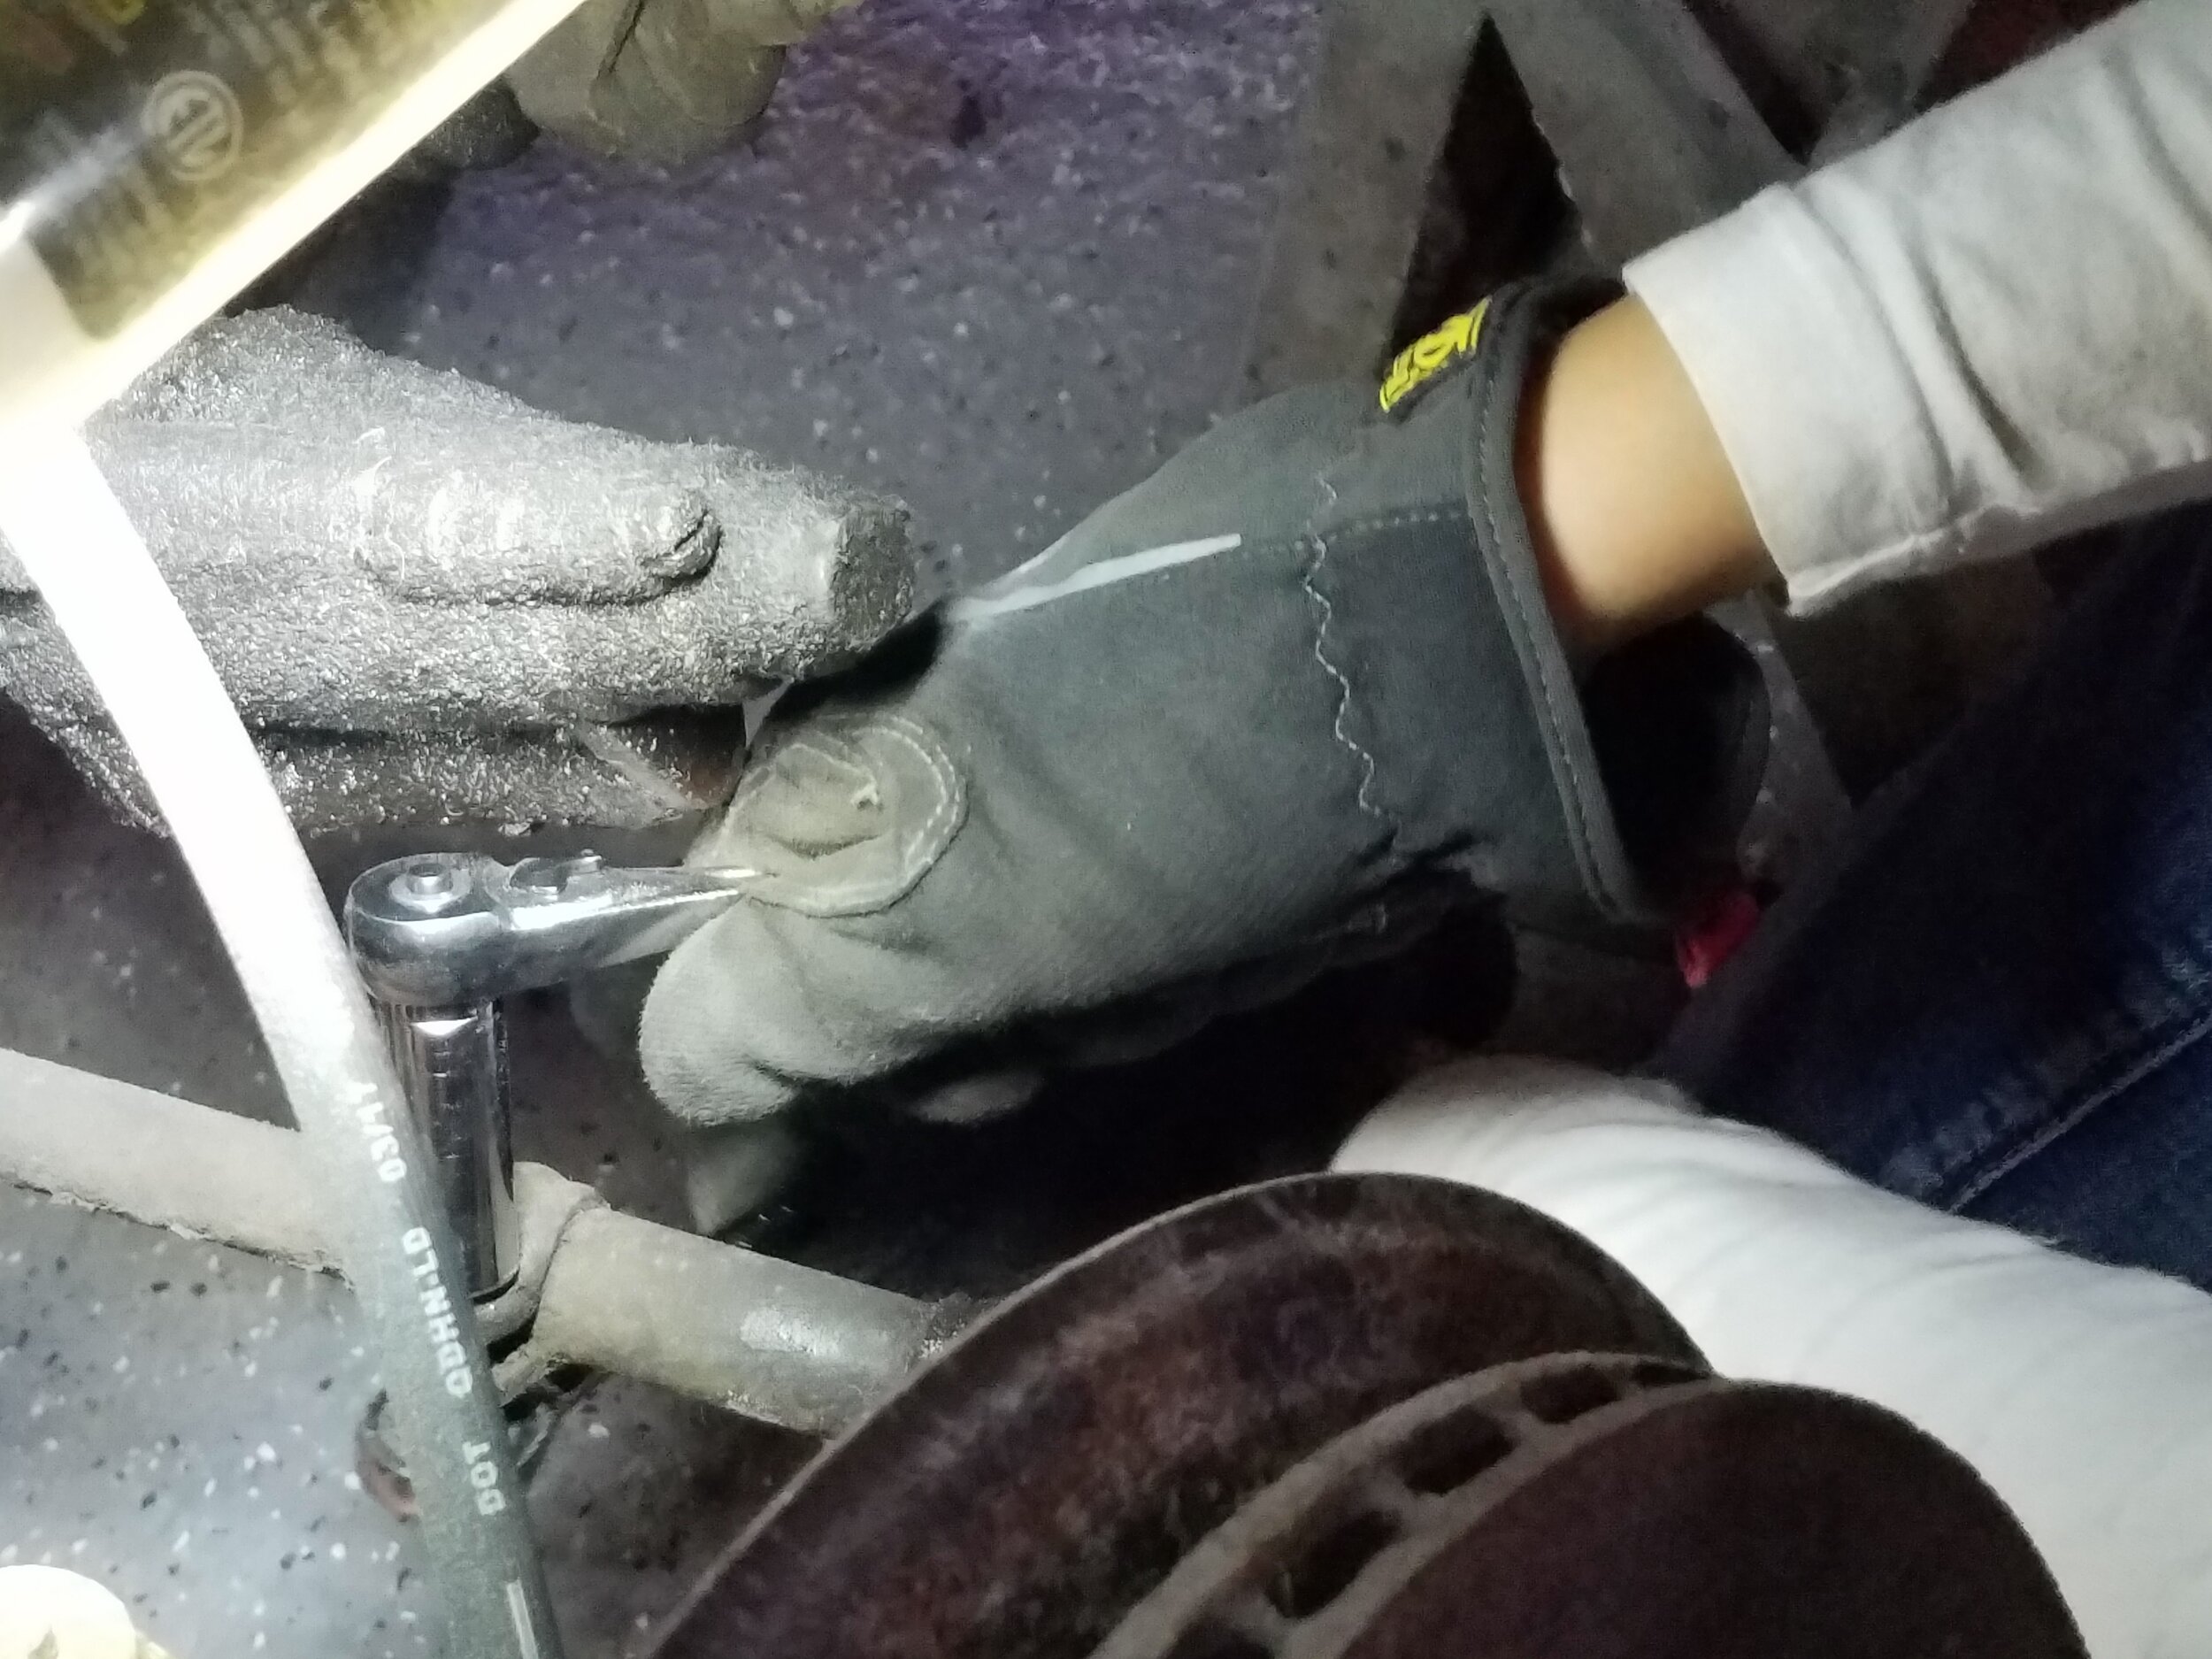
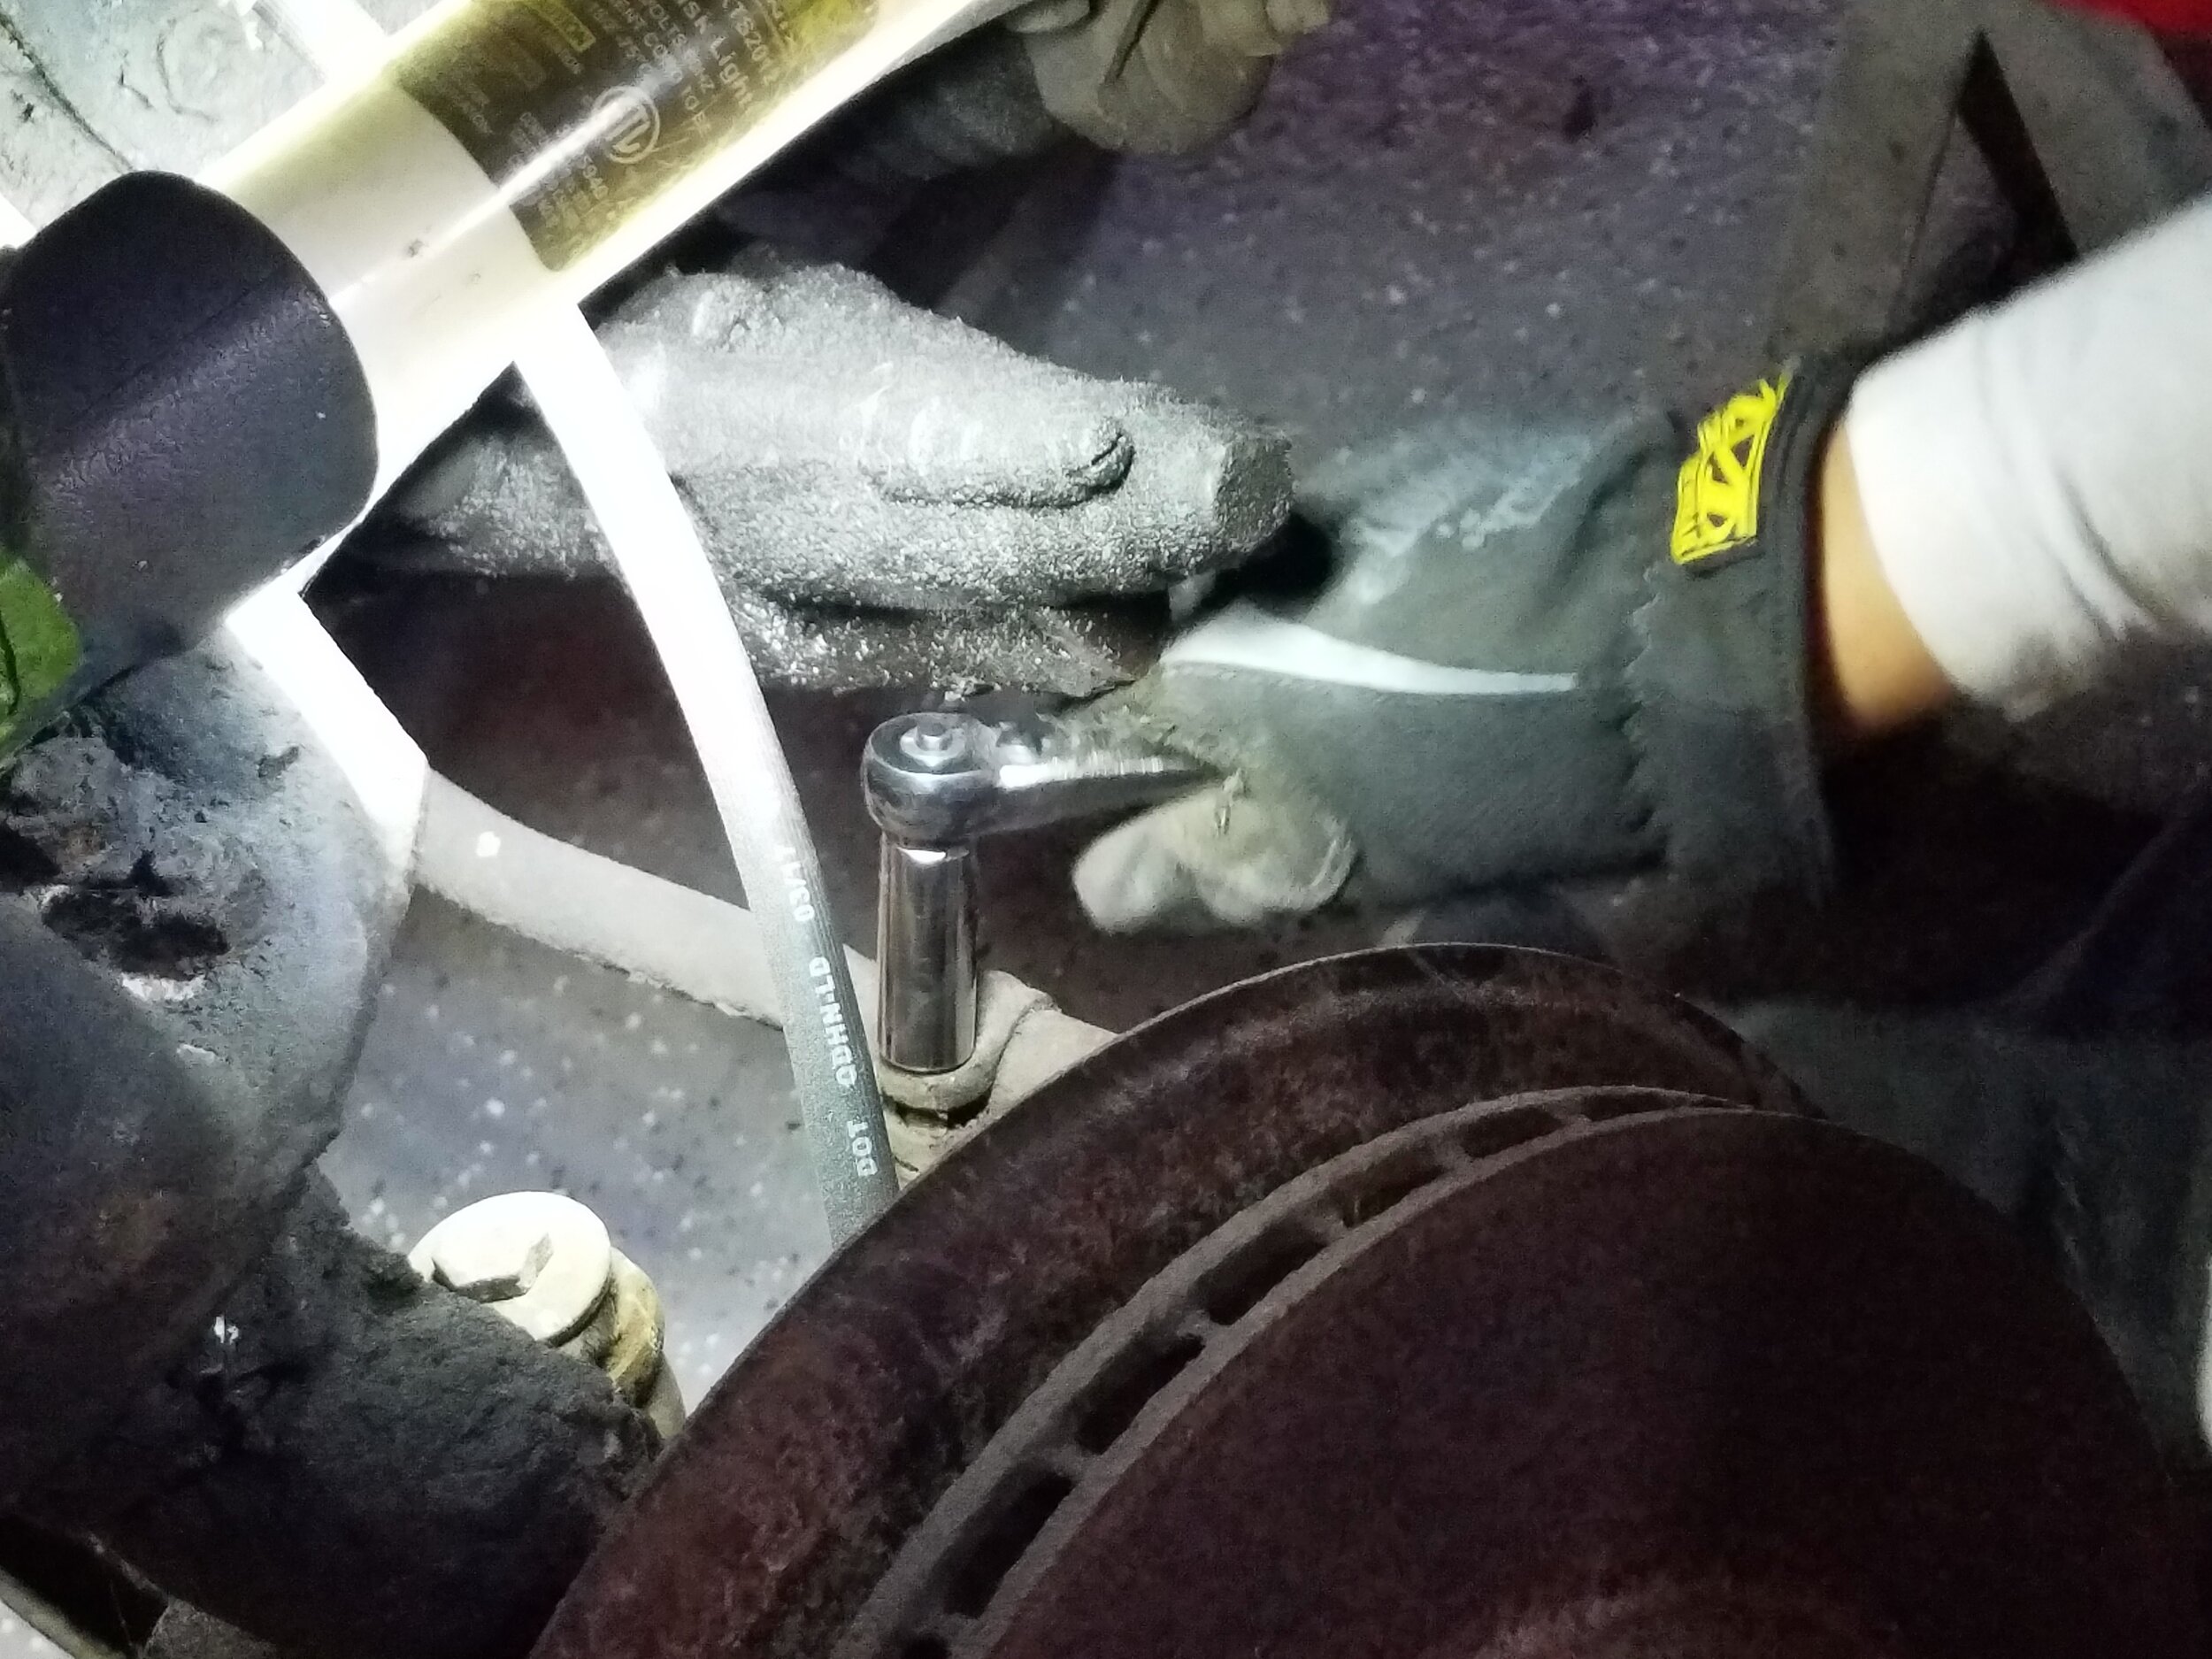
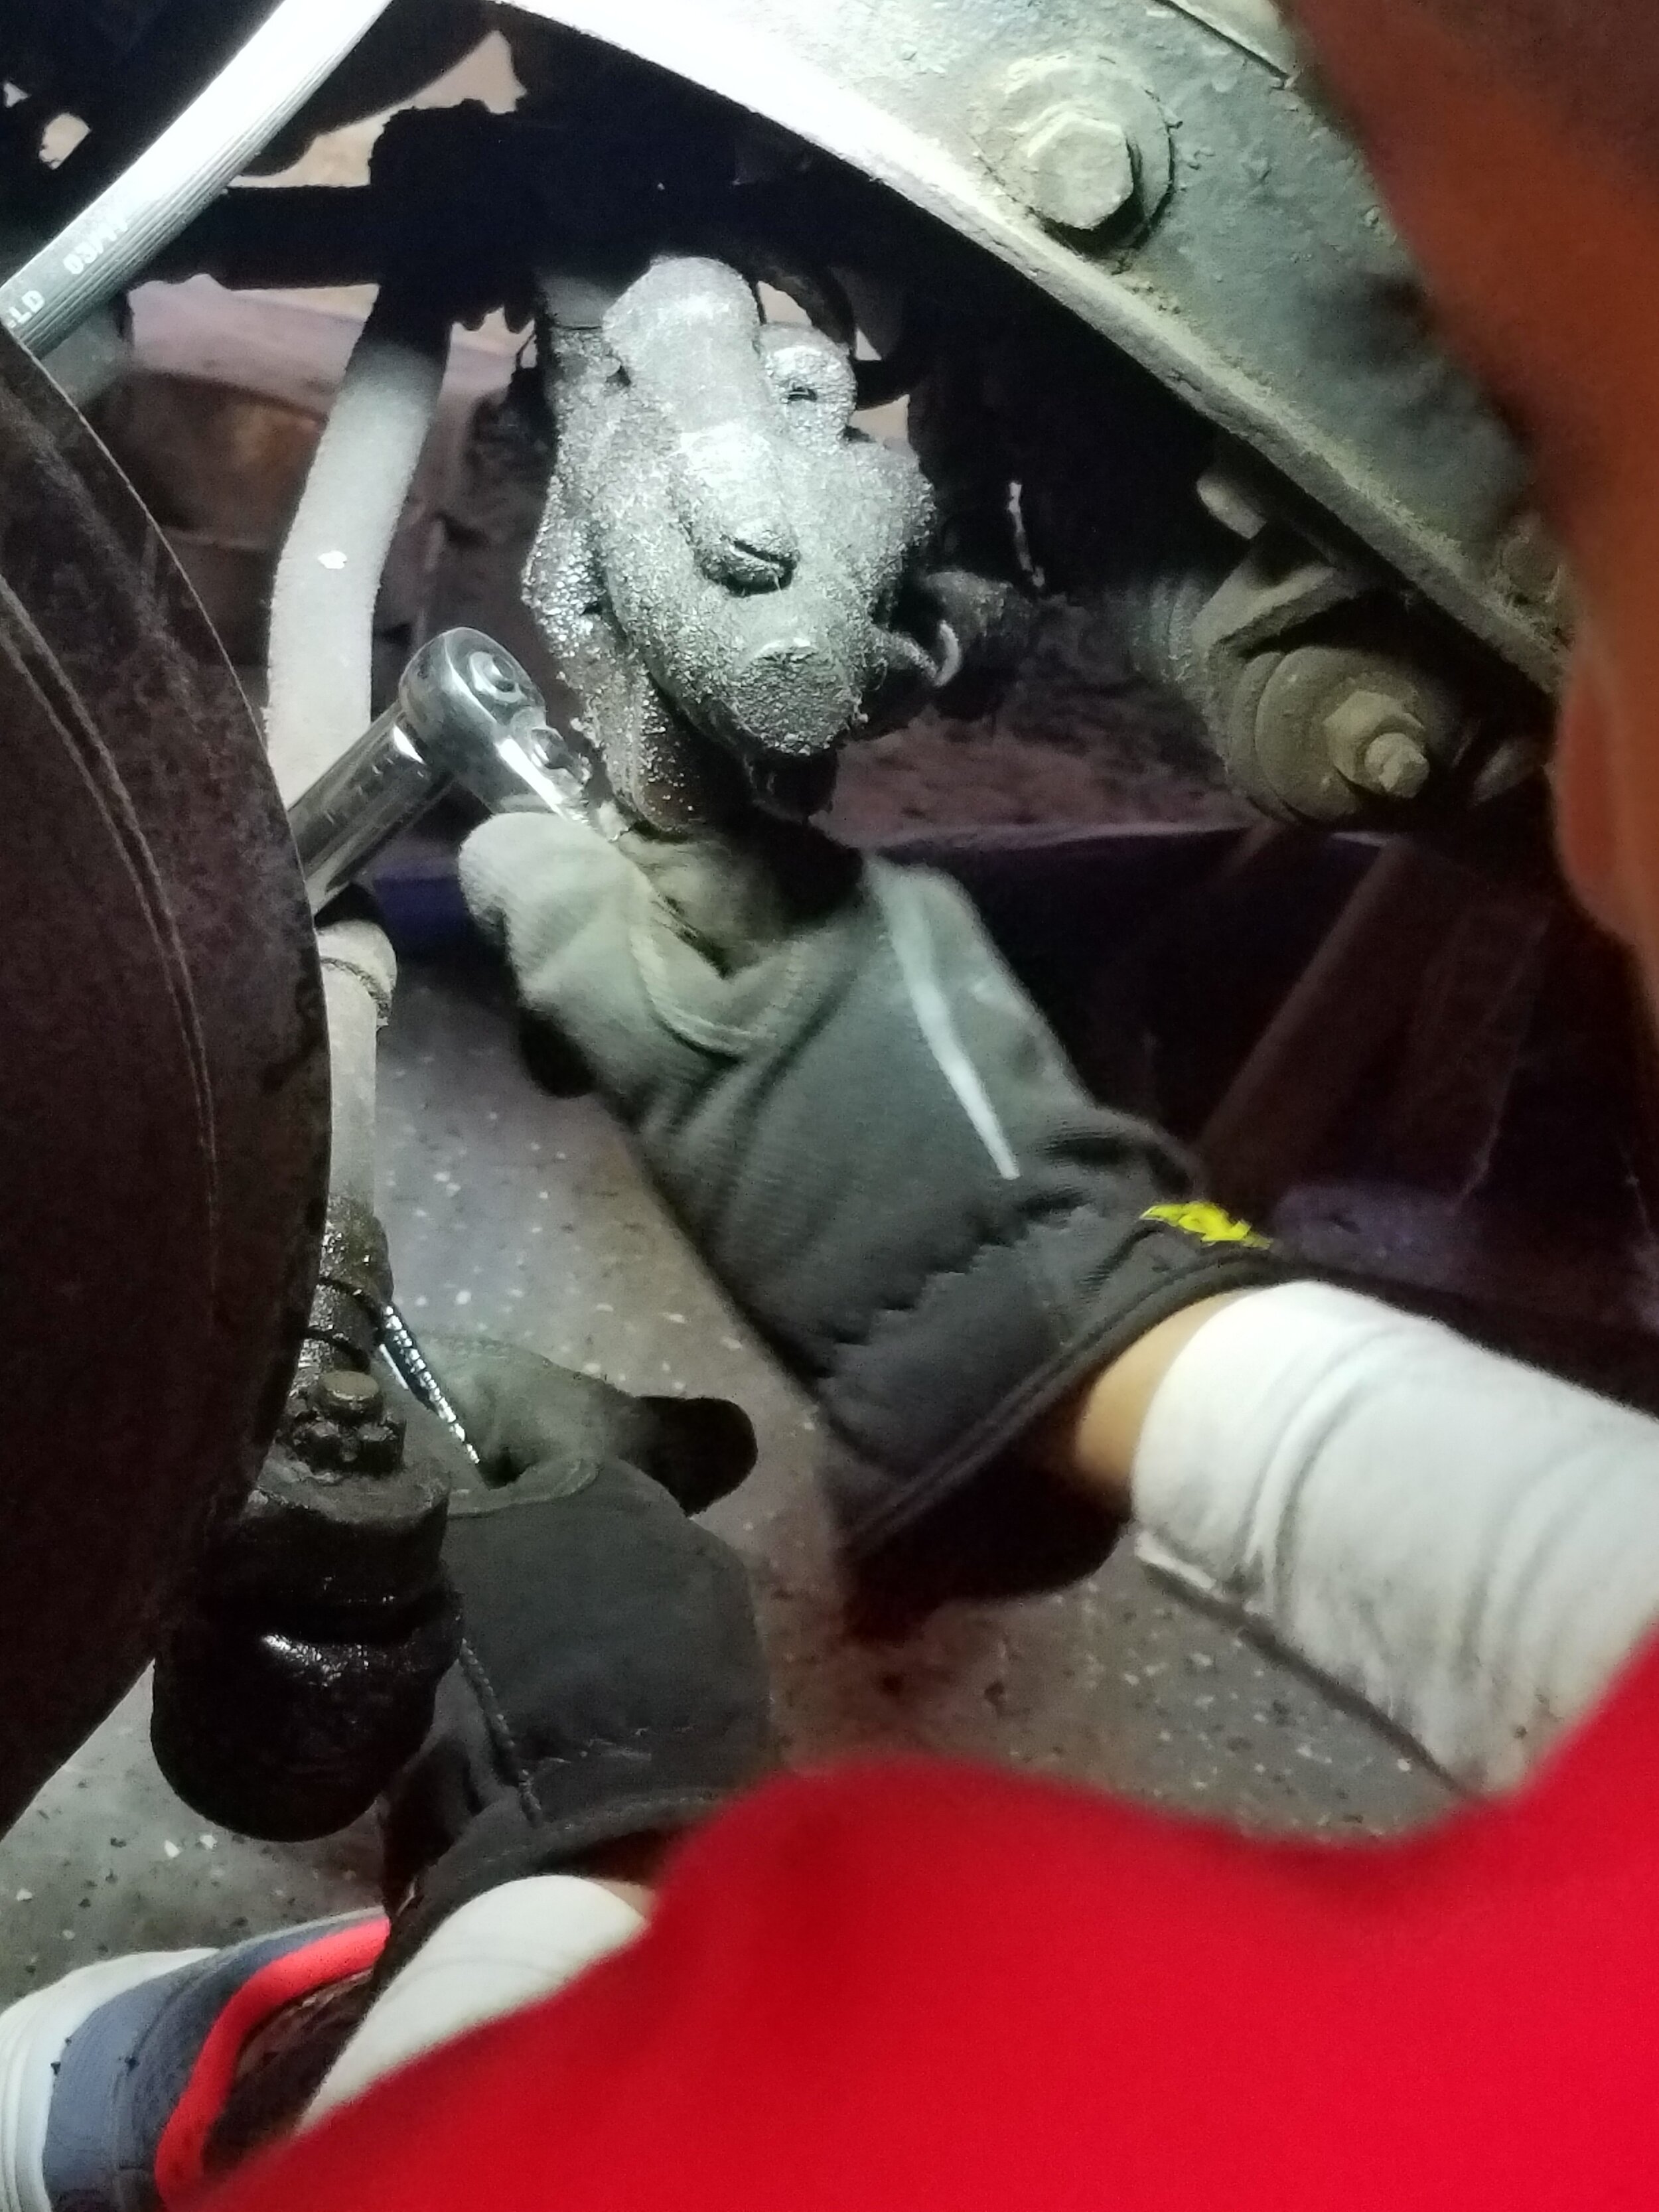
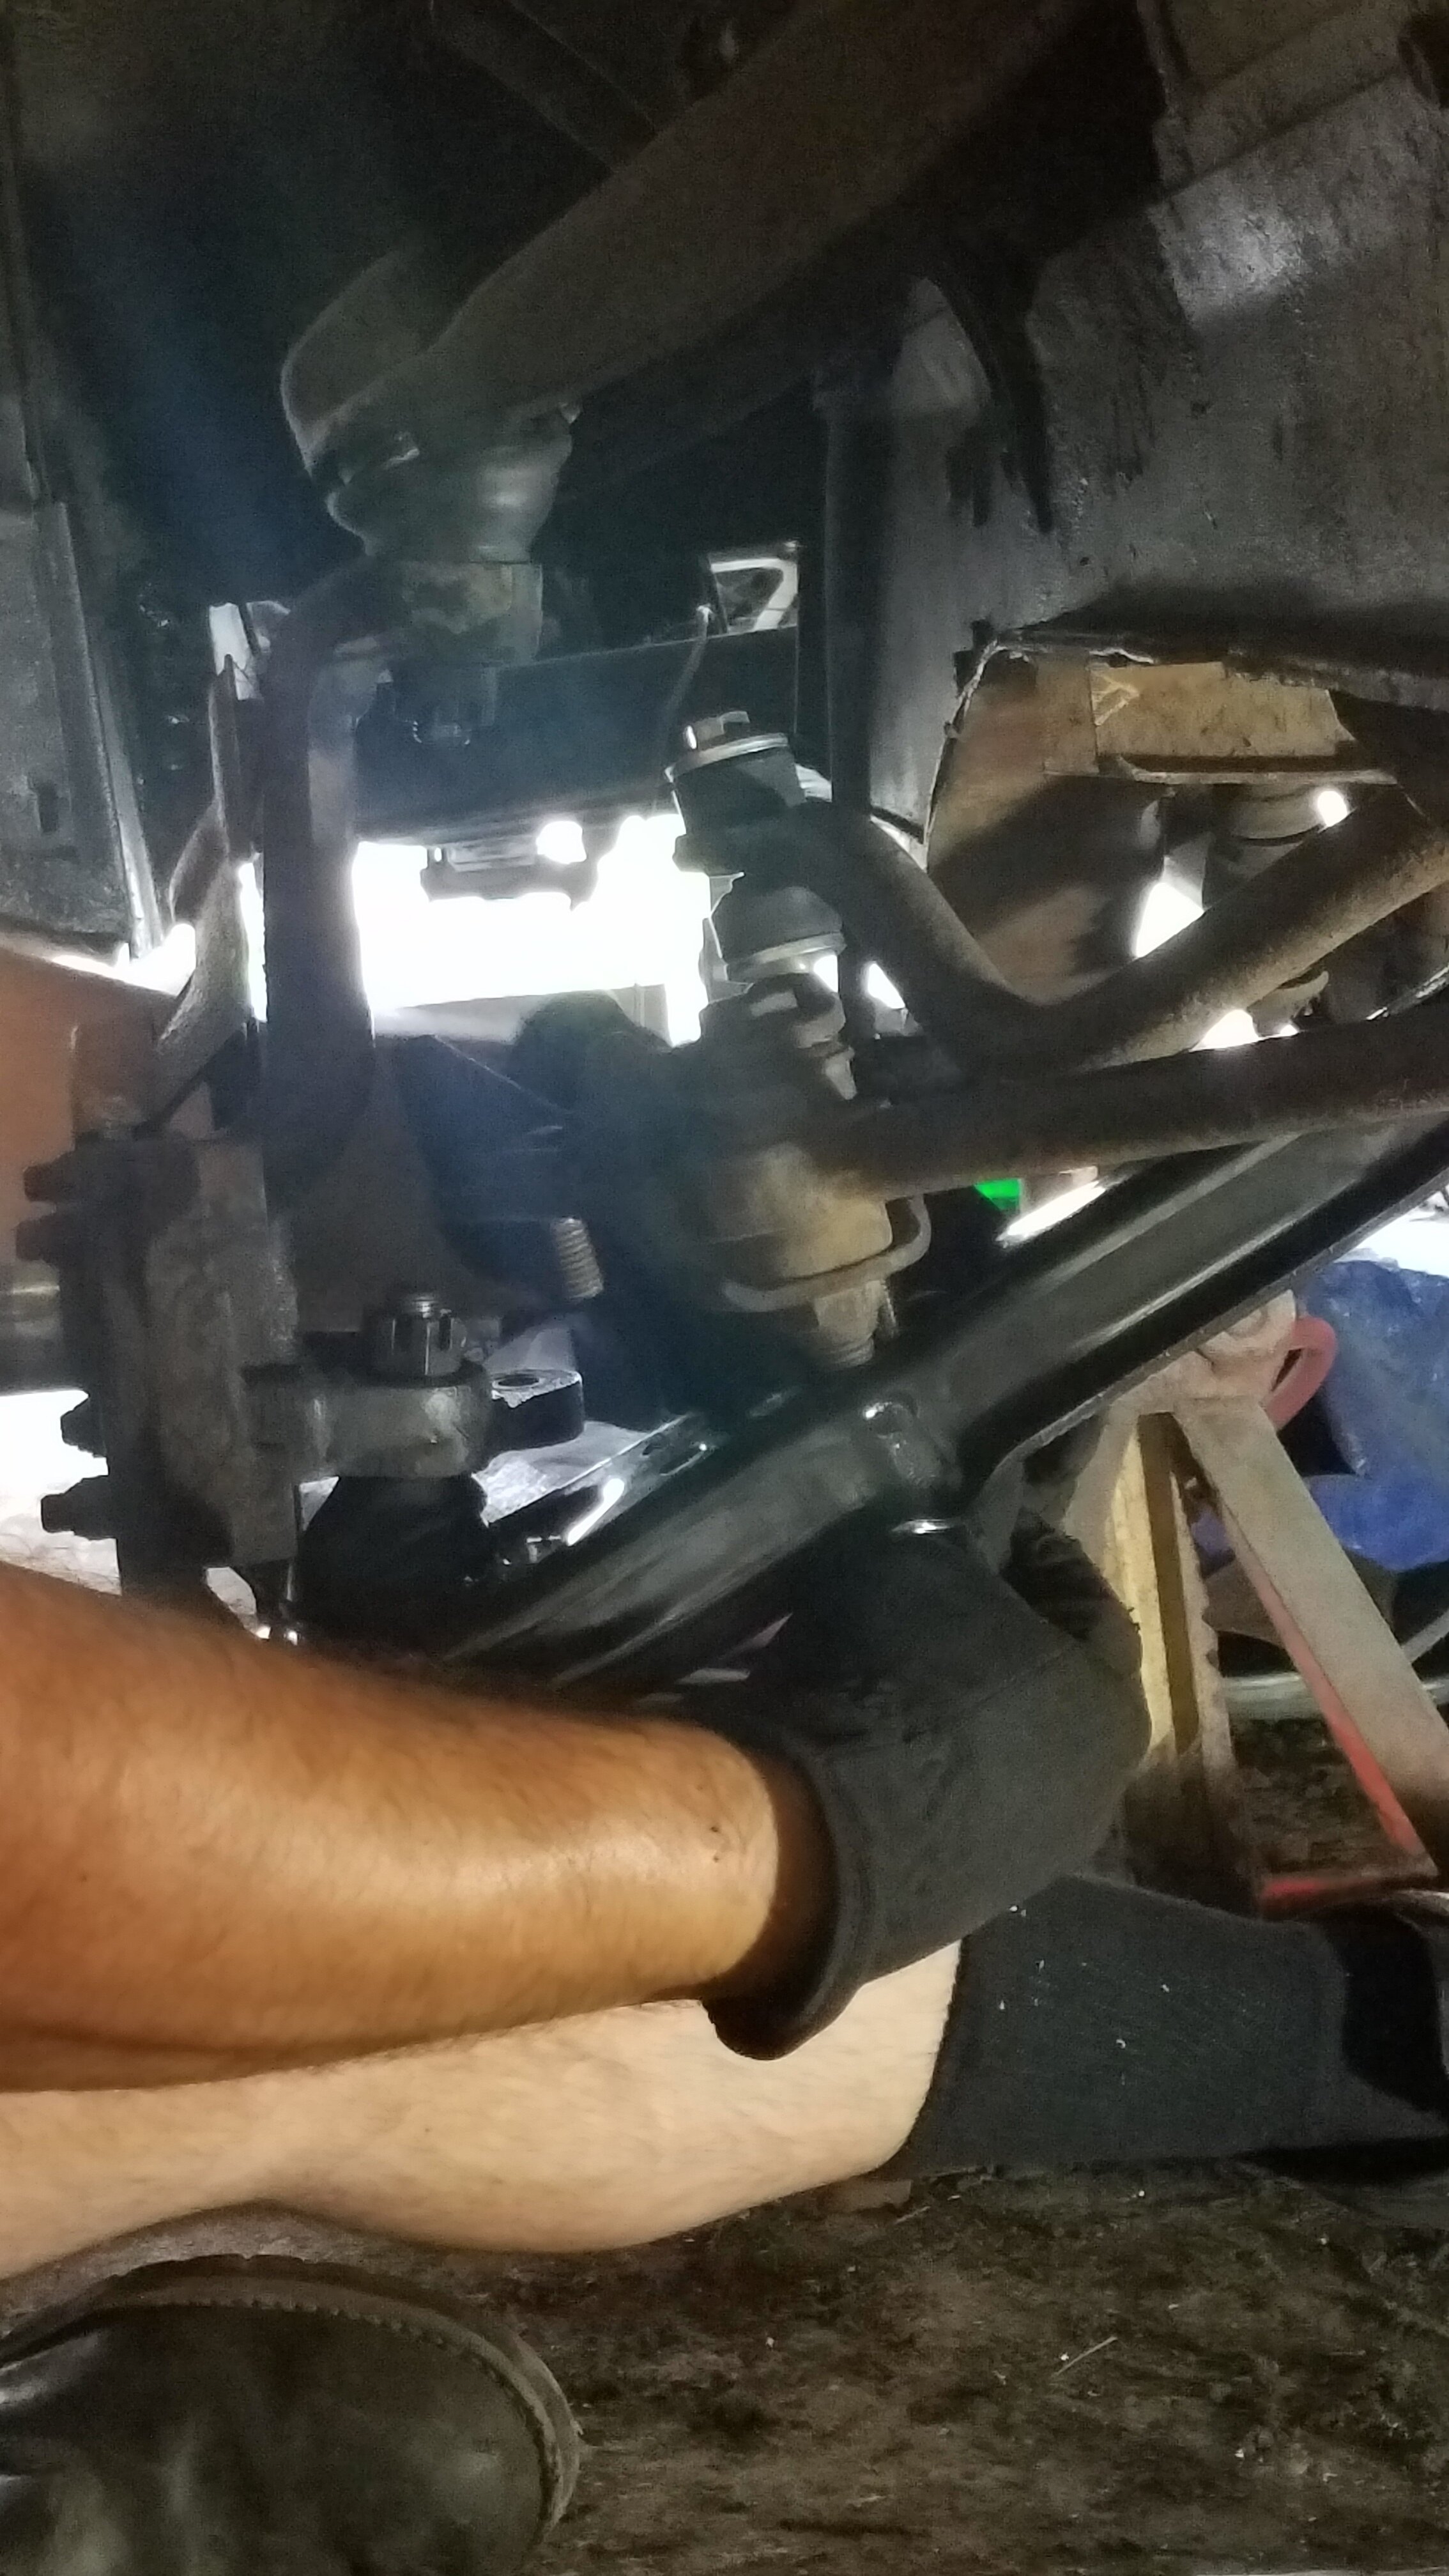
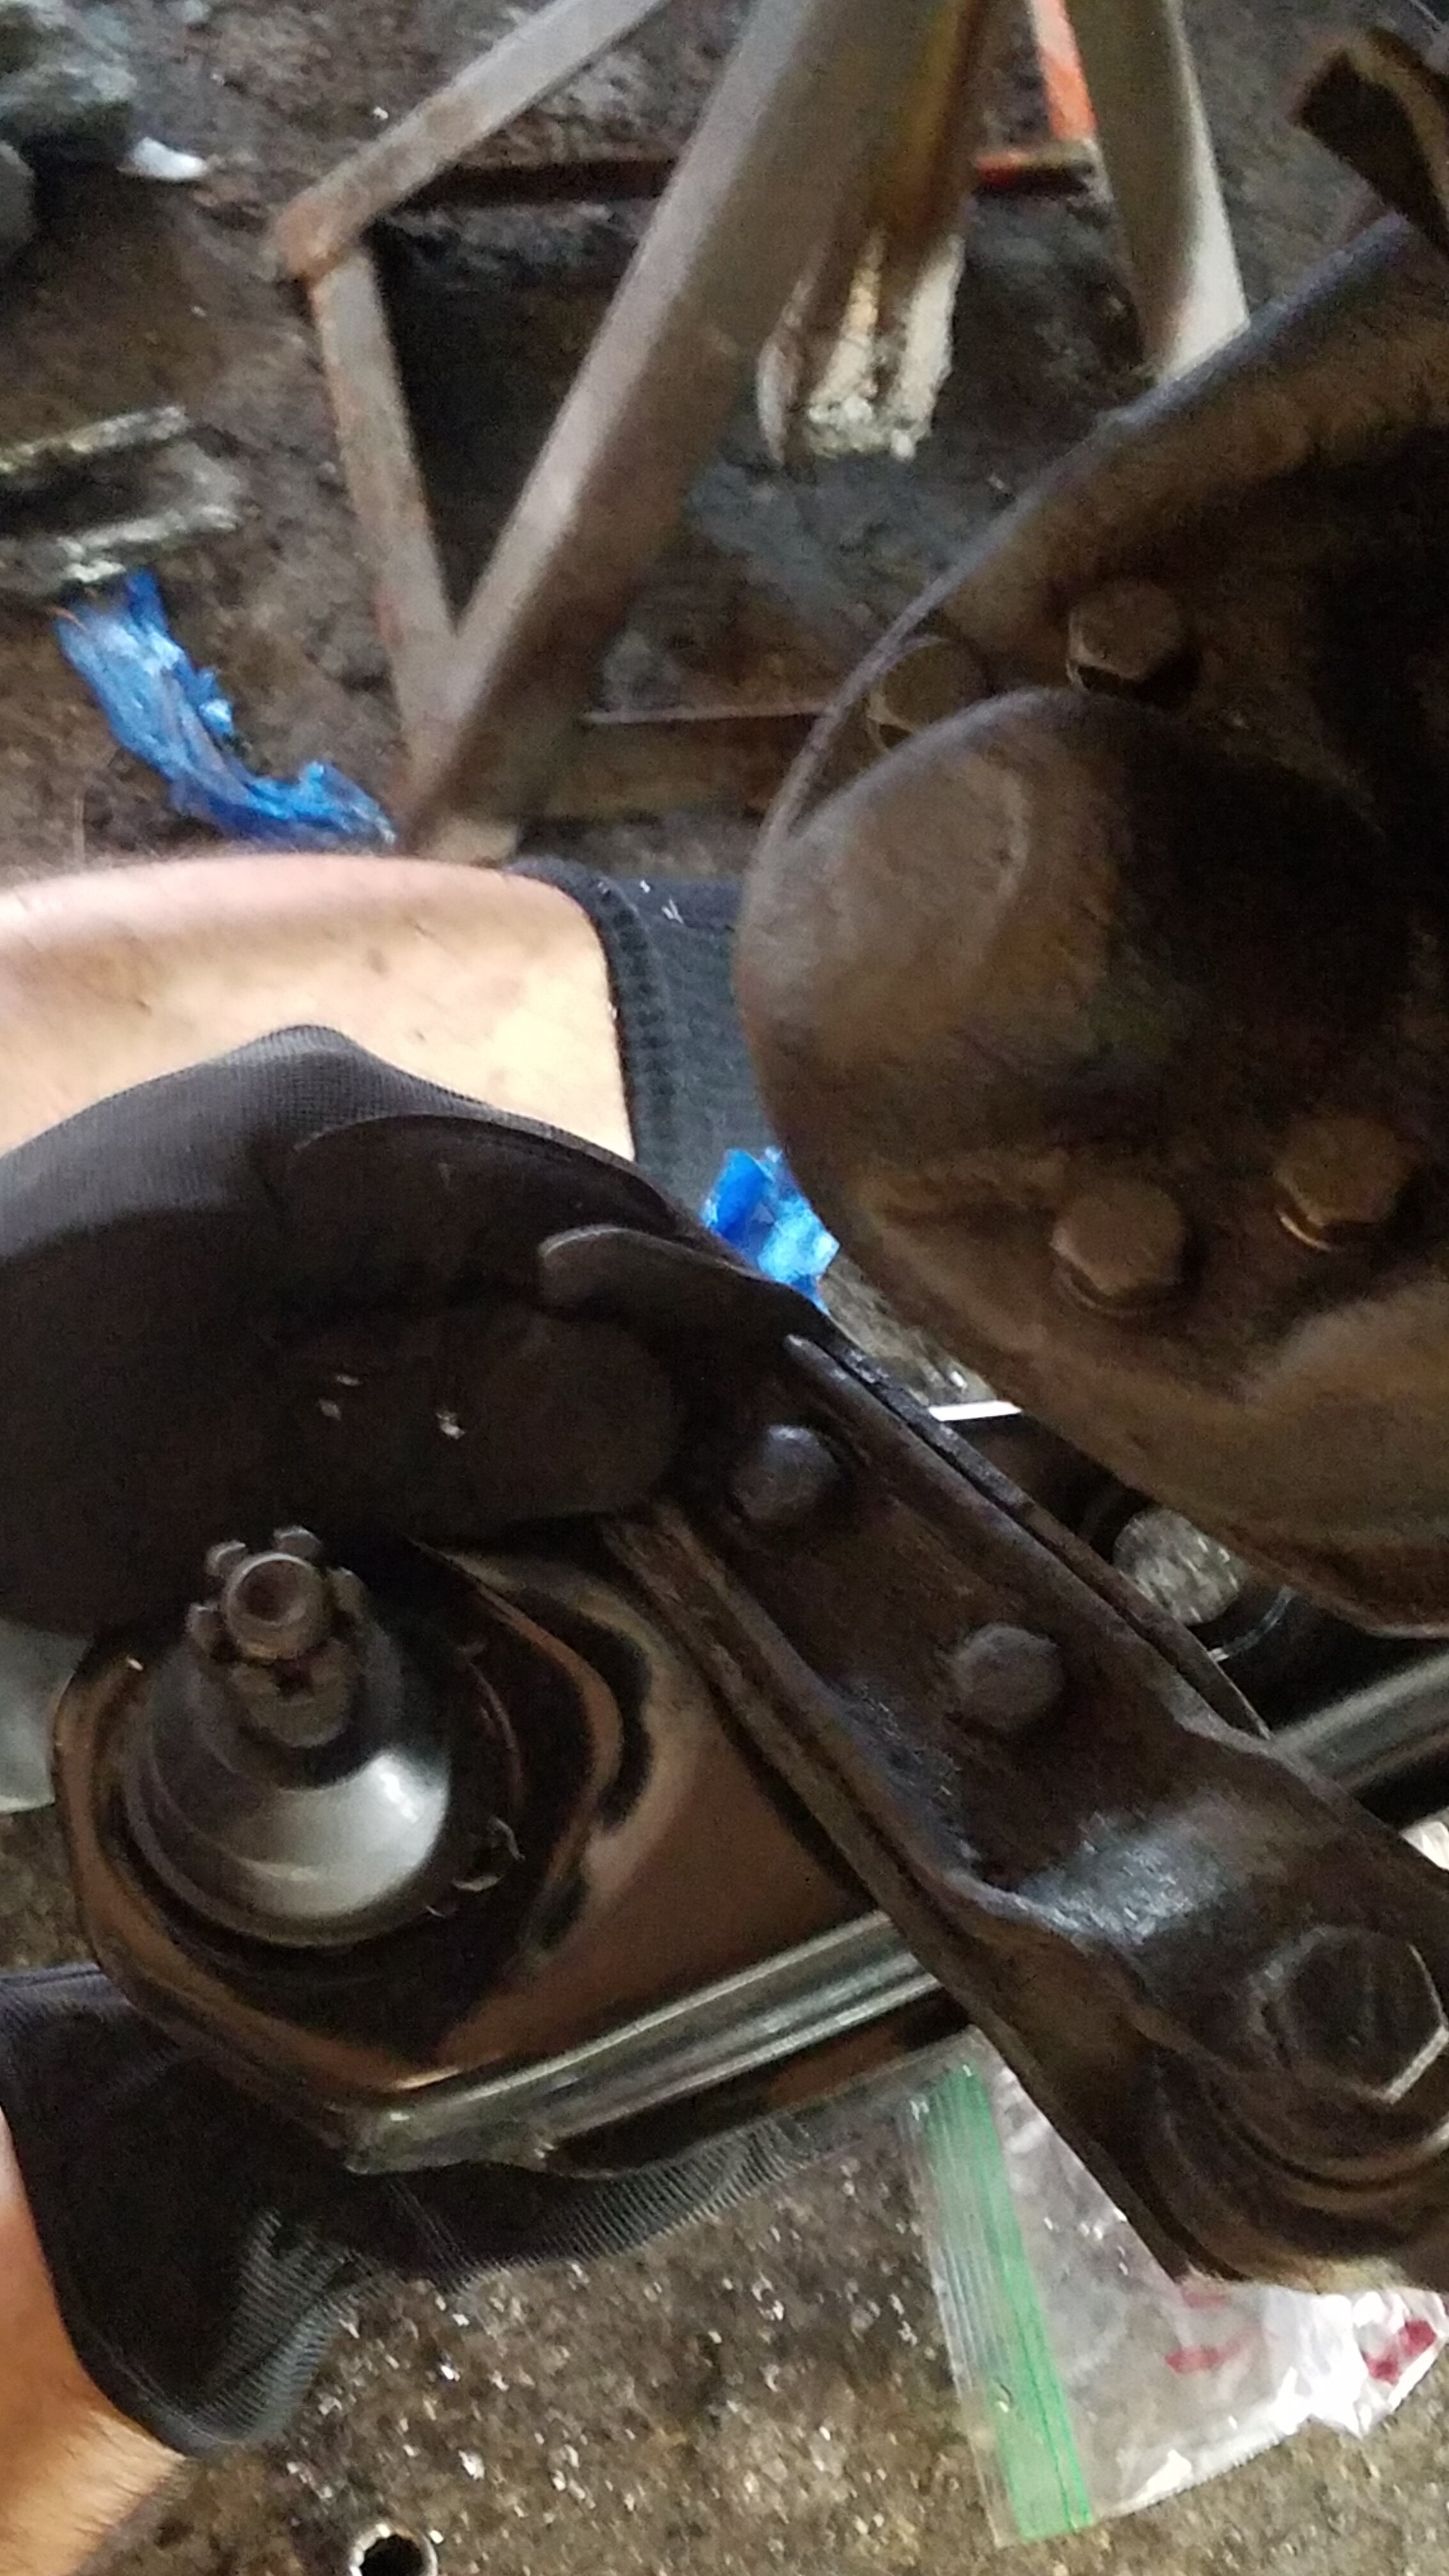
This was a VERY HARD job. It took many weekends between my cousin and I just to get the old ones off. These suspension parts were bolted on tight, for good reason. Add rust, and it was a project alright. My cousin had to drill some old ball joints out. I slammed on a lot of things. My cousin even had one of the those fork things to lift the ball joints out. No dice!
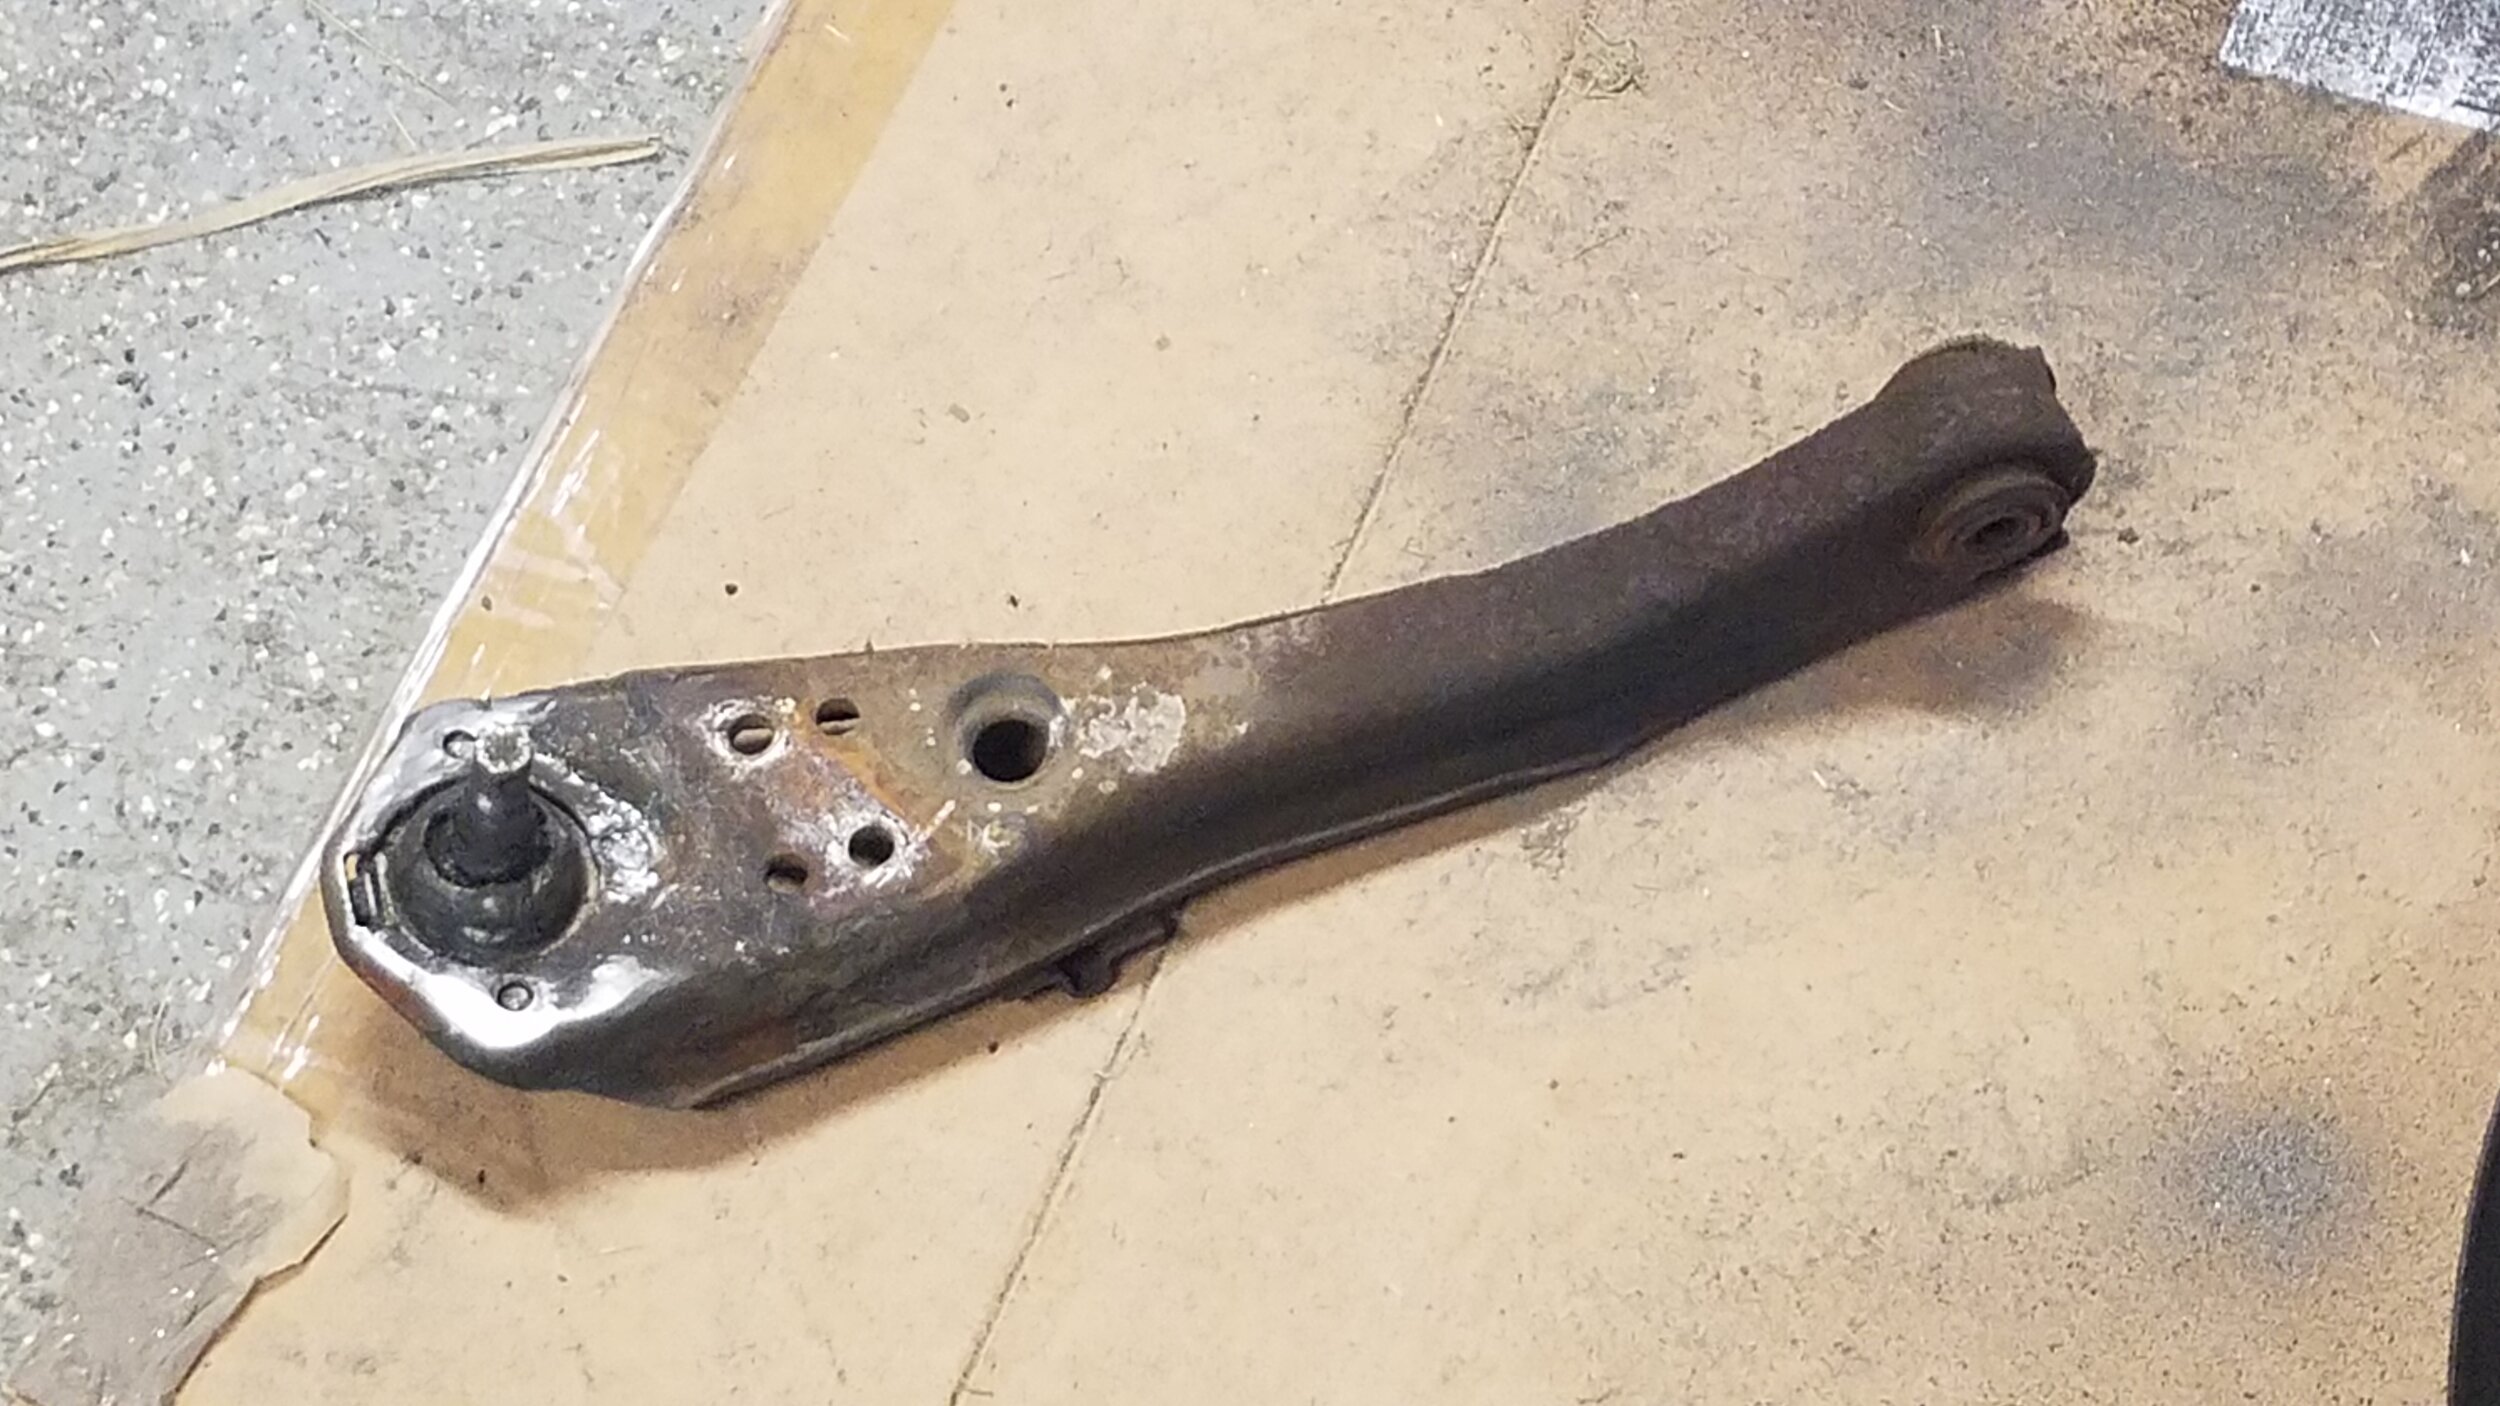
This was one of those projects that definitely makes you feel weak. But in the end it looks AWESOME! Be sure to remember how many rotations your tie rods had connecting the inner and outer…this helps to make sure alignment is close before having it professionally adjusted. Learn something new every day!

After getting it all together, I spray painted the inner fender using truck bed paint. That black with the new slotted silver rotors, and new brake lines/hoses, makes it all look very sharp under there, if I do say so myself.
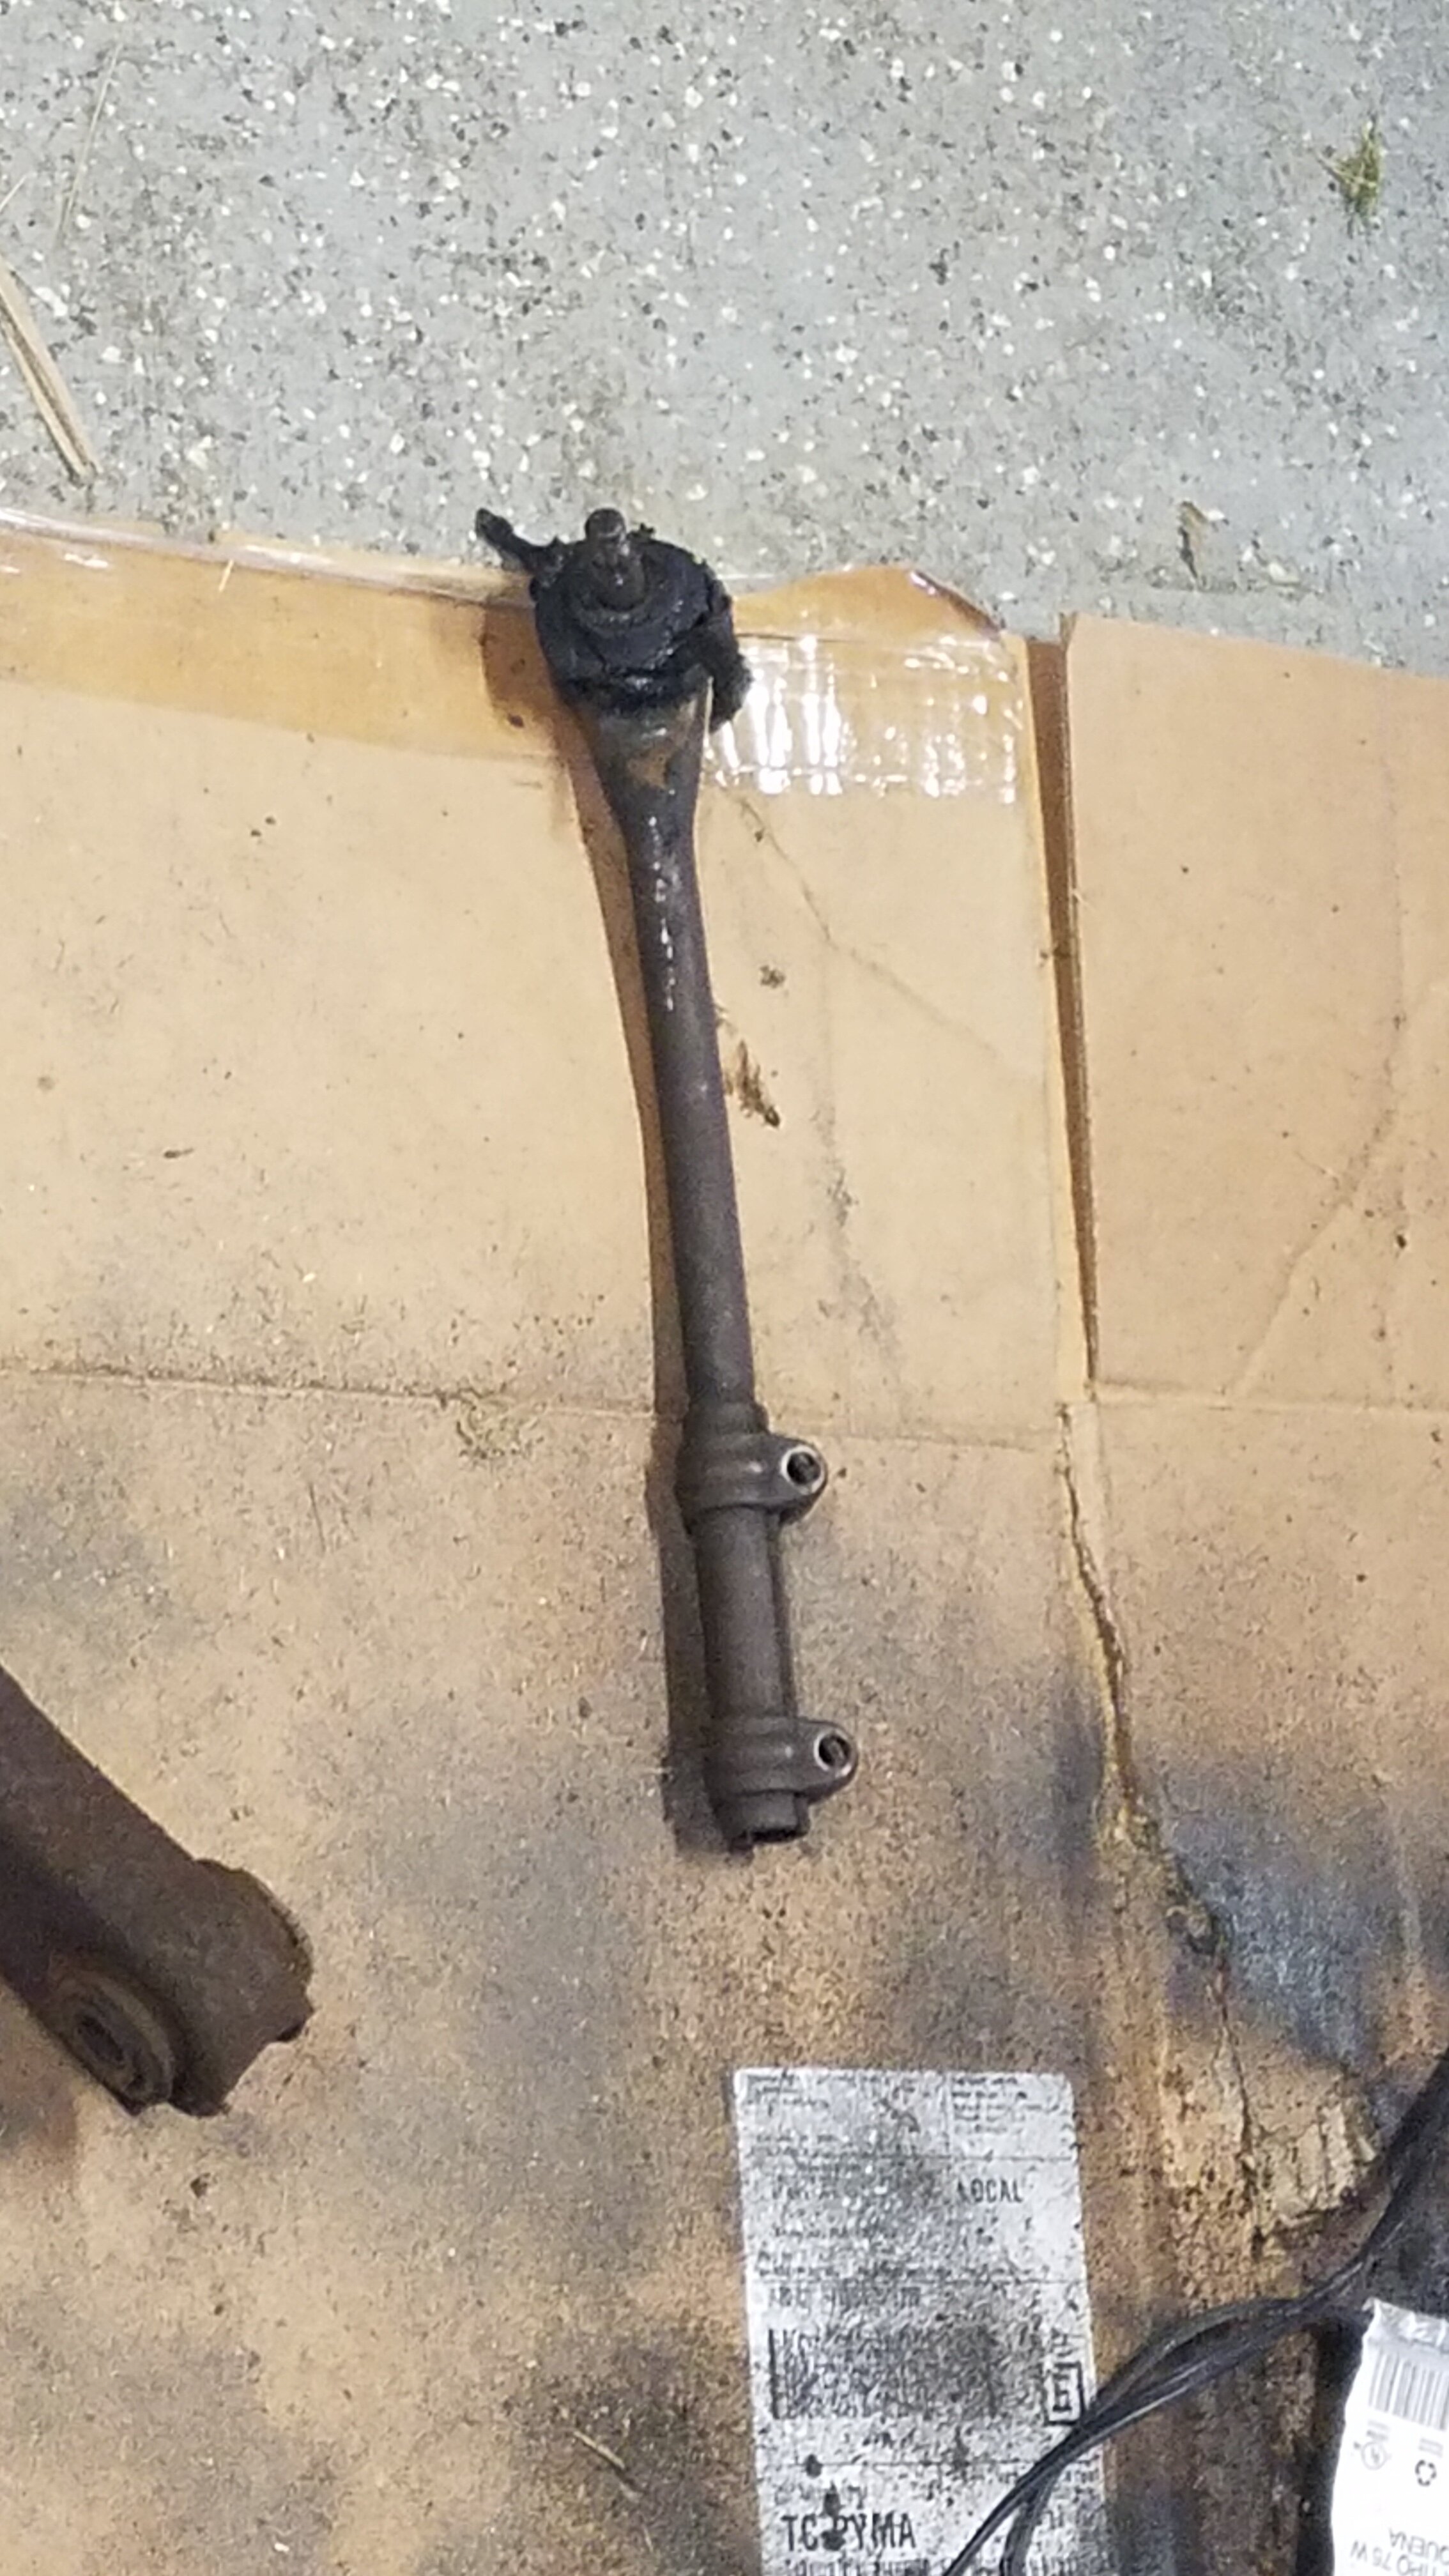
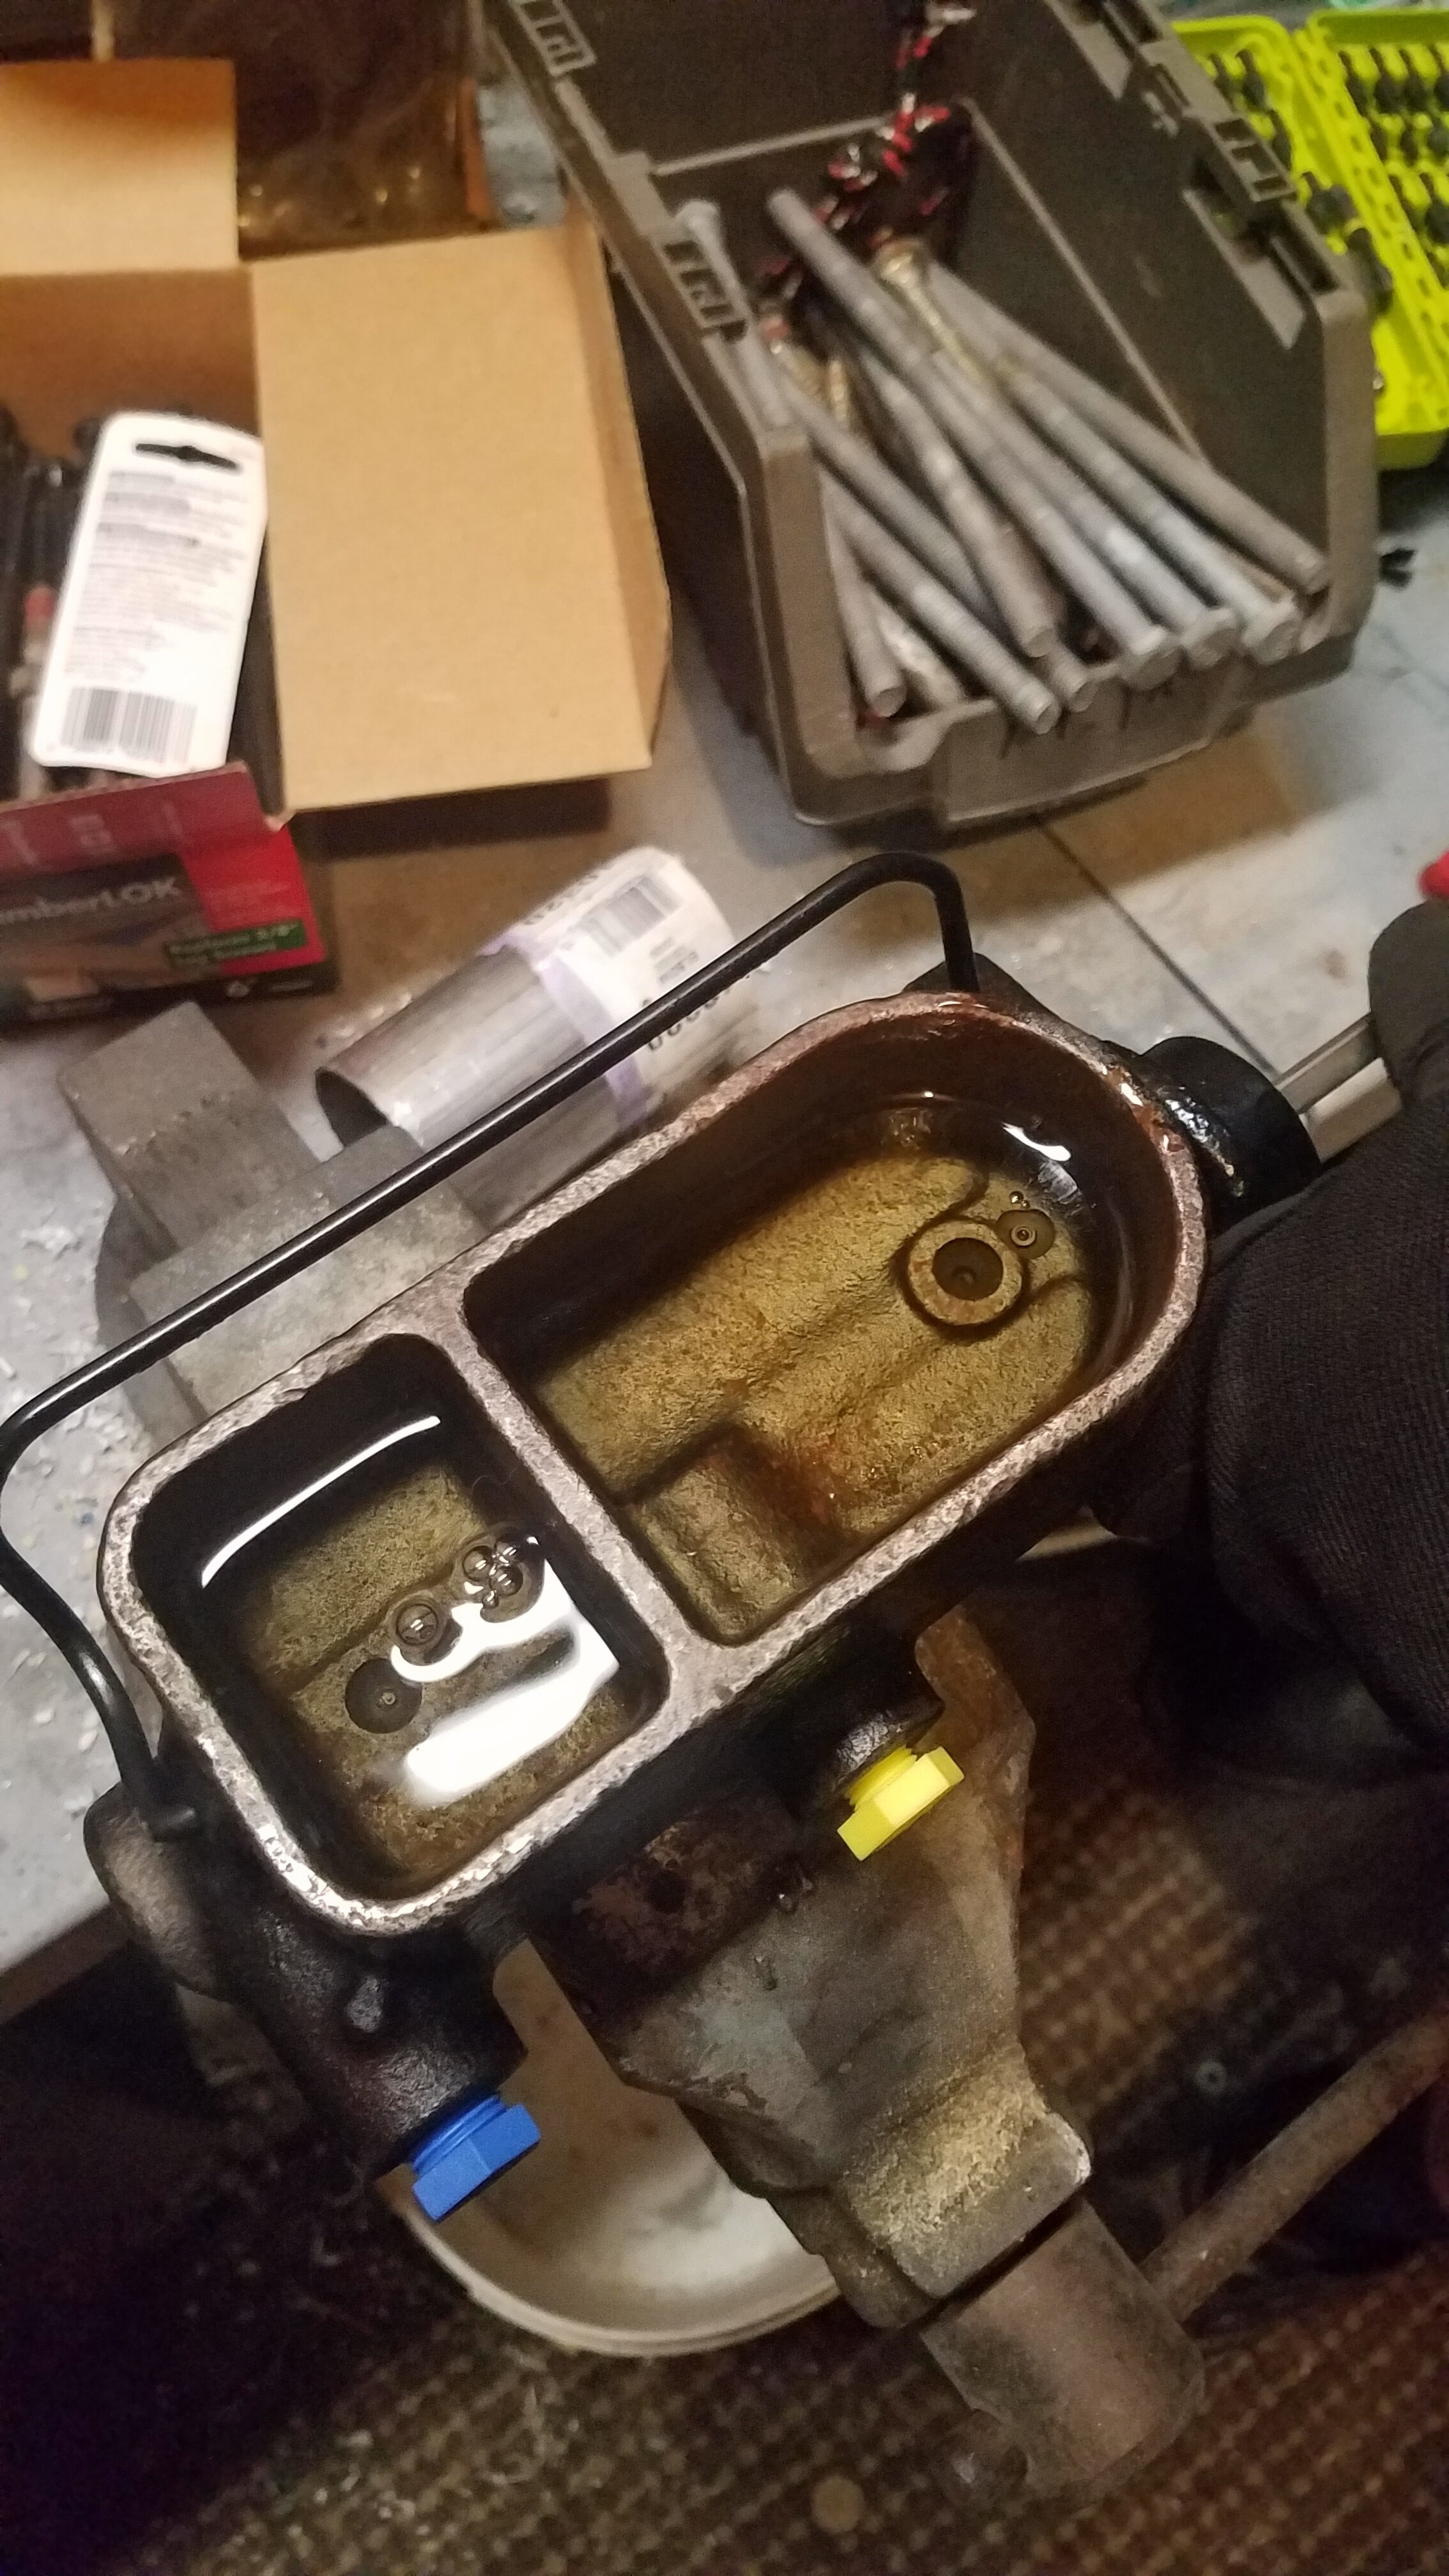
Also, my cousin worked on the master cylinder to help round out the brake project. My brother and I disconnected the gas lines from the tank as well.
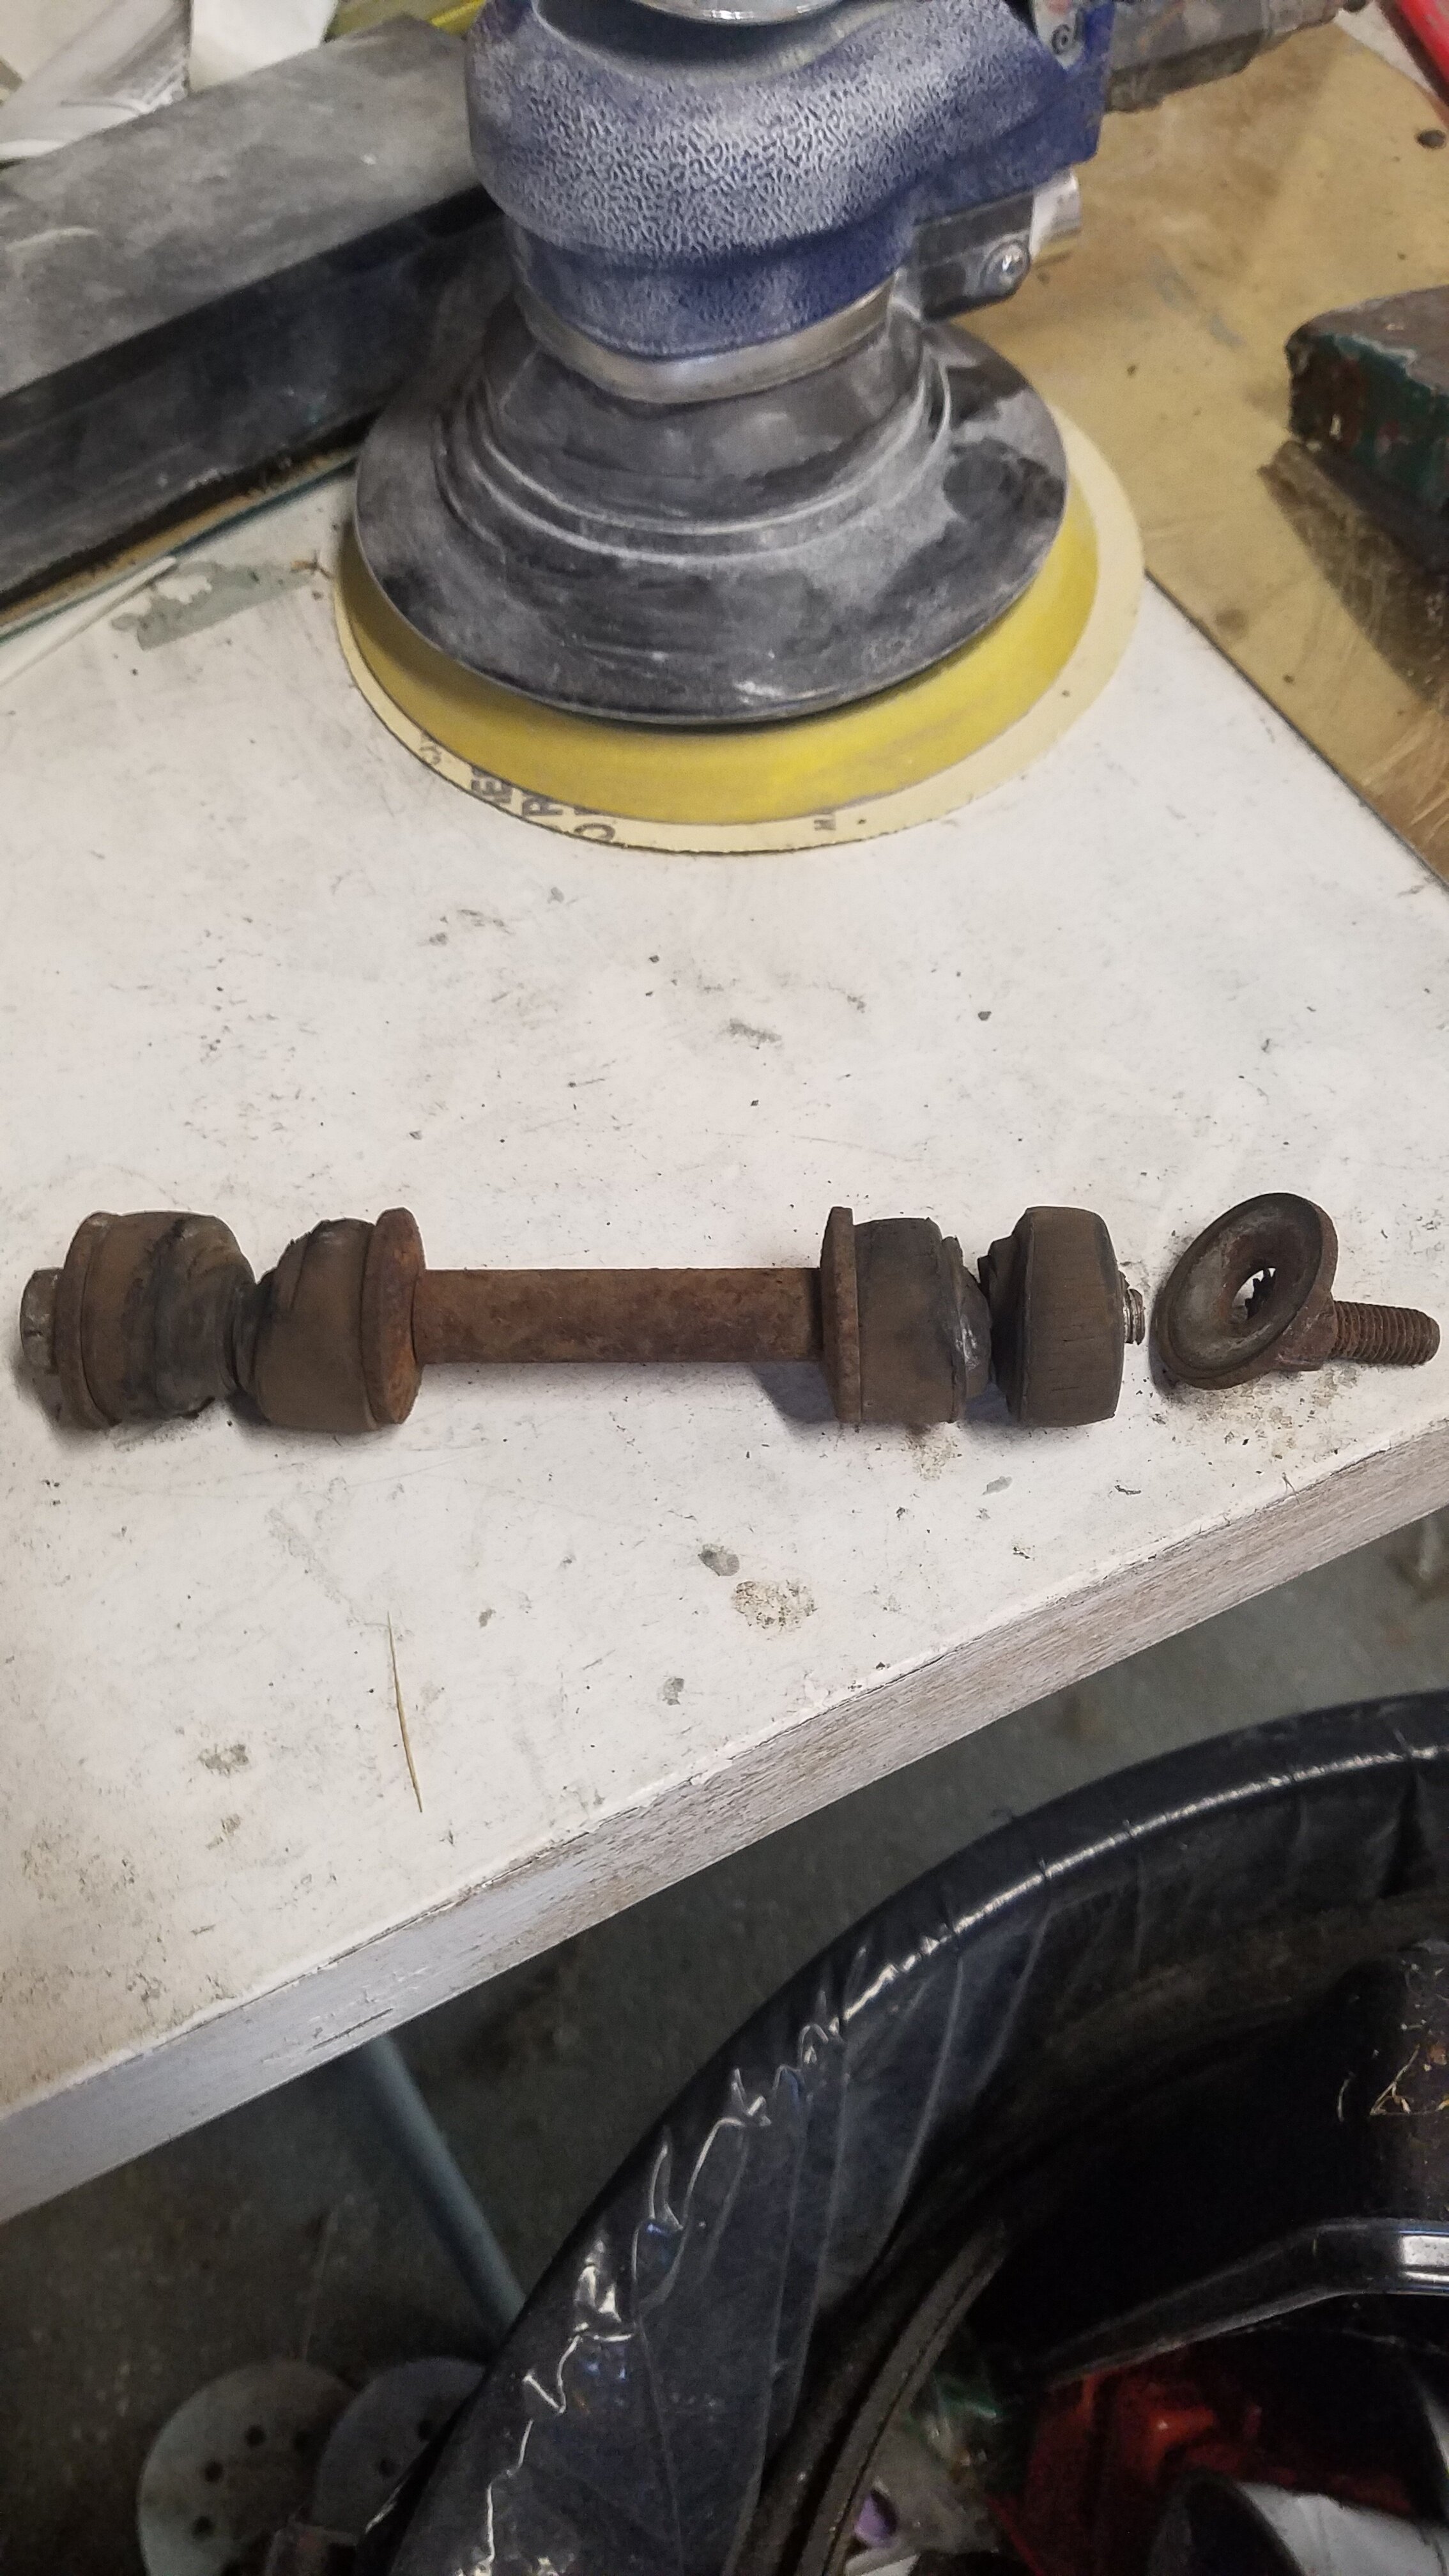
I’m happy the way it all turned it out, but glad it’s over and hope I don’t have to repeat it for many many years.

Removal Day 3

I think today I finally learned my lesson. I need to take my to-do list for the day and cut it in HALF. This work is a lot harder and a lot more time consuming than I ever seem to think it is. I have a lot of half finished to-dos. Either because some bolts are too hard to get off and take a lot of elbow grease, (I need to get back to the gym) or we need to research how to take things apart first. Today was supposed to be a remove and replace day, but we got to some of the removal only. 

My brother helped out again today. First, we each took a door, and removed the handles and lock cylinders. We had to take the panels off to reach inside the door to get at some of the bolts and nuts. Then we moved on to tackle the gas tank.

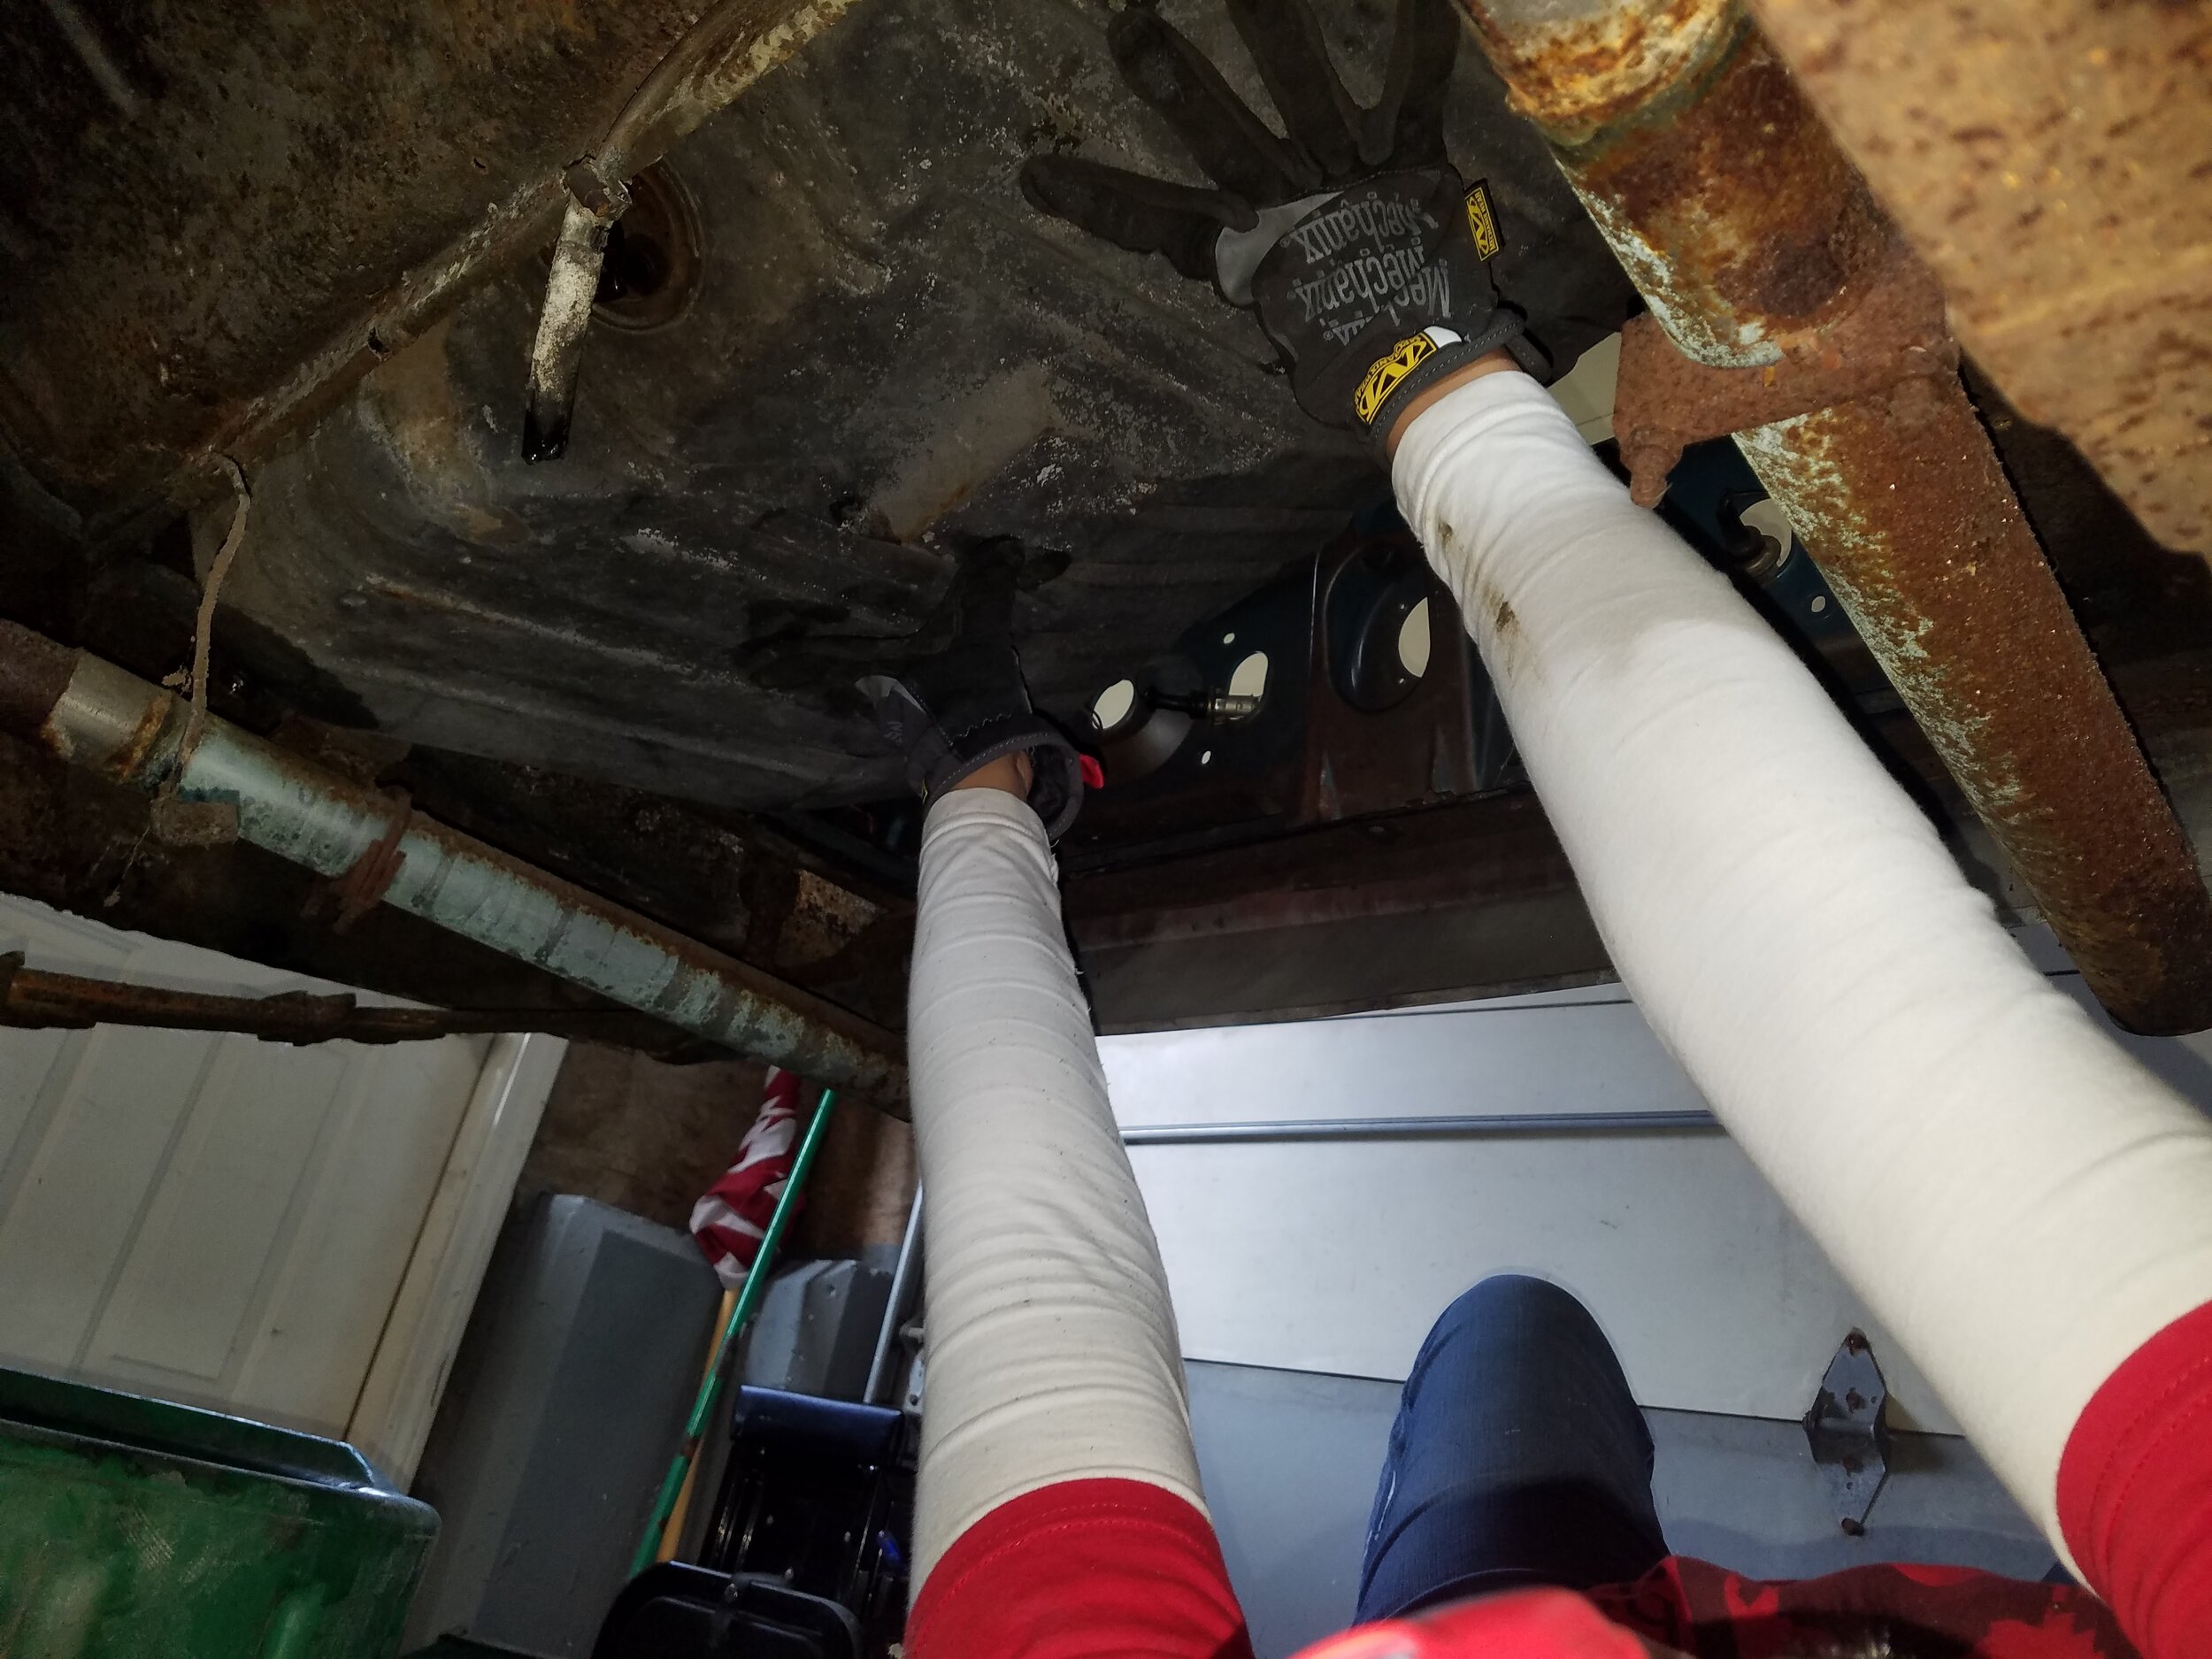
My brother had to drill out some of the bolts on the on the tank that wouldn't budge. My cousin removed the drain plug, and we started to drain the gas out, while tackling some more trim removal and the removal of the tie rods. I was only able to get 1 outer tie rod removed today.

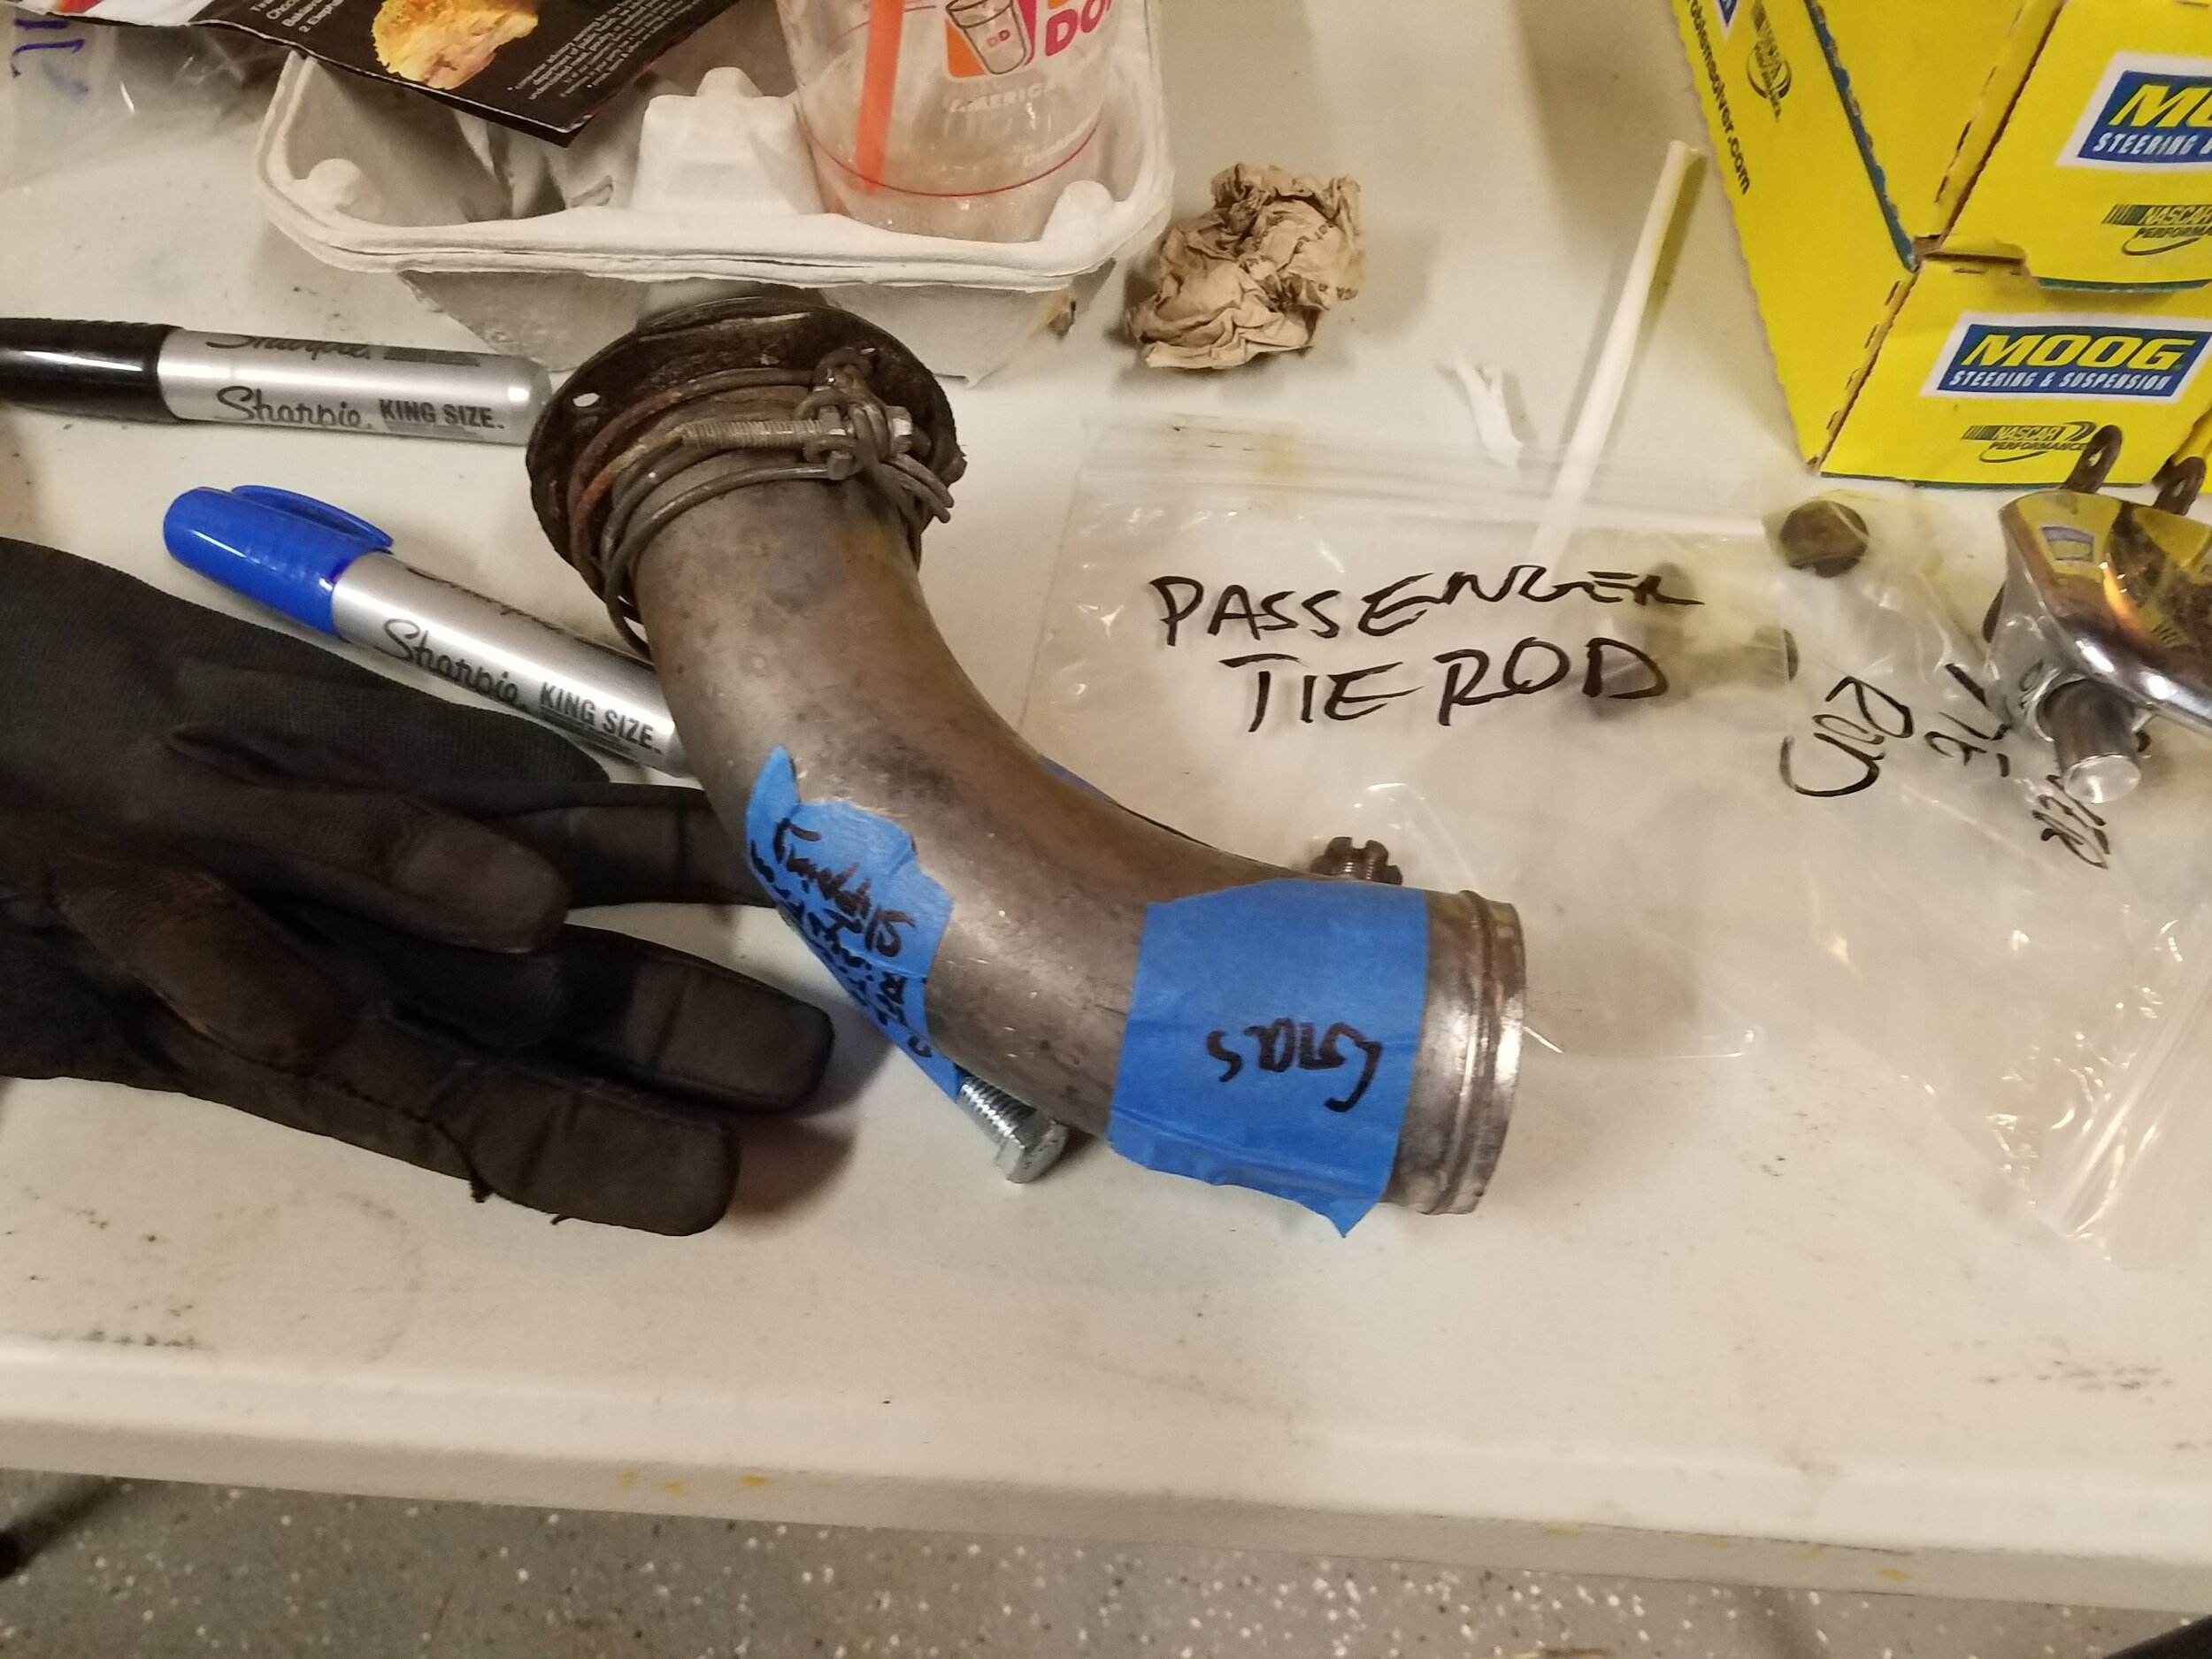
Once the gas seemed drained, we needed to remove the fill pip that attaches to the tank and leads behind the license plate between the the taillights. Removing the bolts were straight forward, but the fill pipe was still sealed to the tank pretty well. My brother was able to remove it, but not without it swiftly coming through the back and knocking him where the sun don't shine. OUCH!

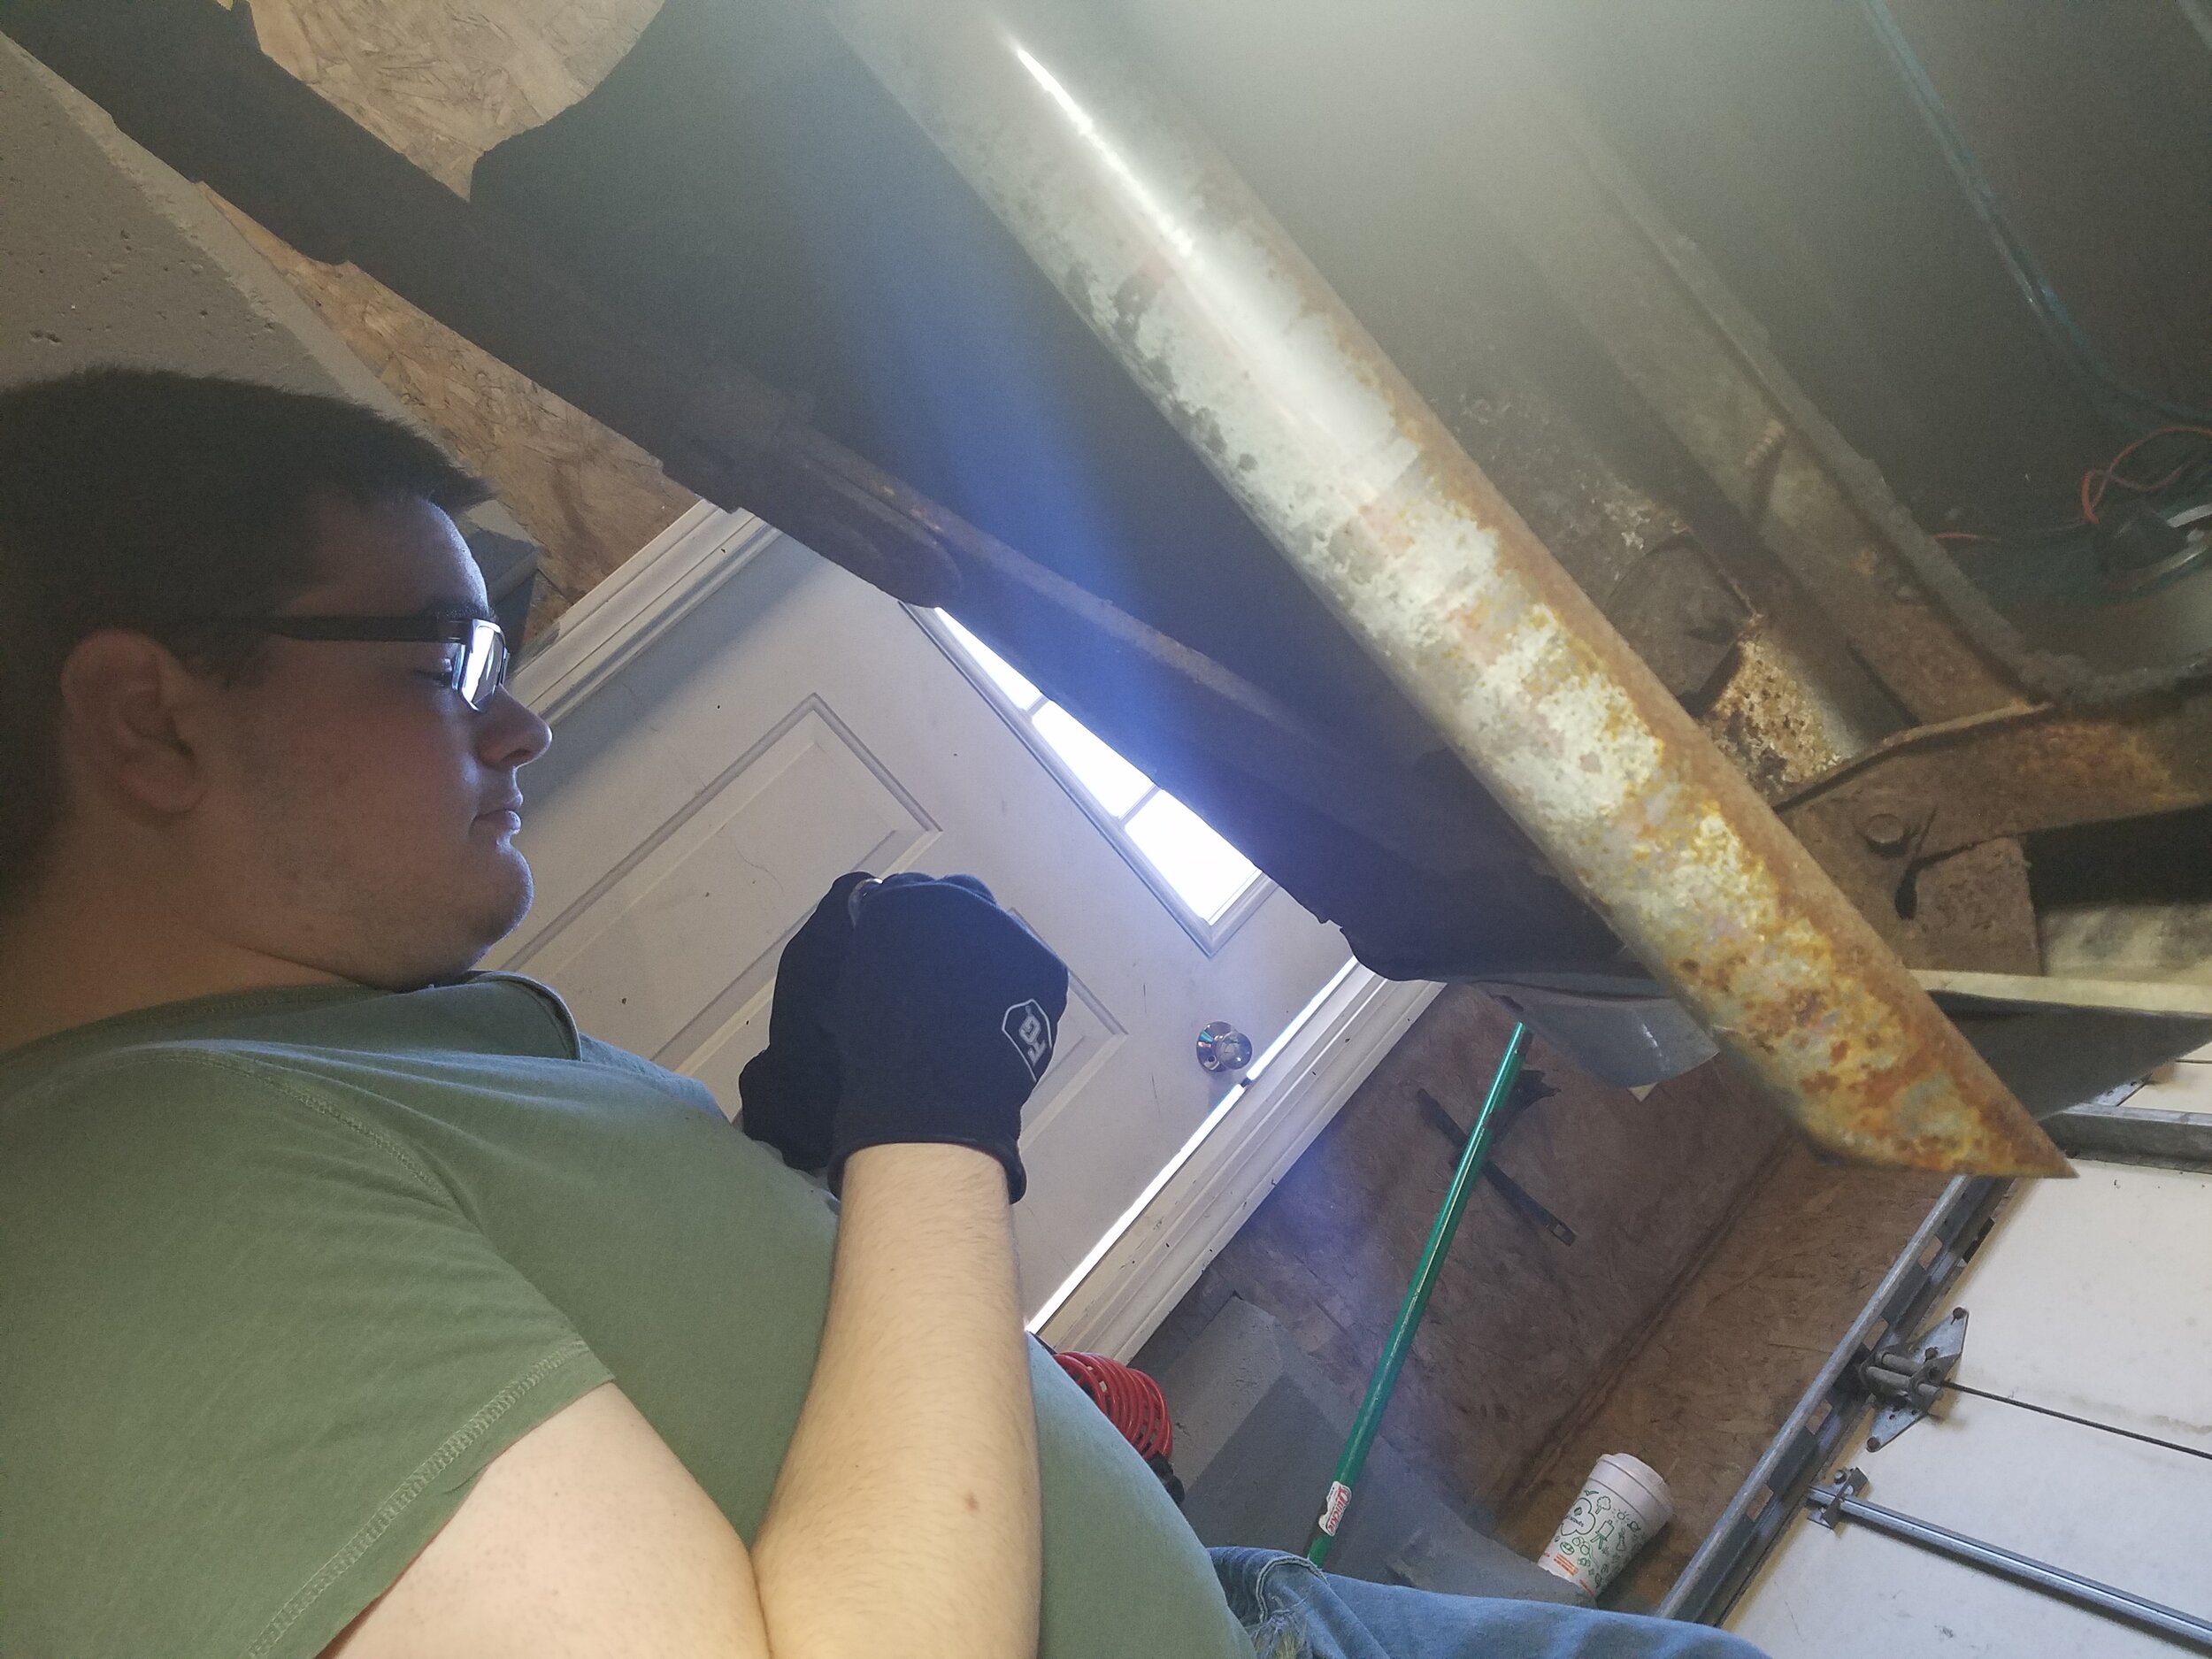
I was safe under the car, tipping the remaining of the gas out, and removing the fuel lines connecting to the tank. Removed the float from inside the tank that indicates when you are low on gas. I'm hoping it works and can be reused in the new tank. 

Check out the picture below showing the 3 different shades of blue this car has been painted. The badge on the inside of the door was a great find though, and indicates the color code, as well the other specs, of the car when purchased.