Tie Rod

Safety First

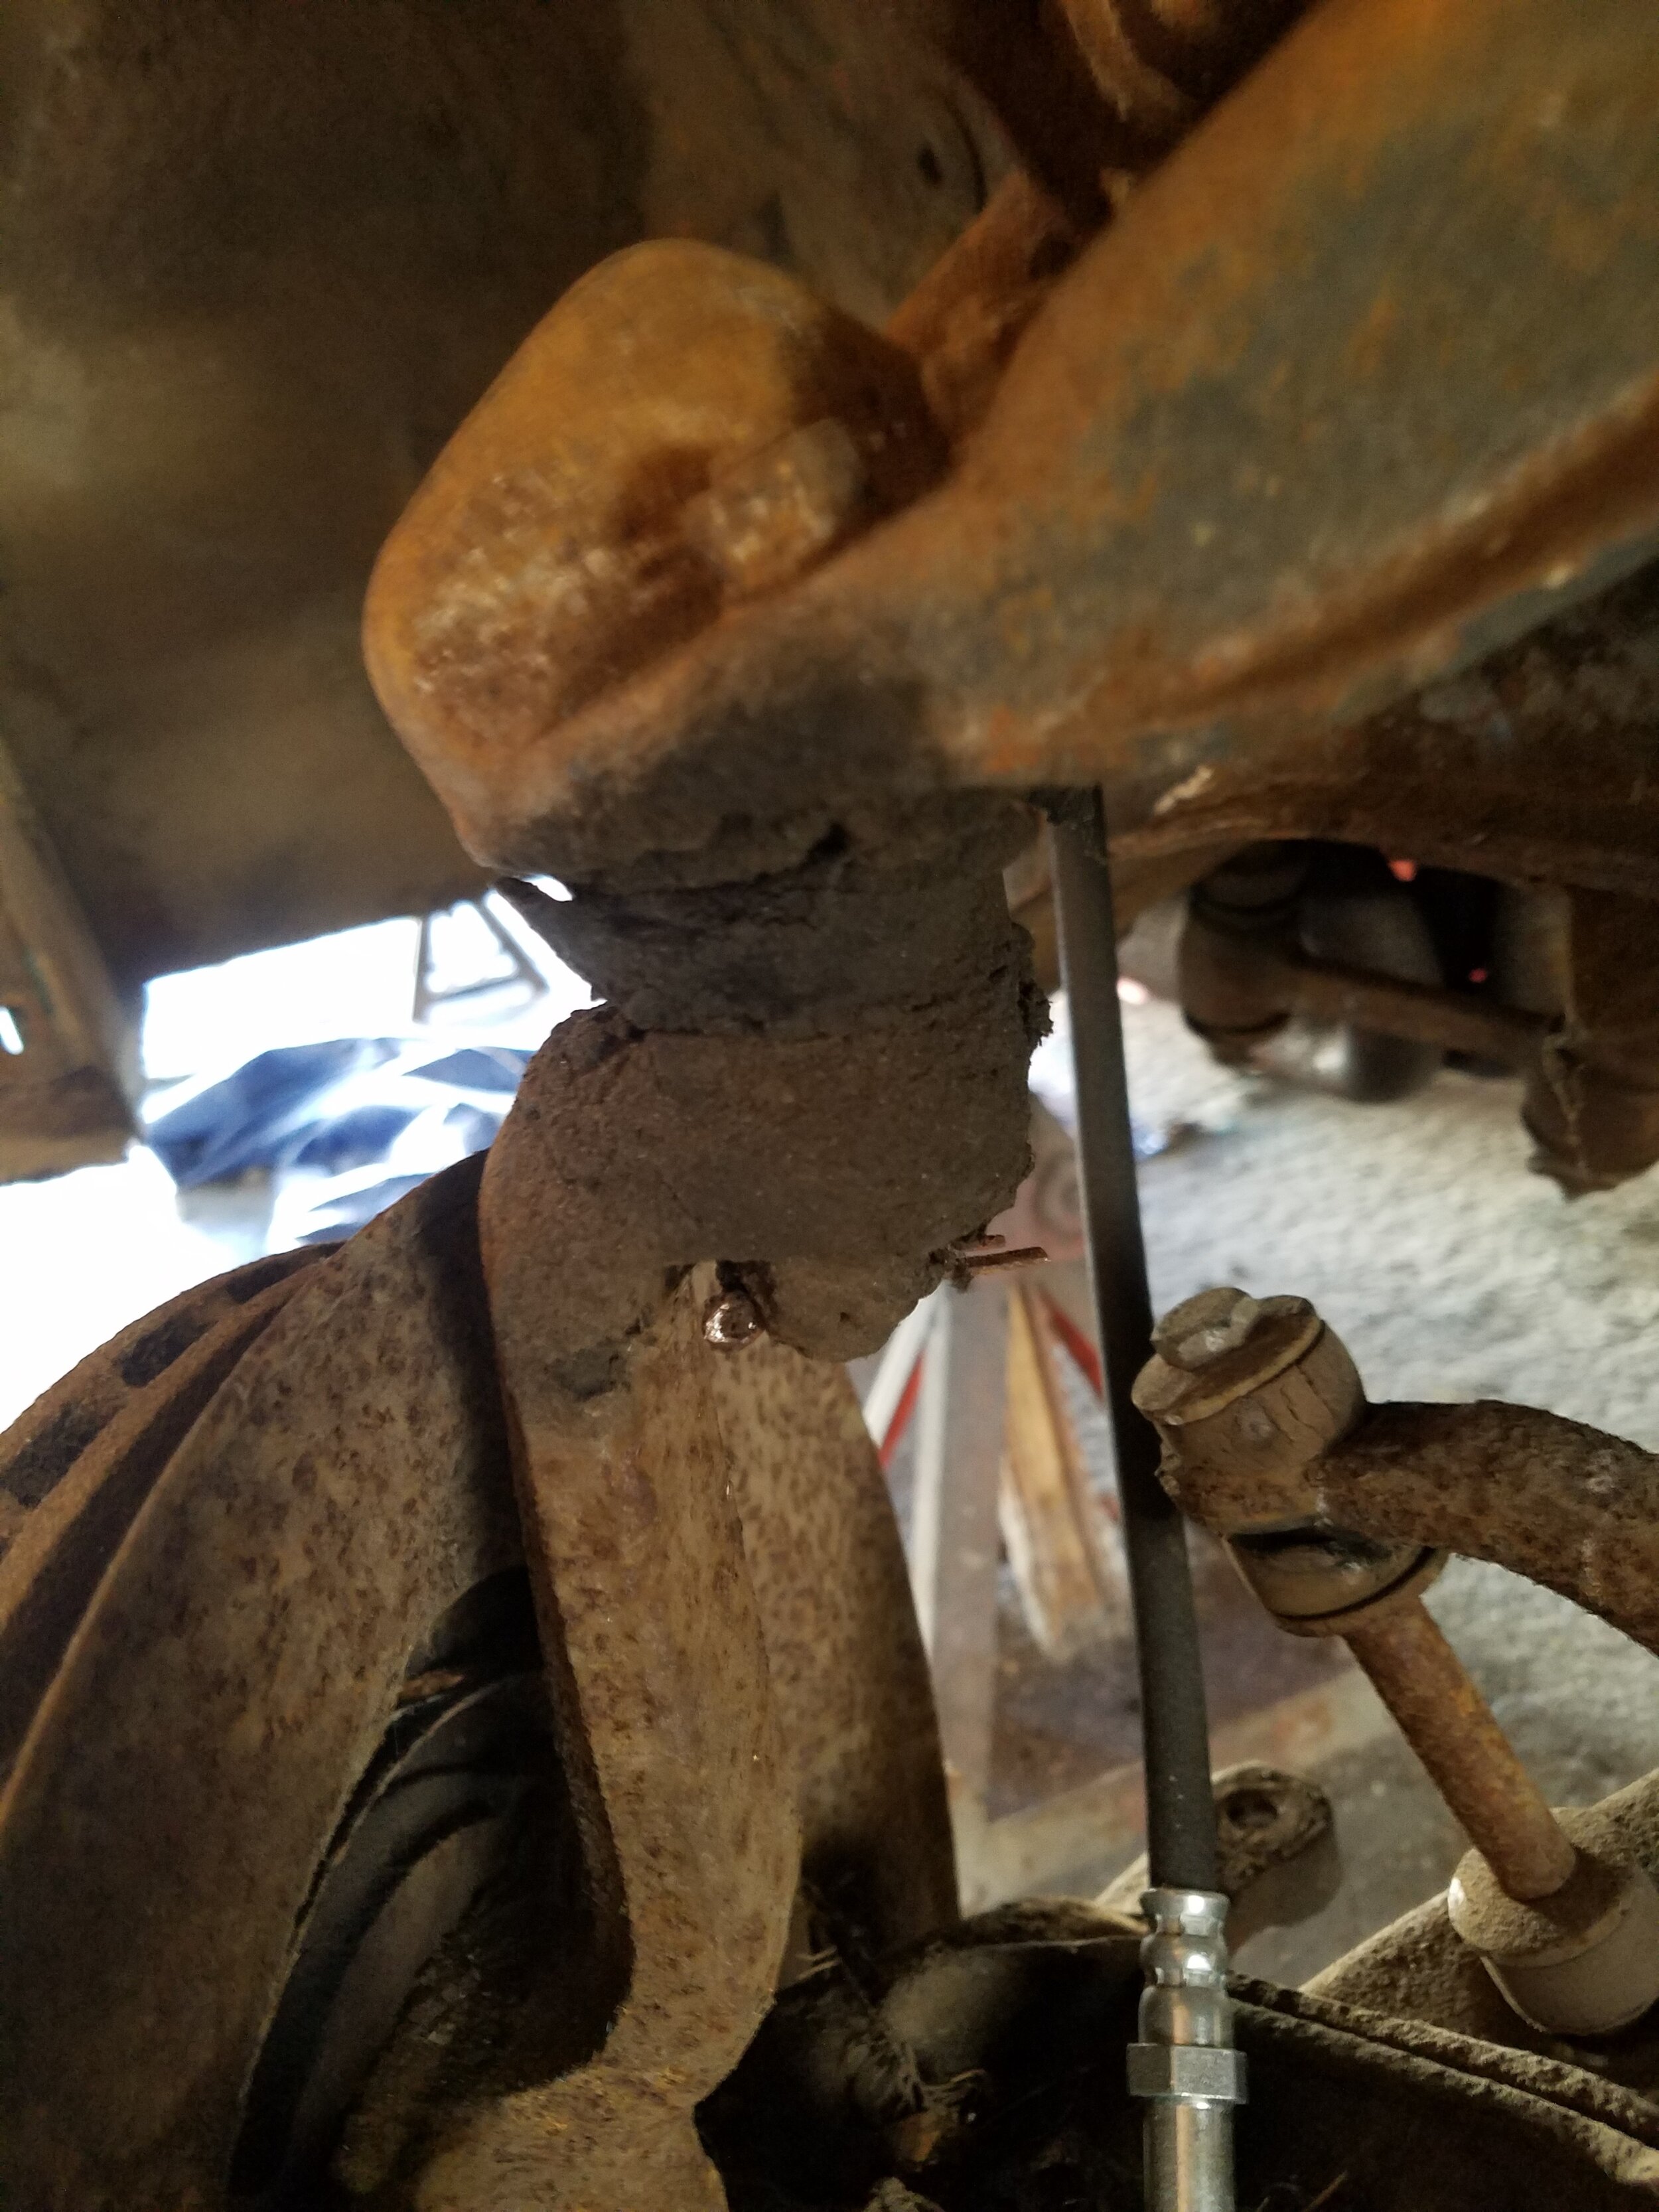
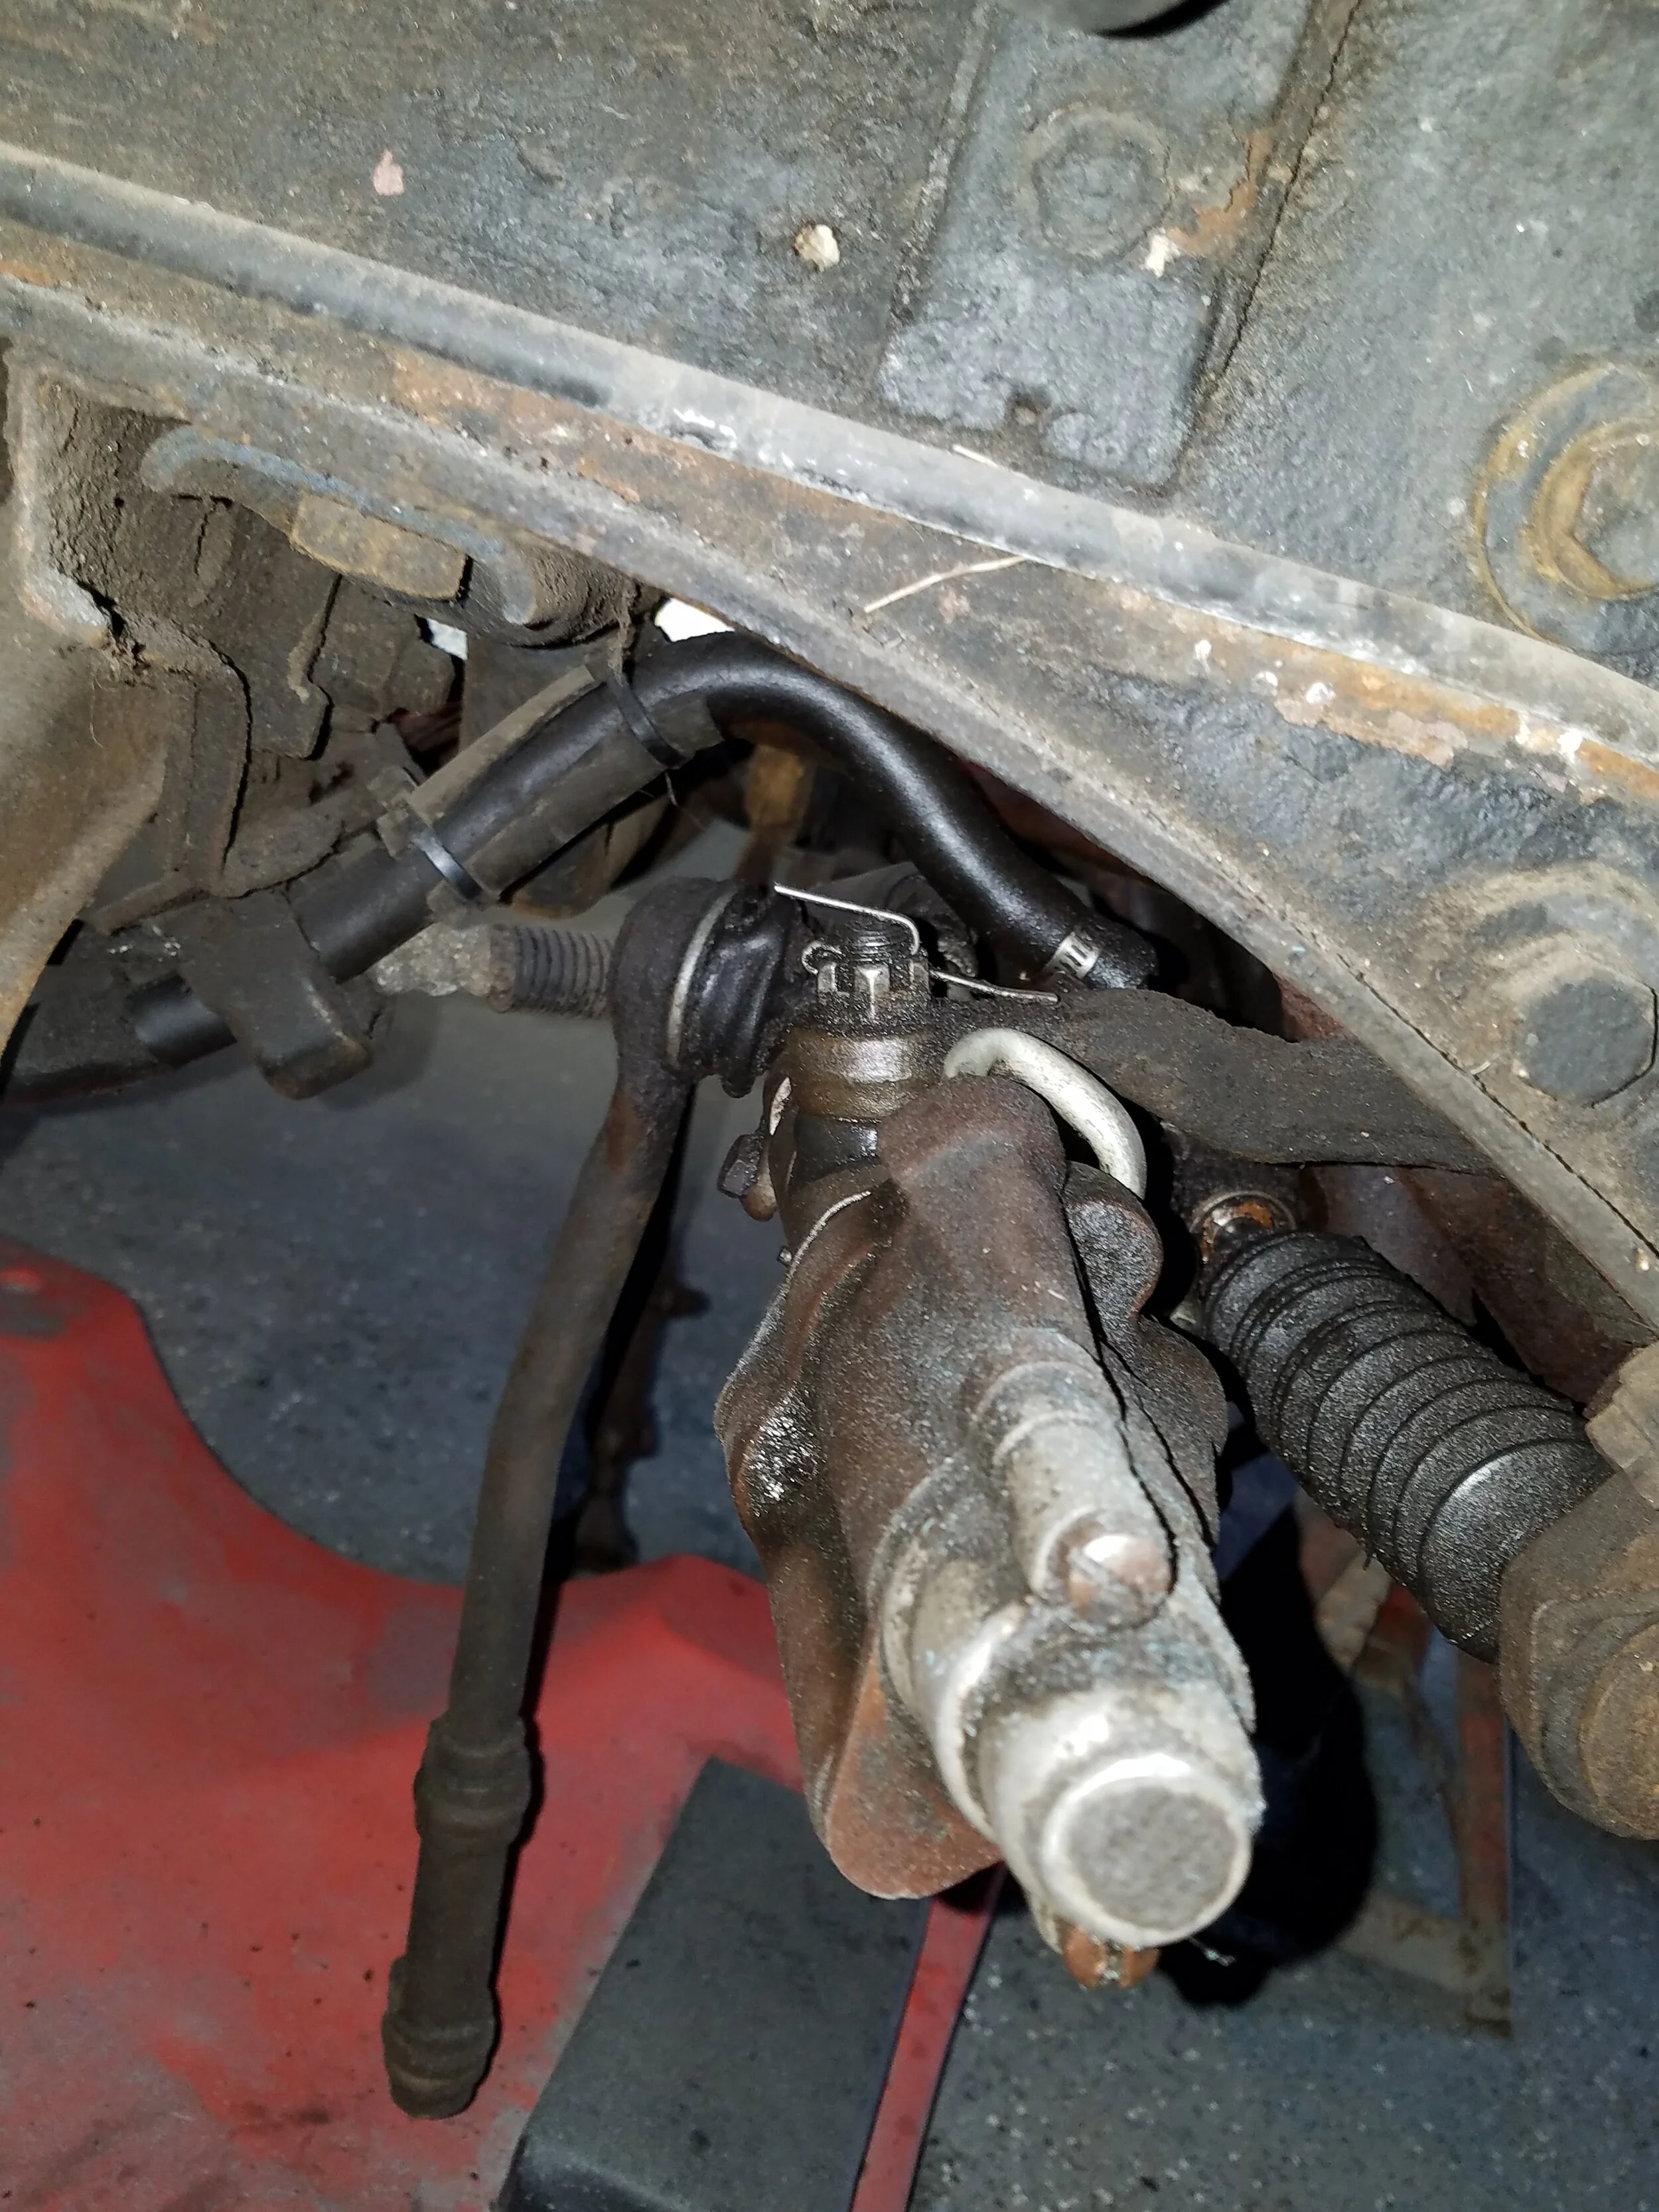
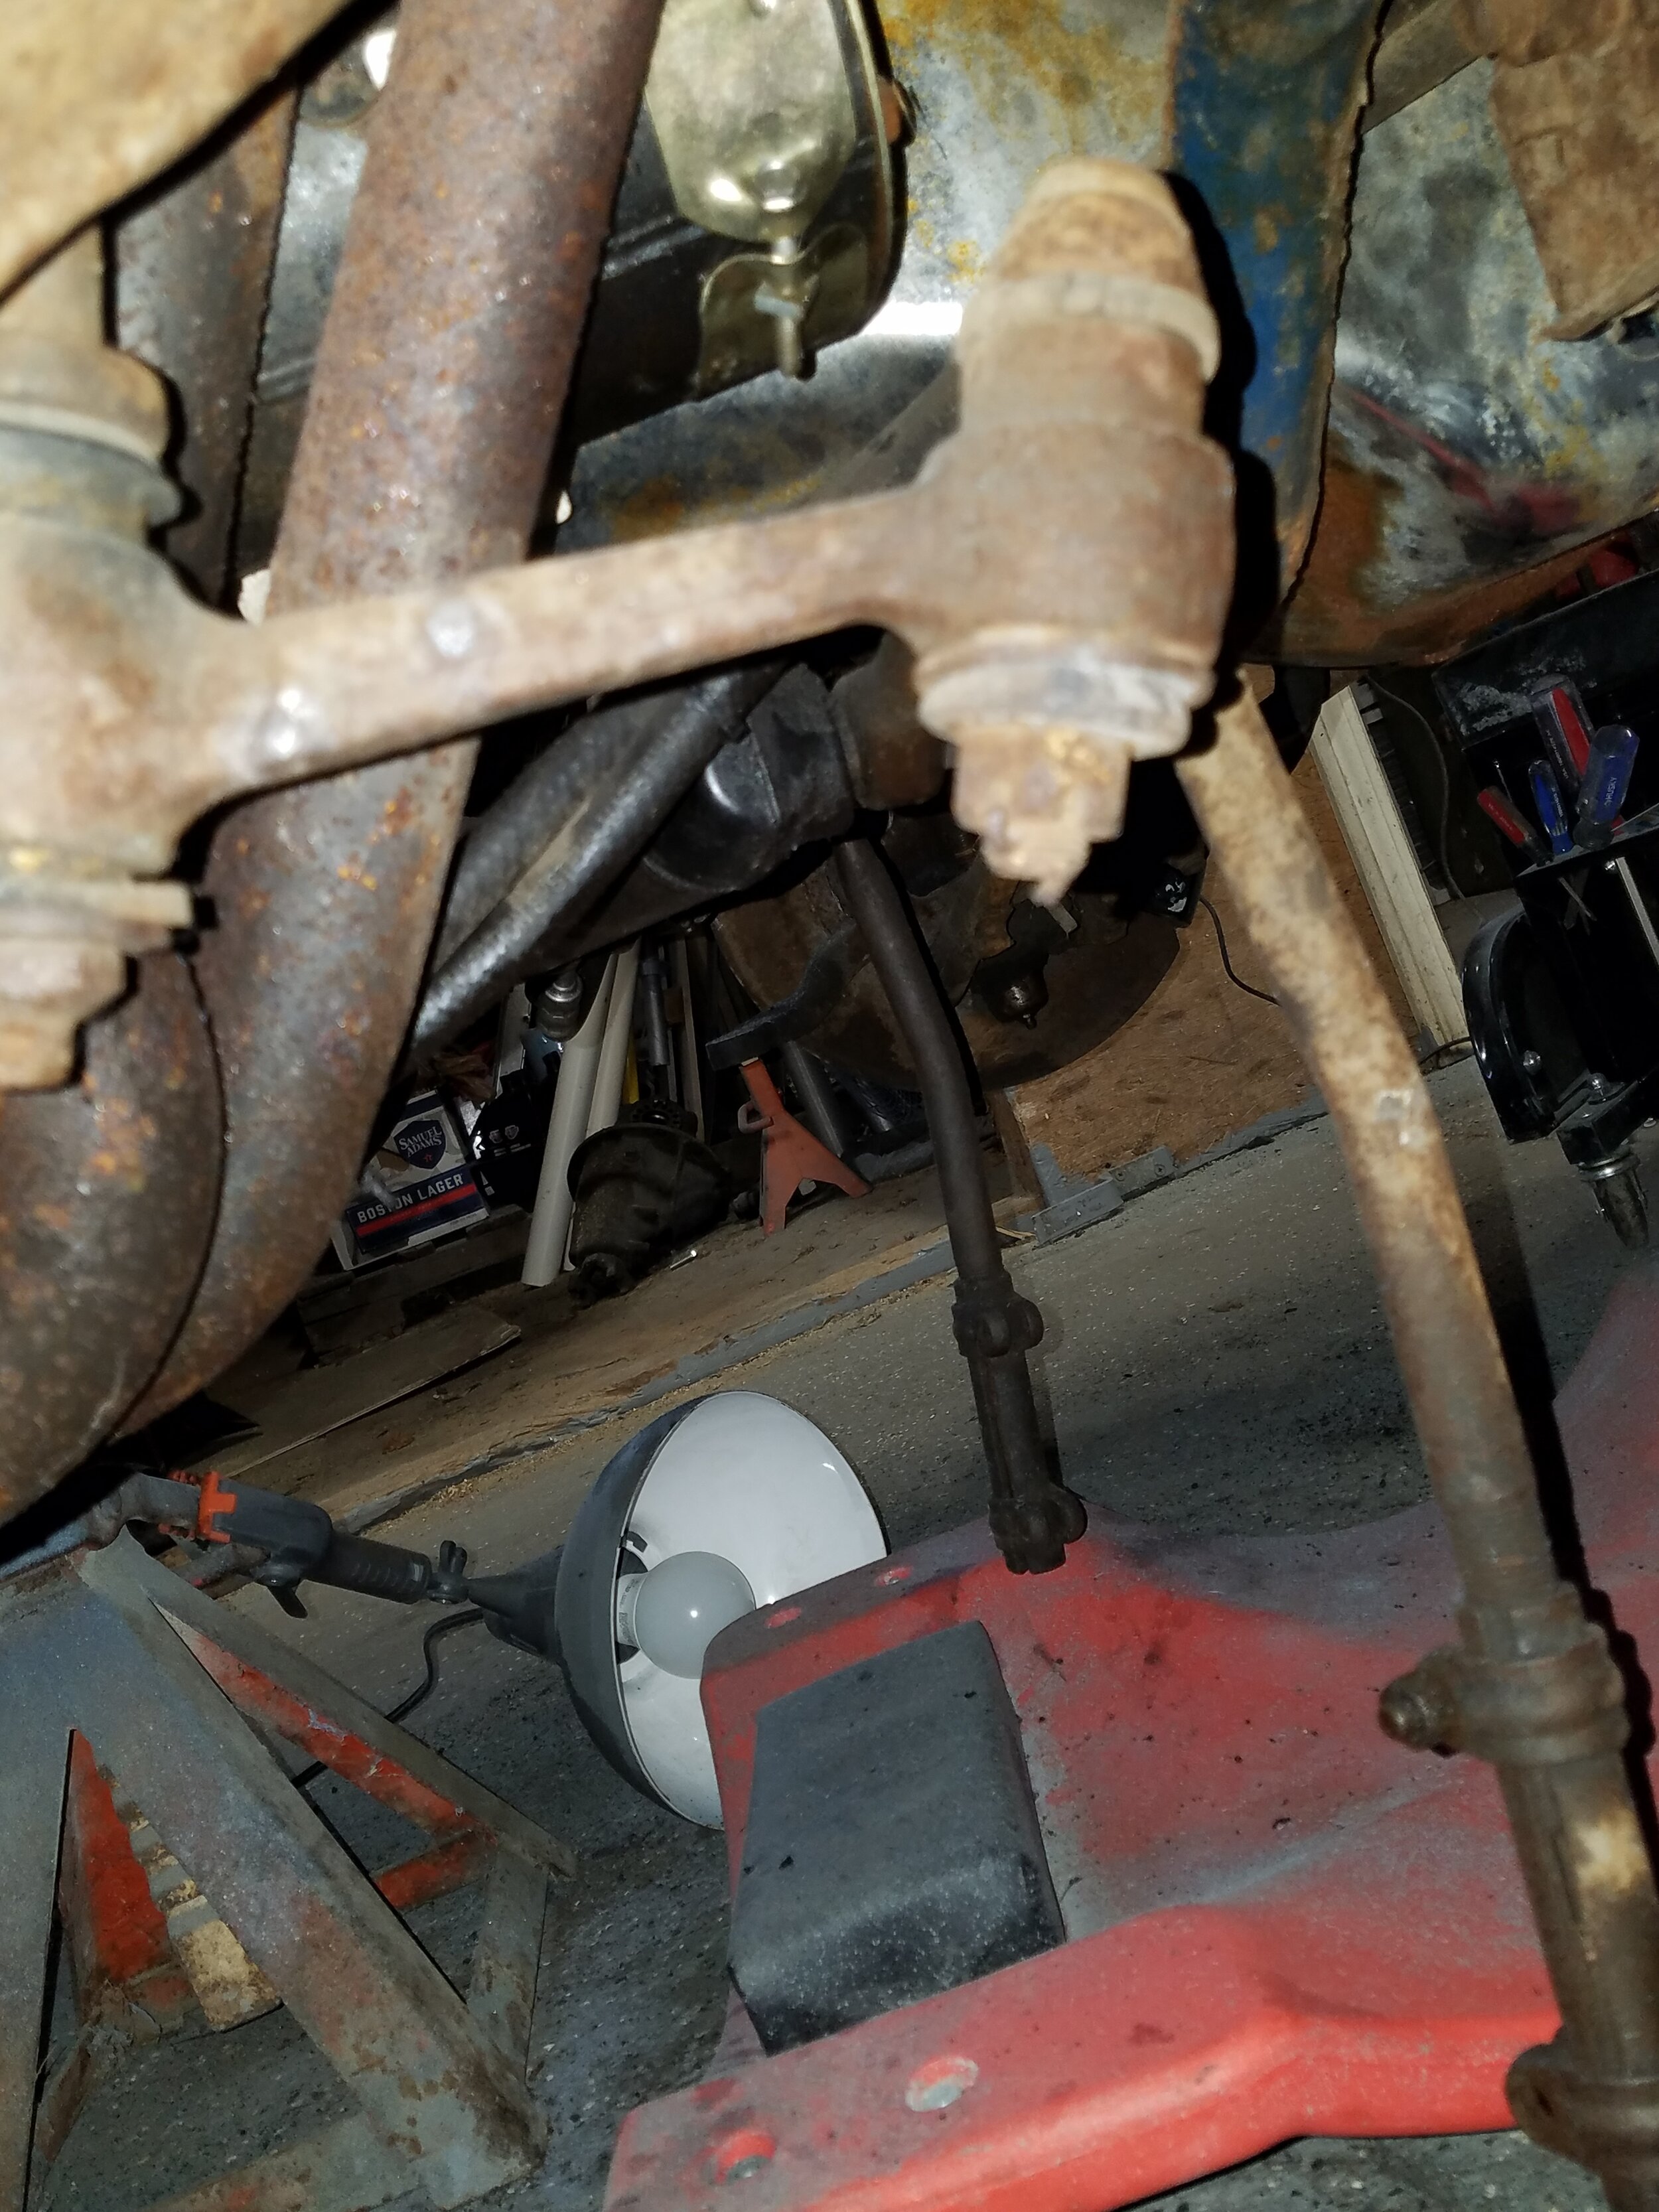
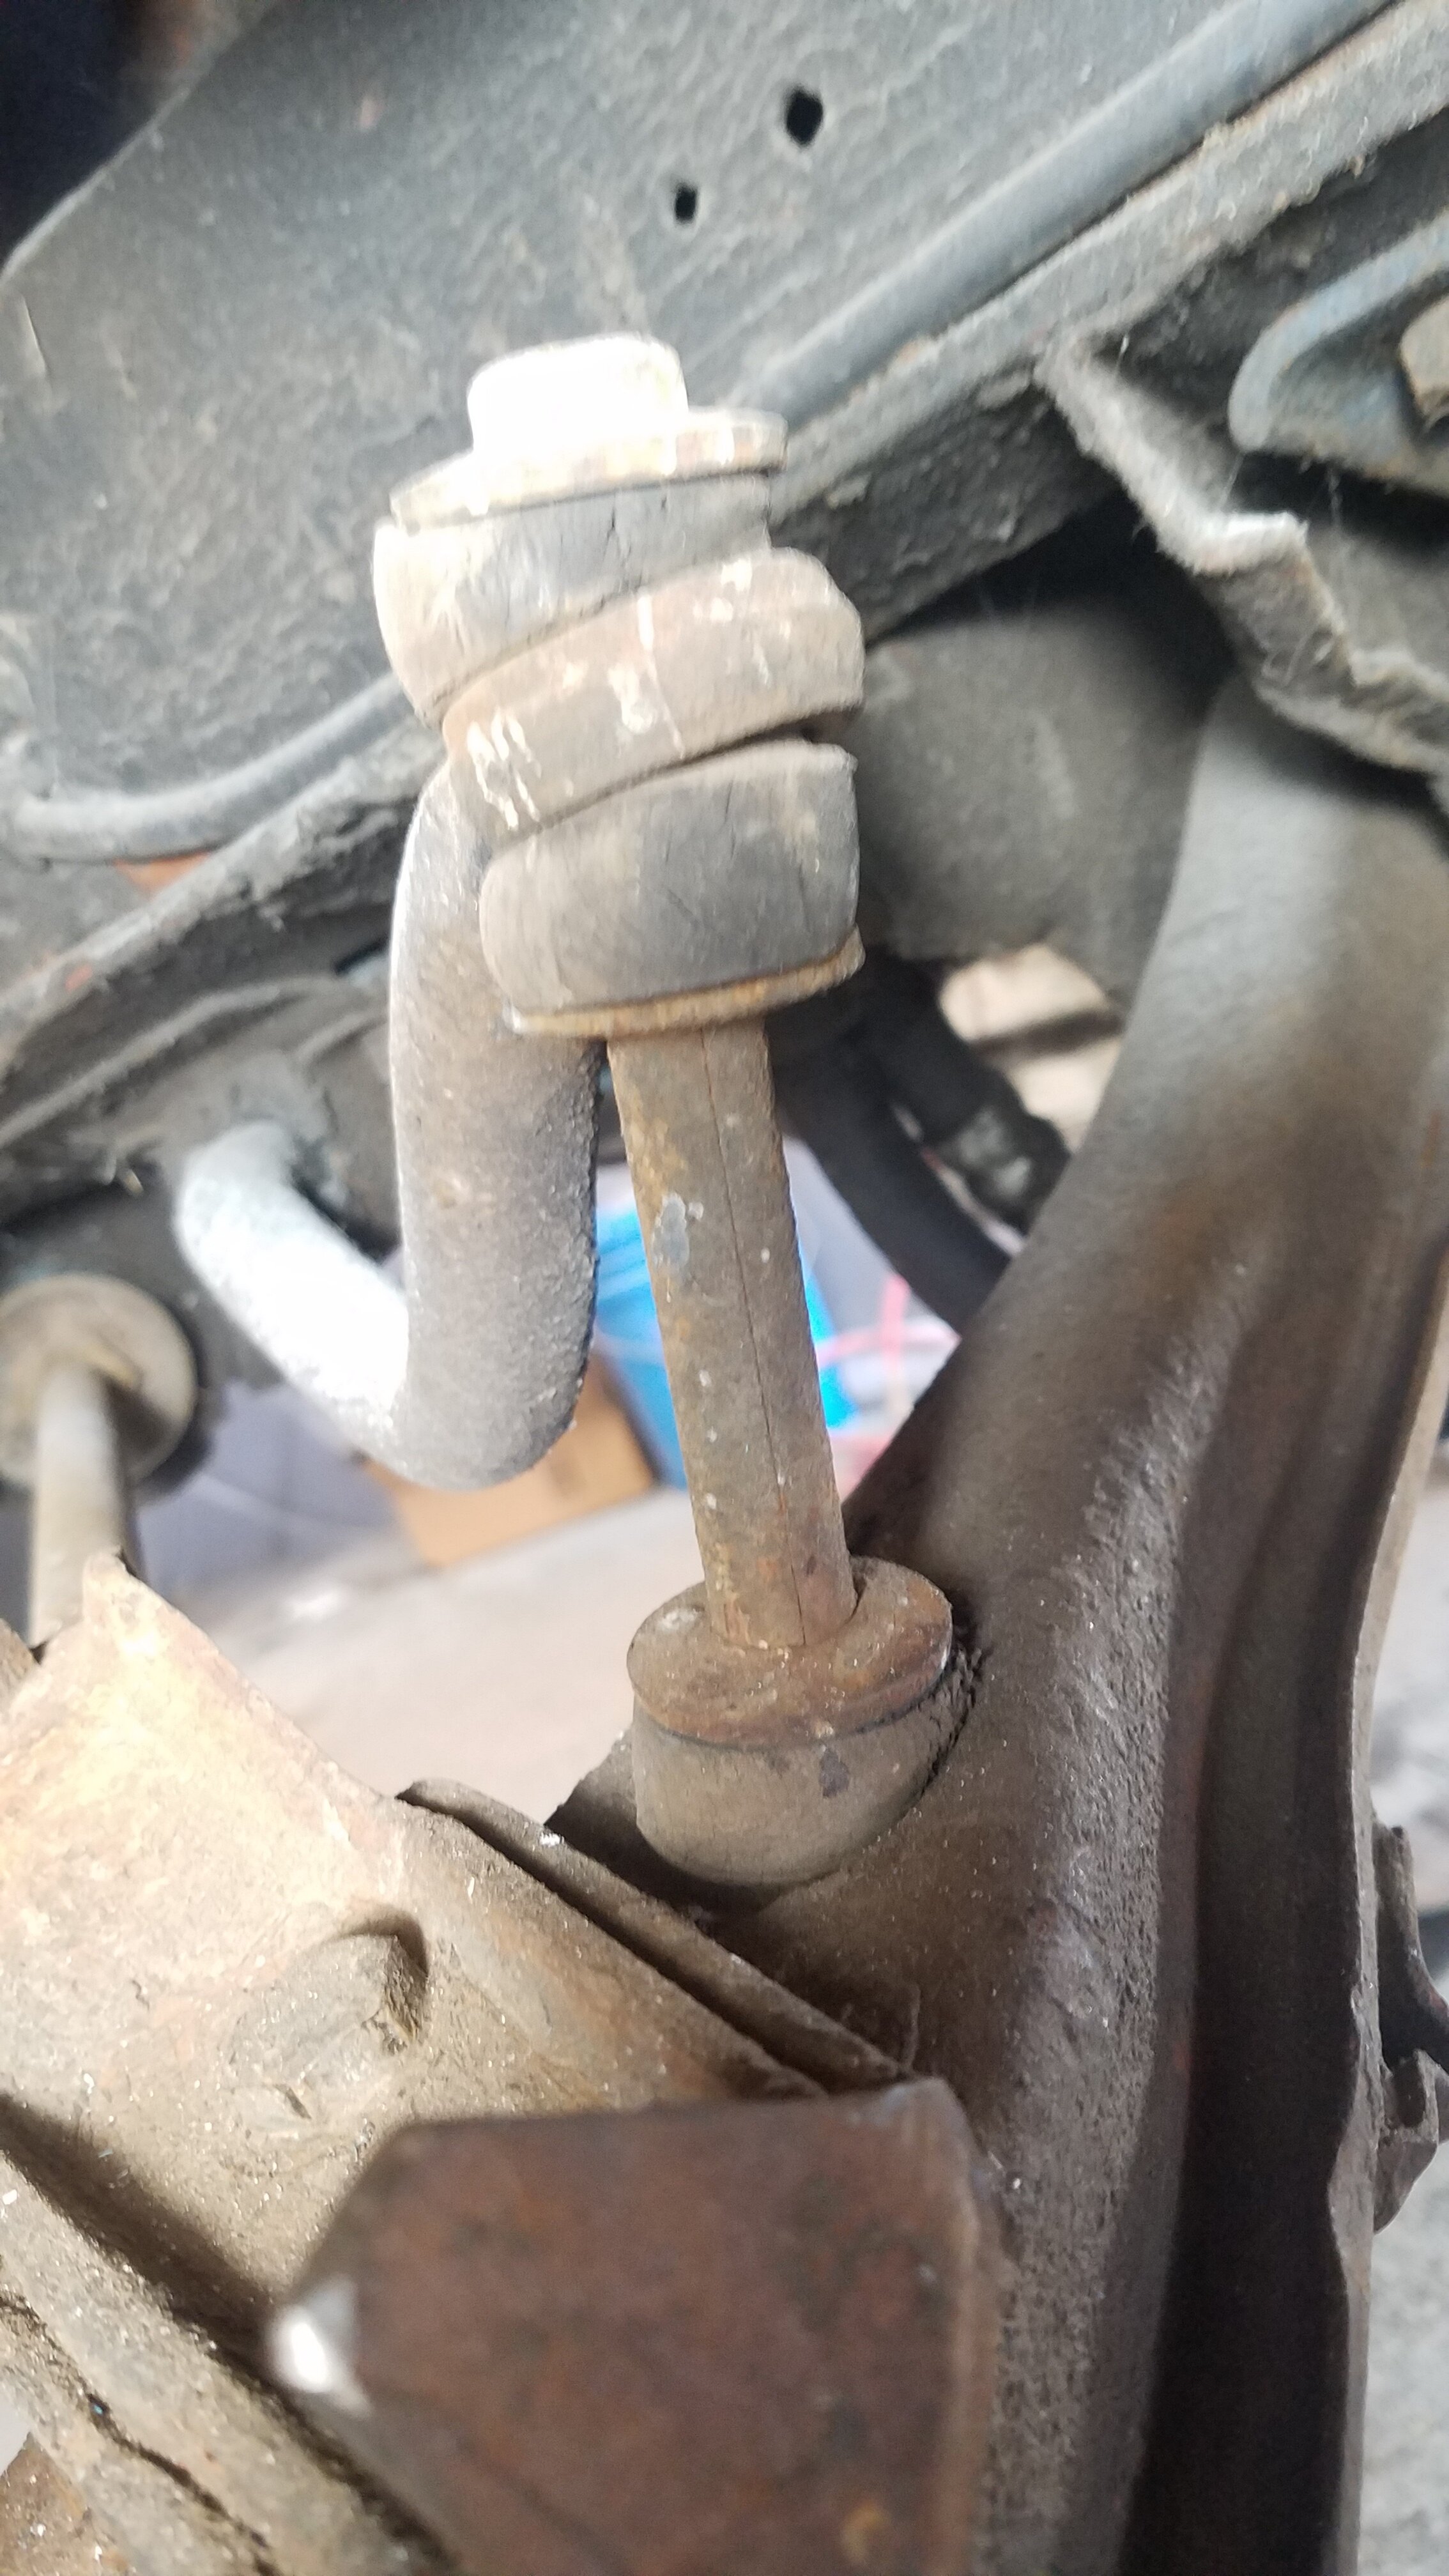
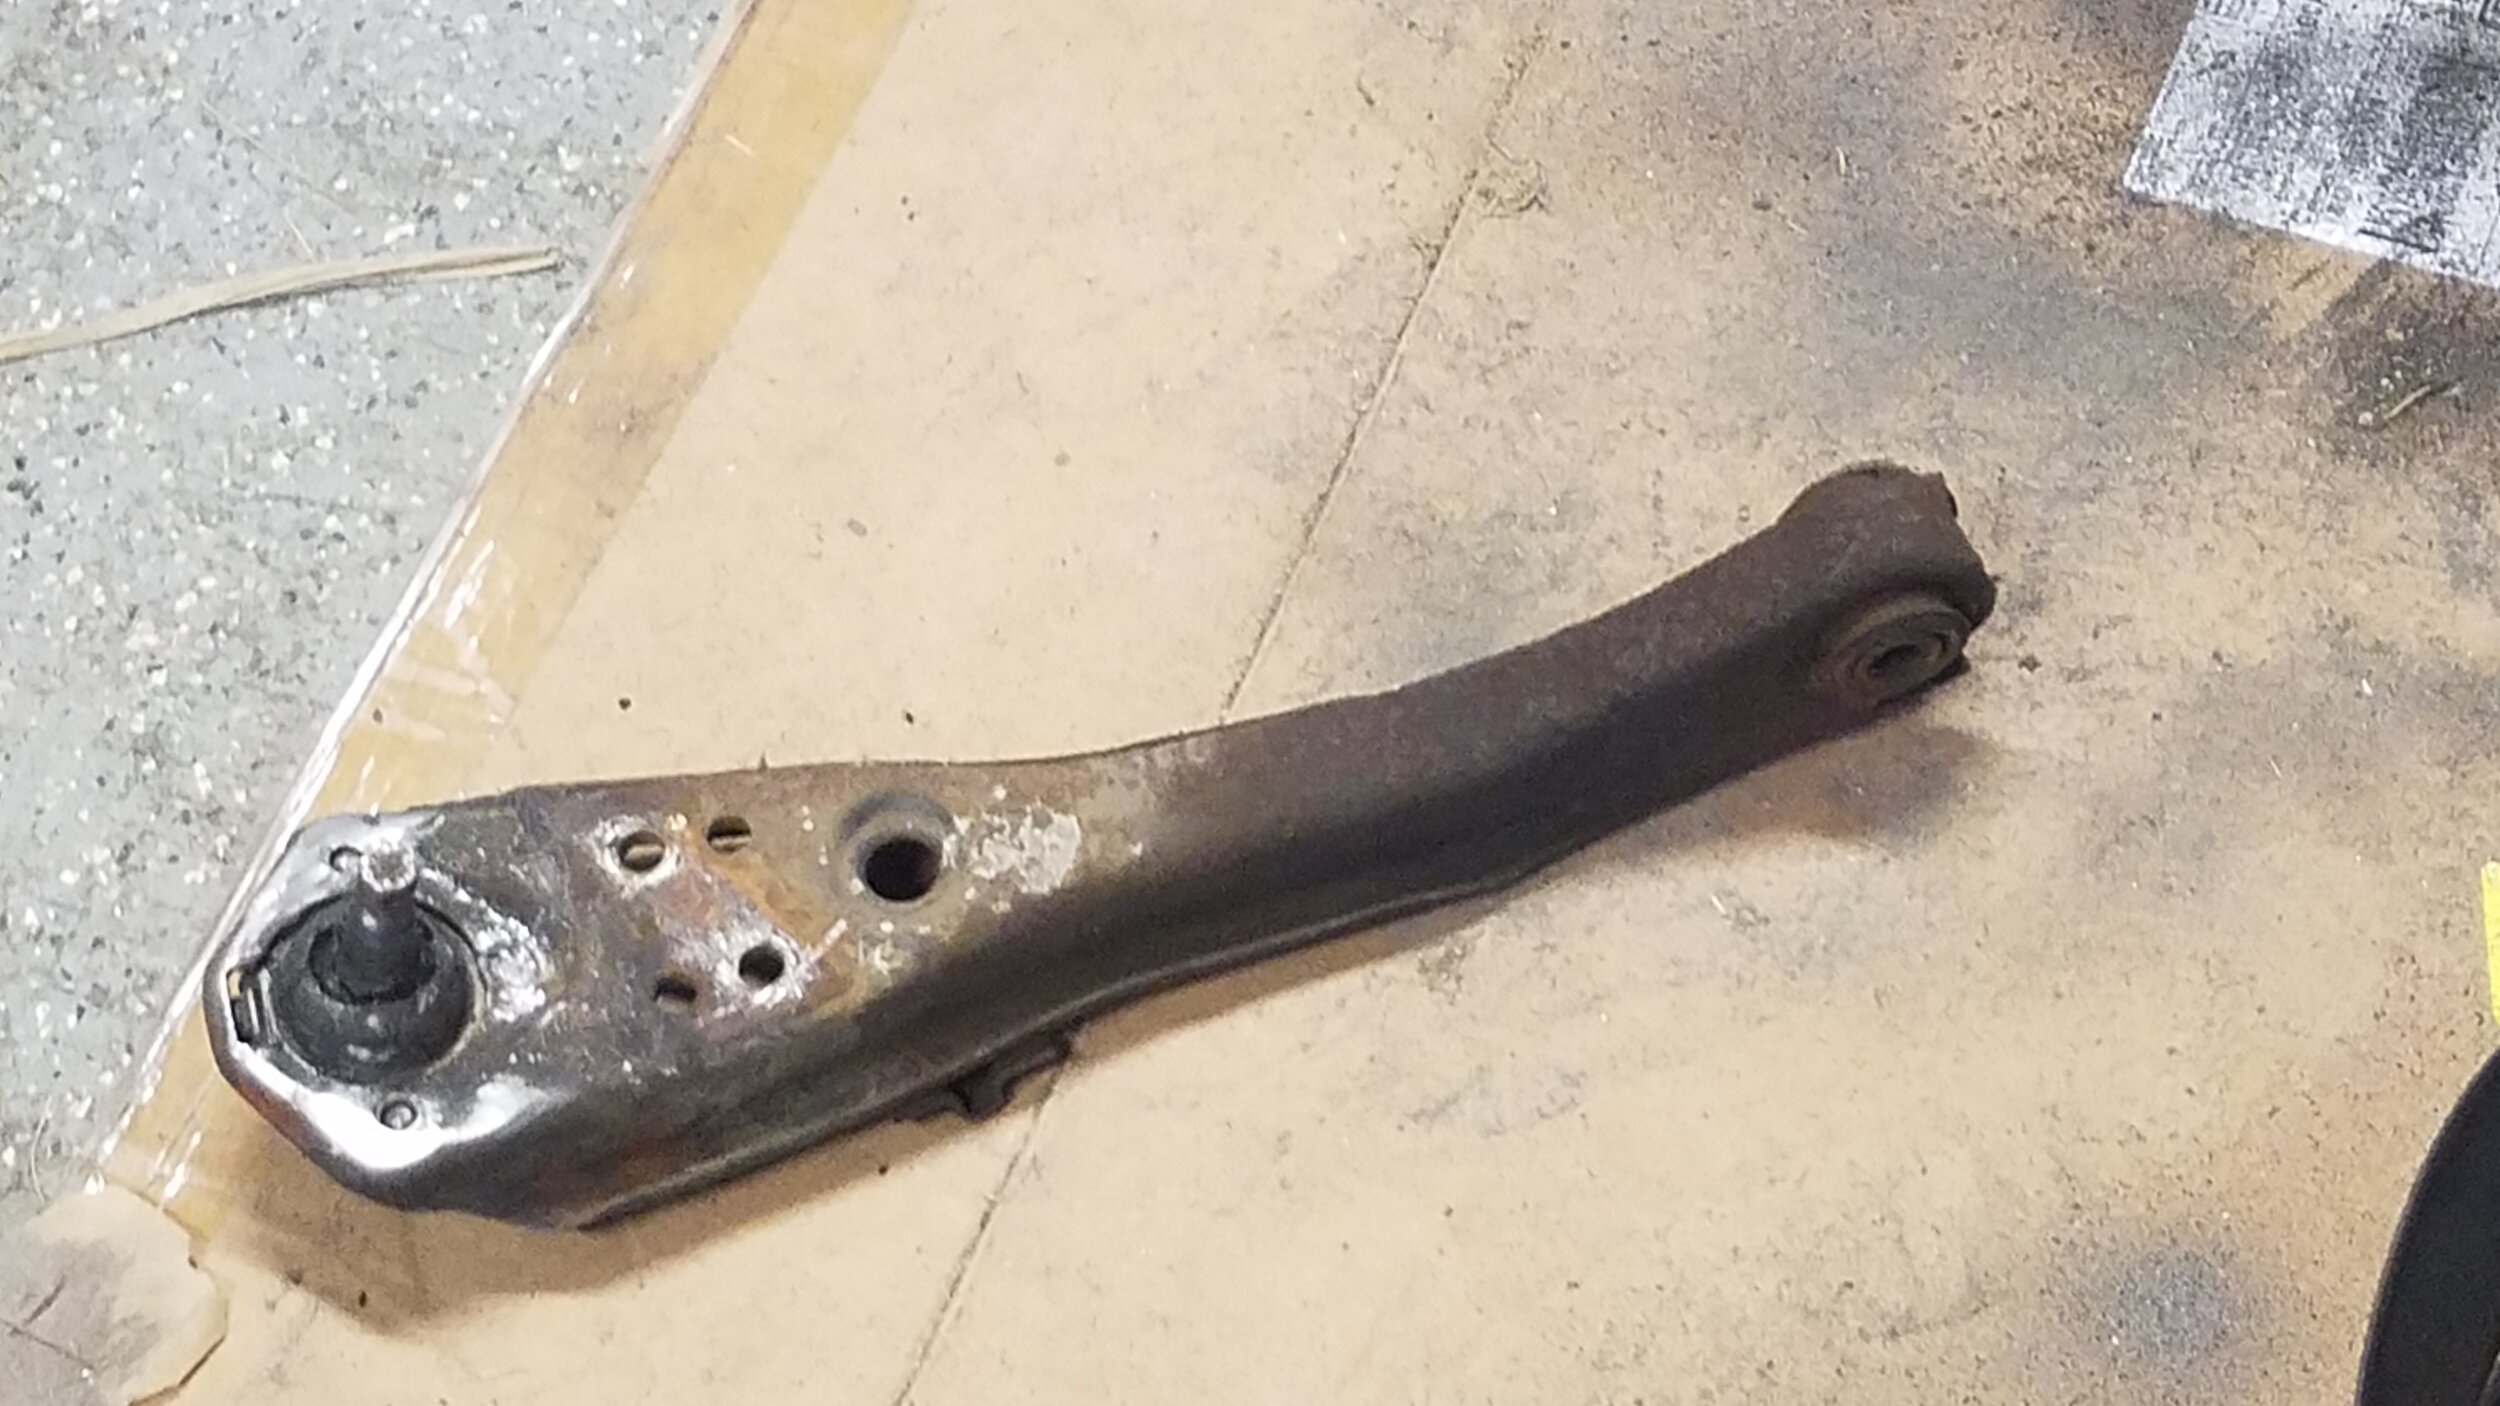
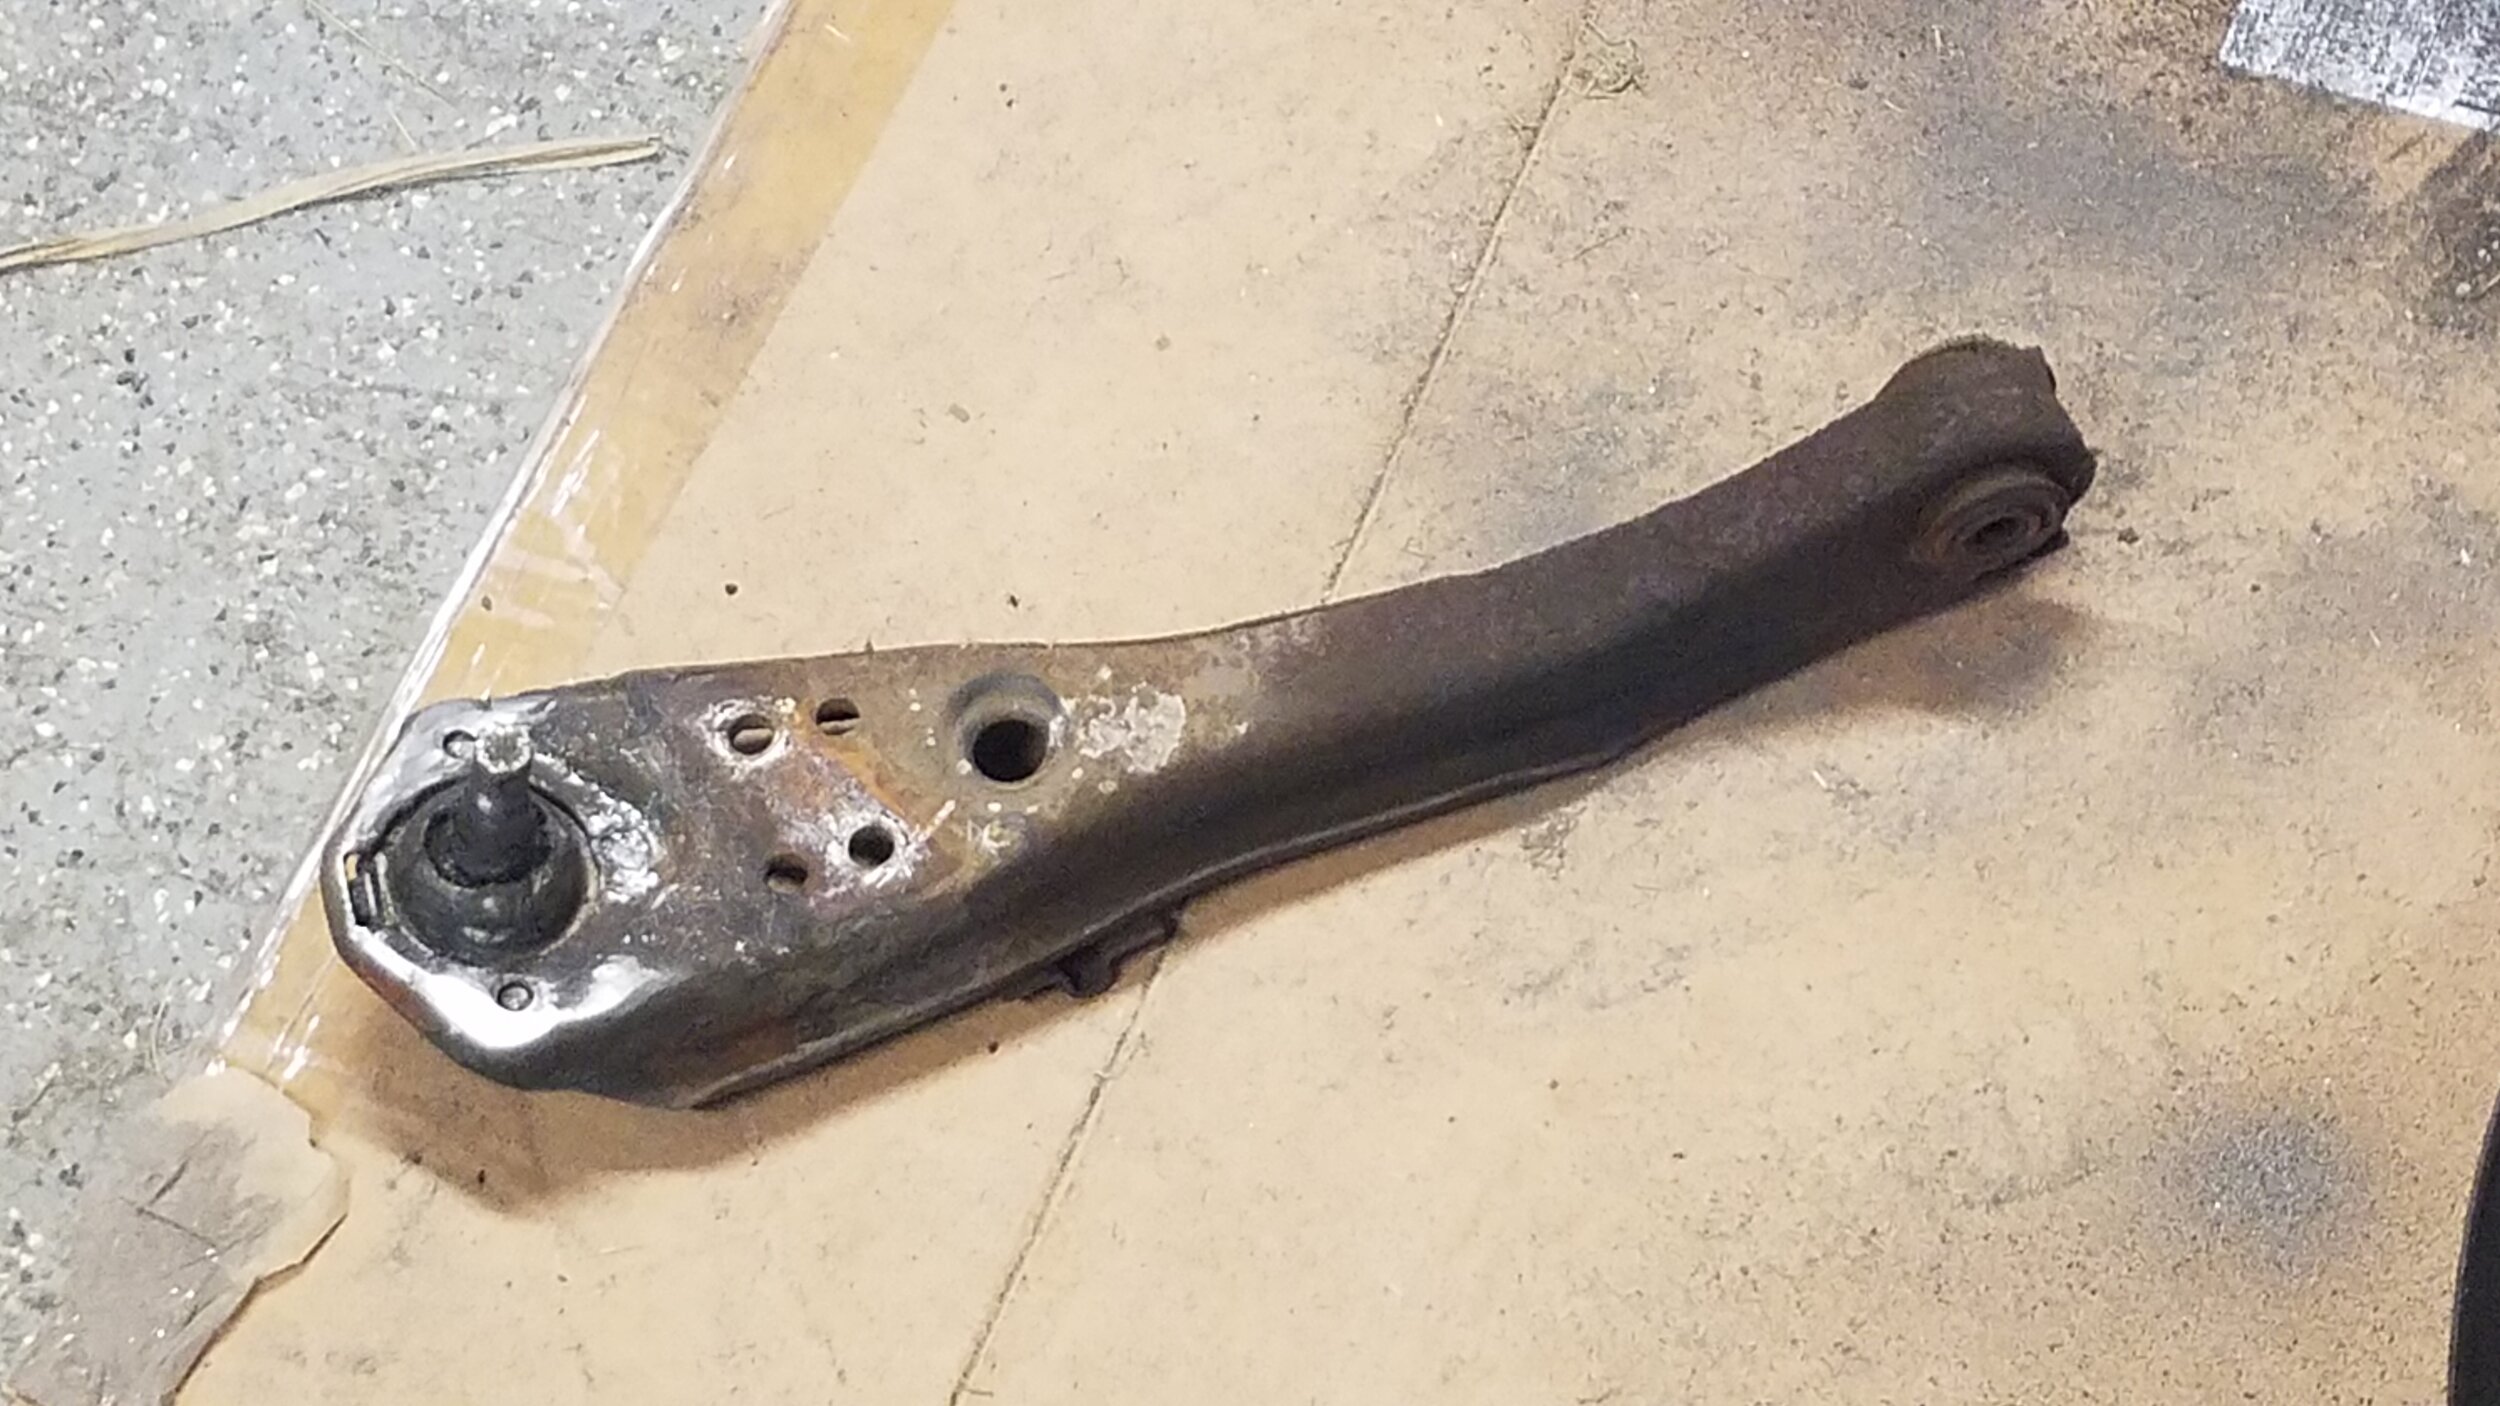
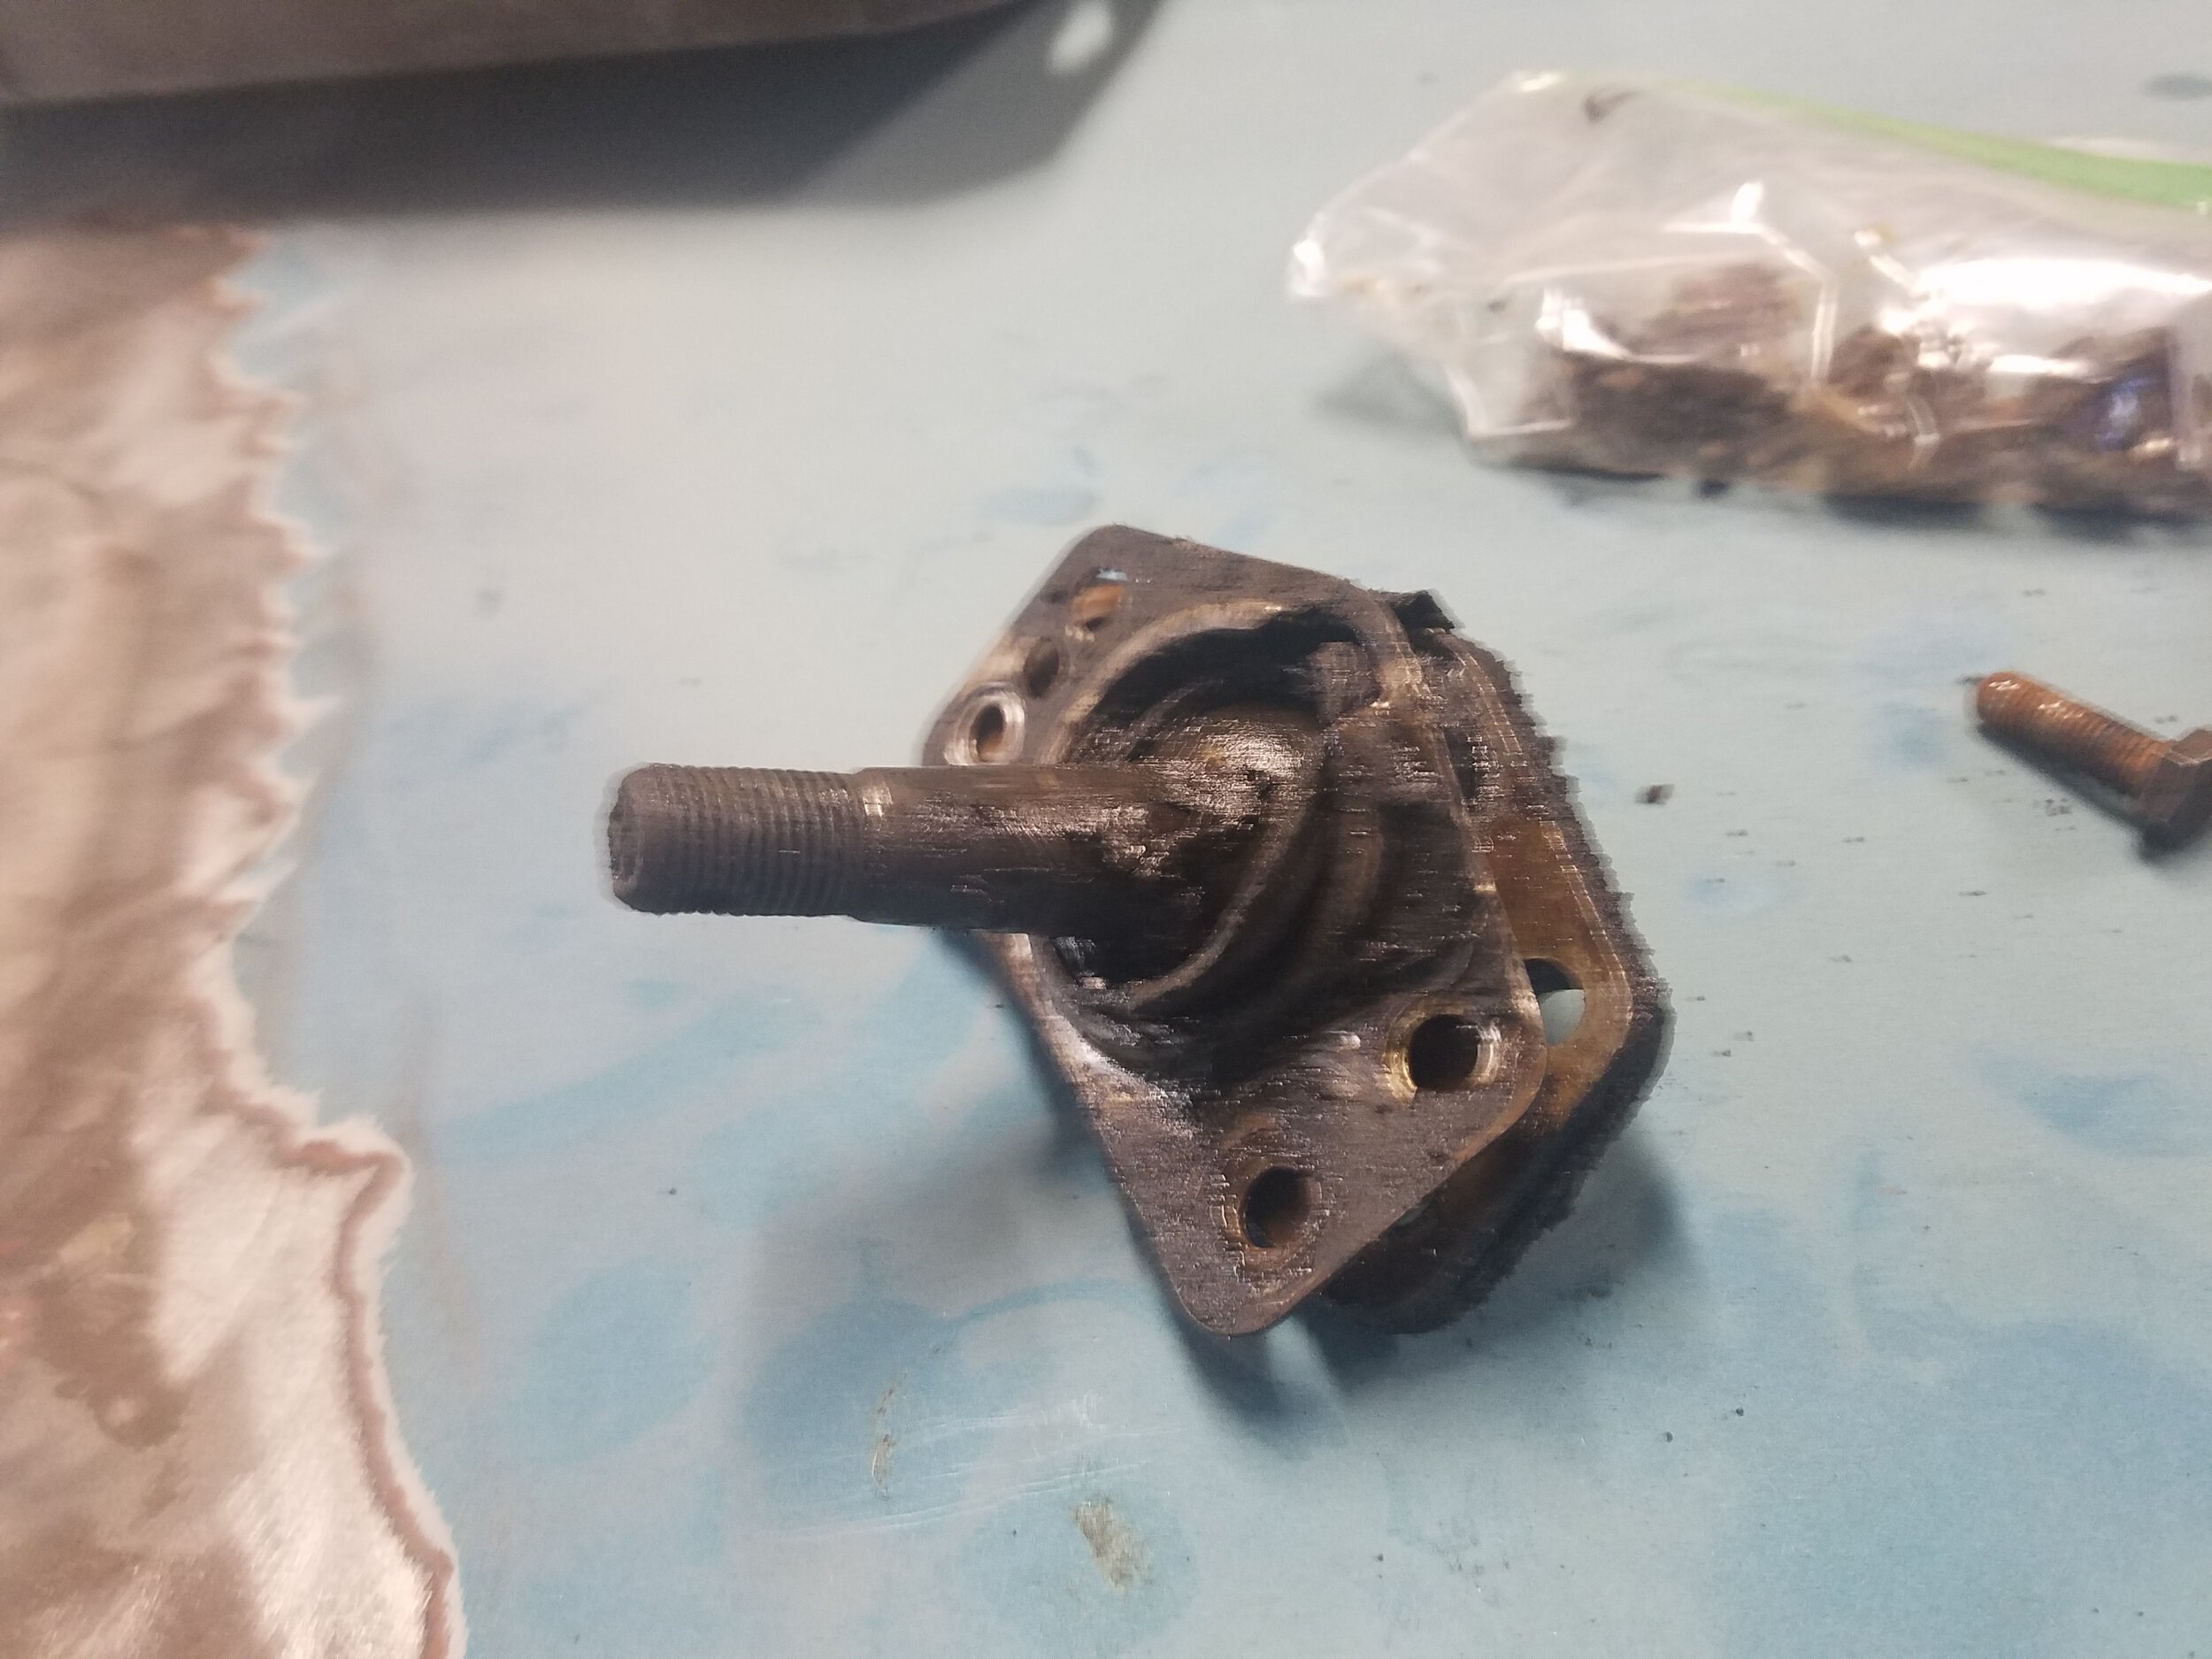
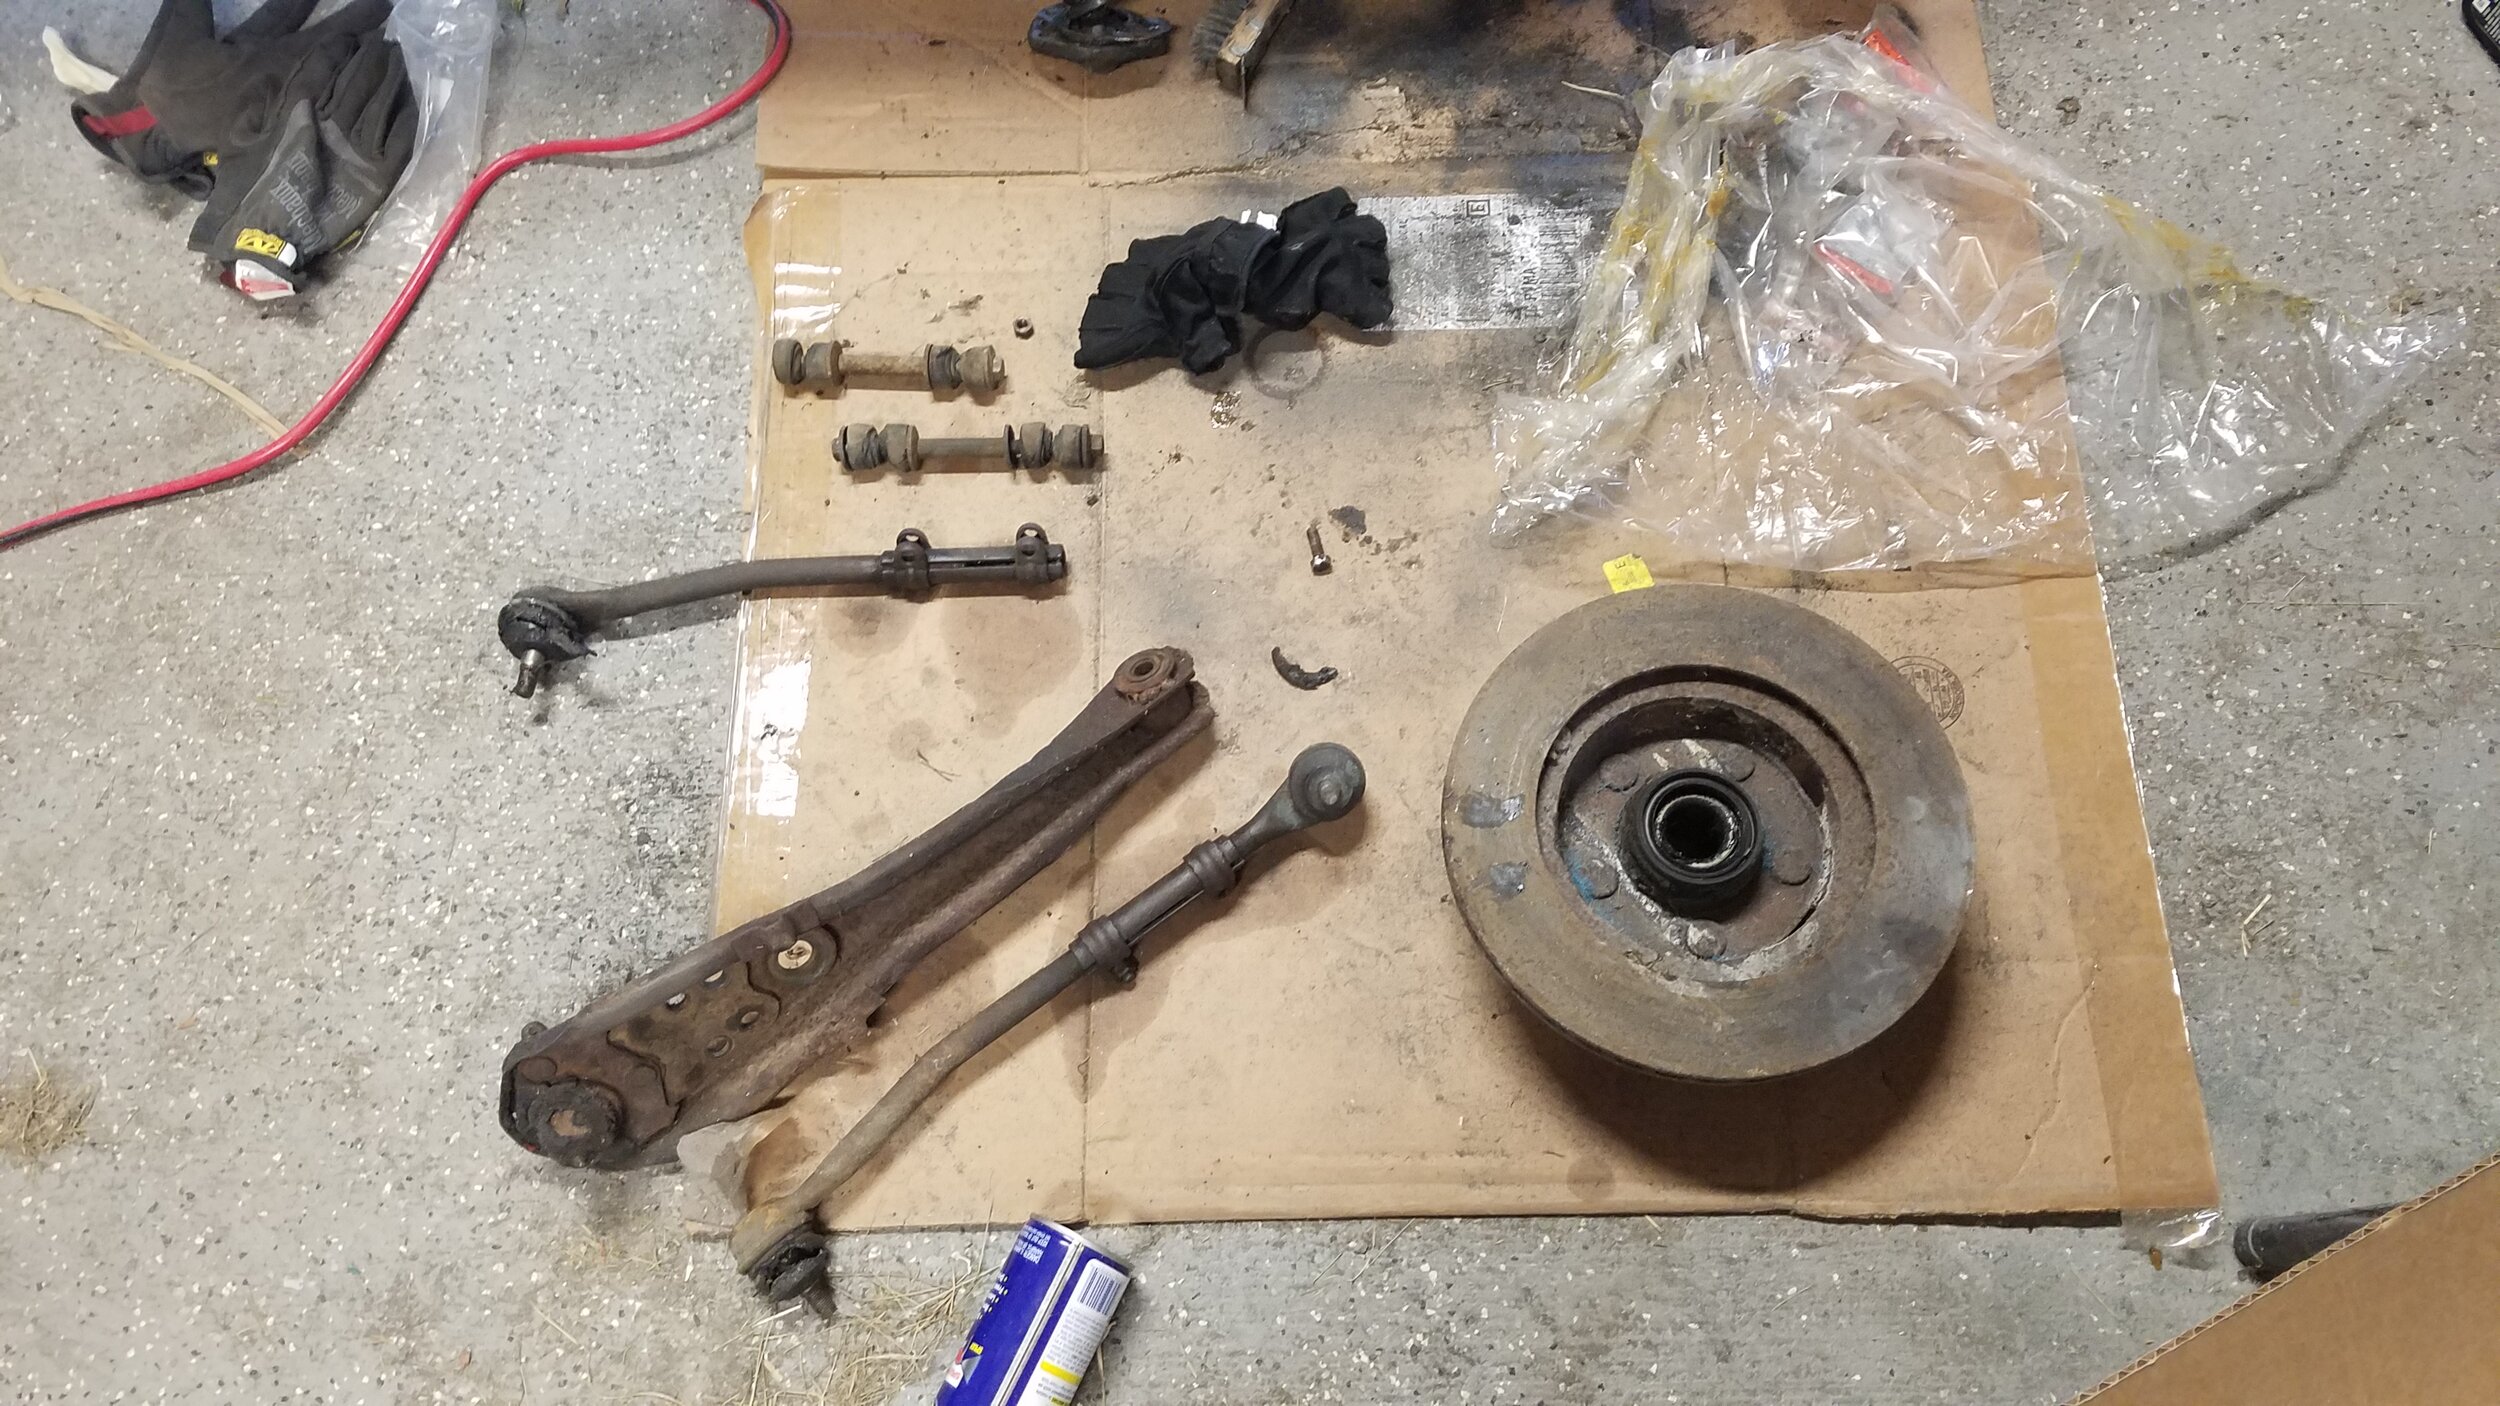
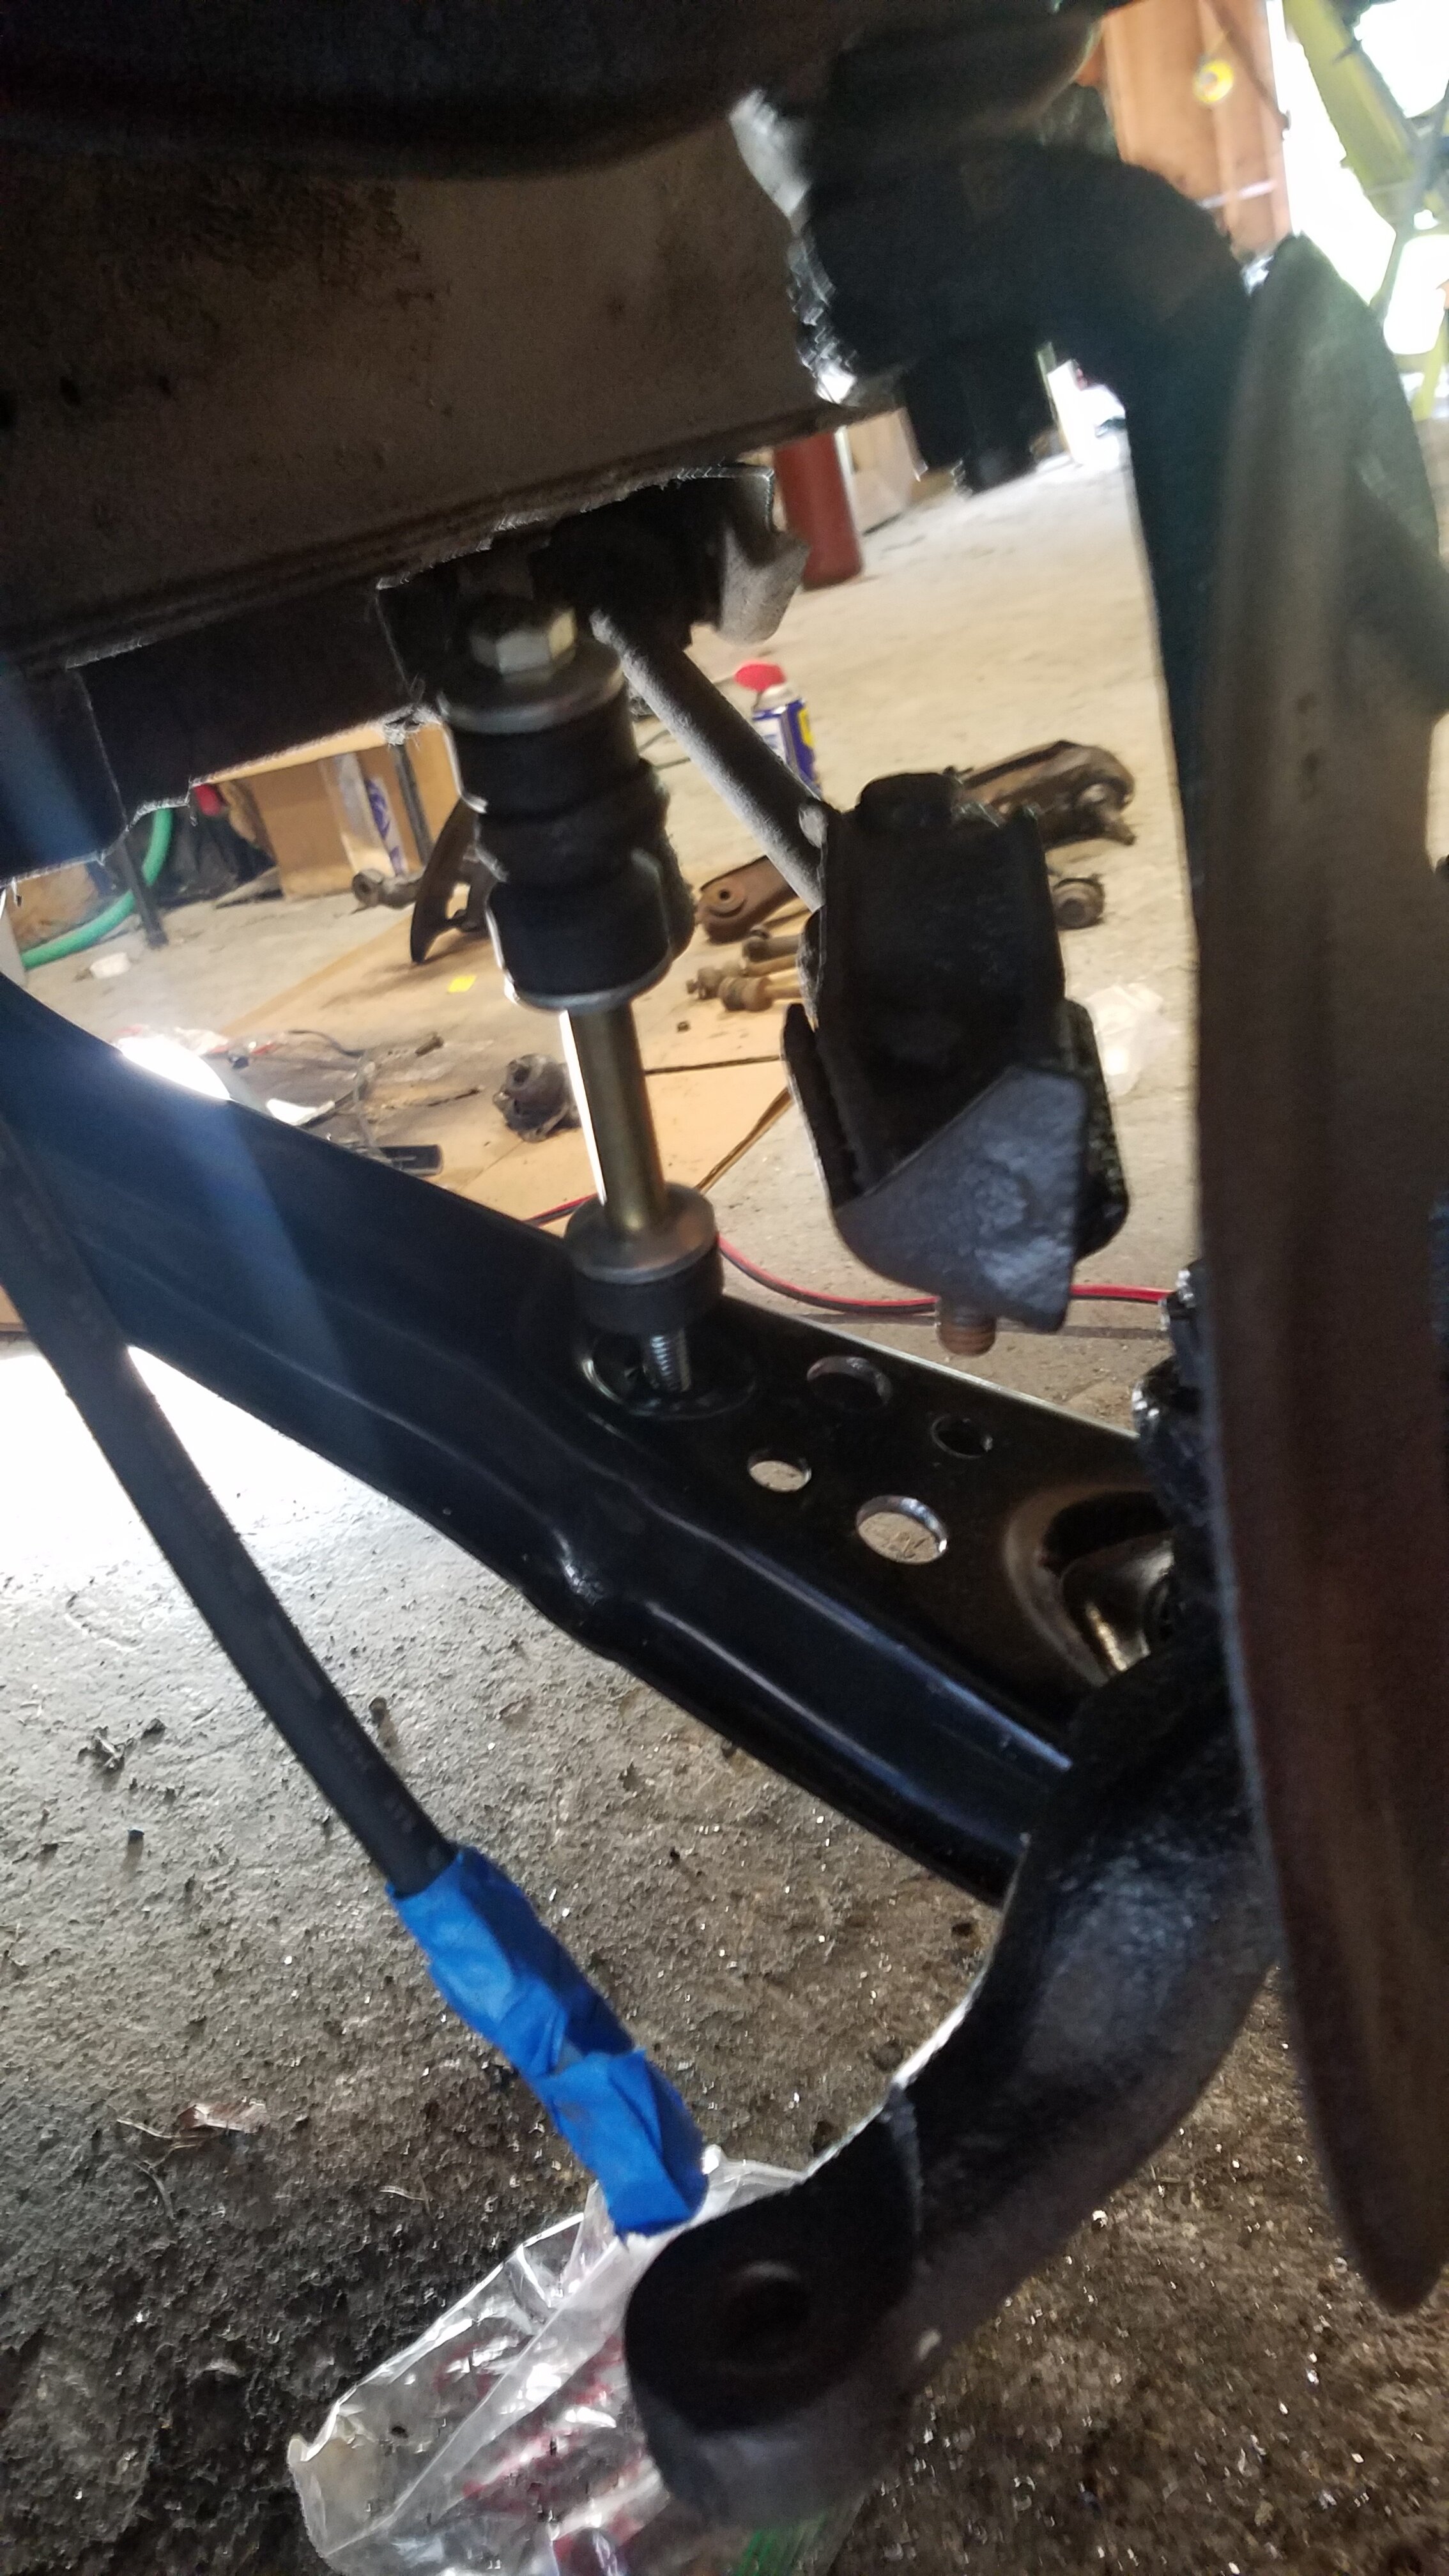
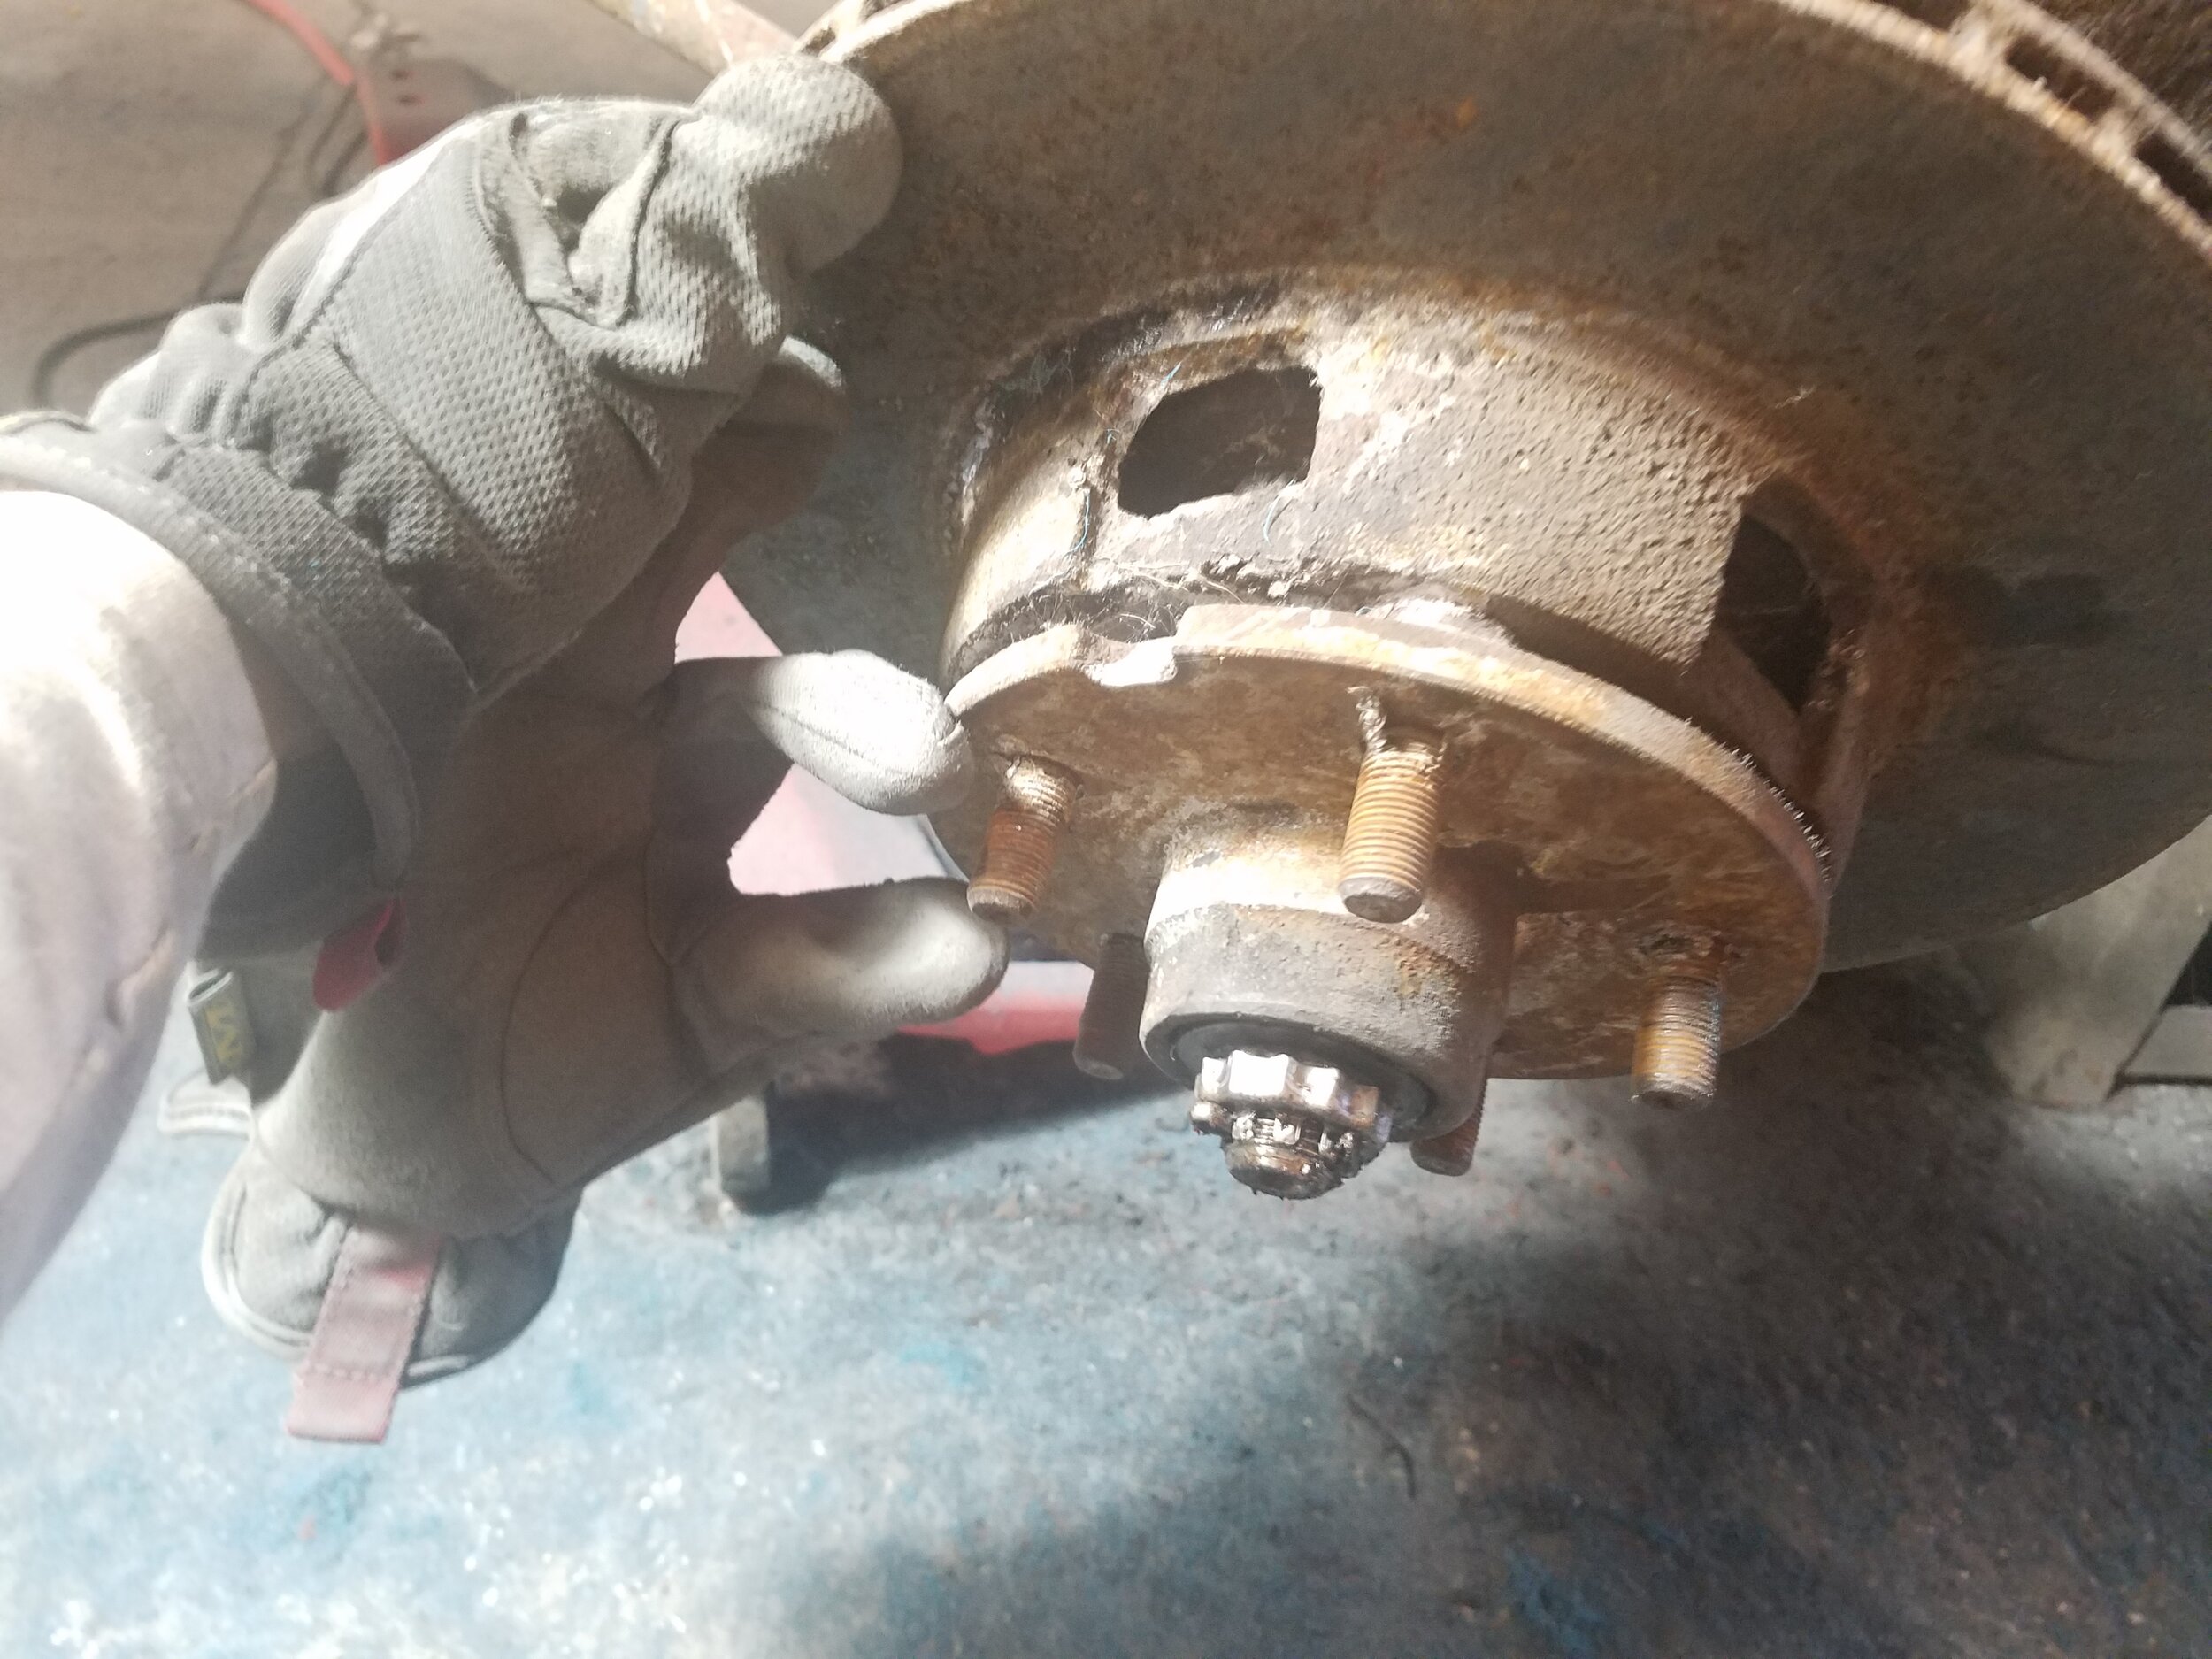
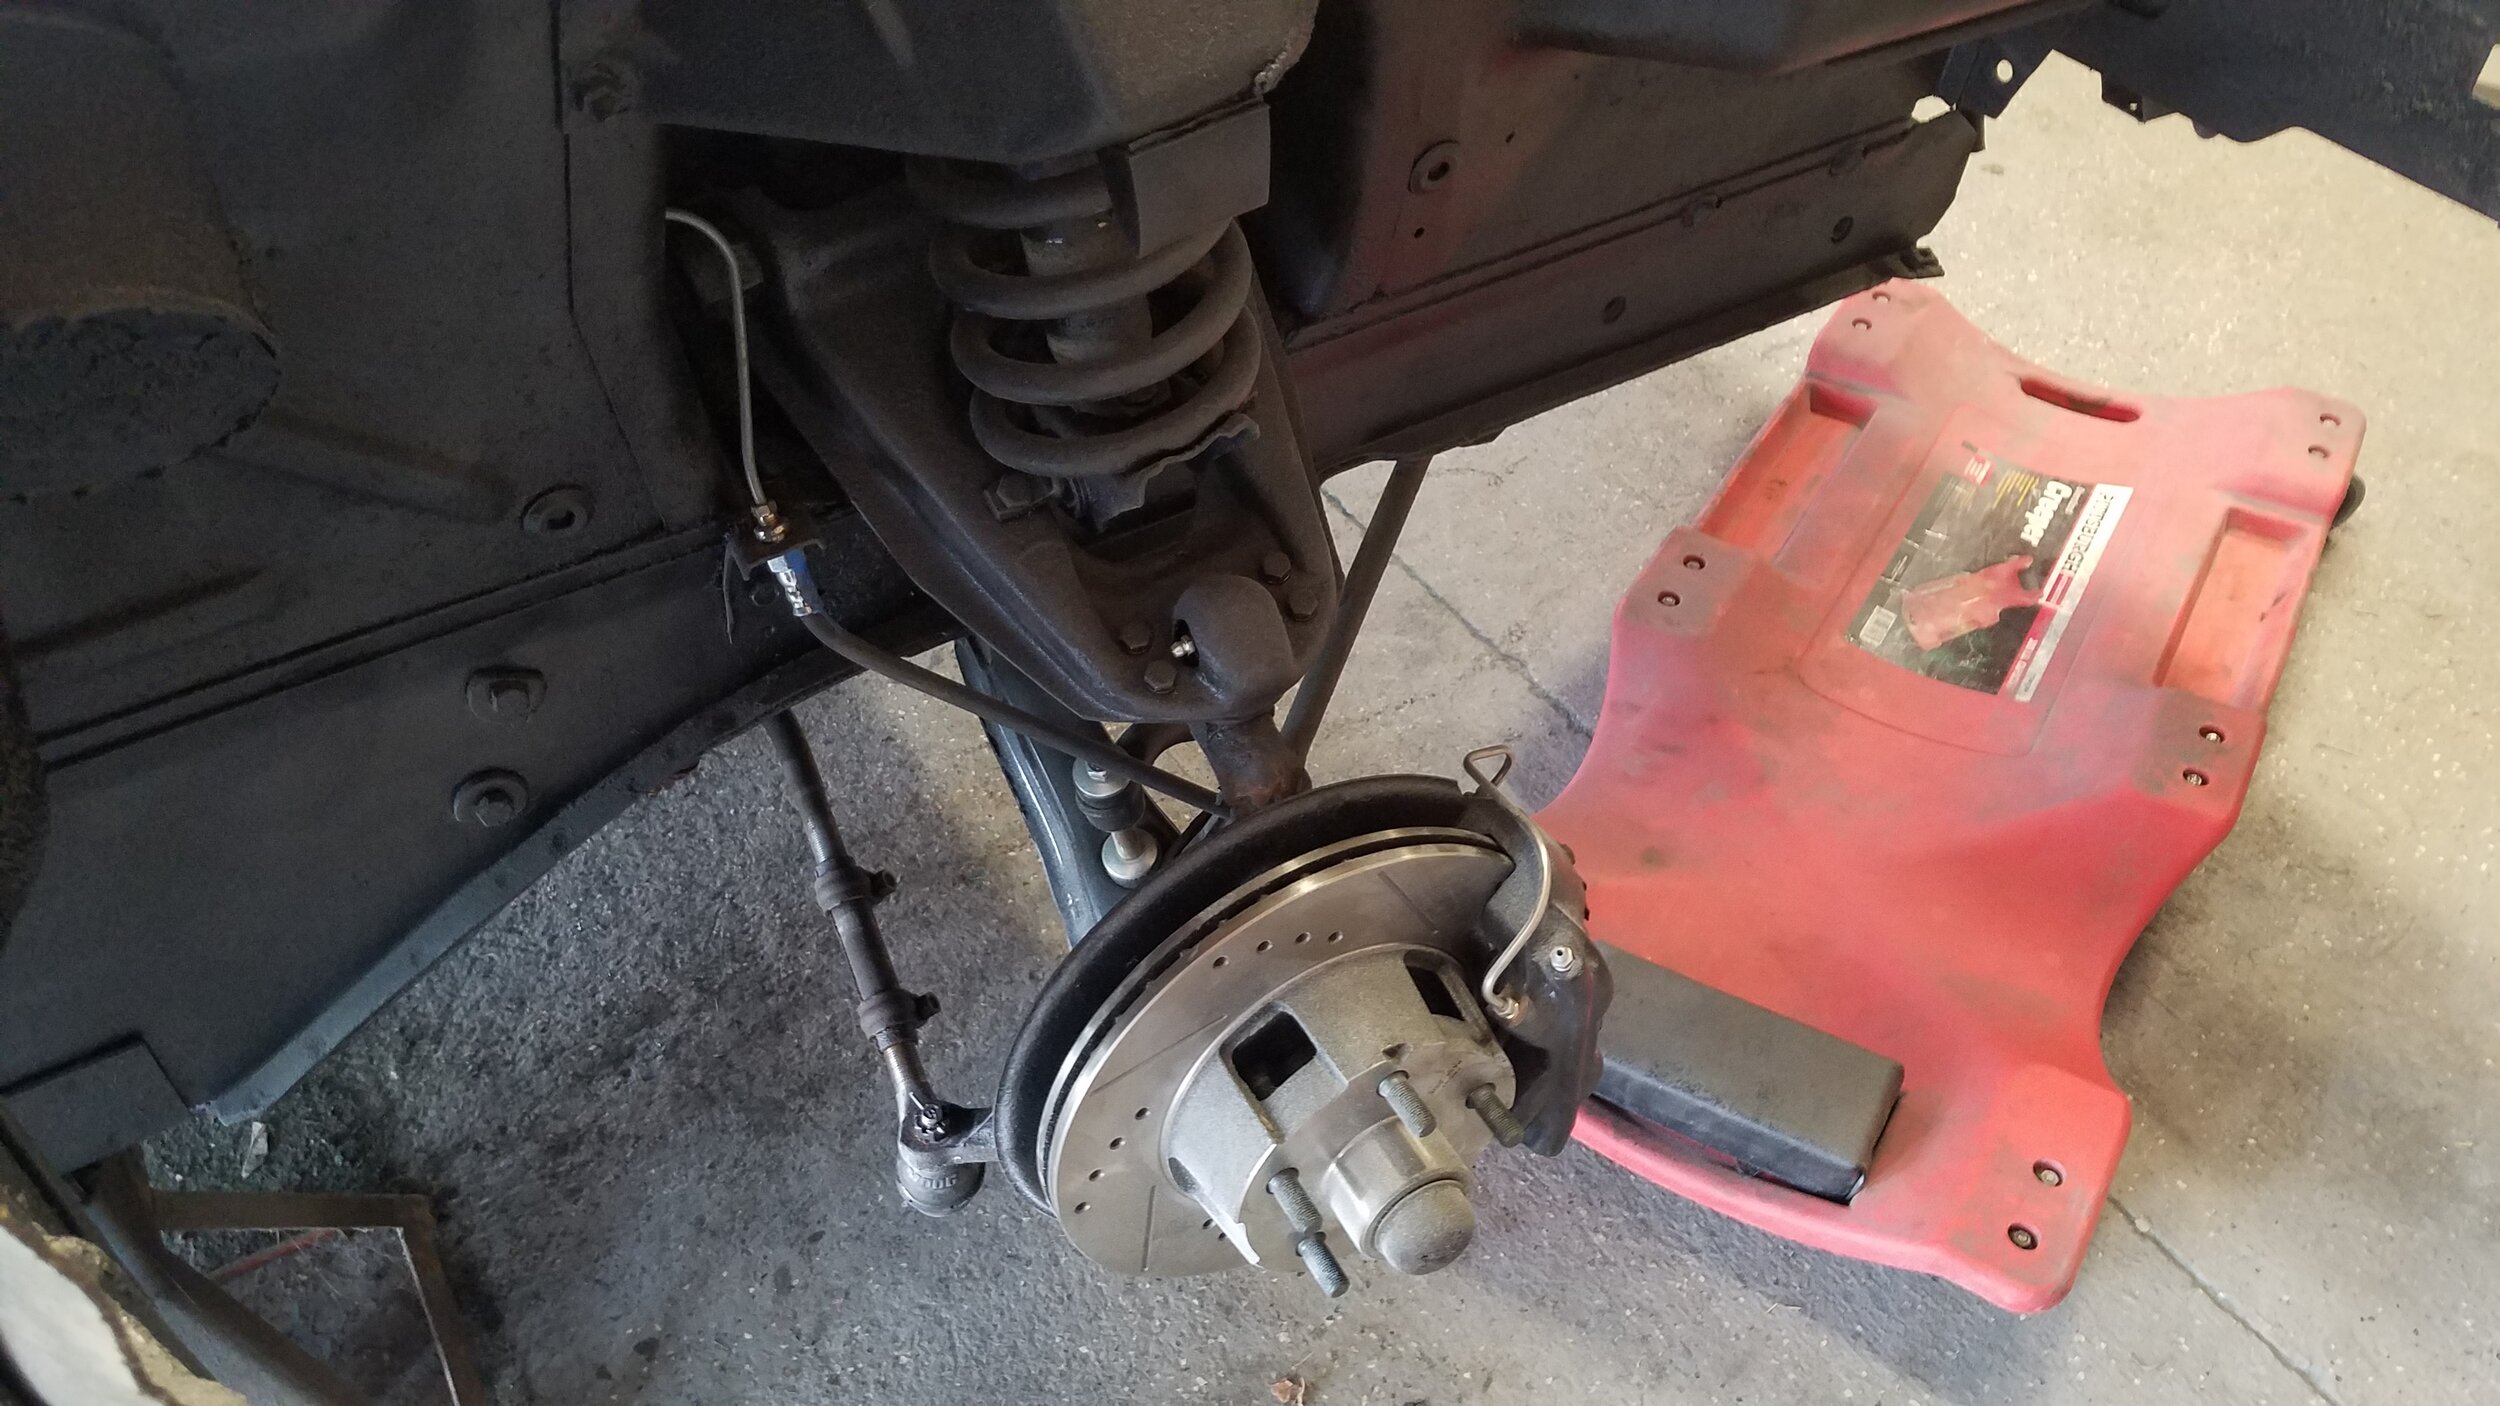
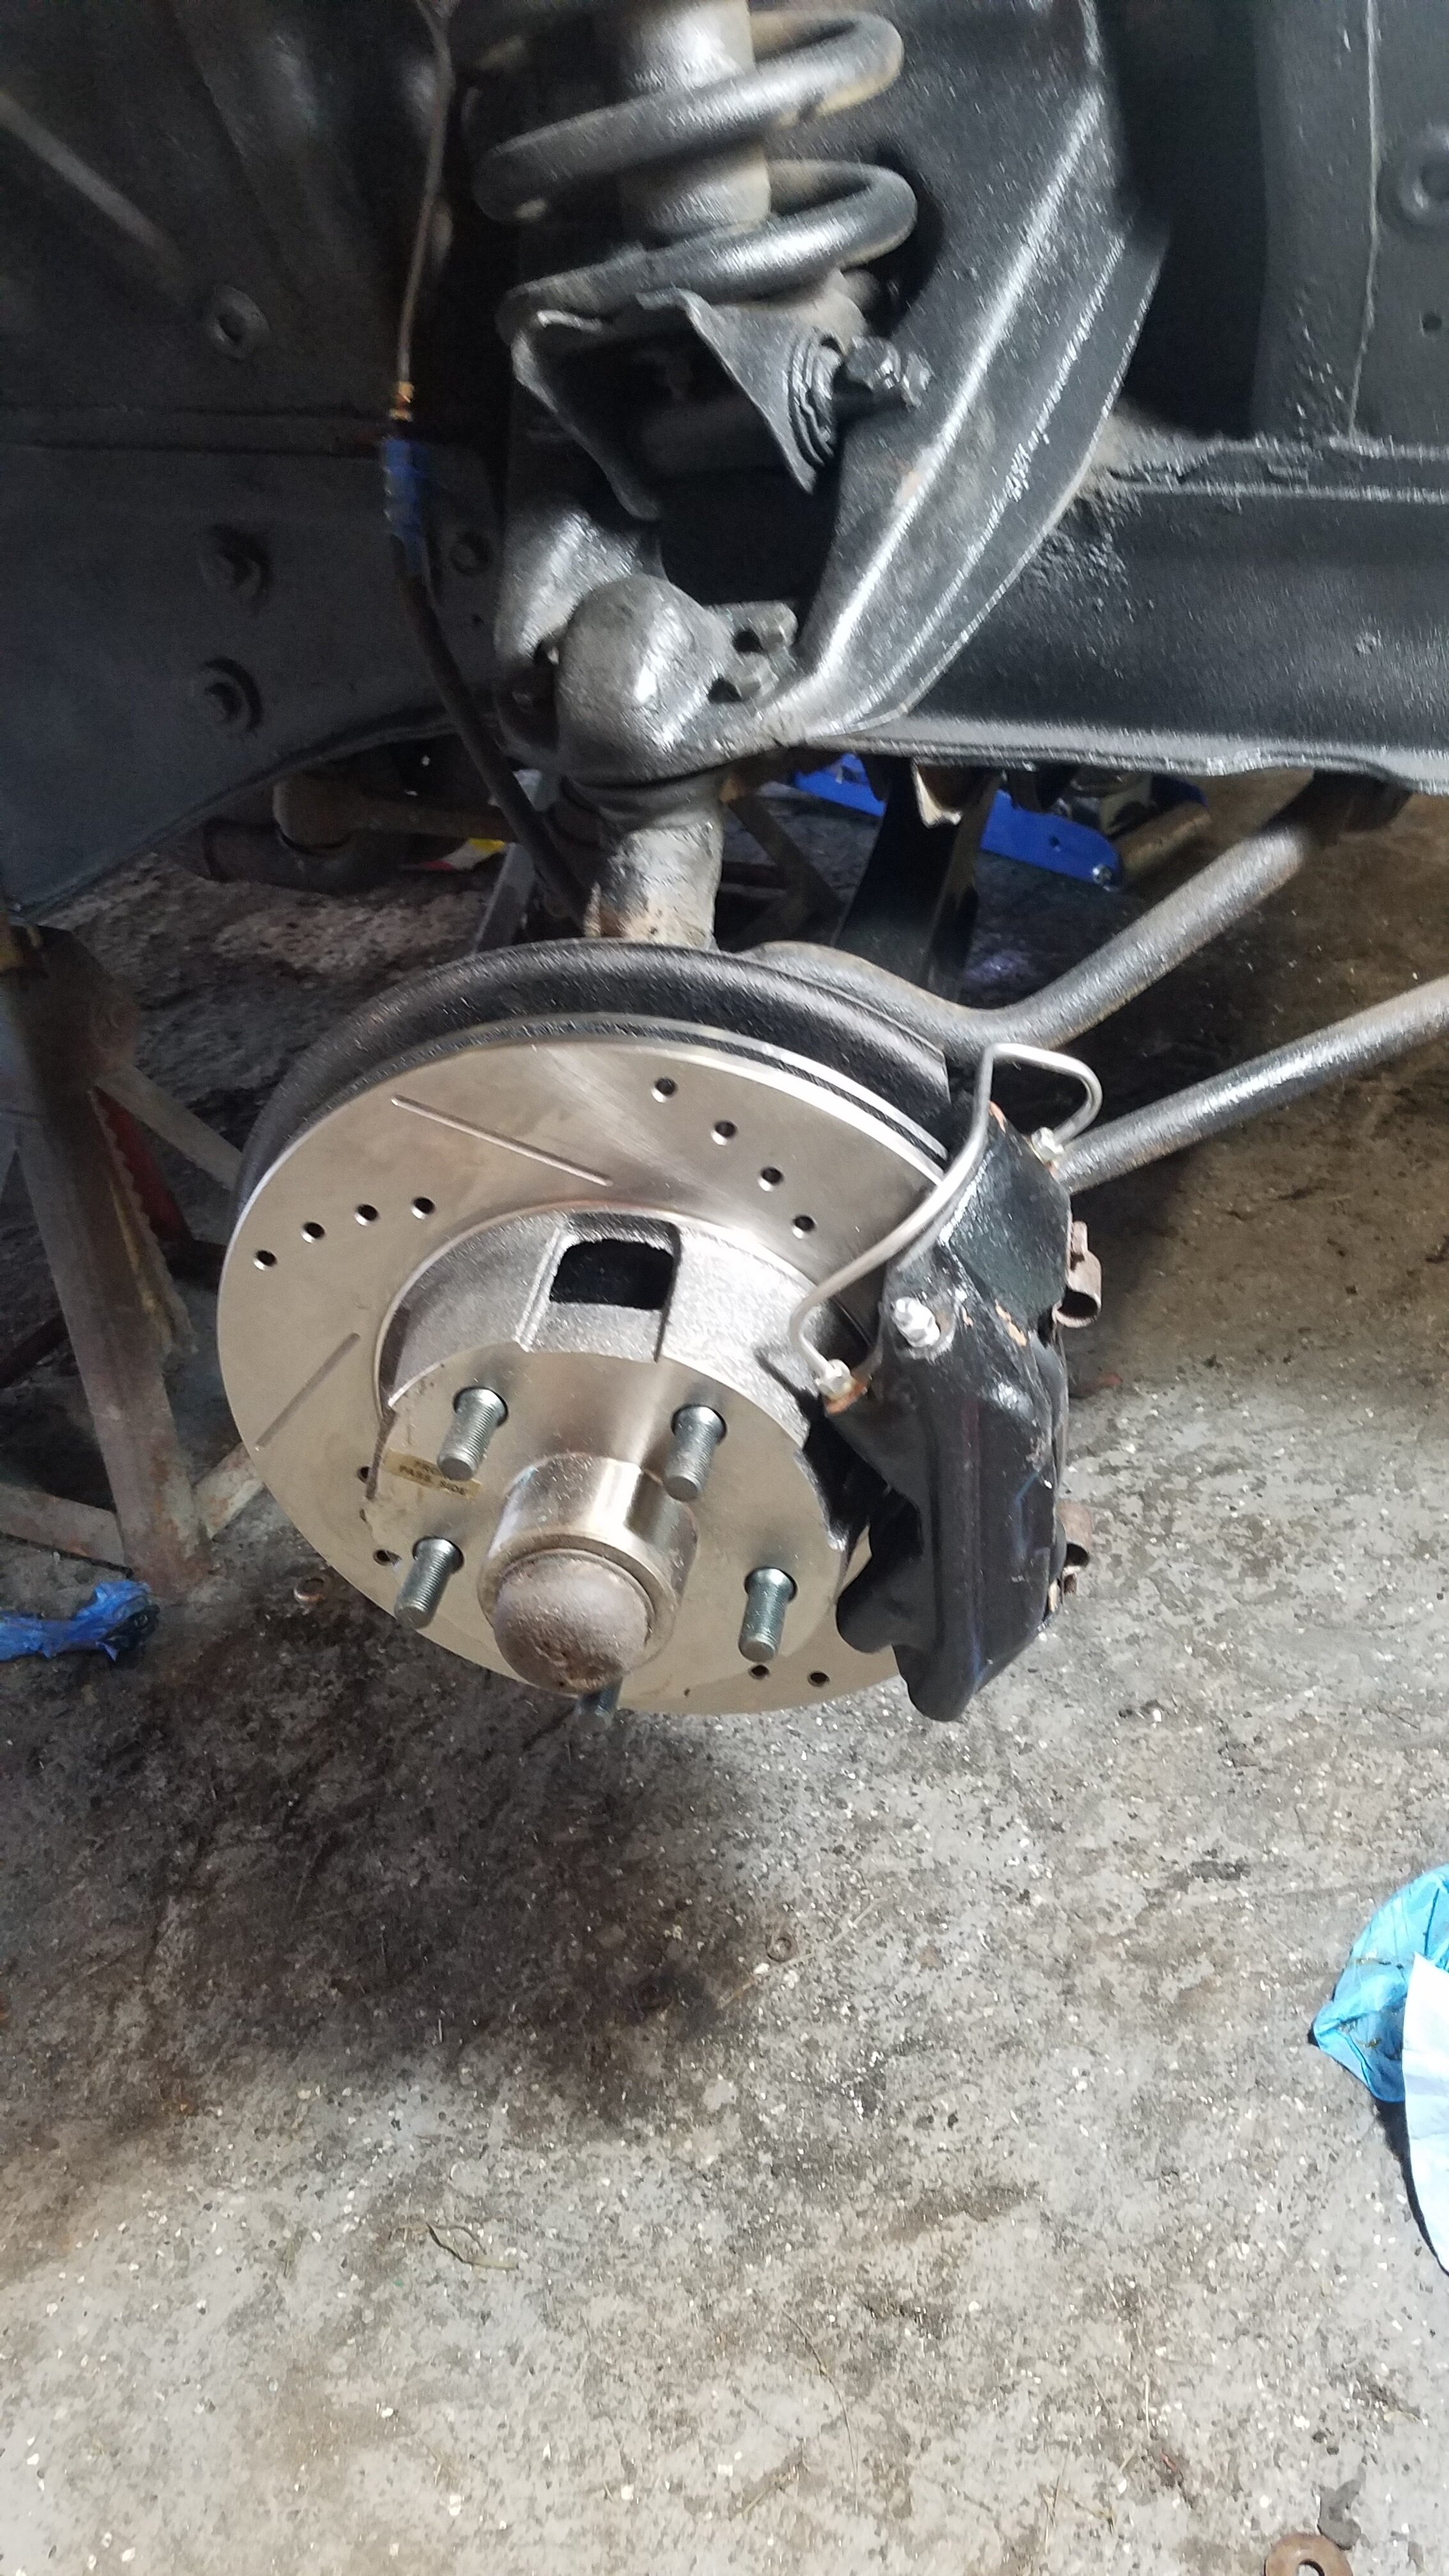
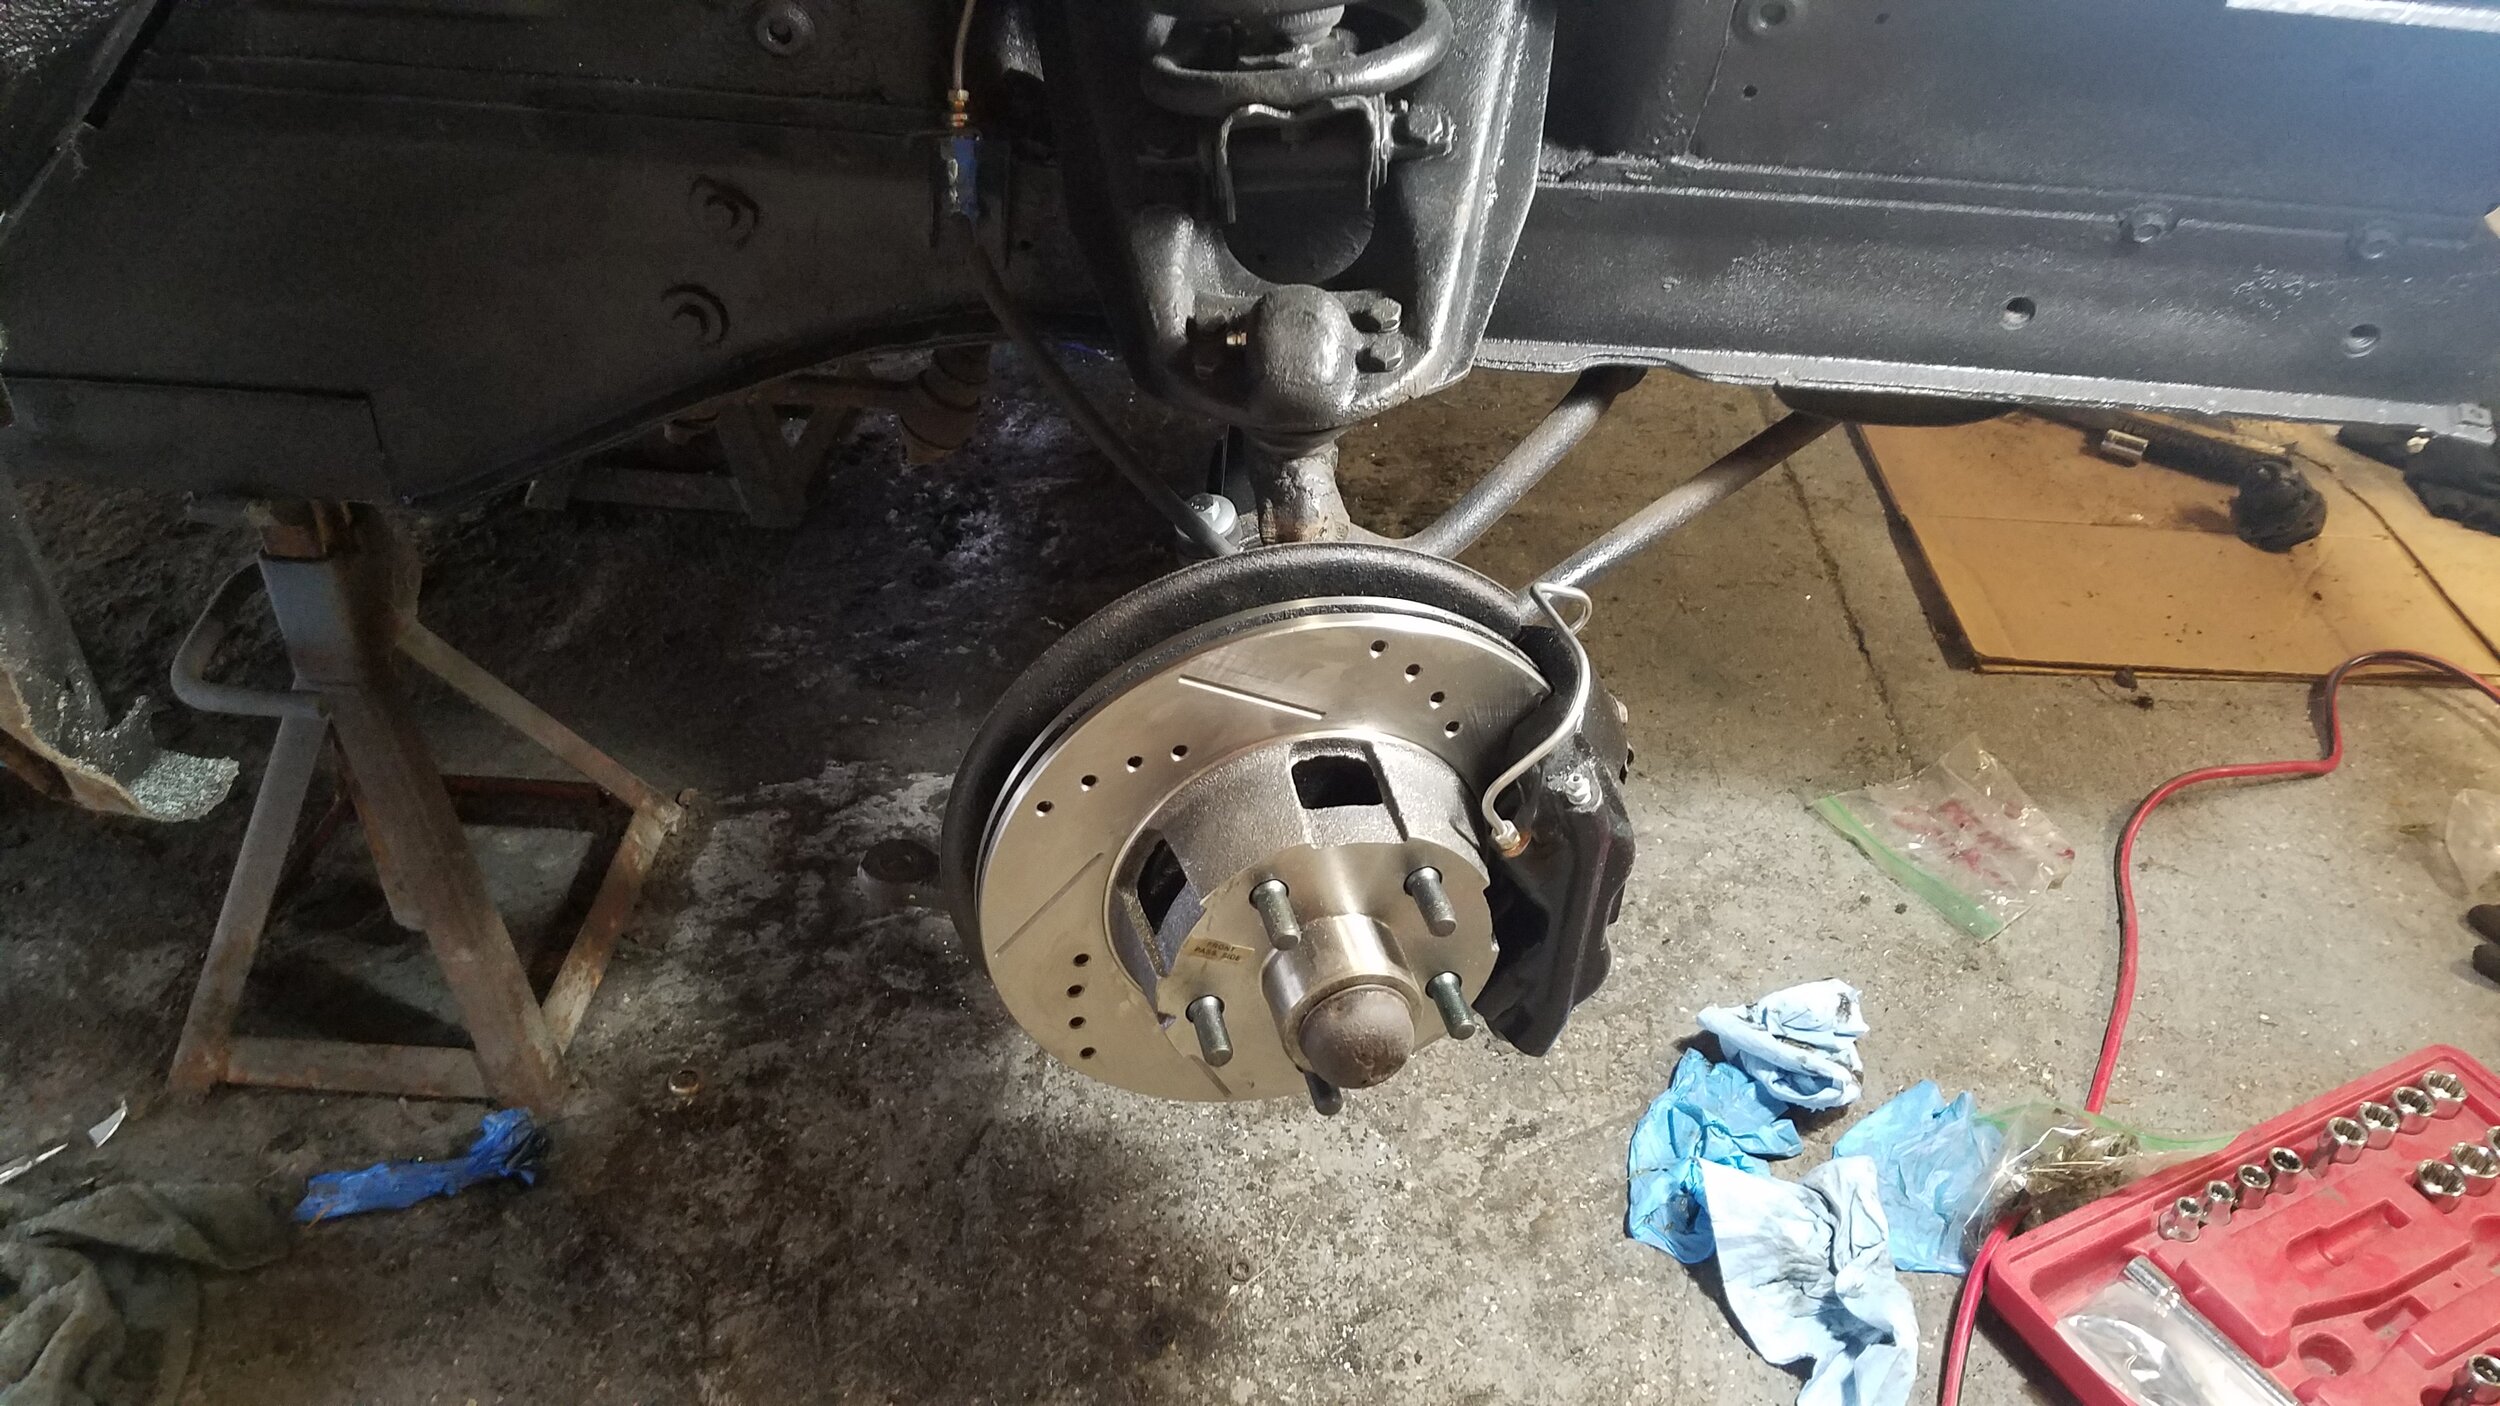
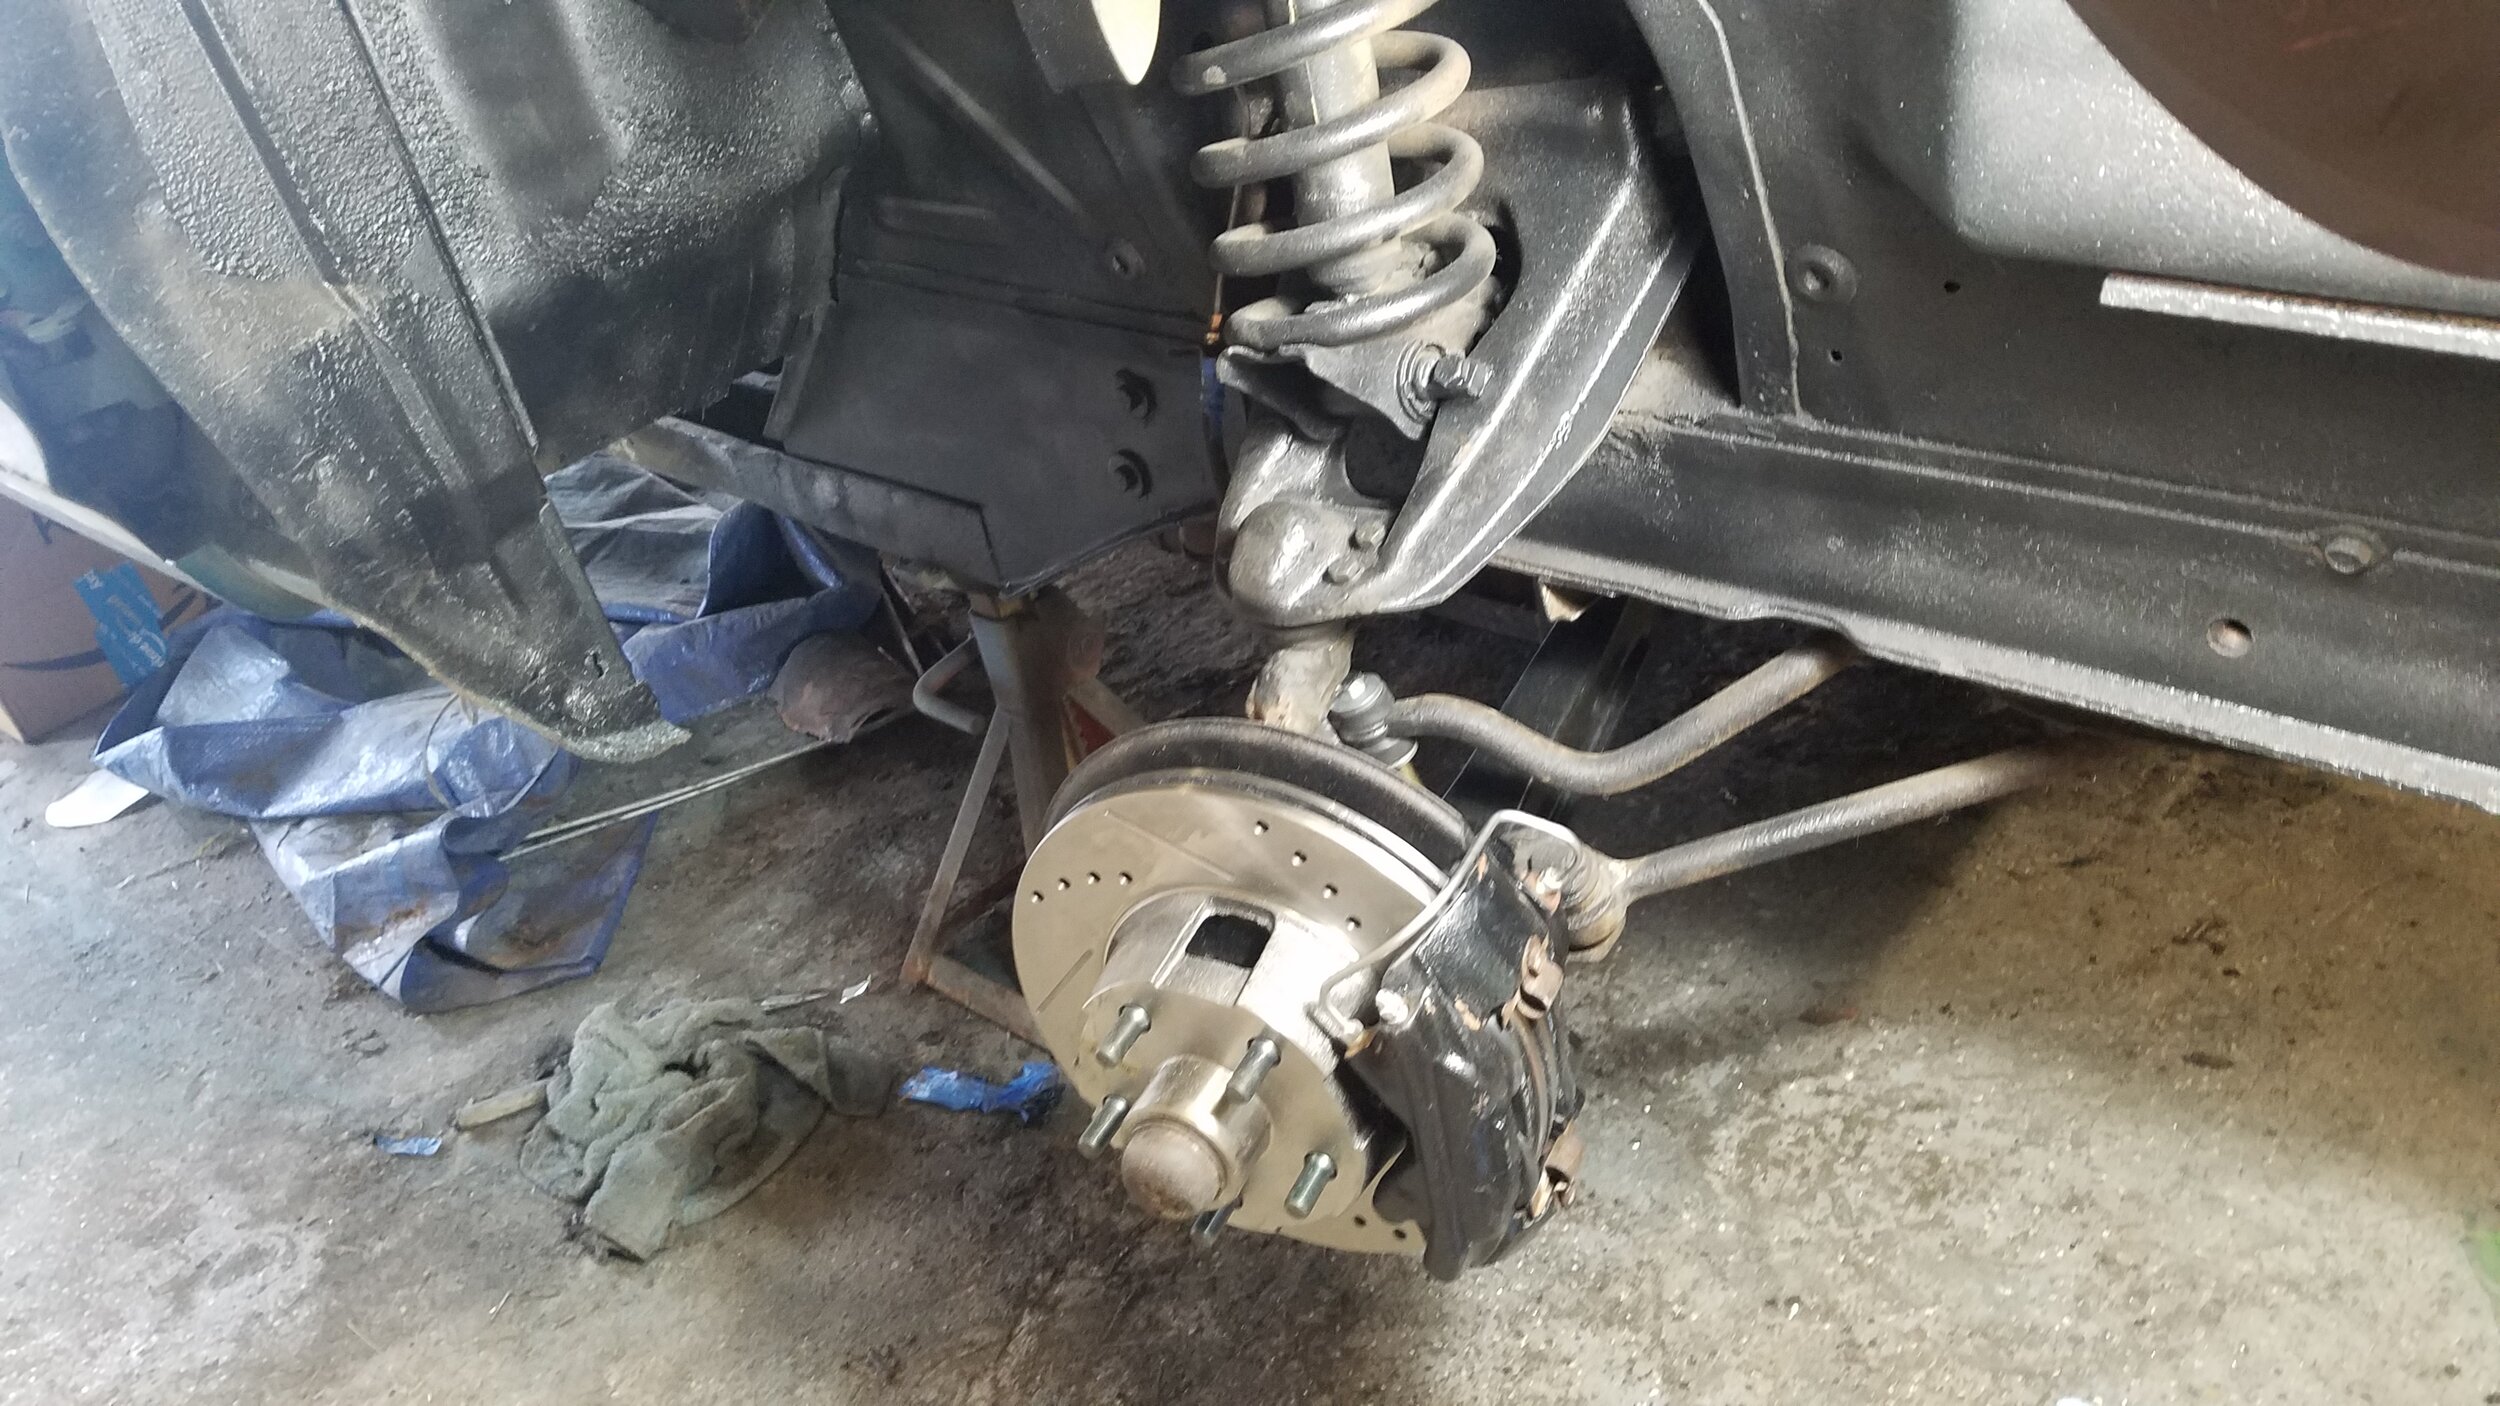
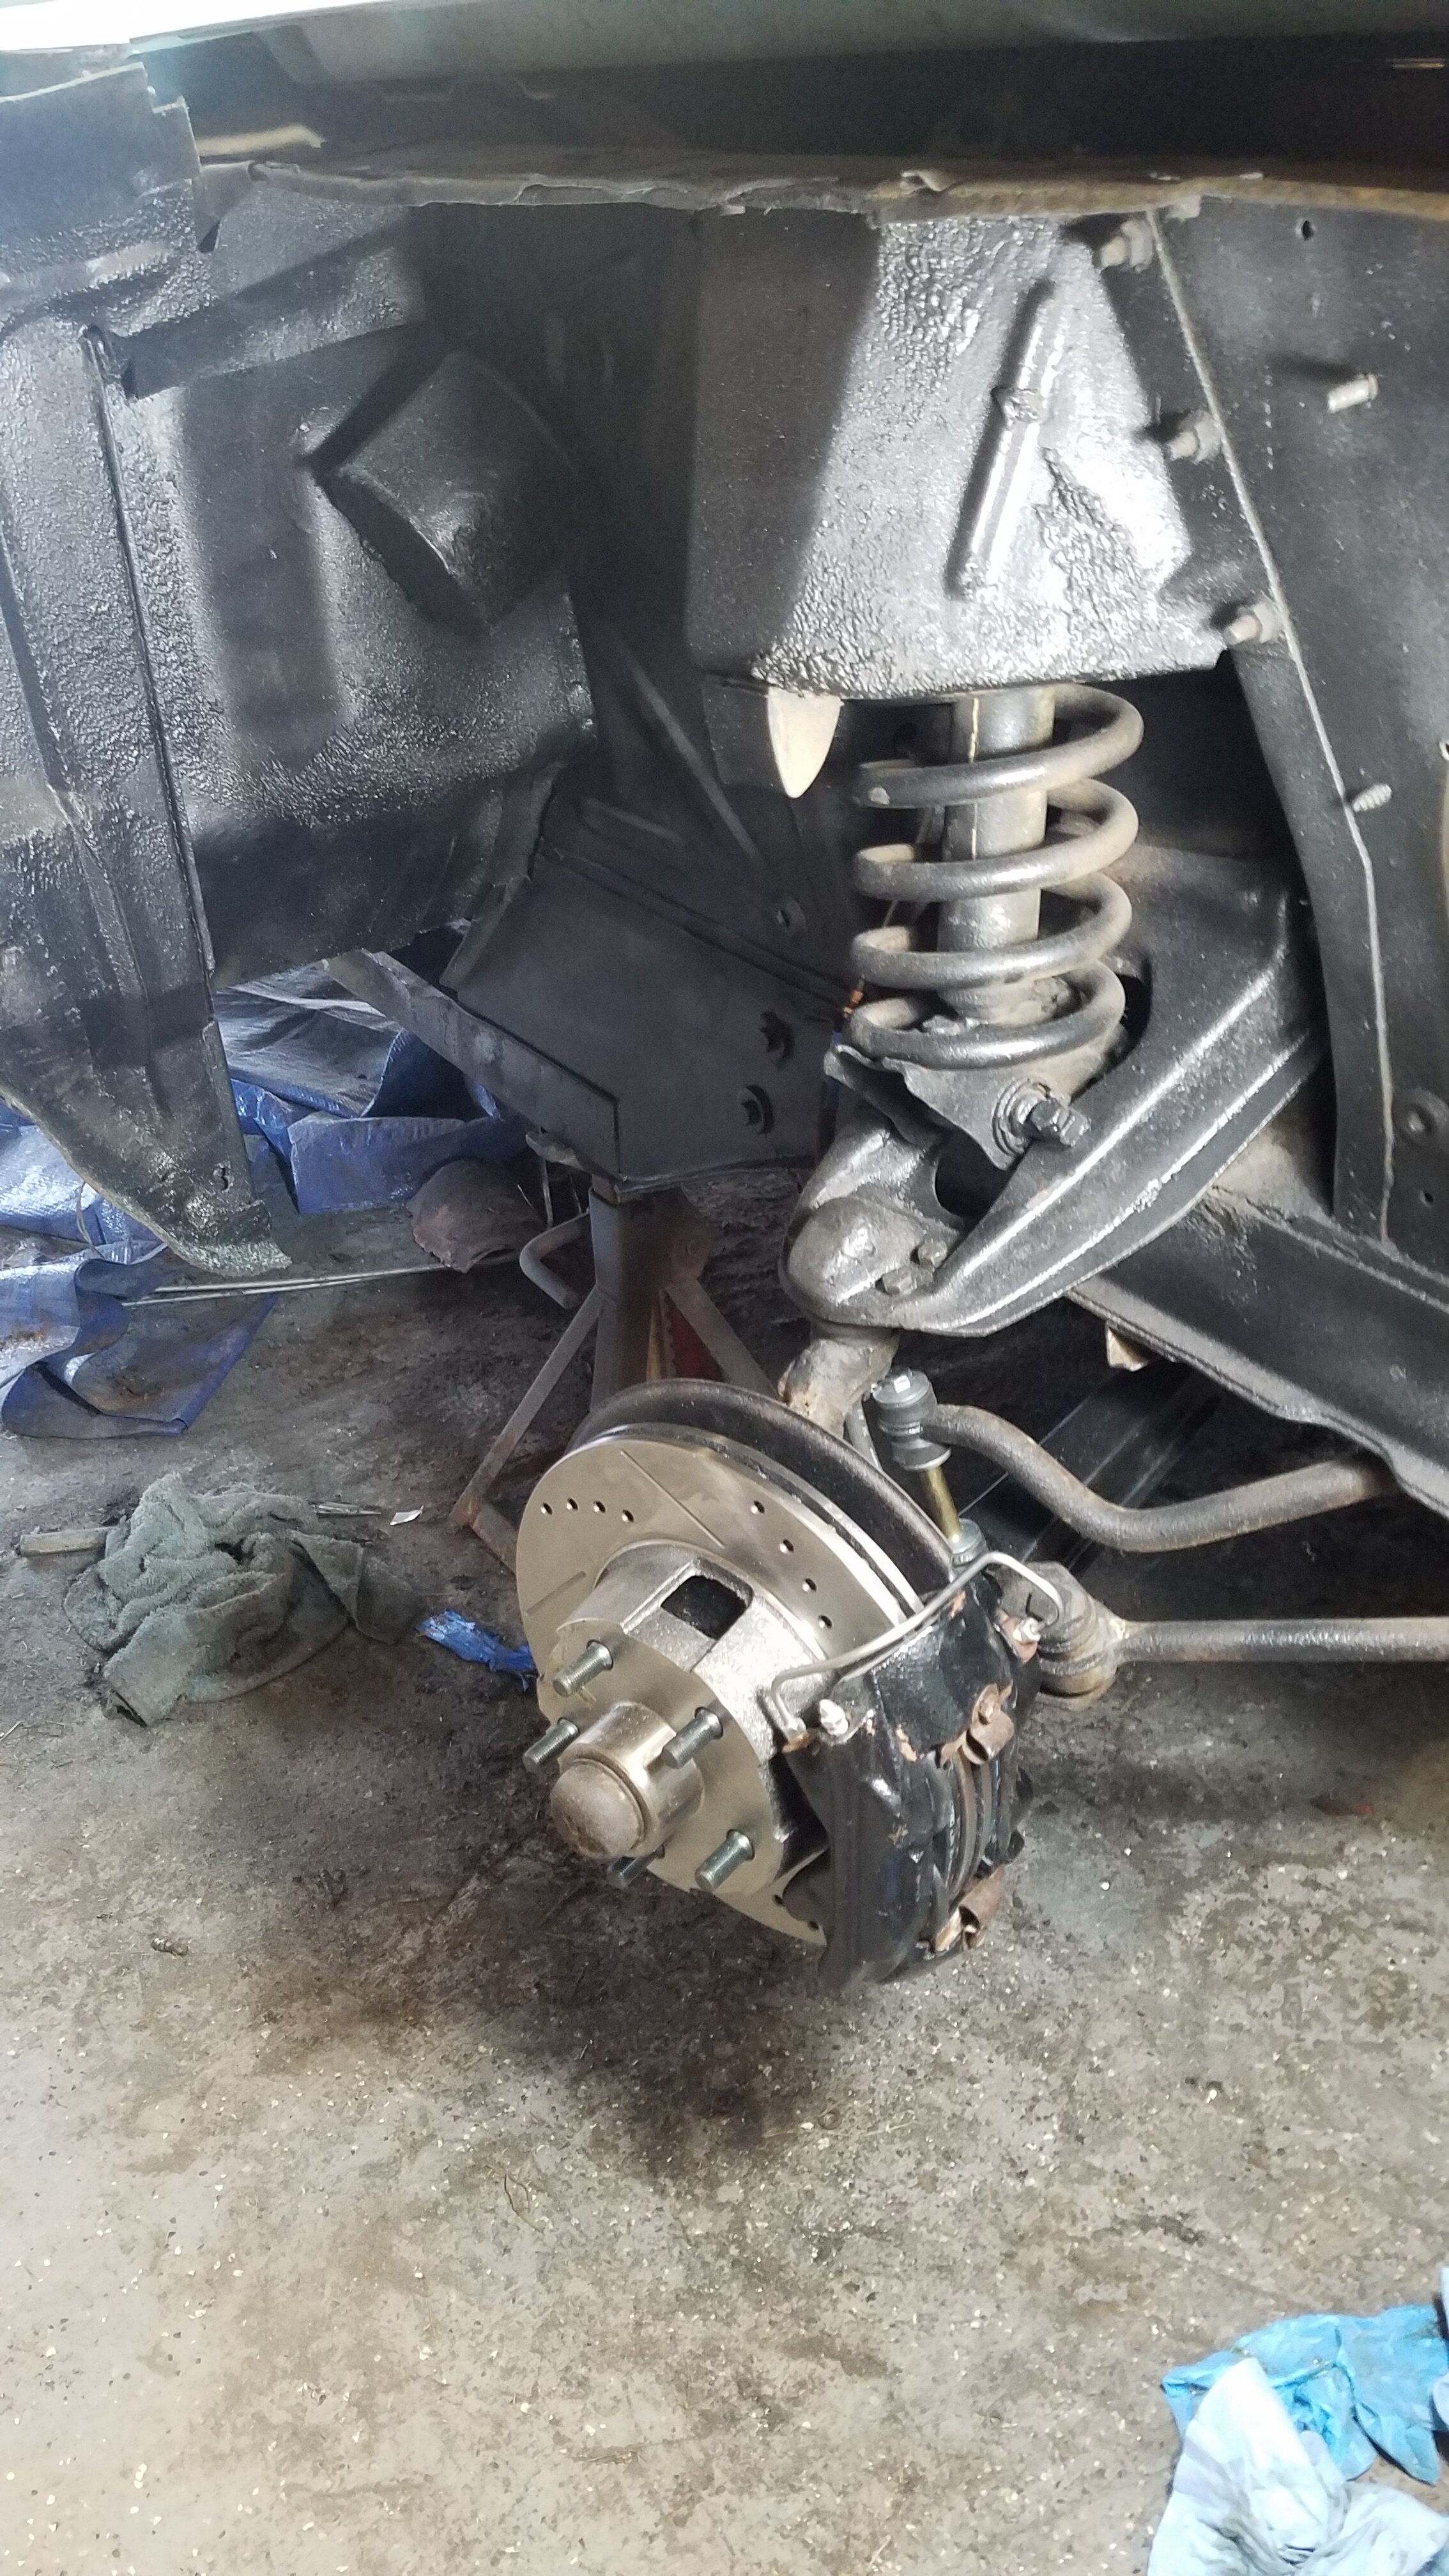
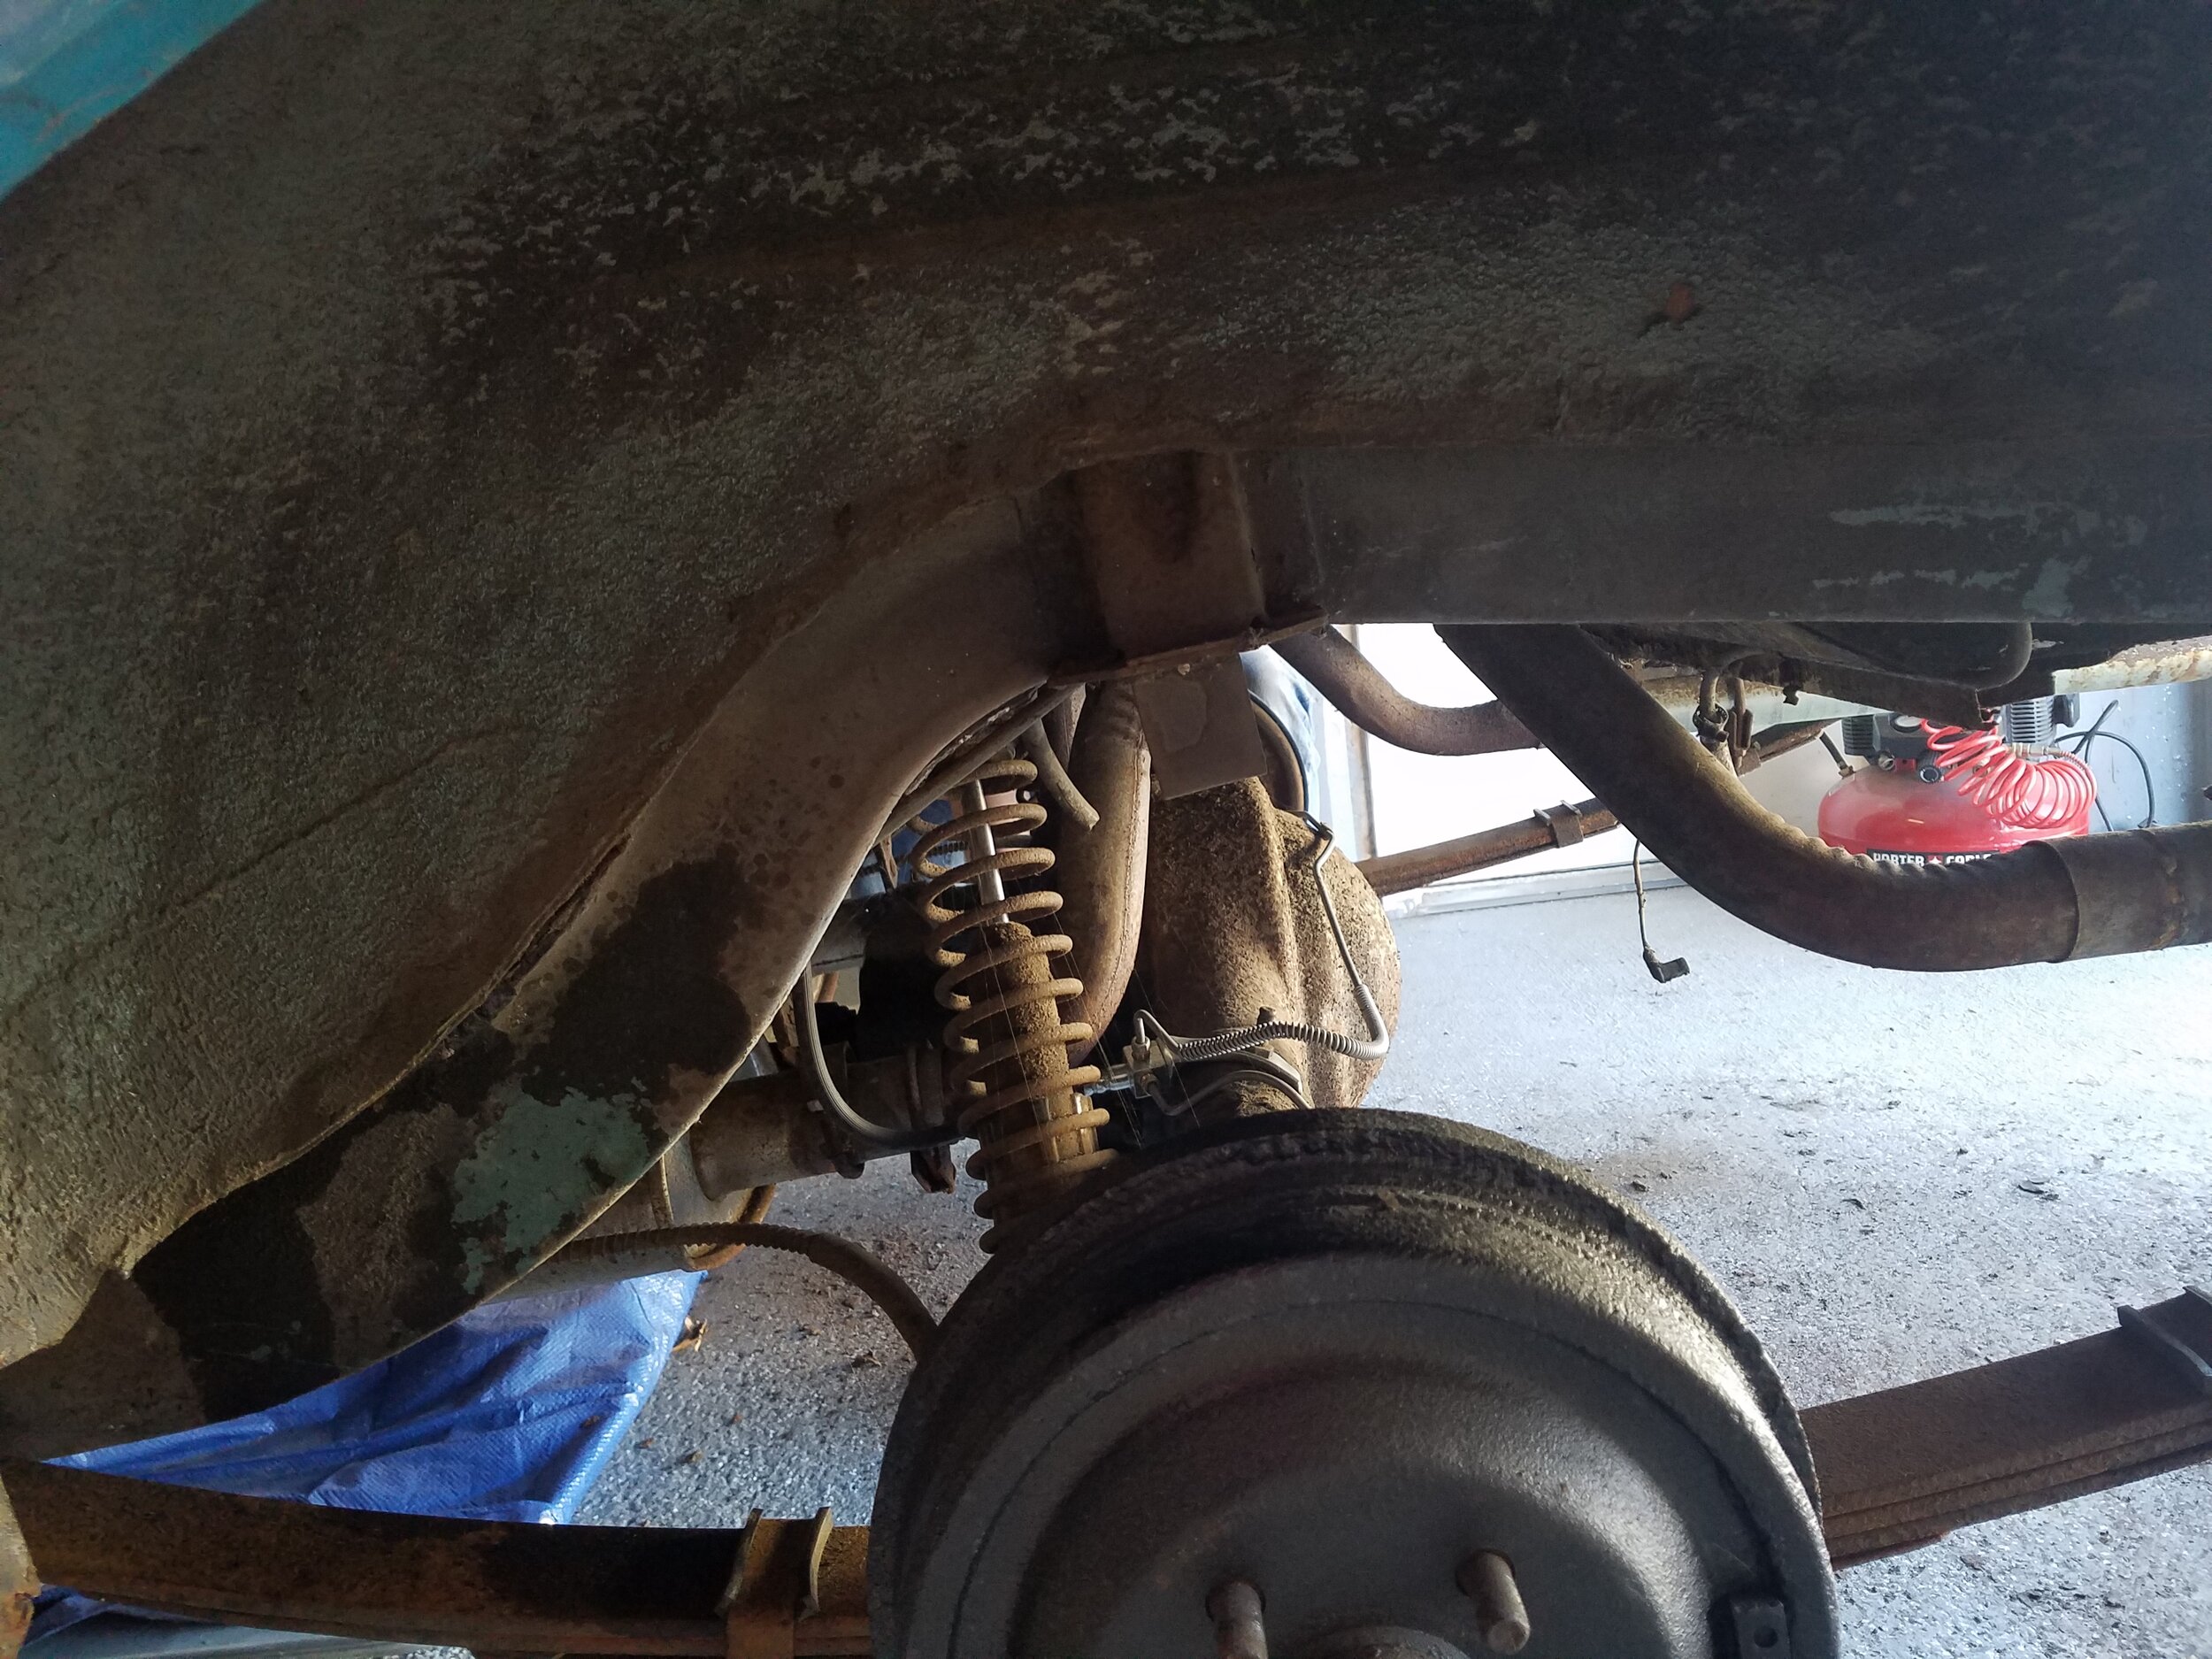
Control Arms, Ball Joints, Tied Rods, and Bearings…OH MY!

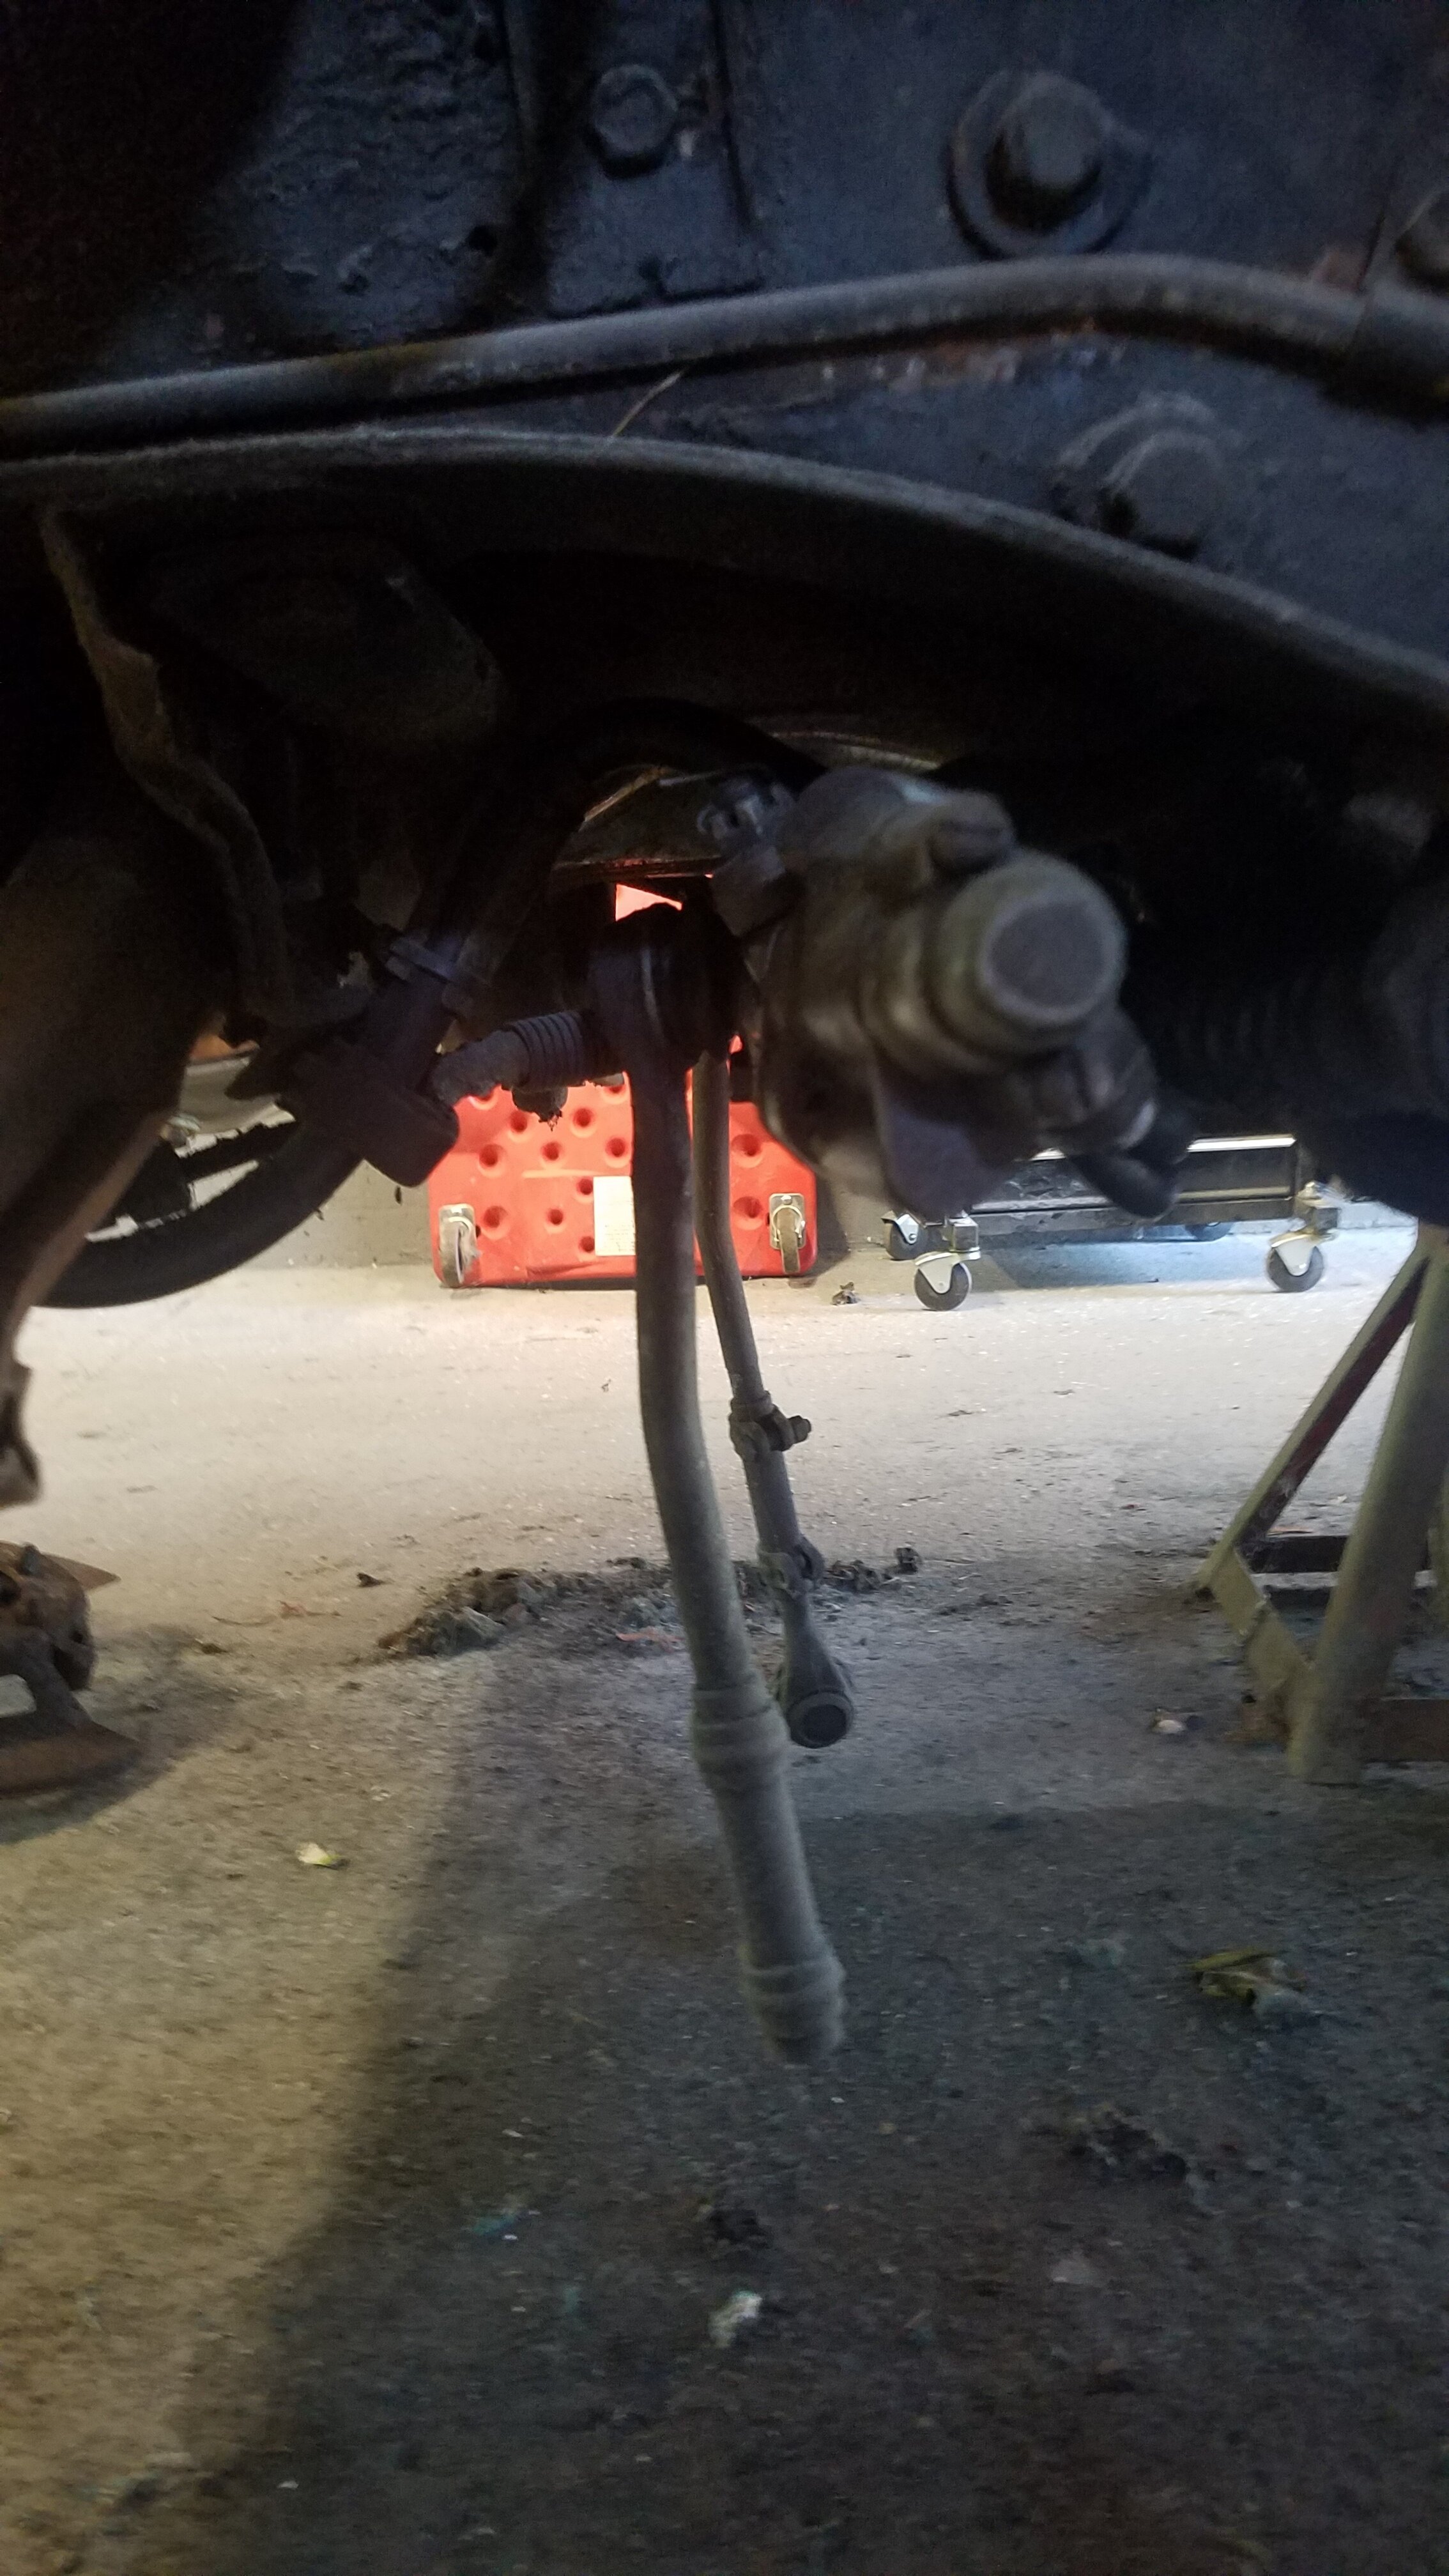
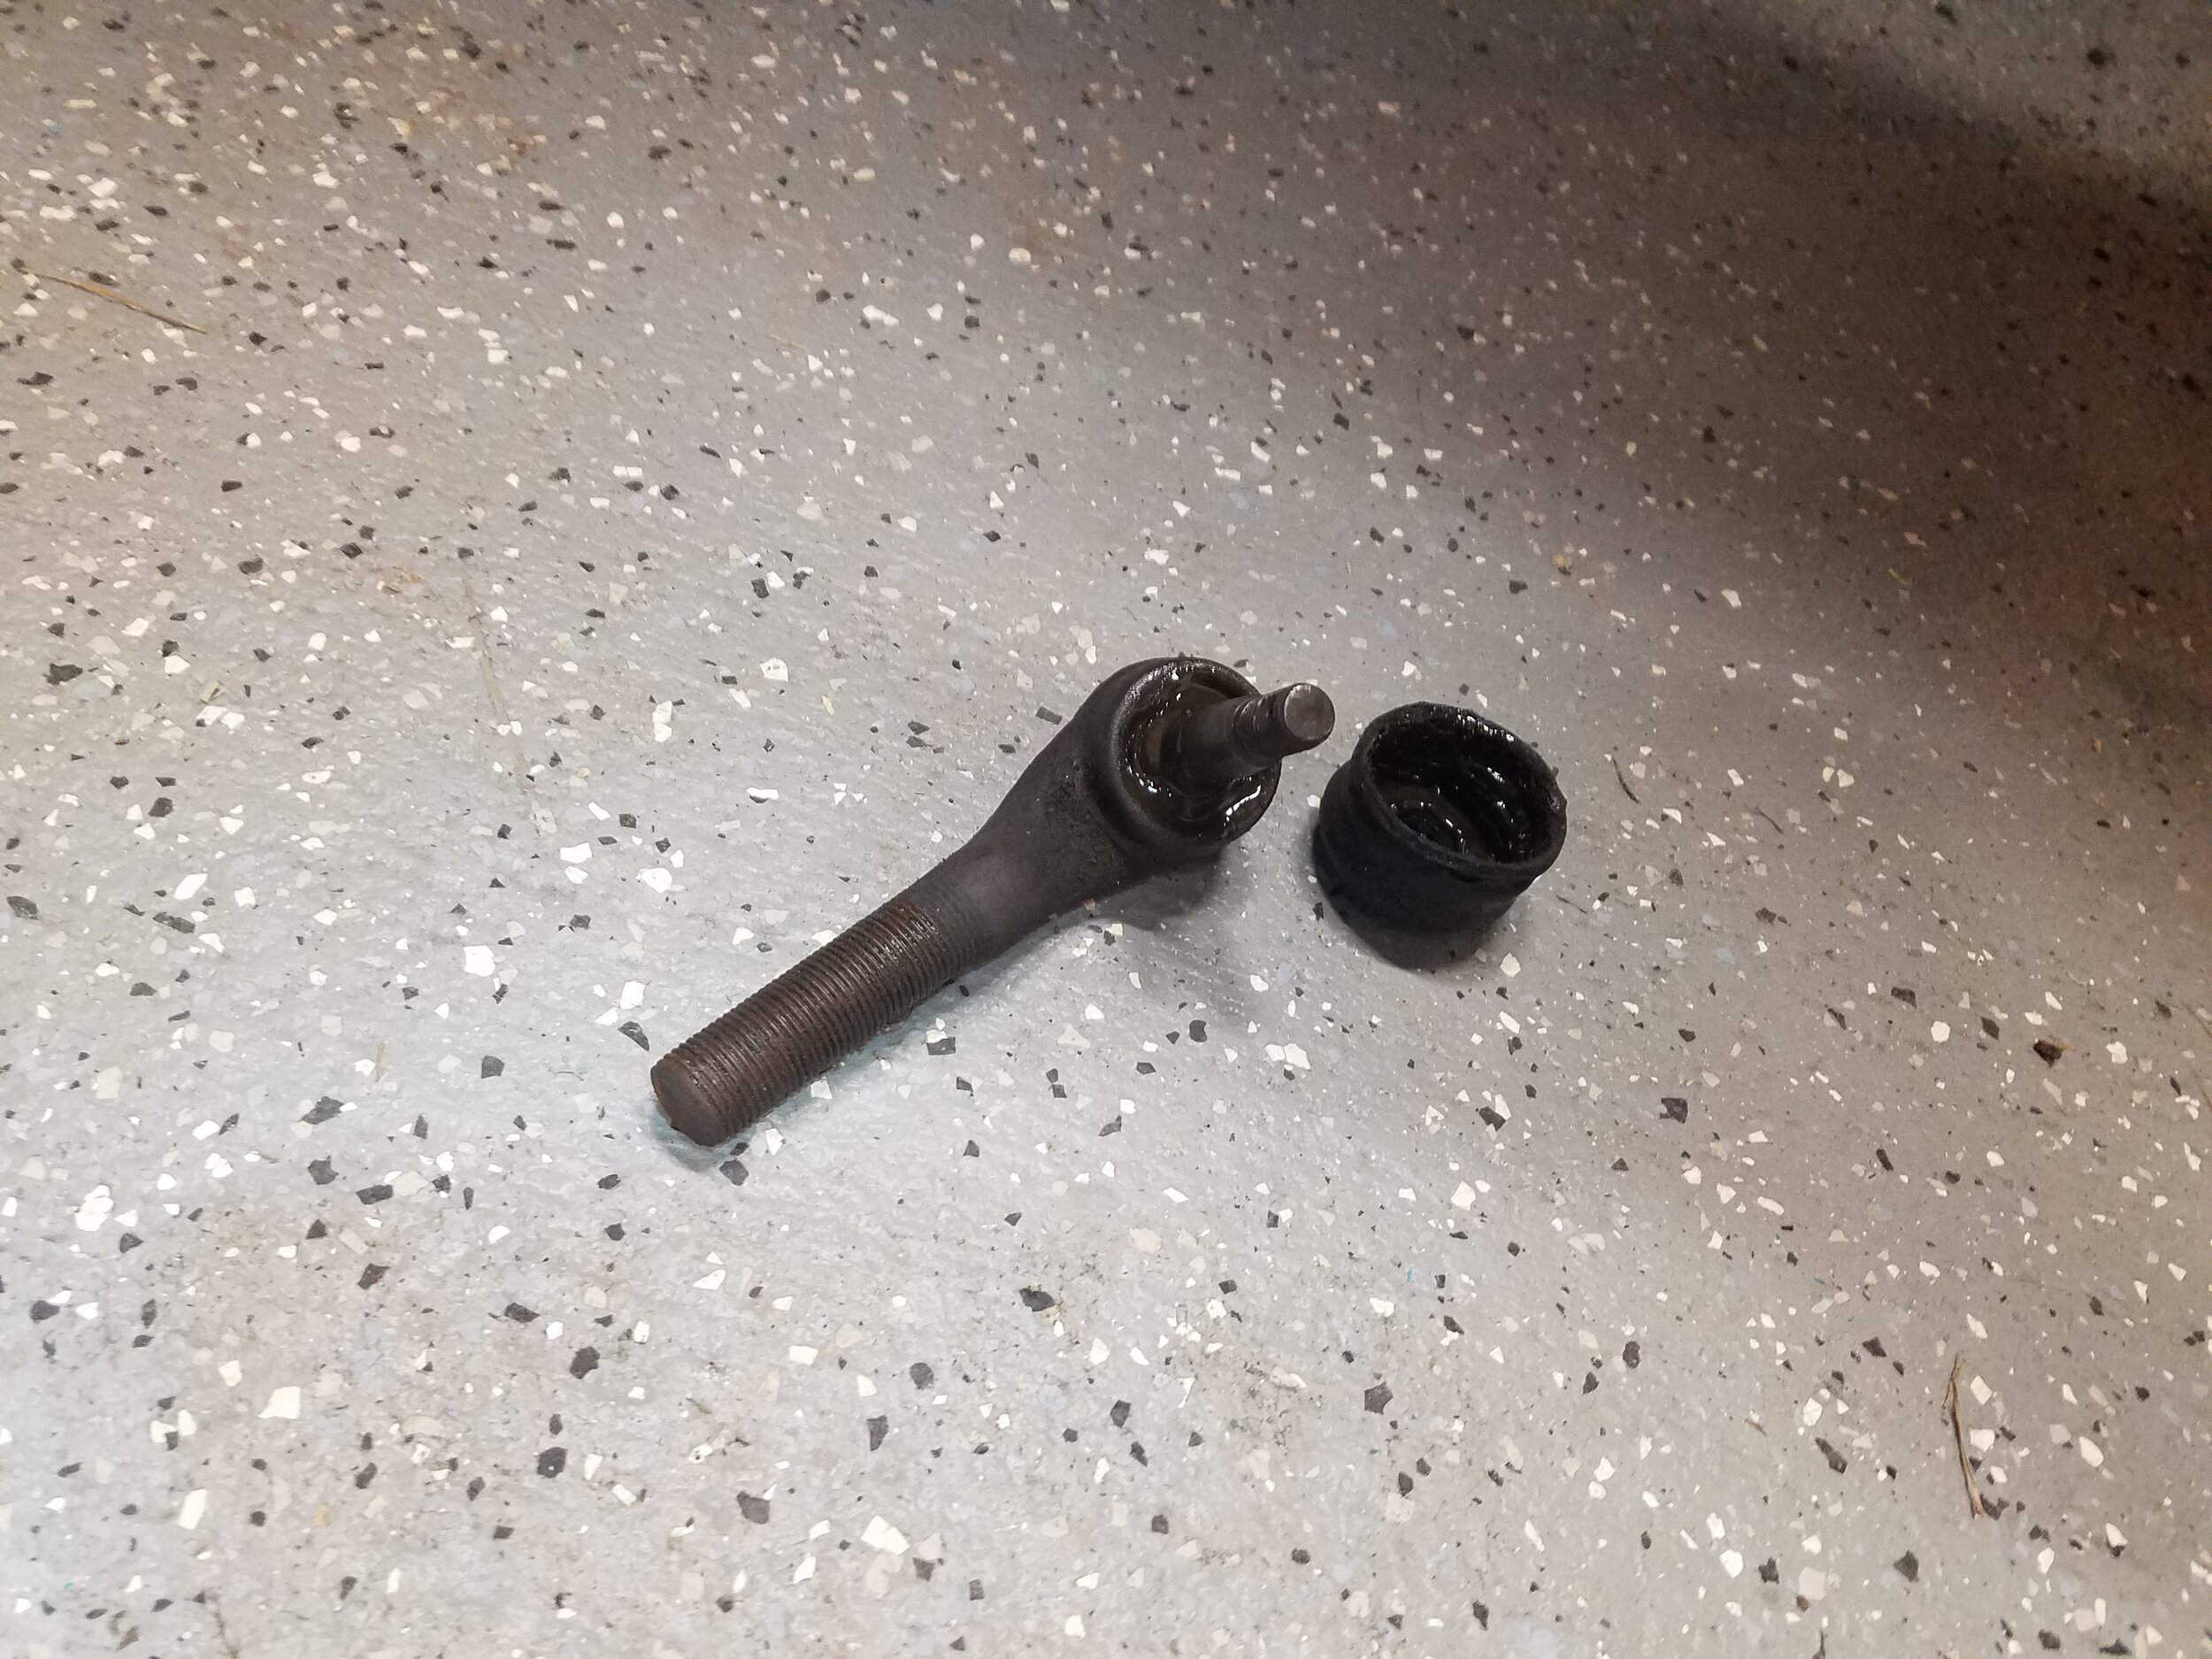
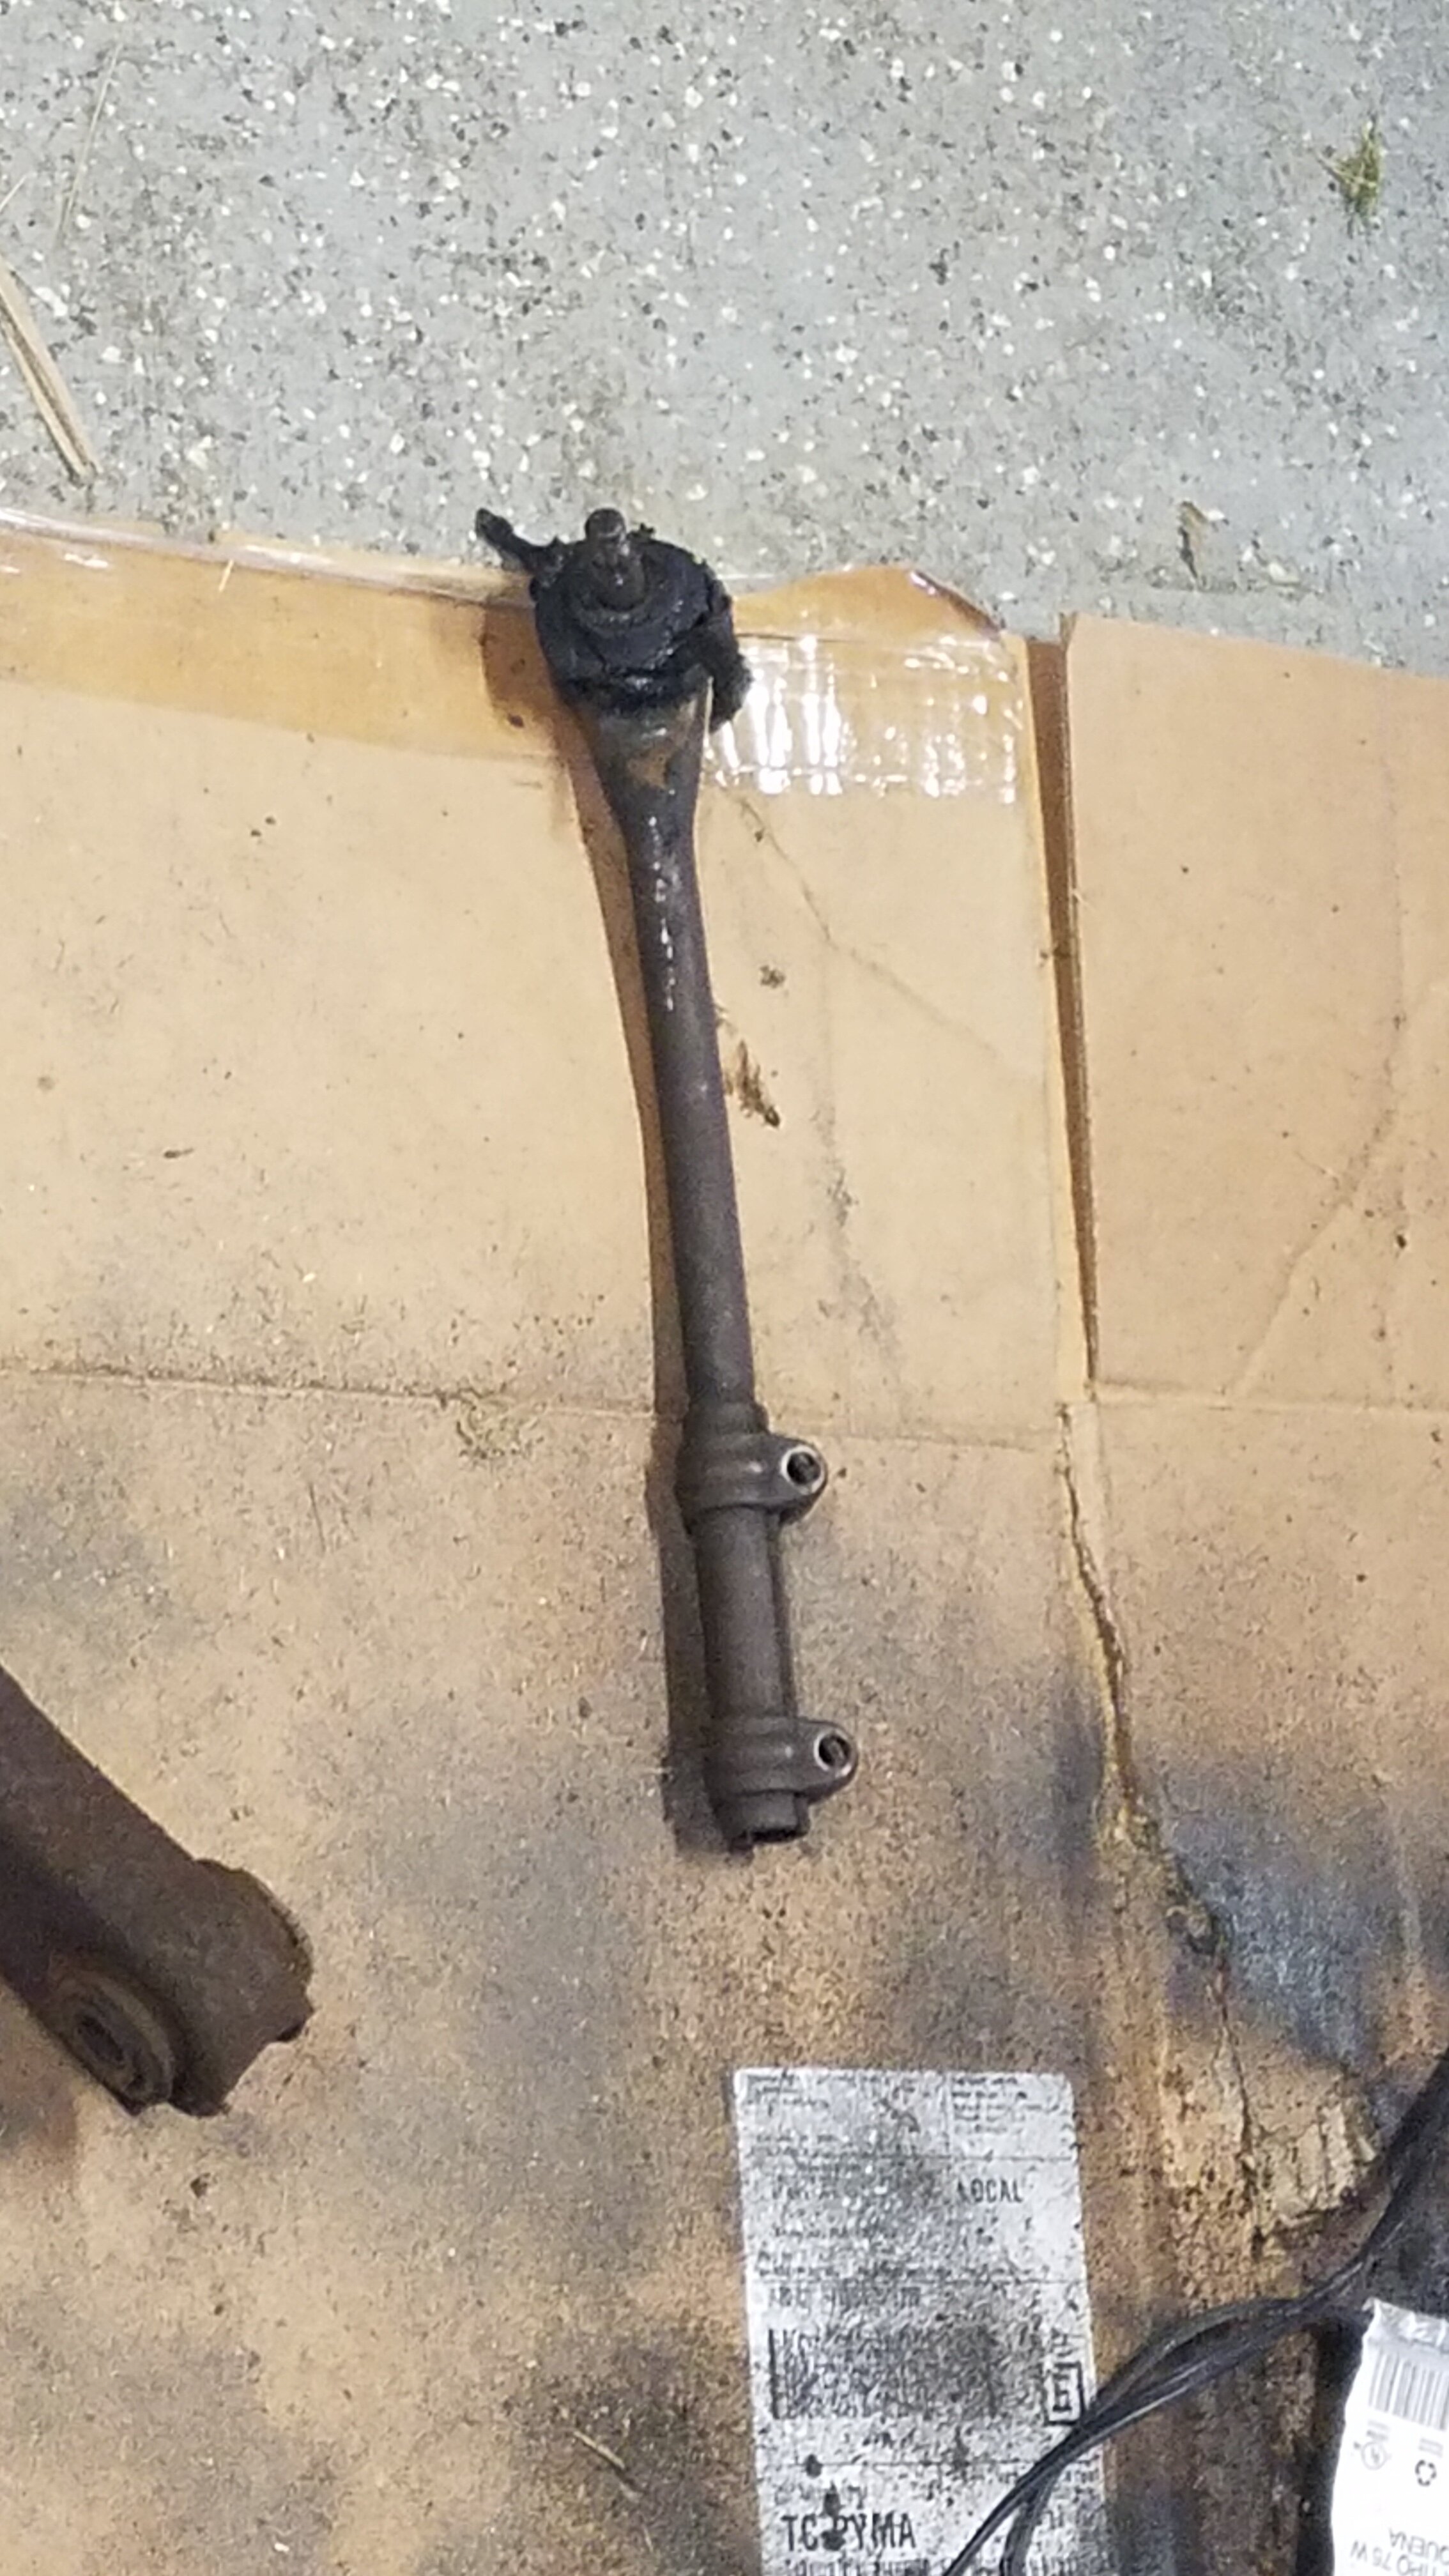
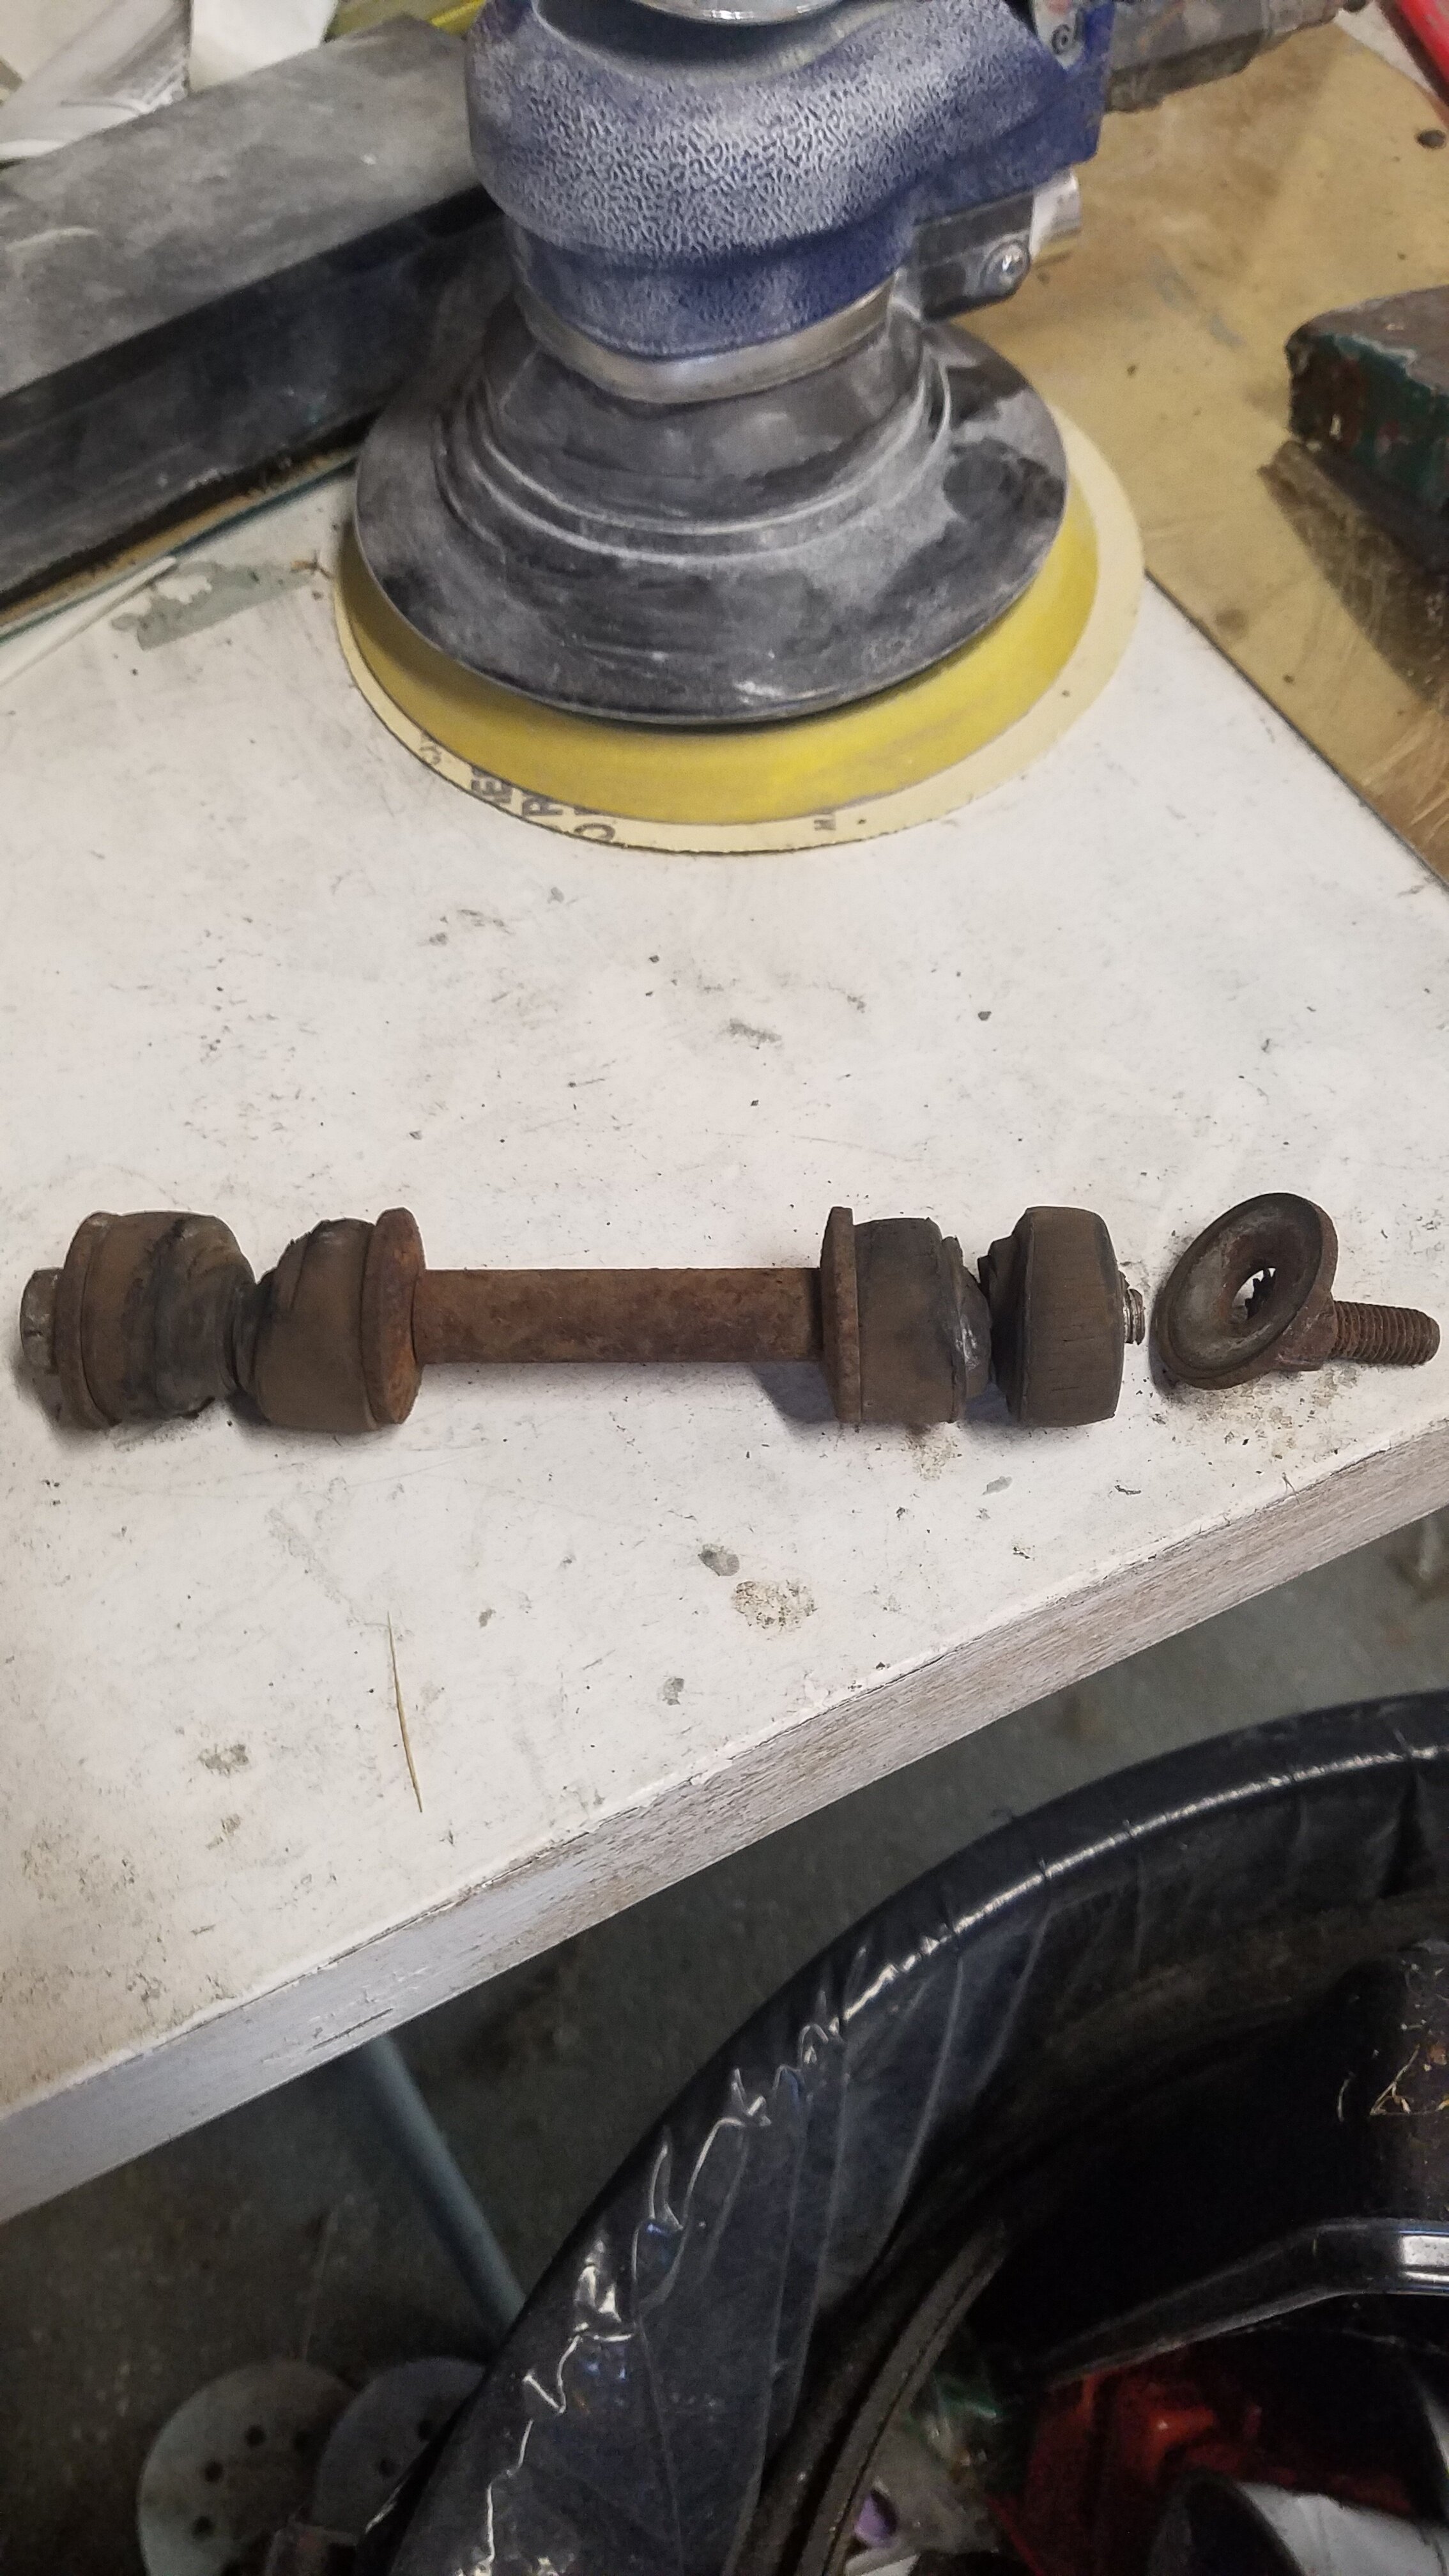
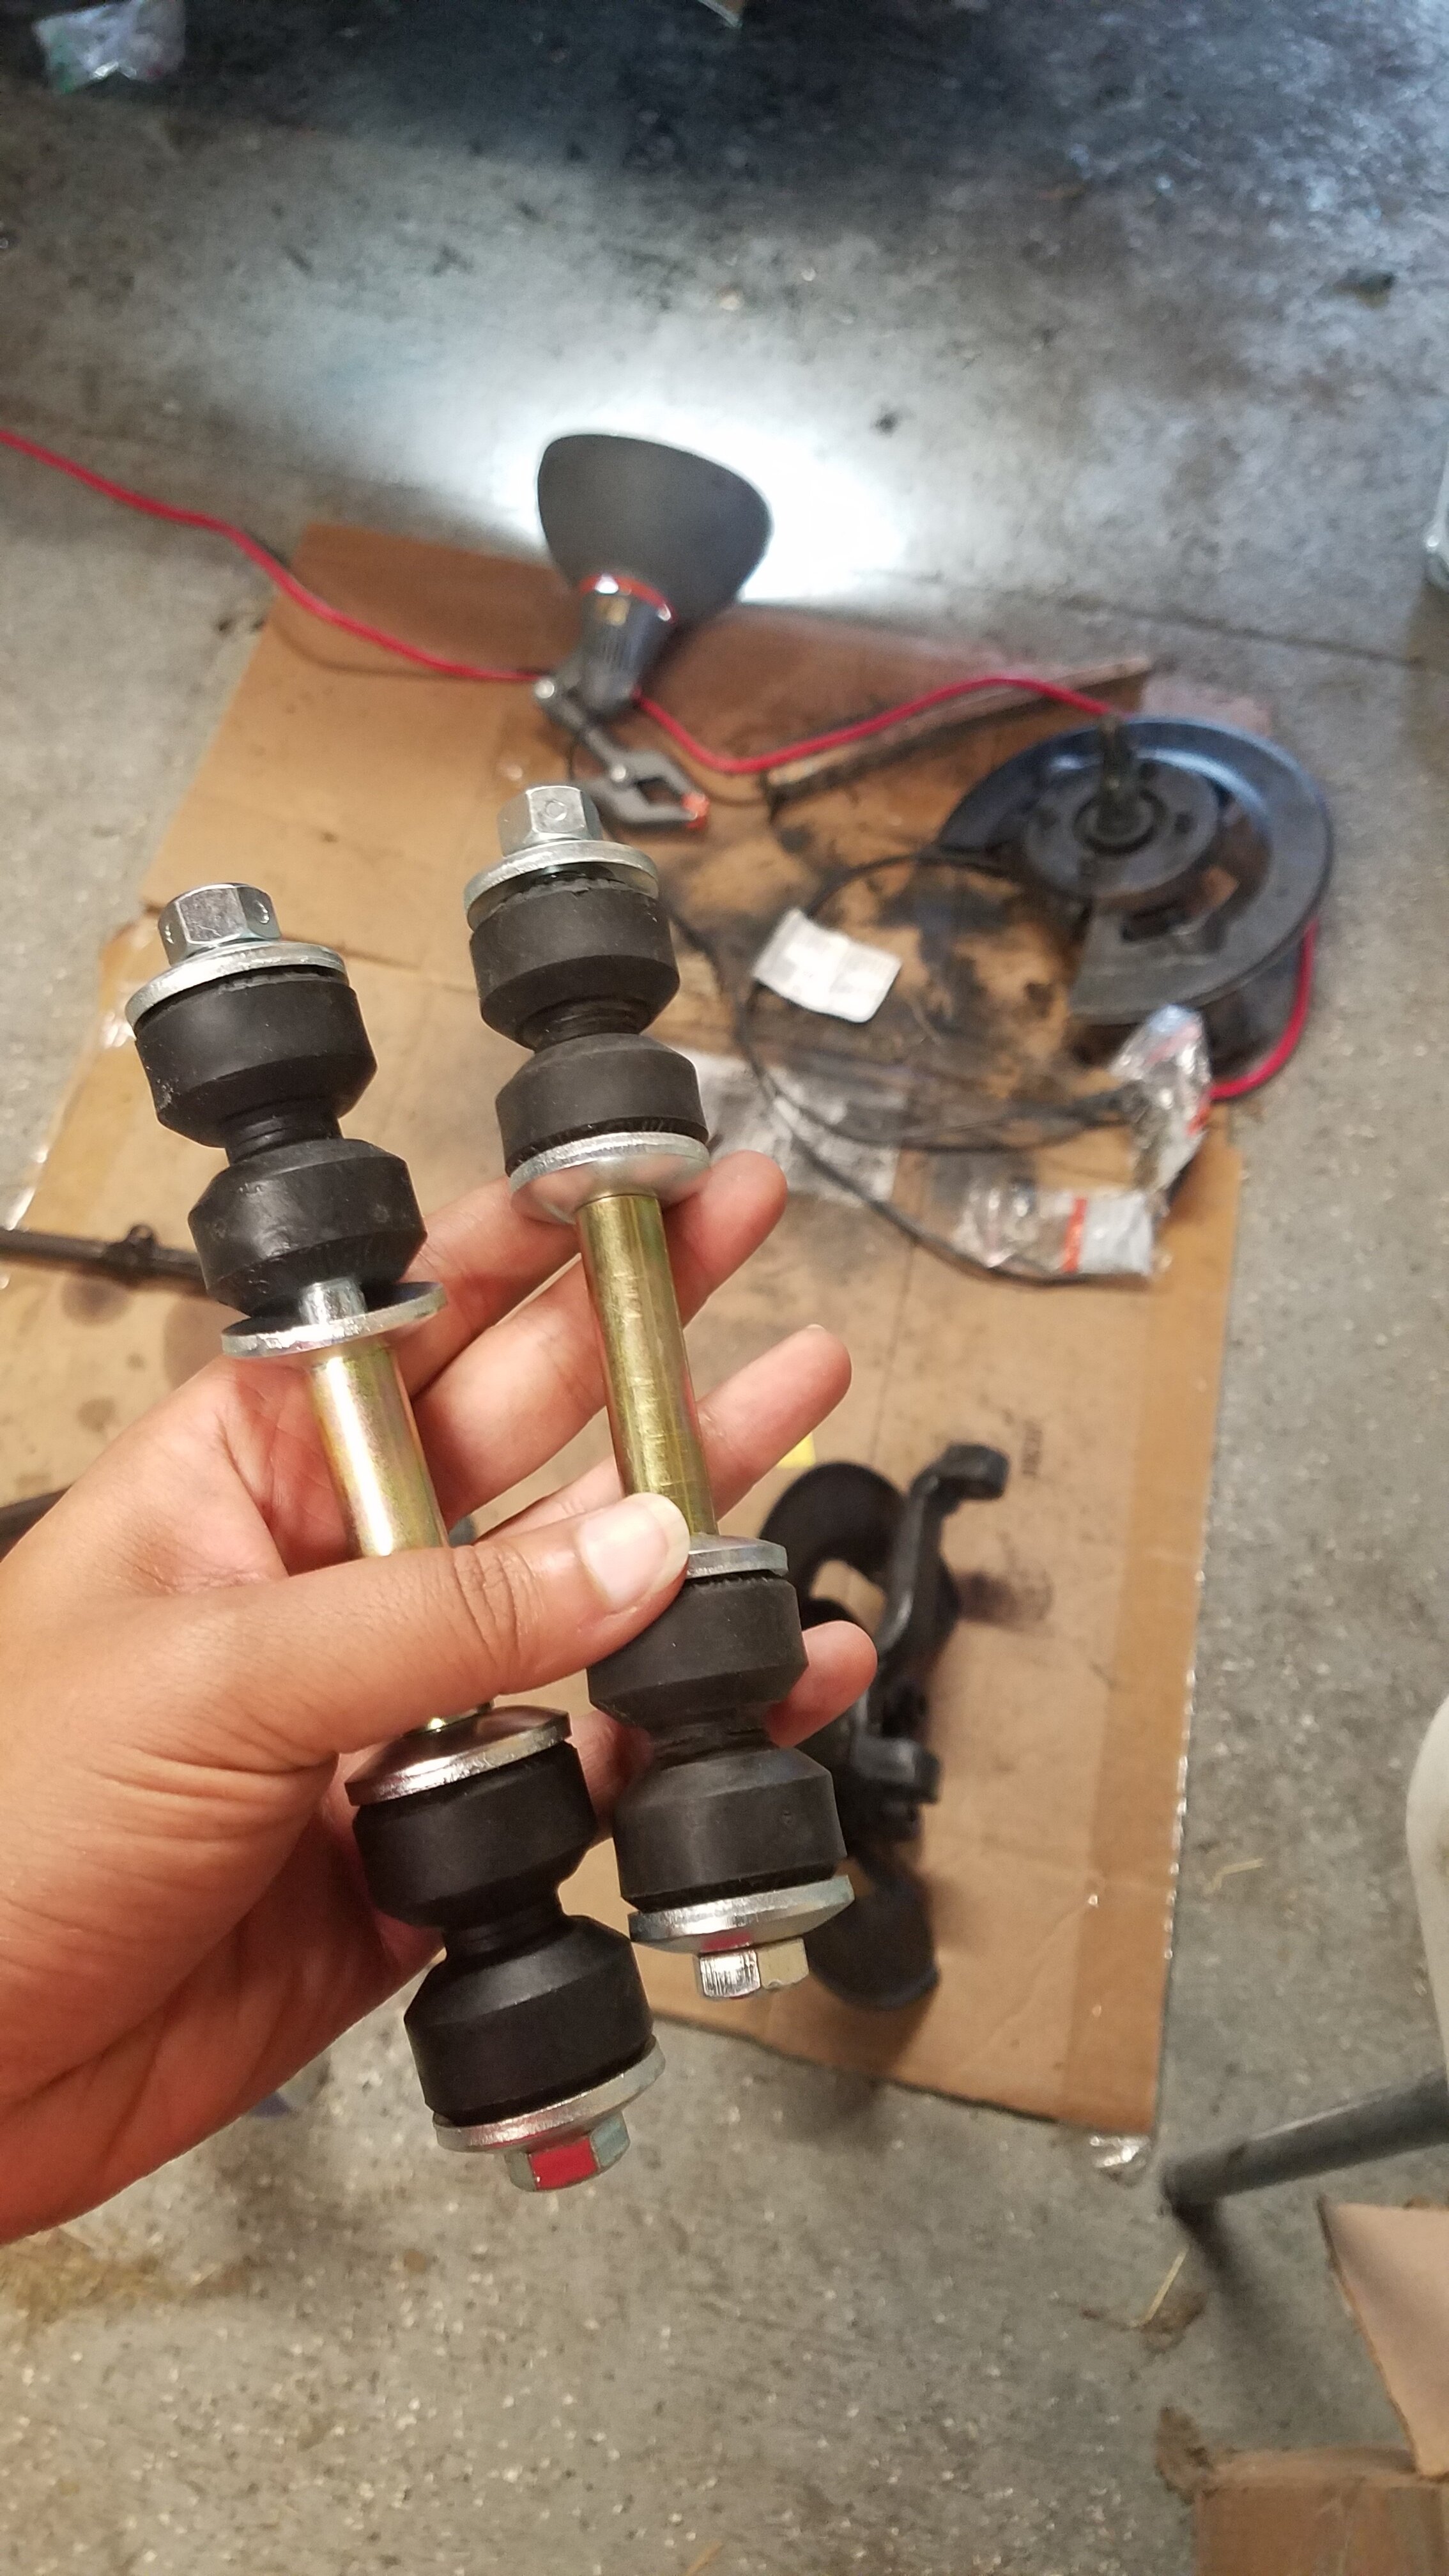
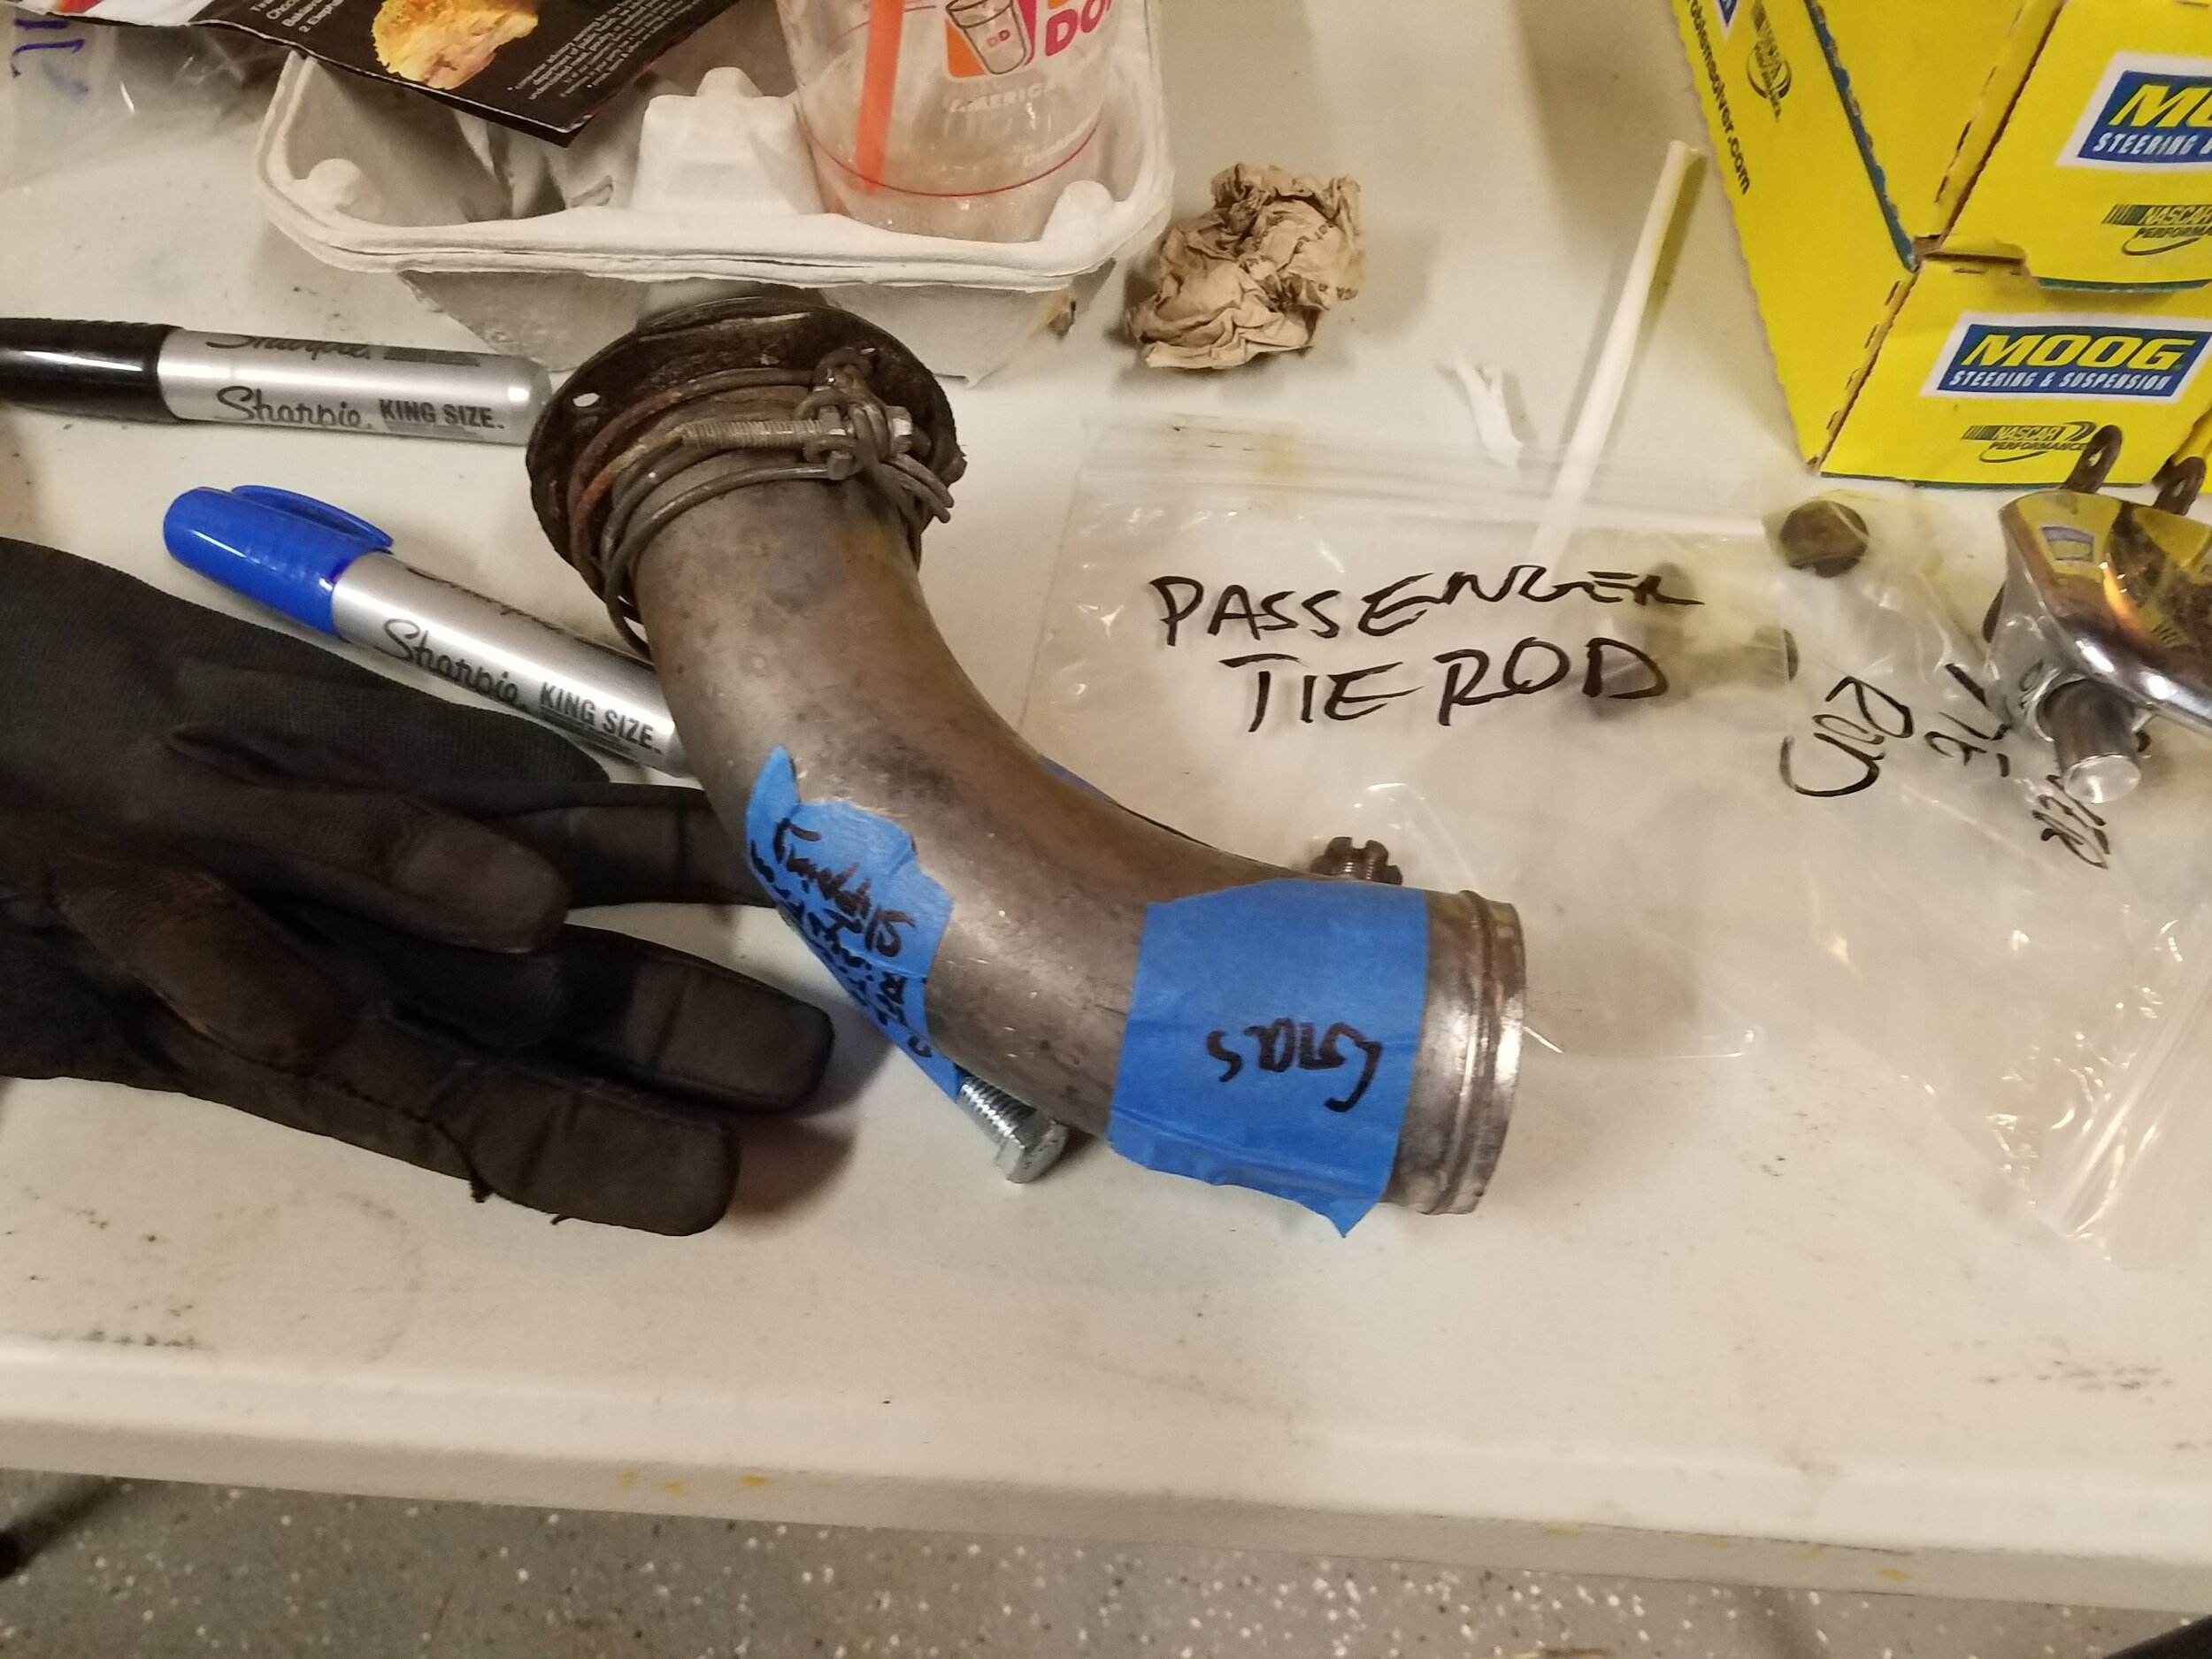
Who needs these things??? I sure did. Apparently all of these suspension parts are very critical to the safety of the car when driving. And mine were in less than ideal shape. Tie Rods were loose, and it was just an overall good idea to replace it all new.

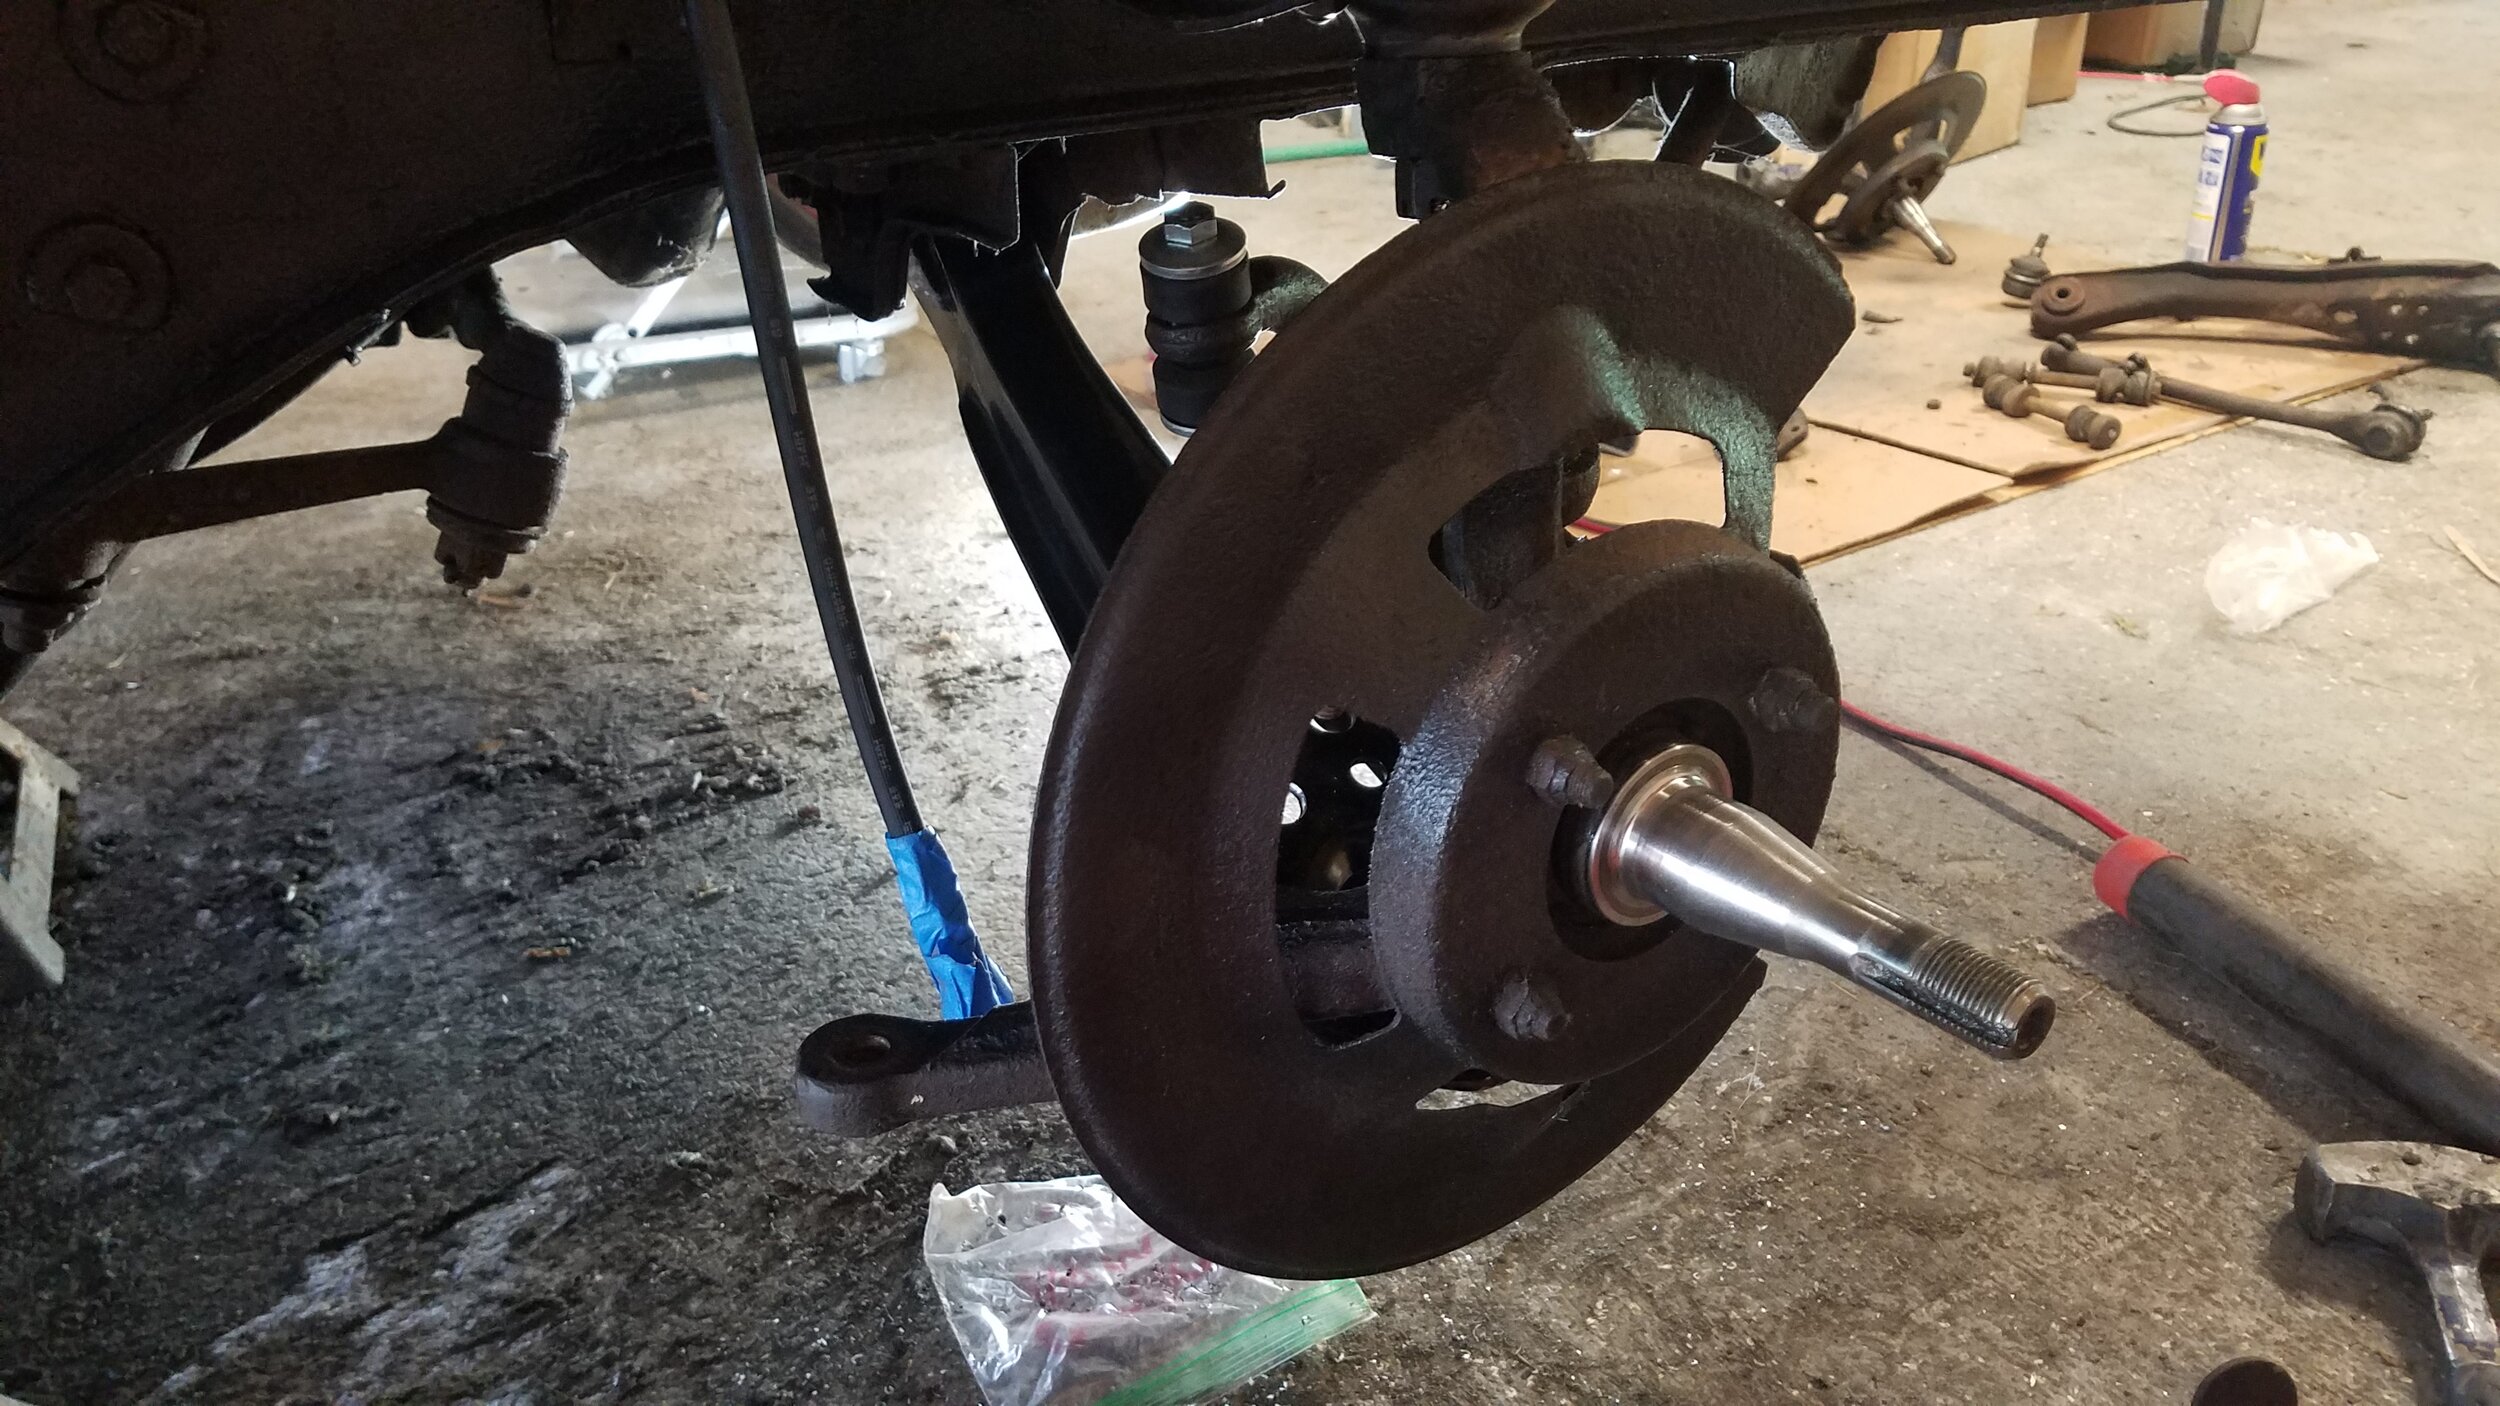
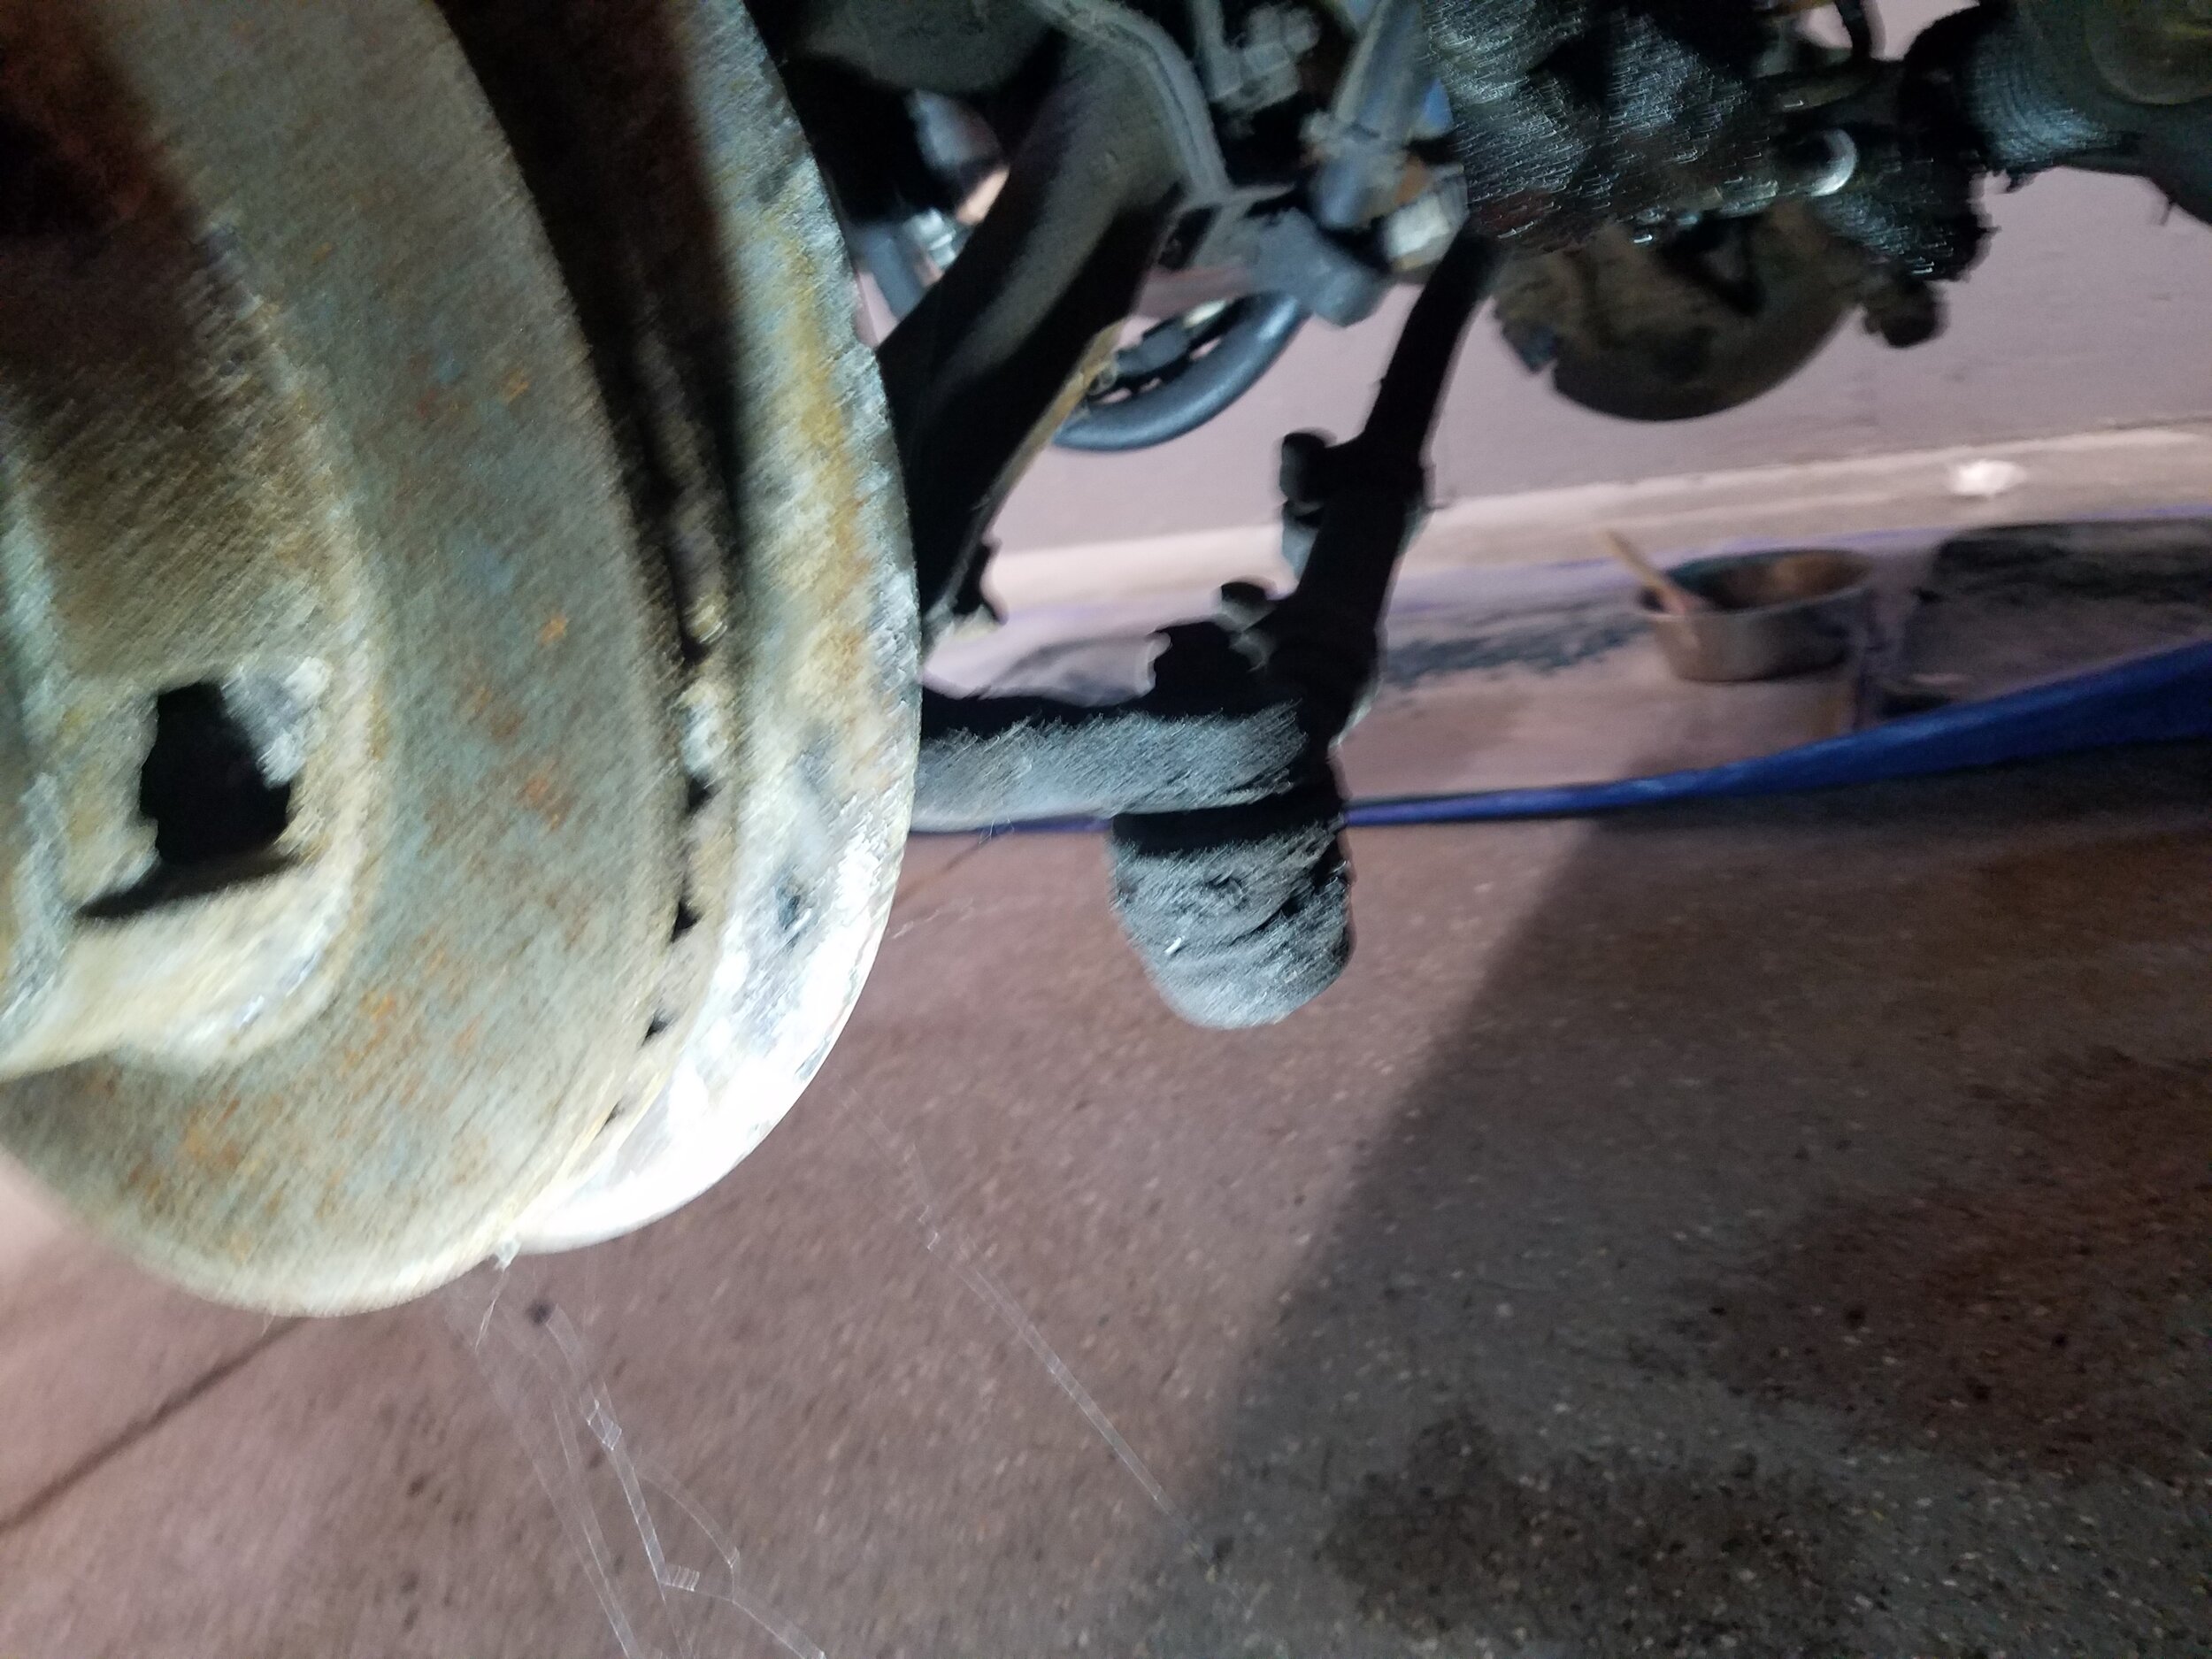
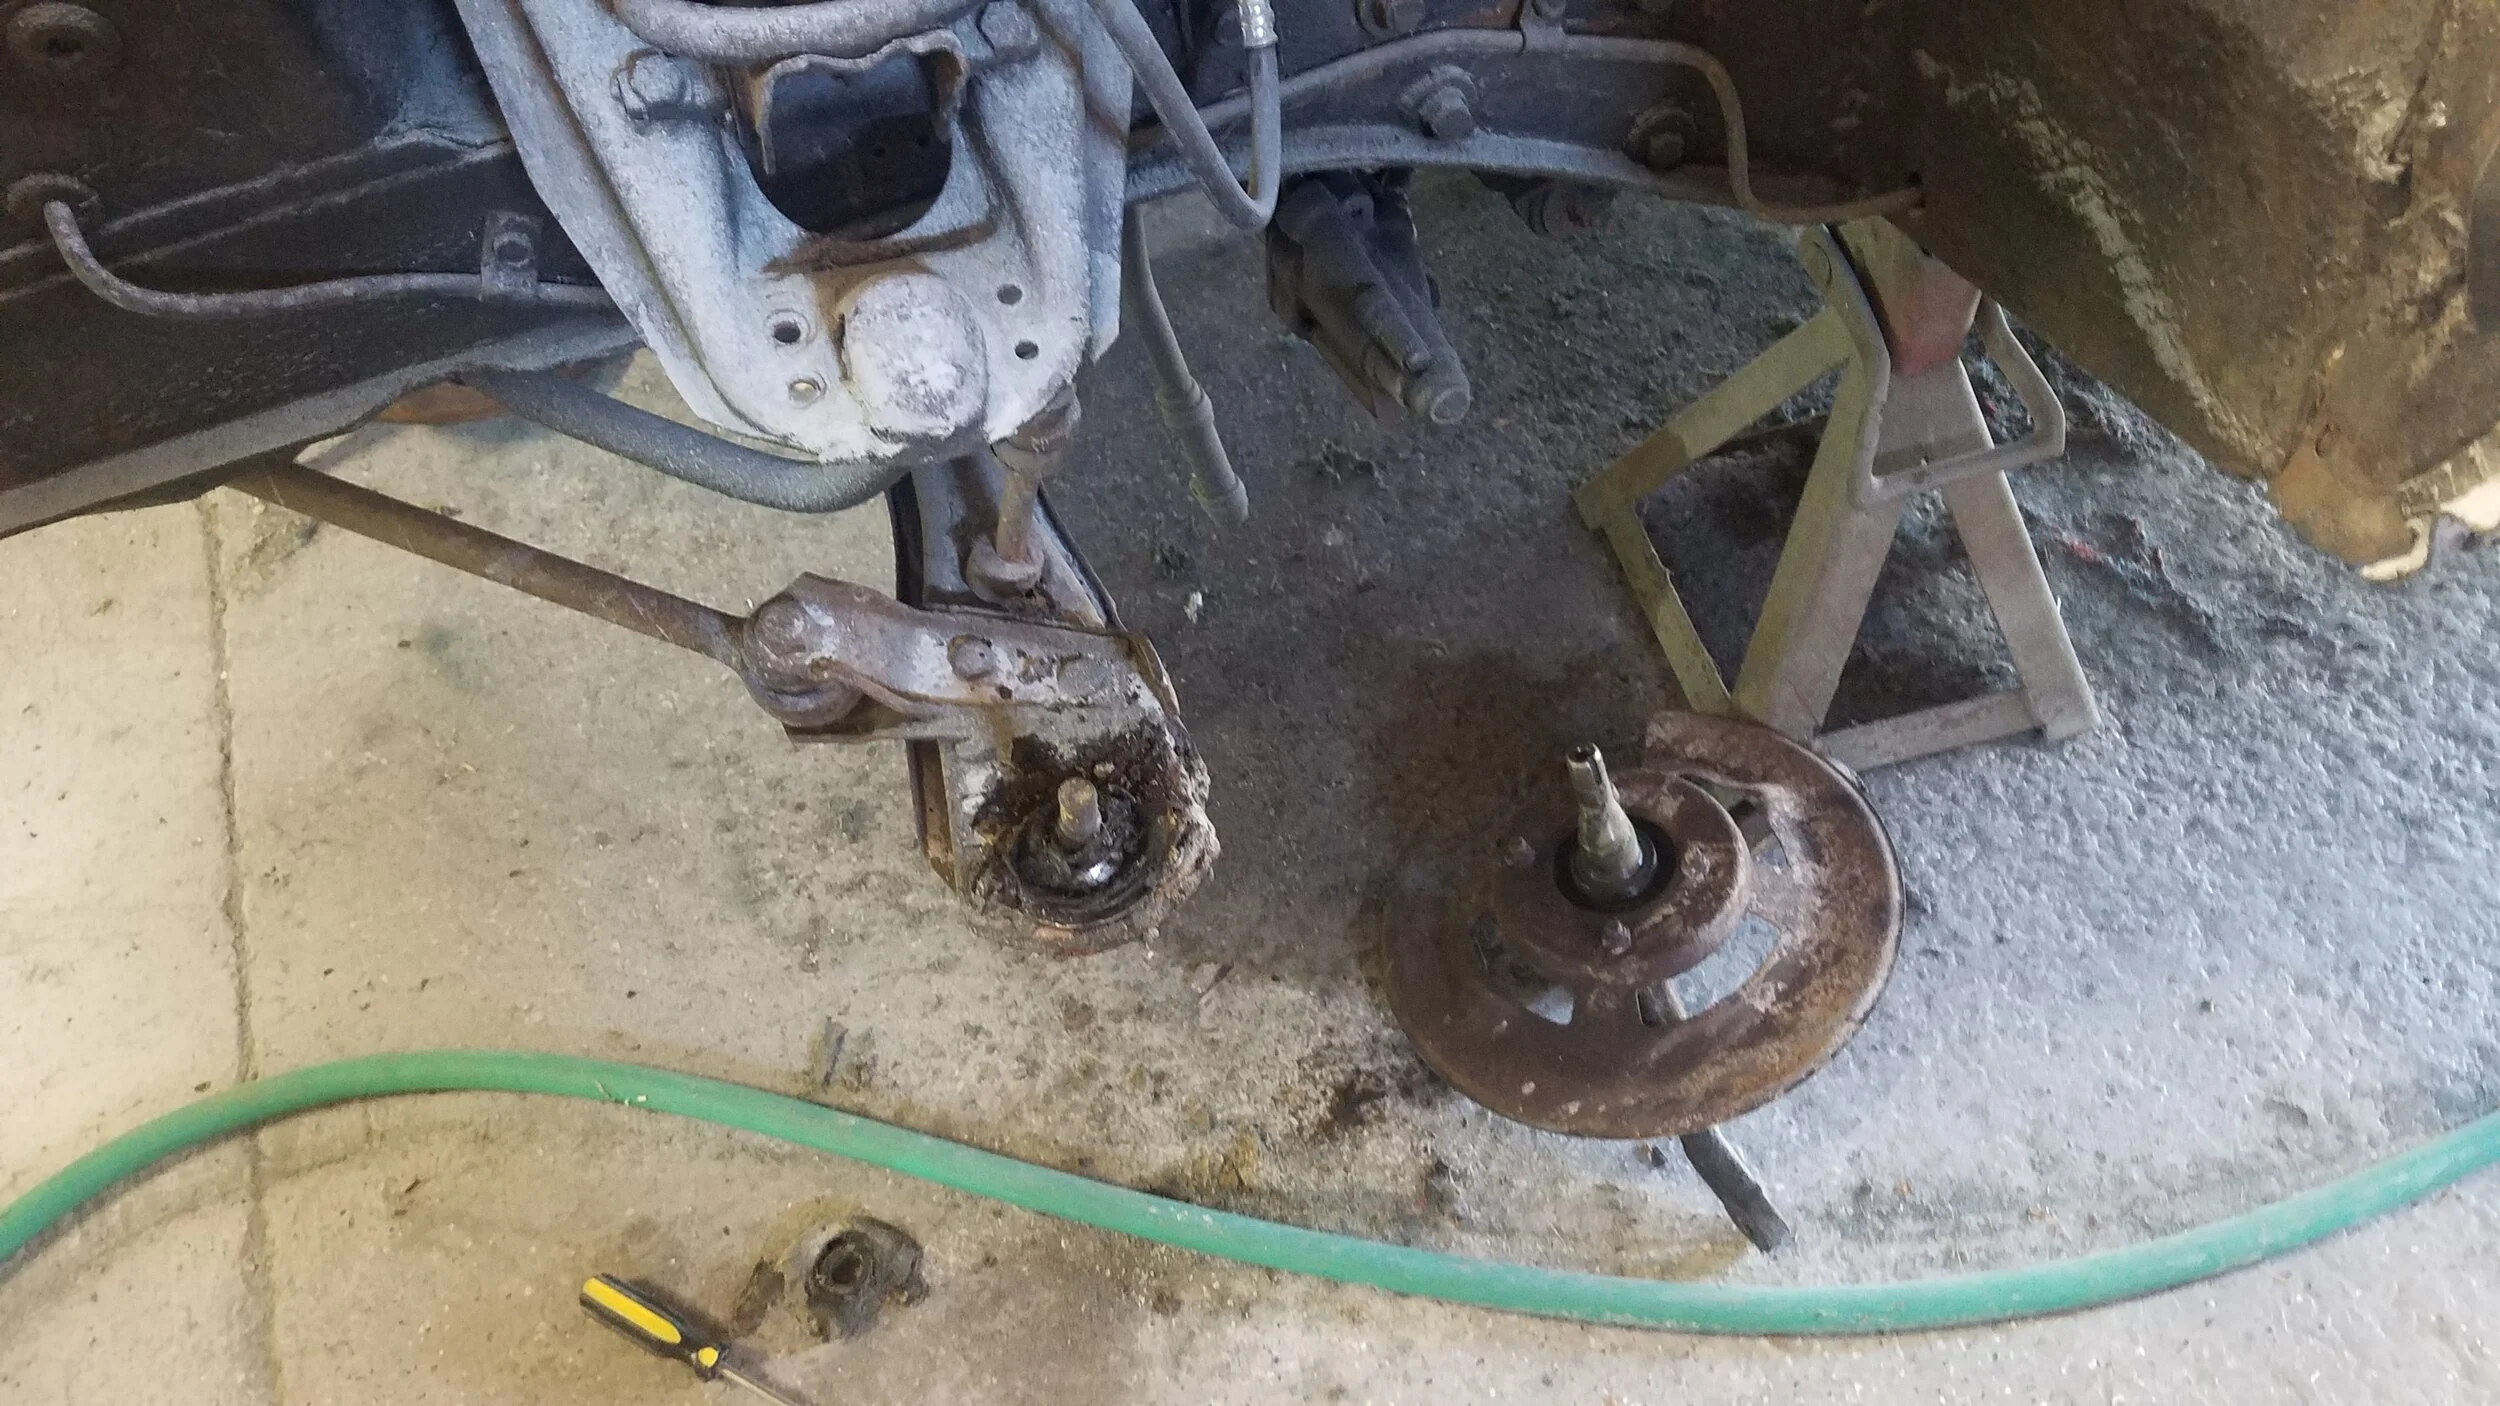
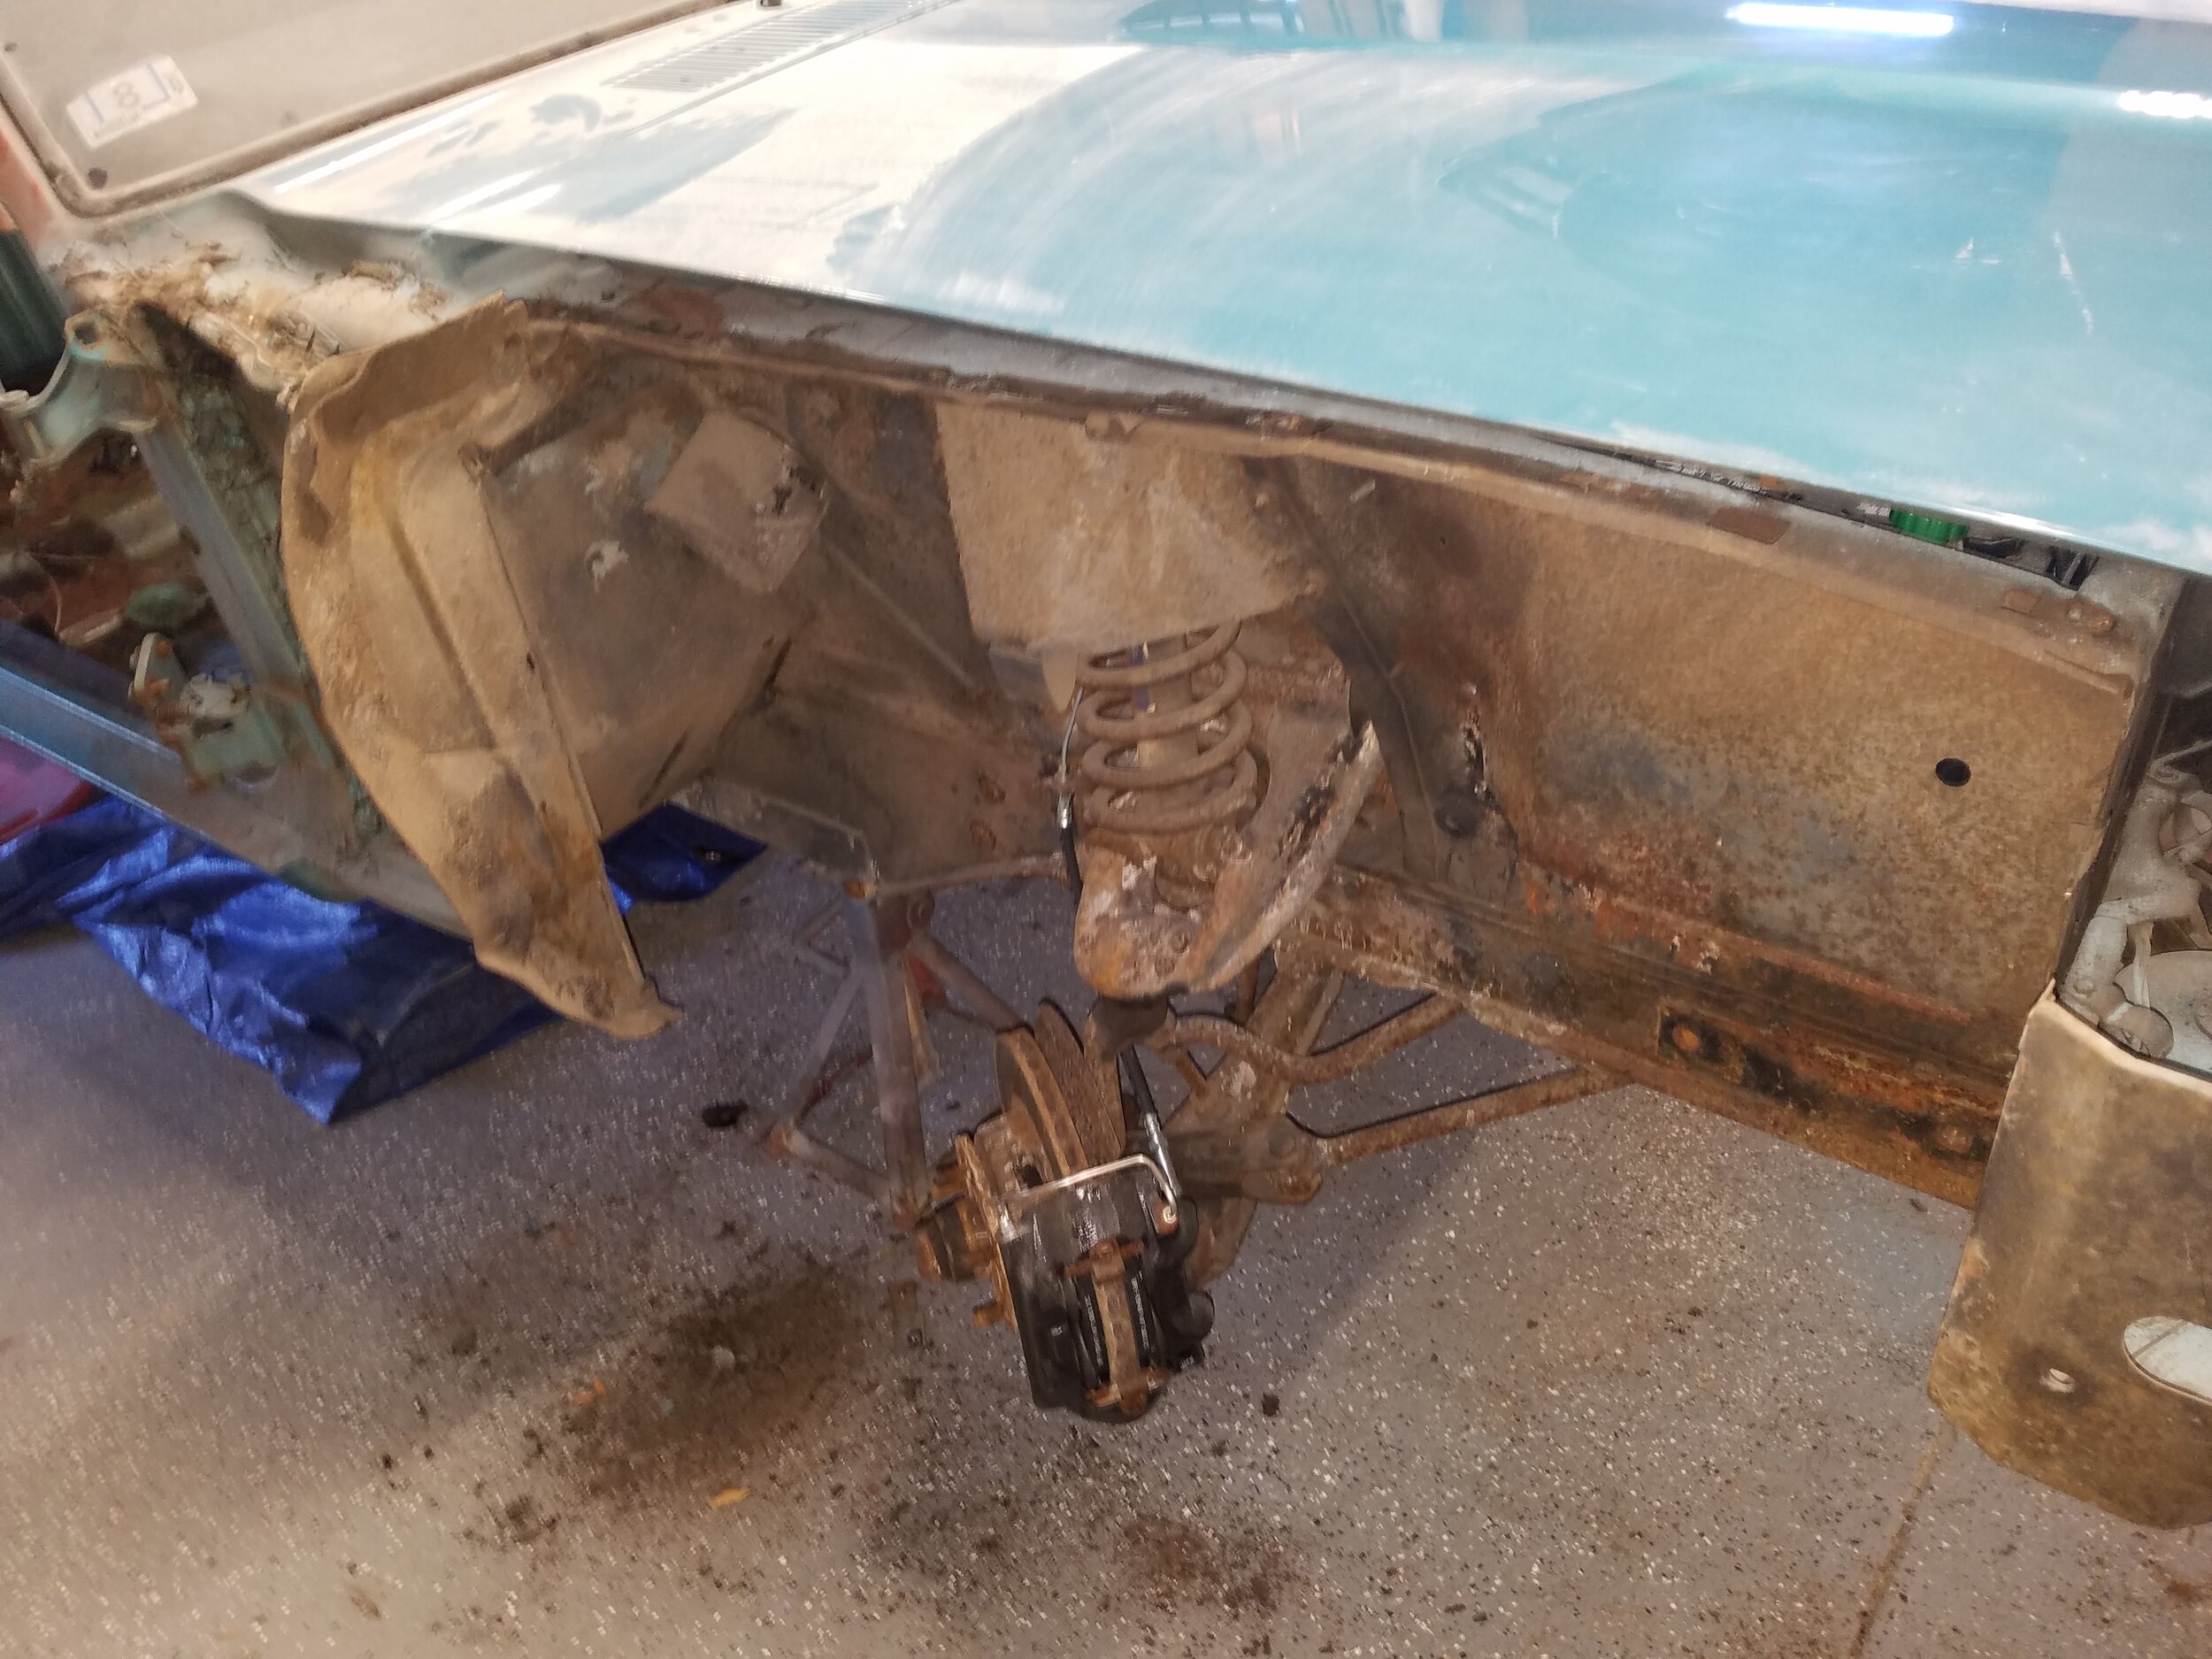
And, we also replaced the rotors. Here I thought brakes were done…

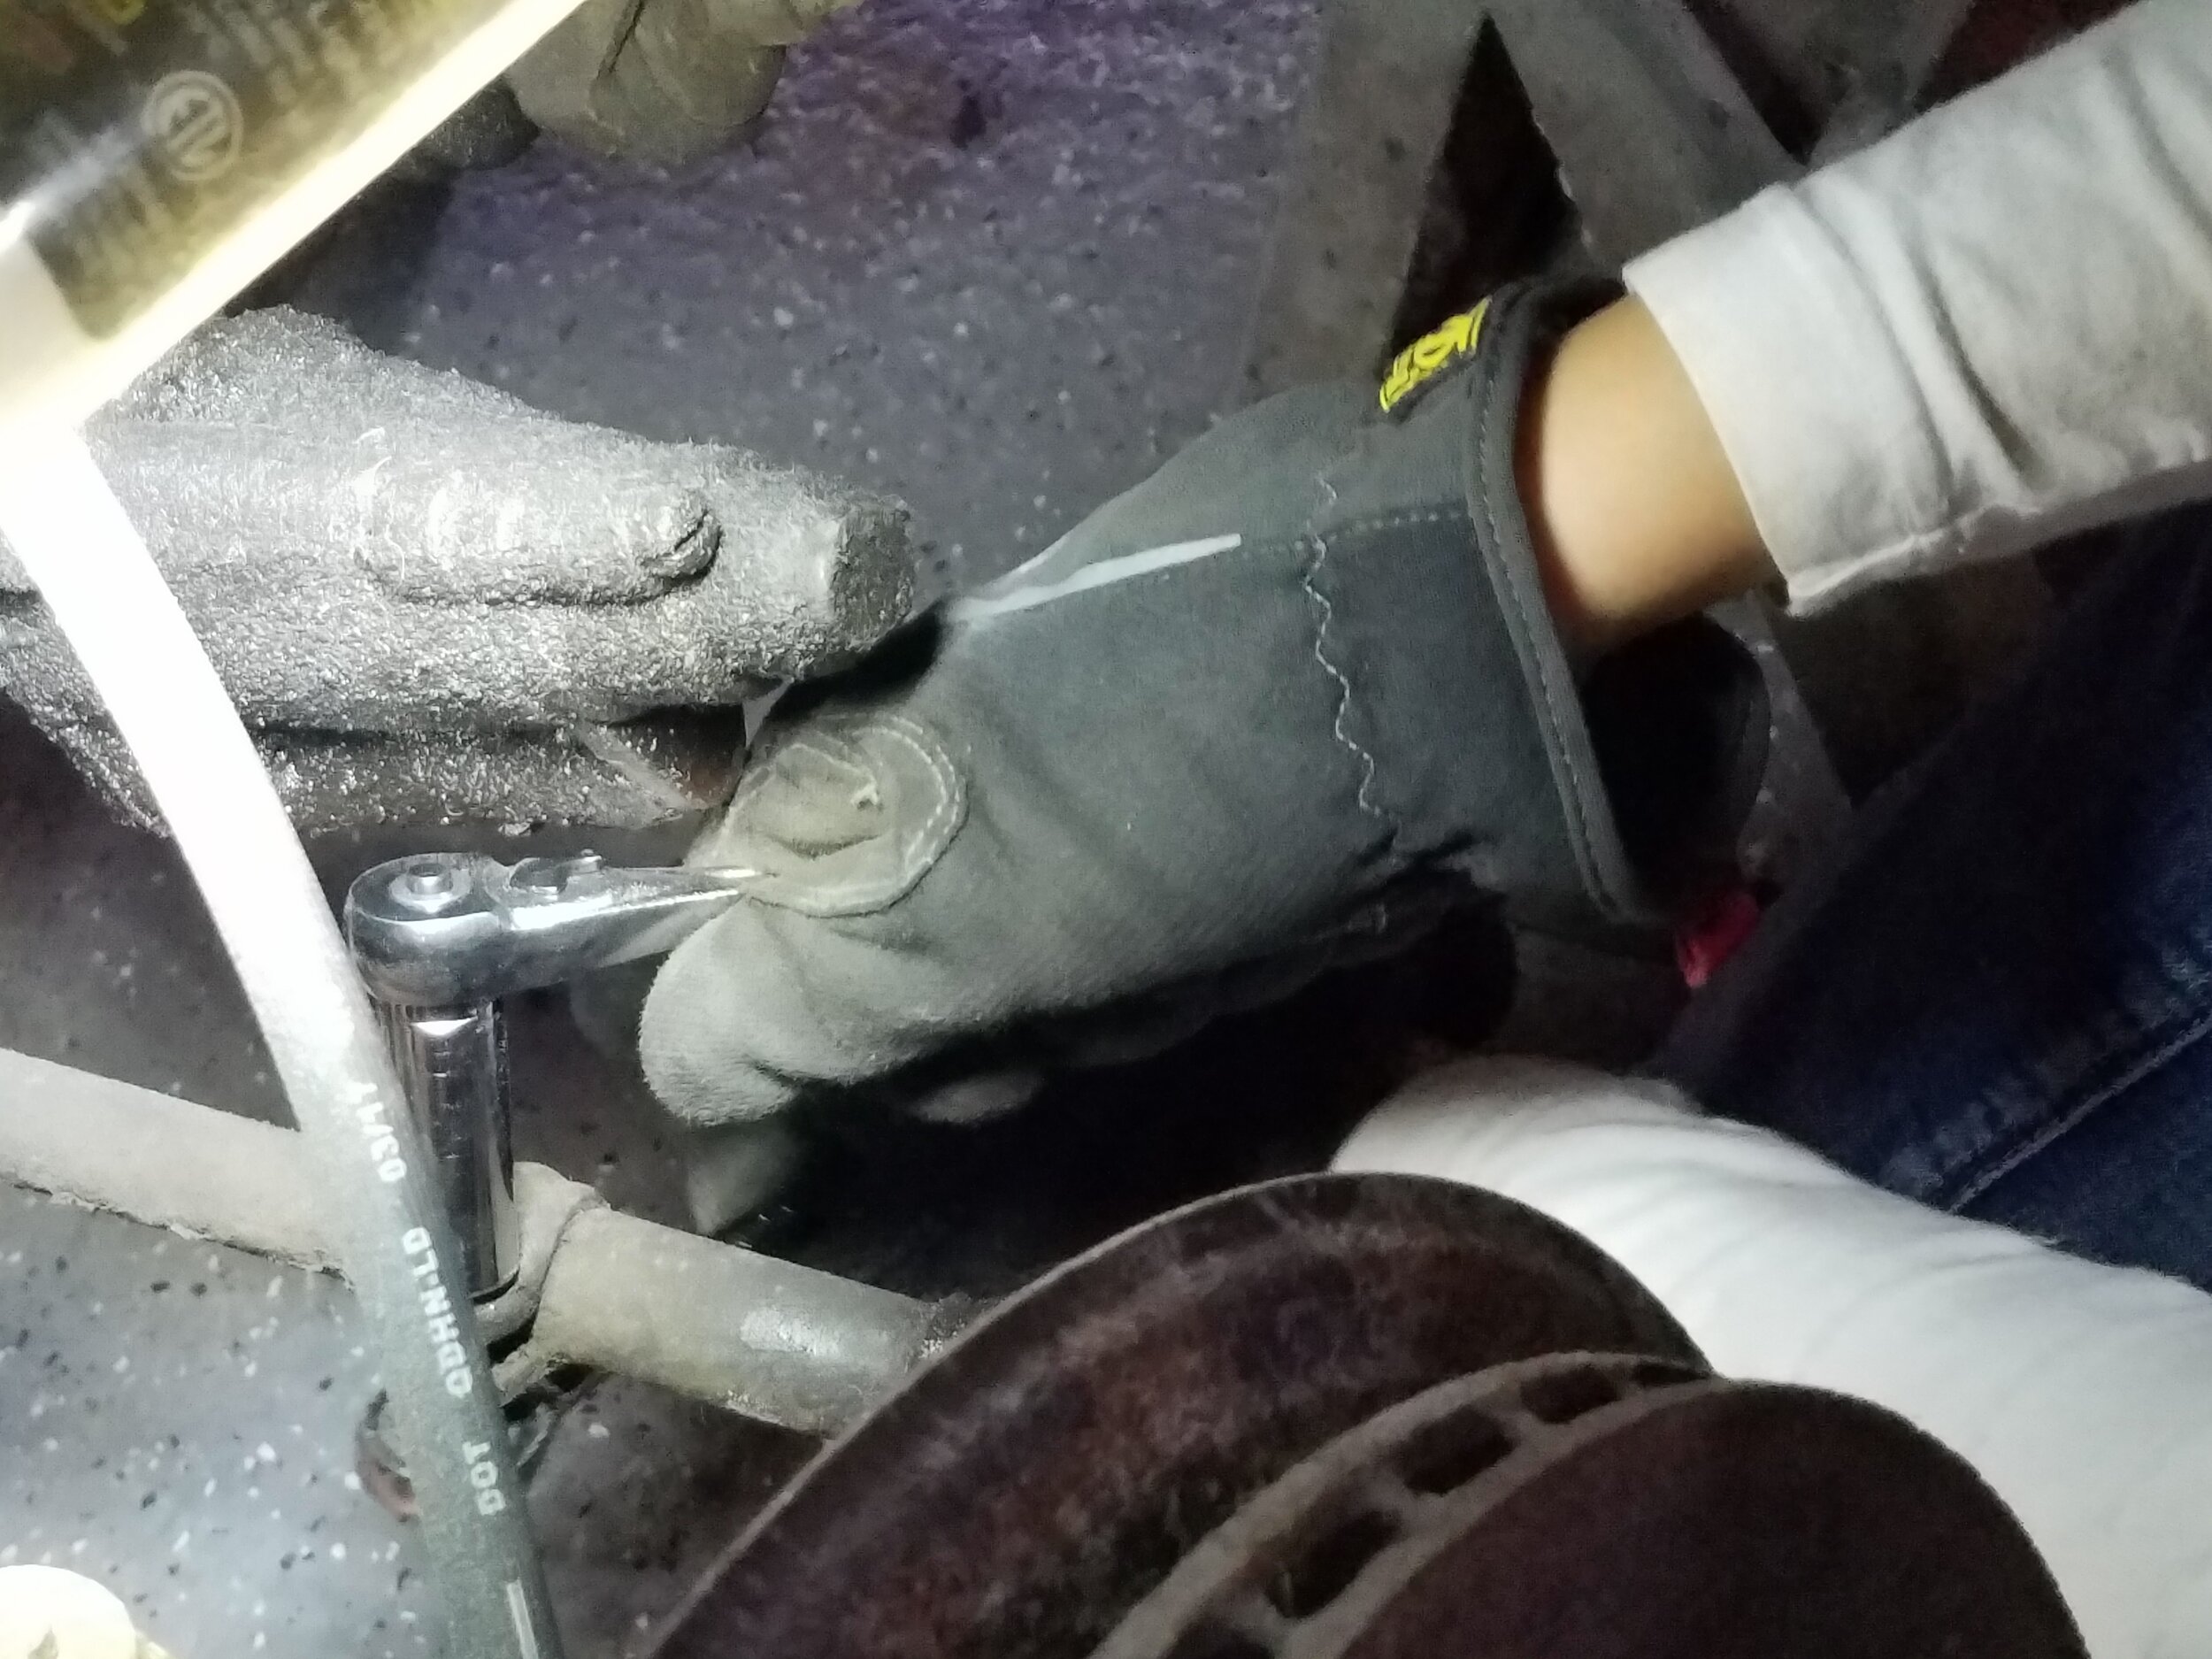
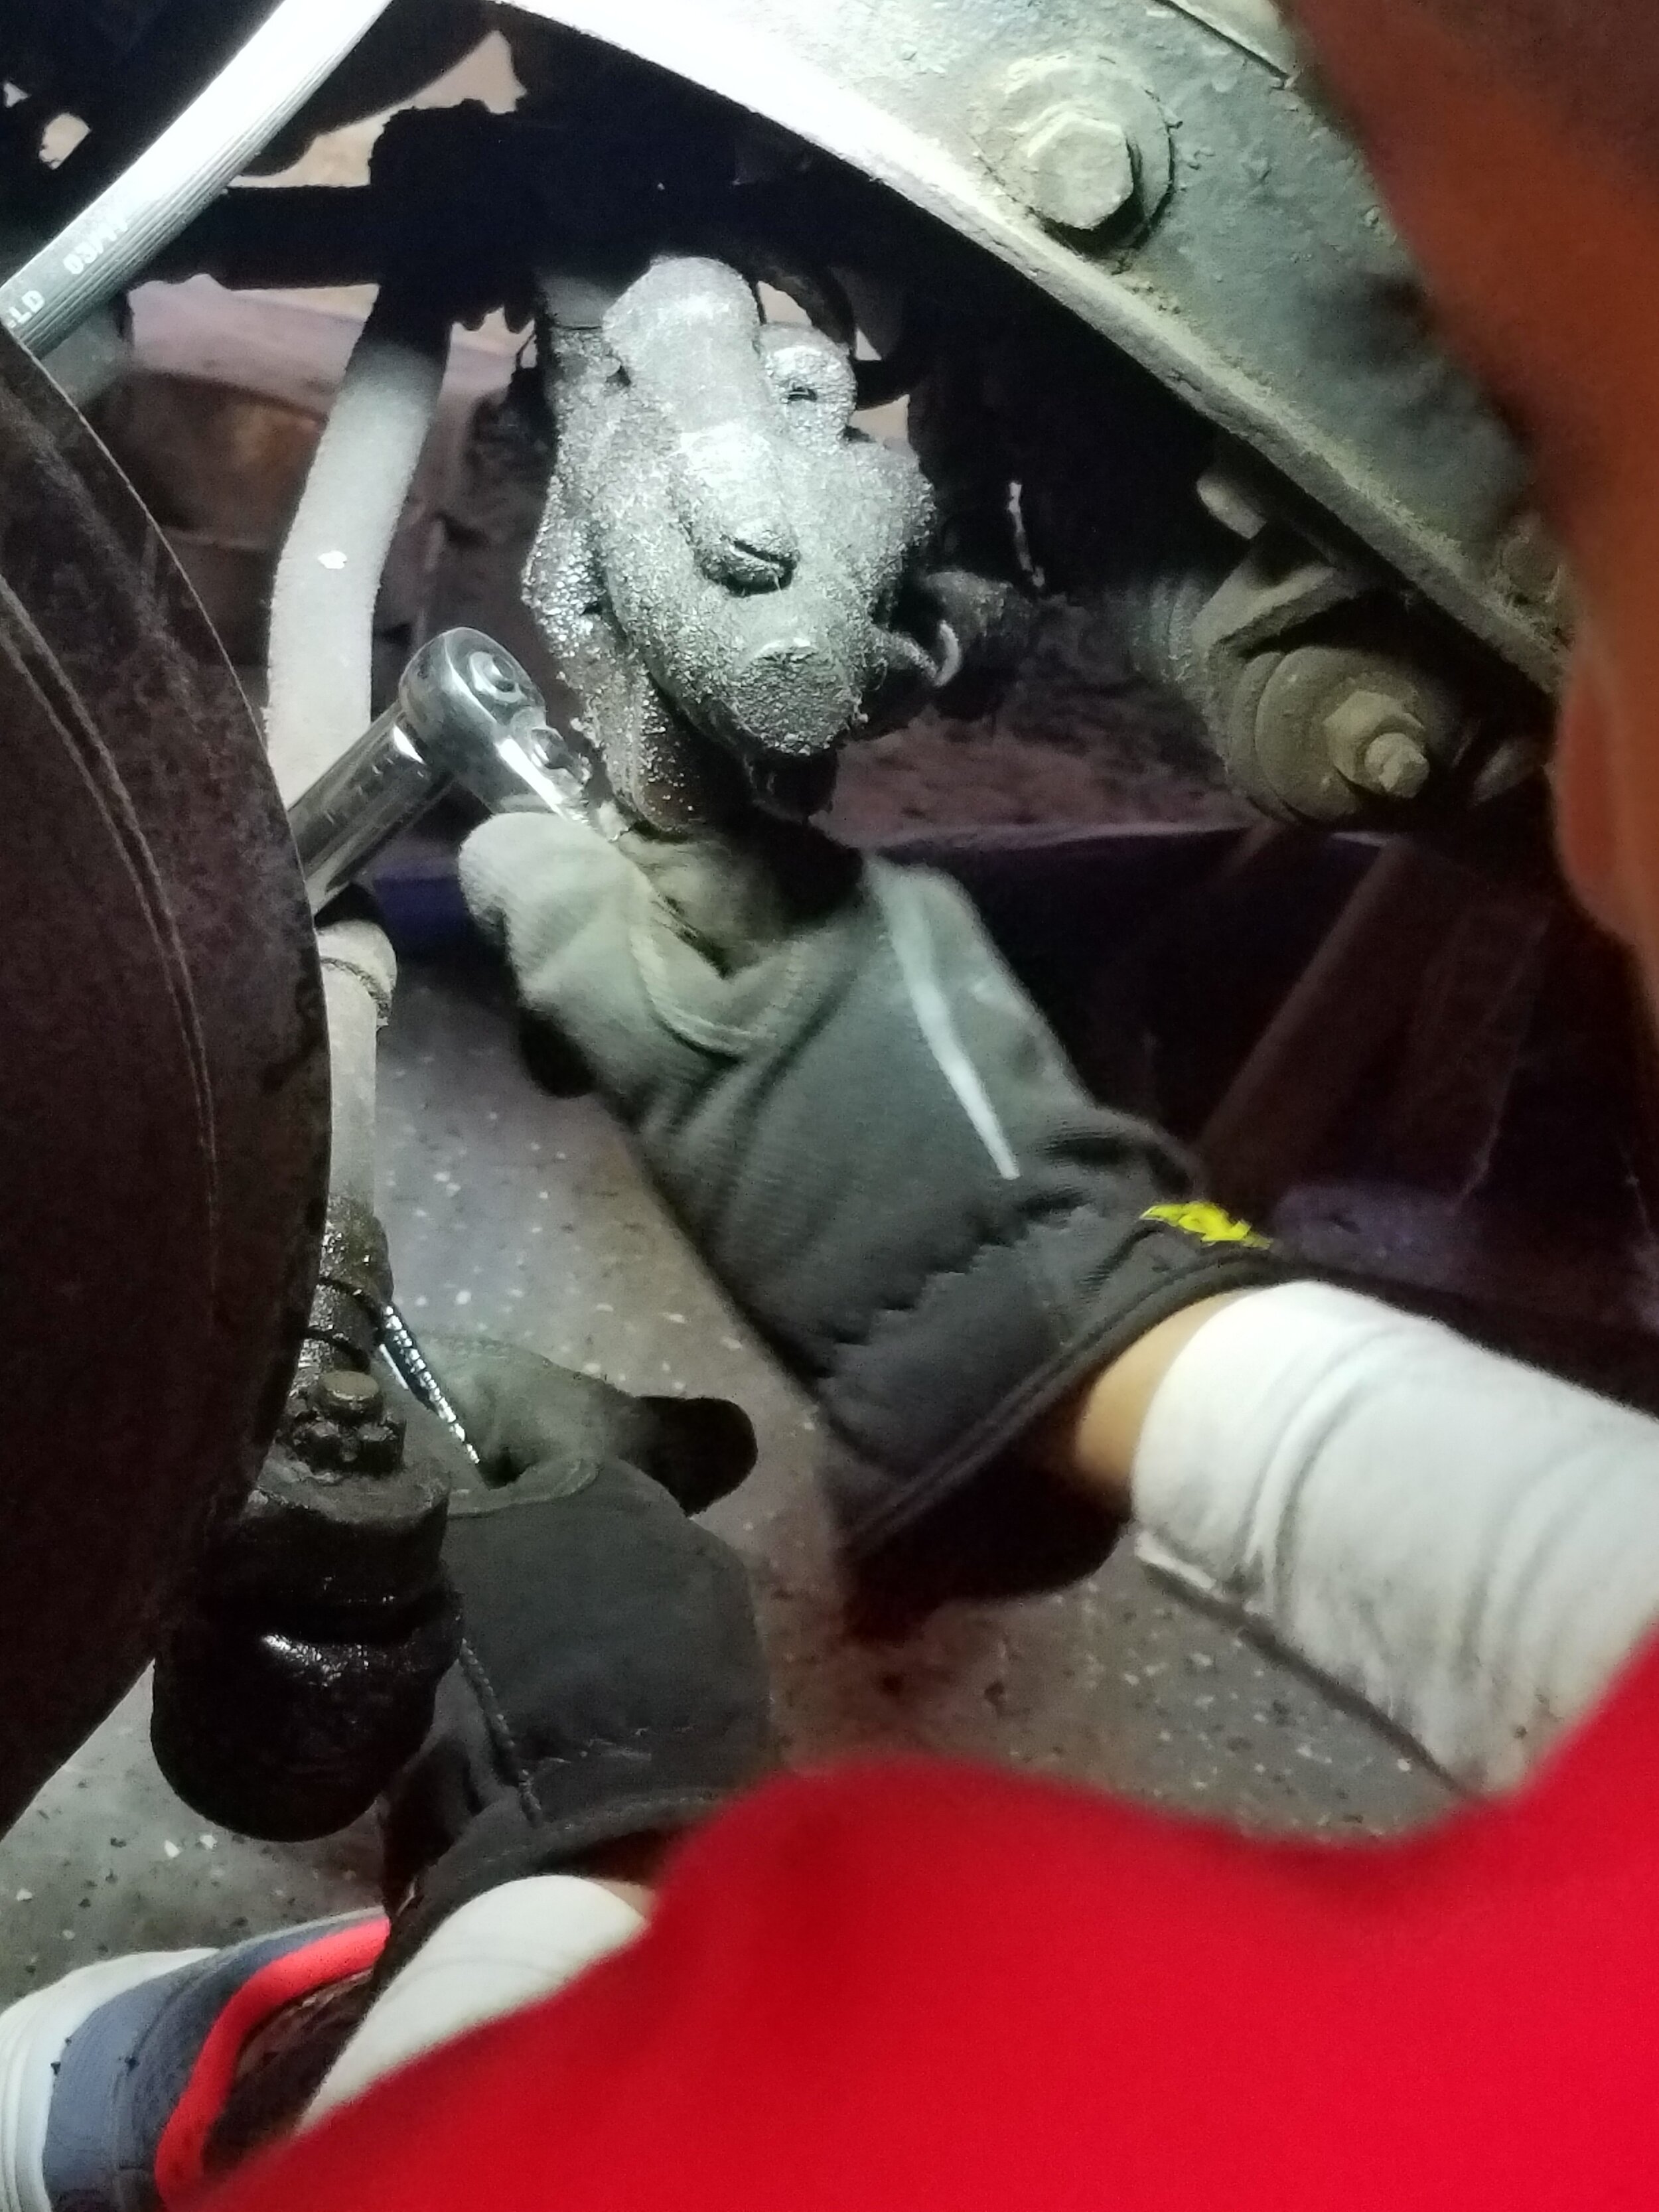
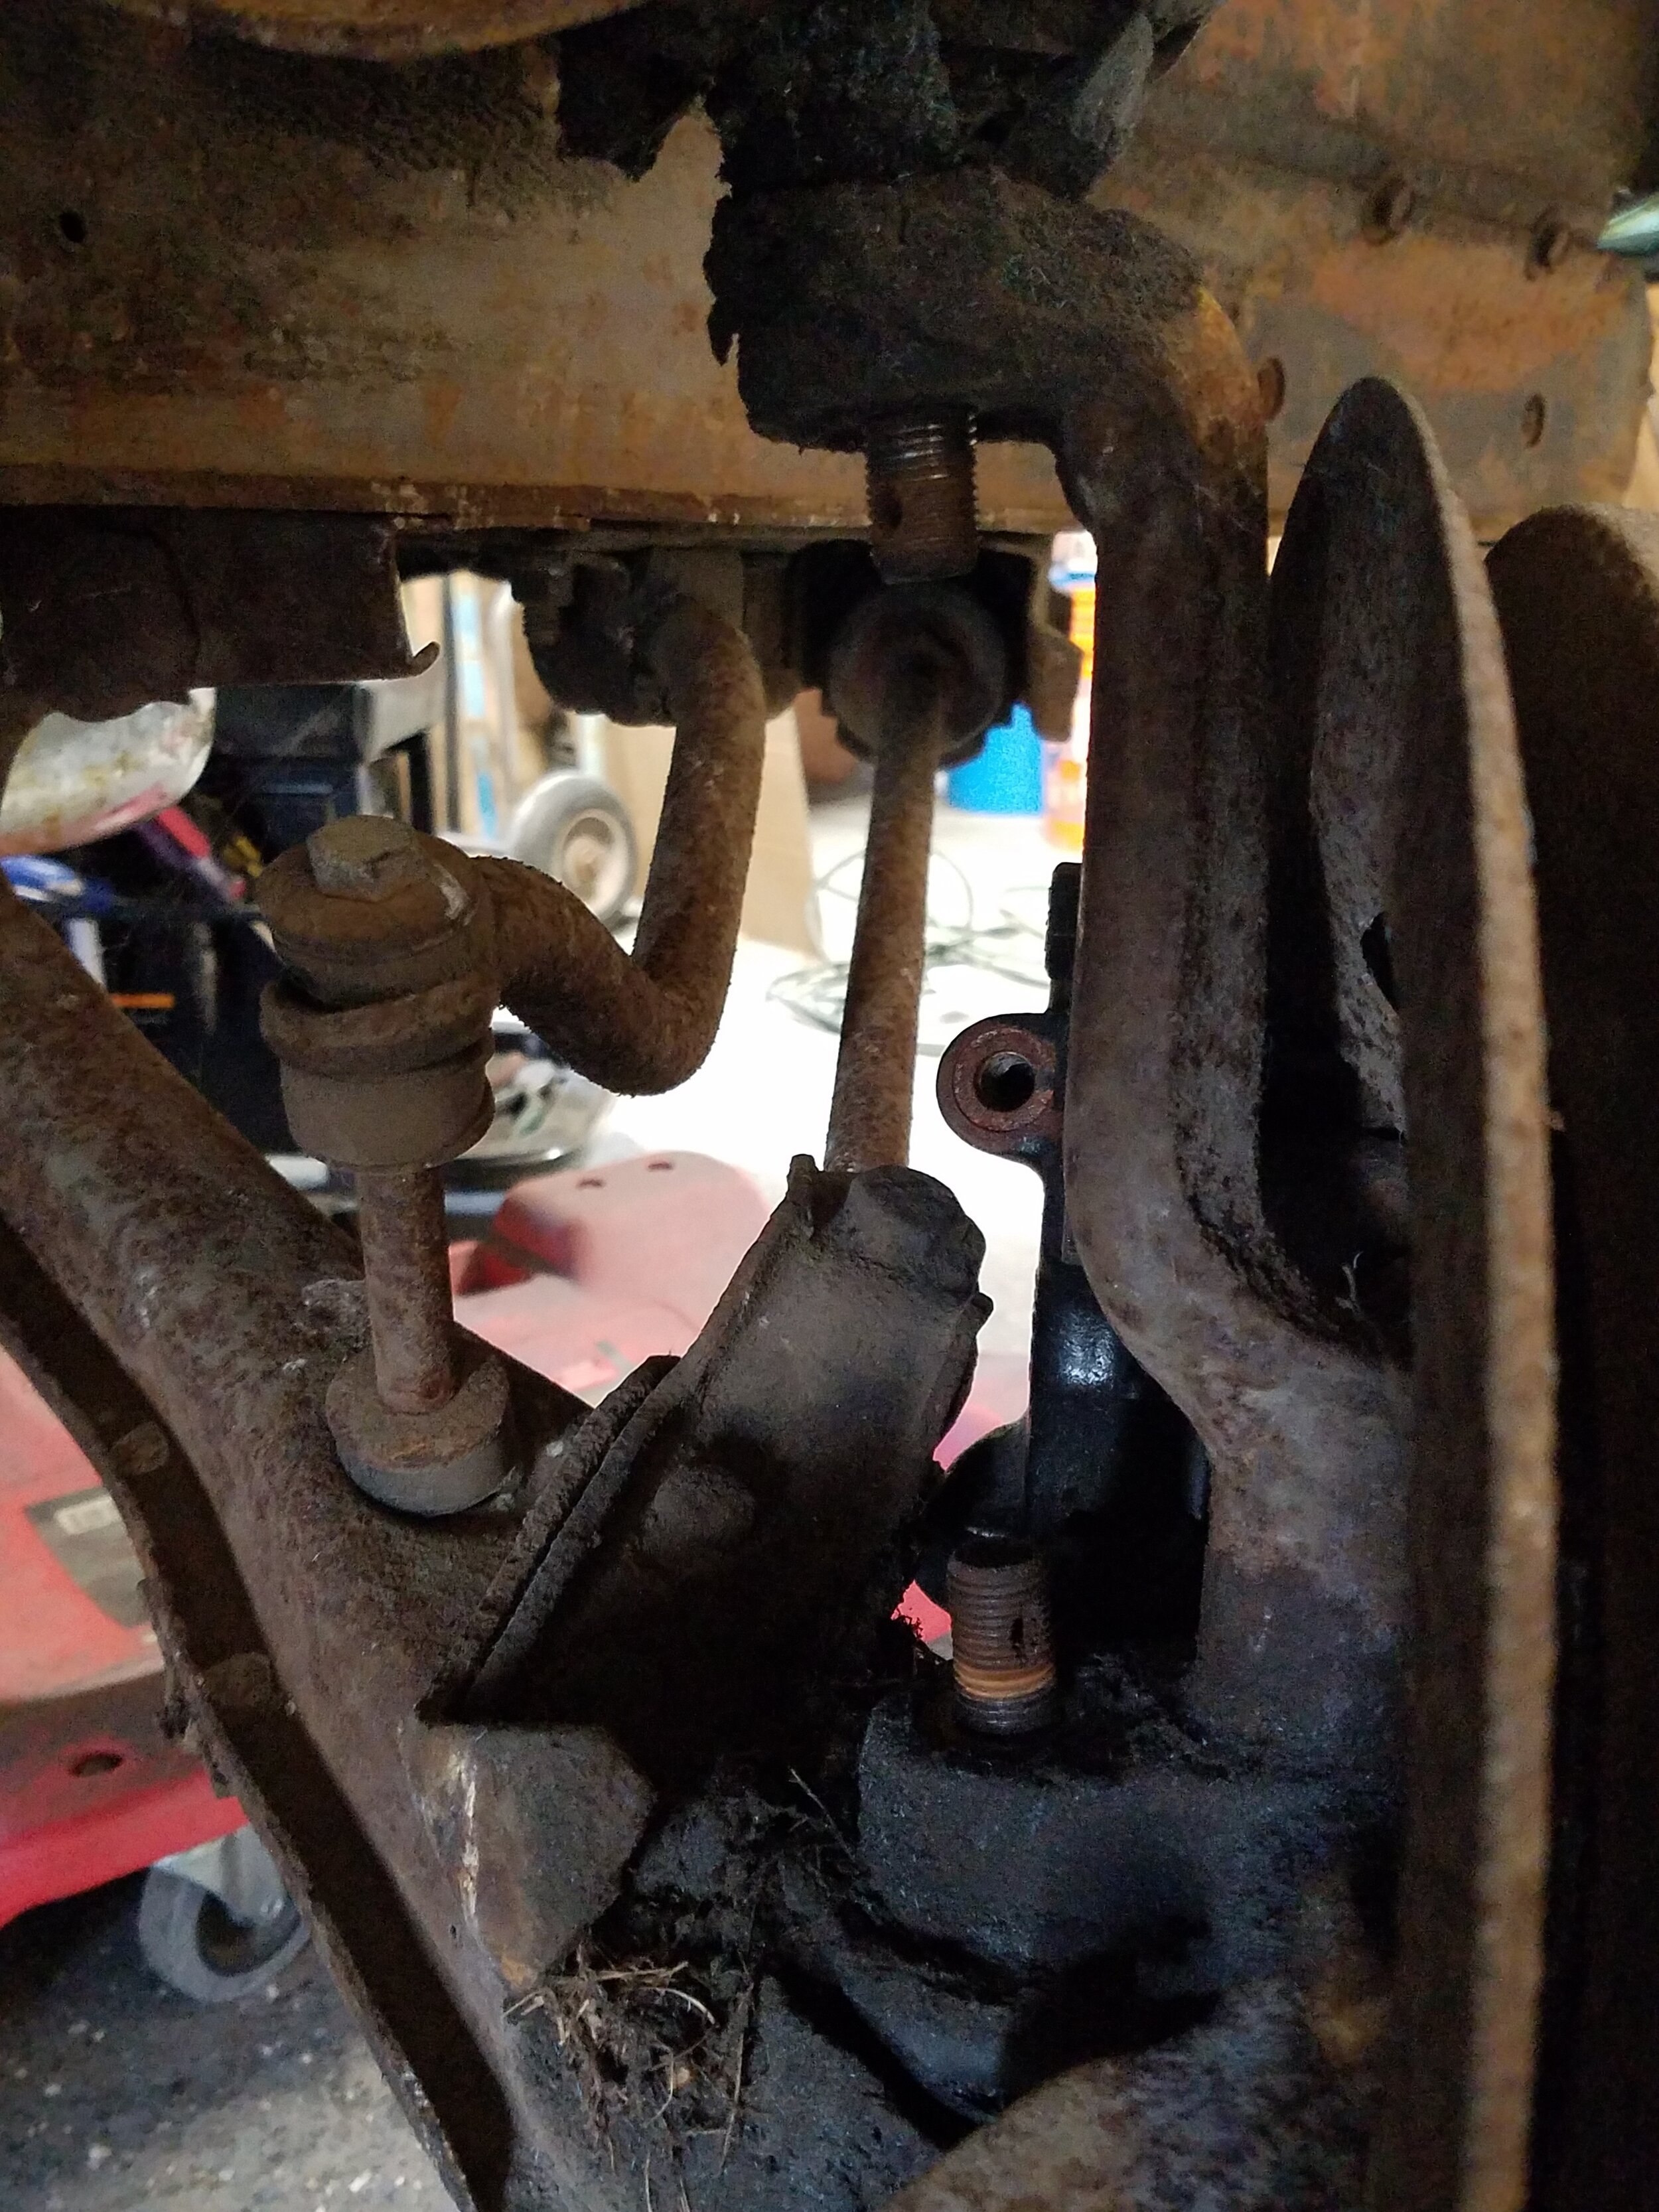
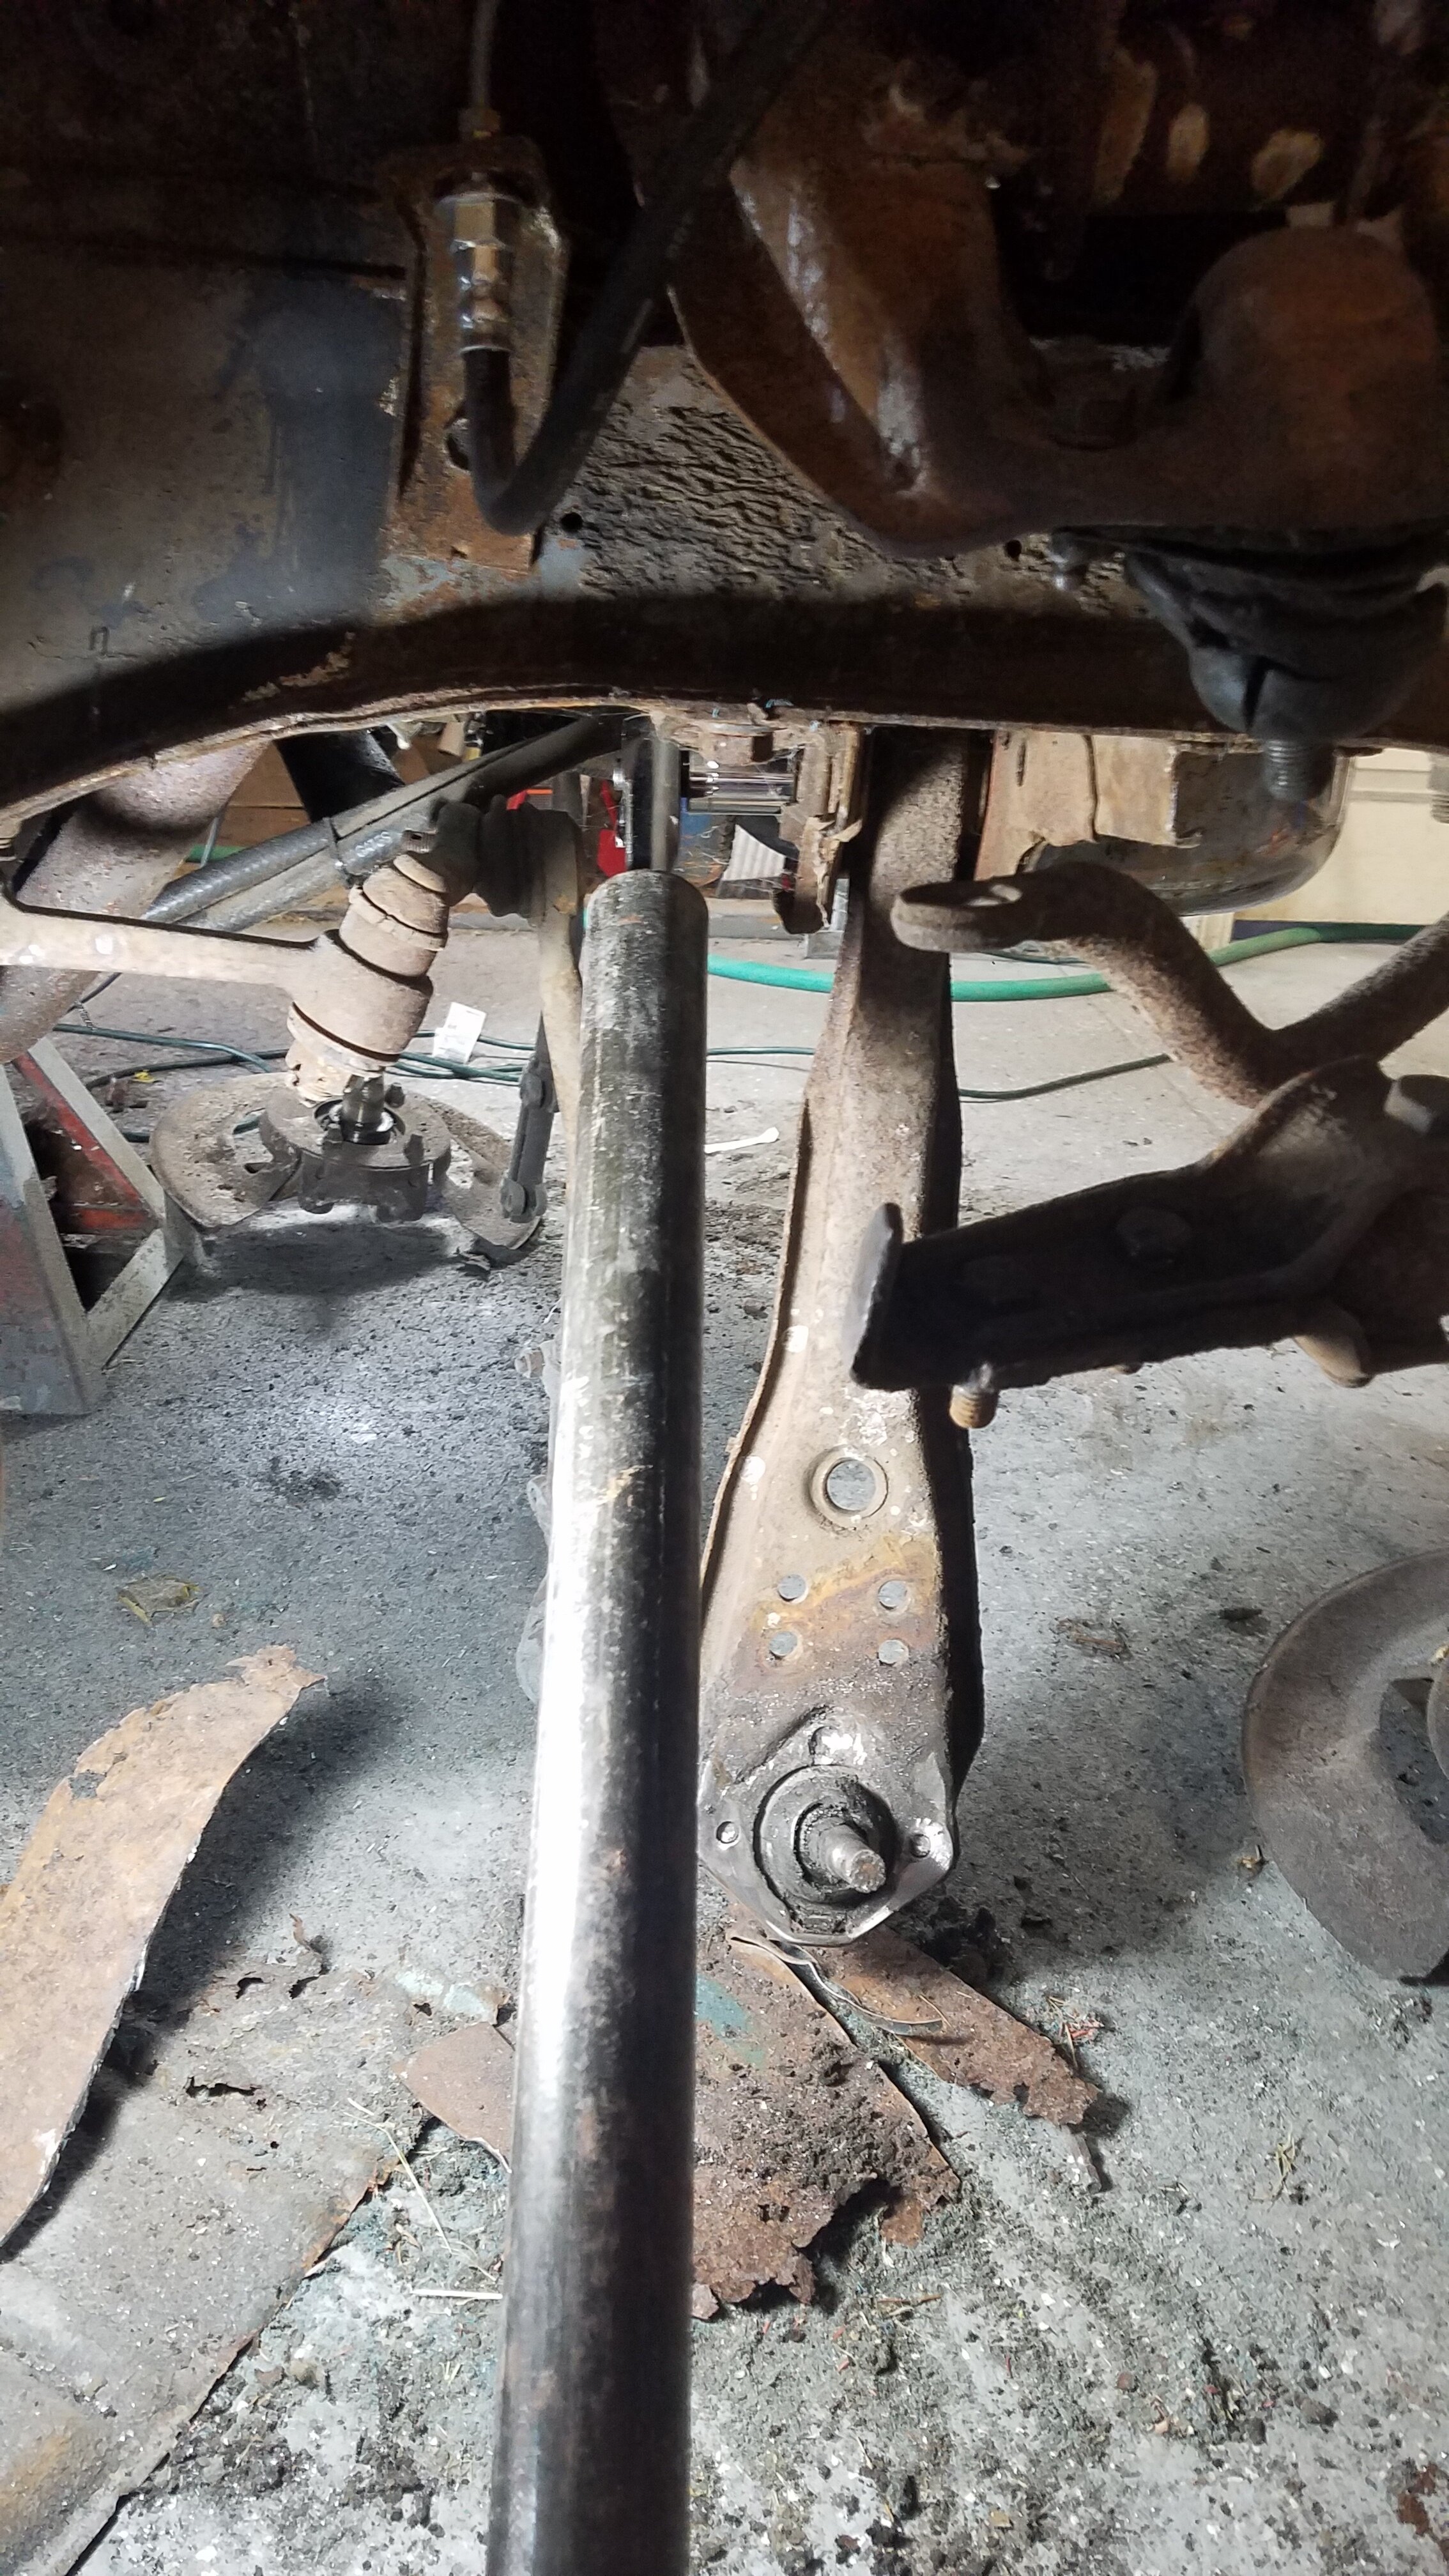
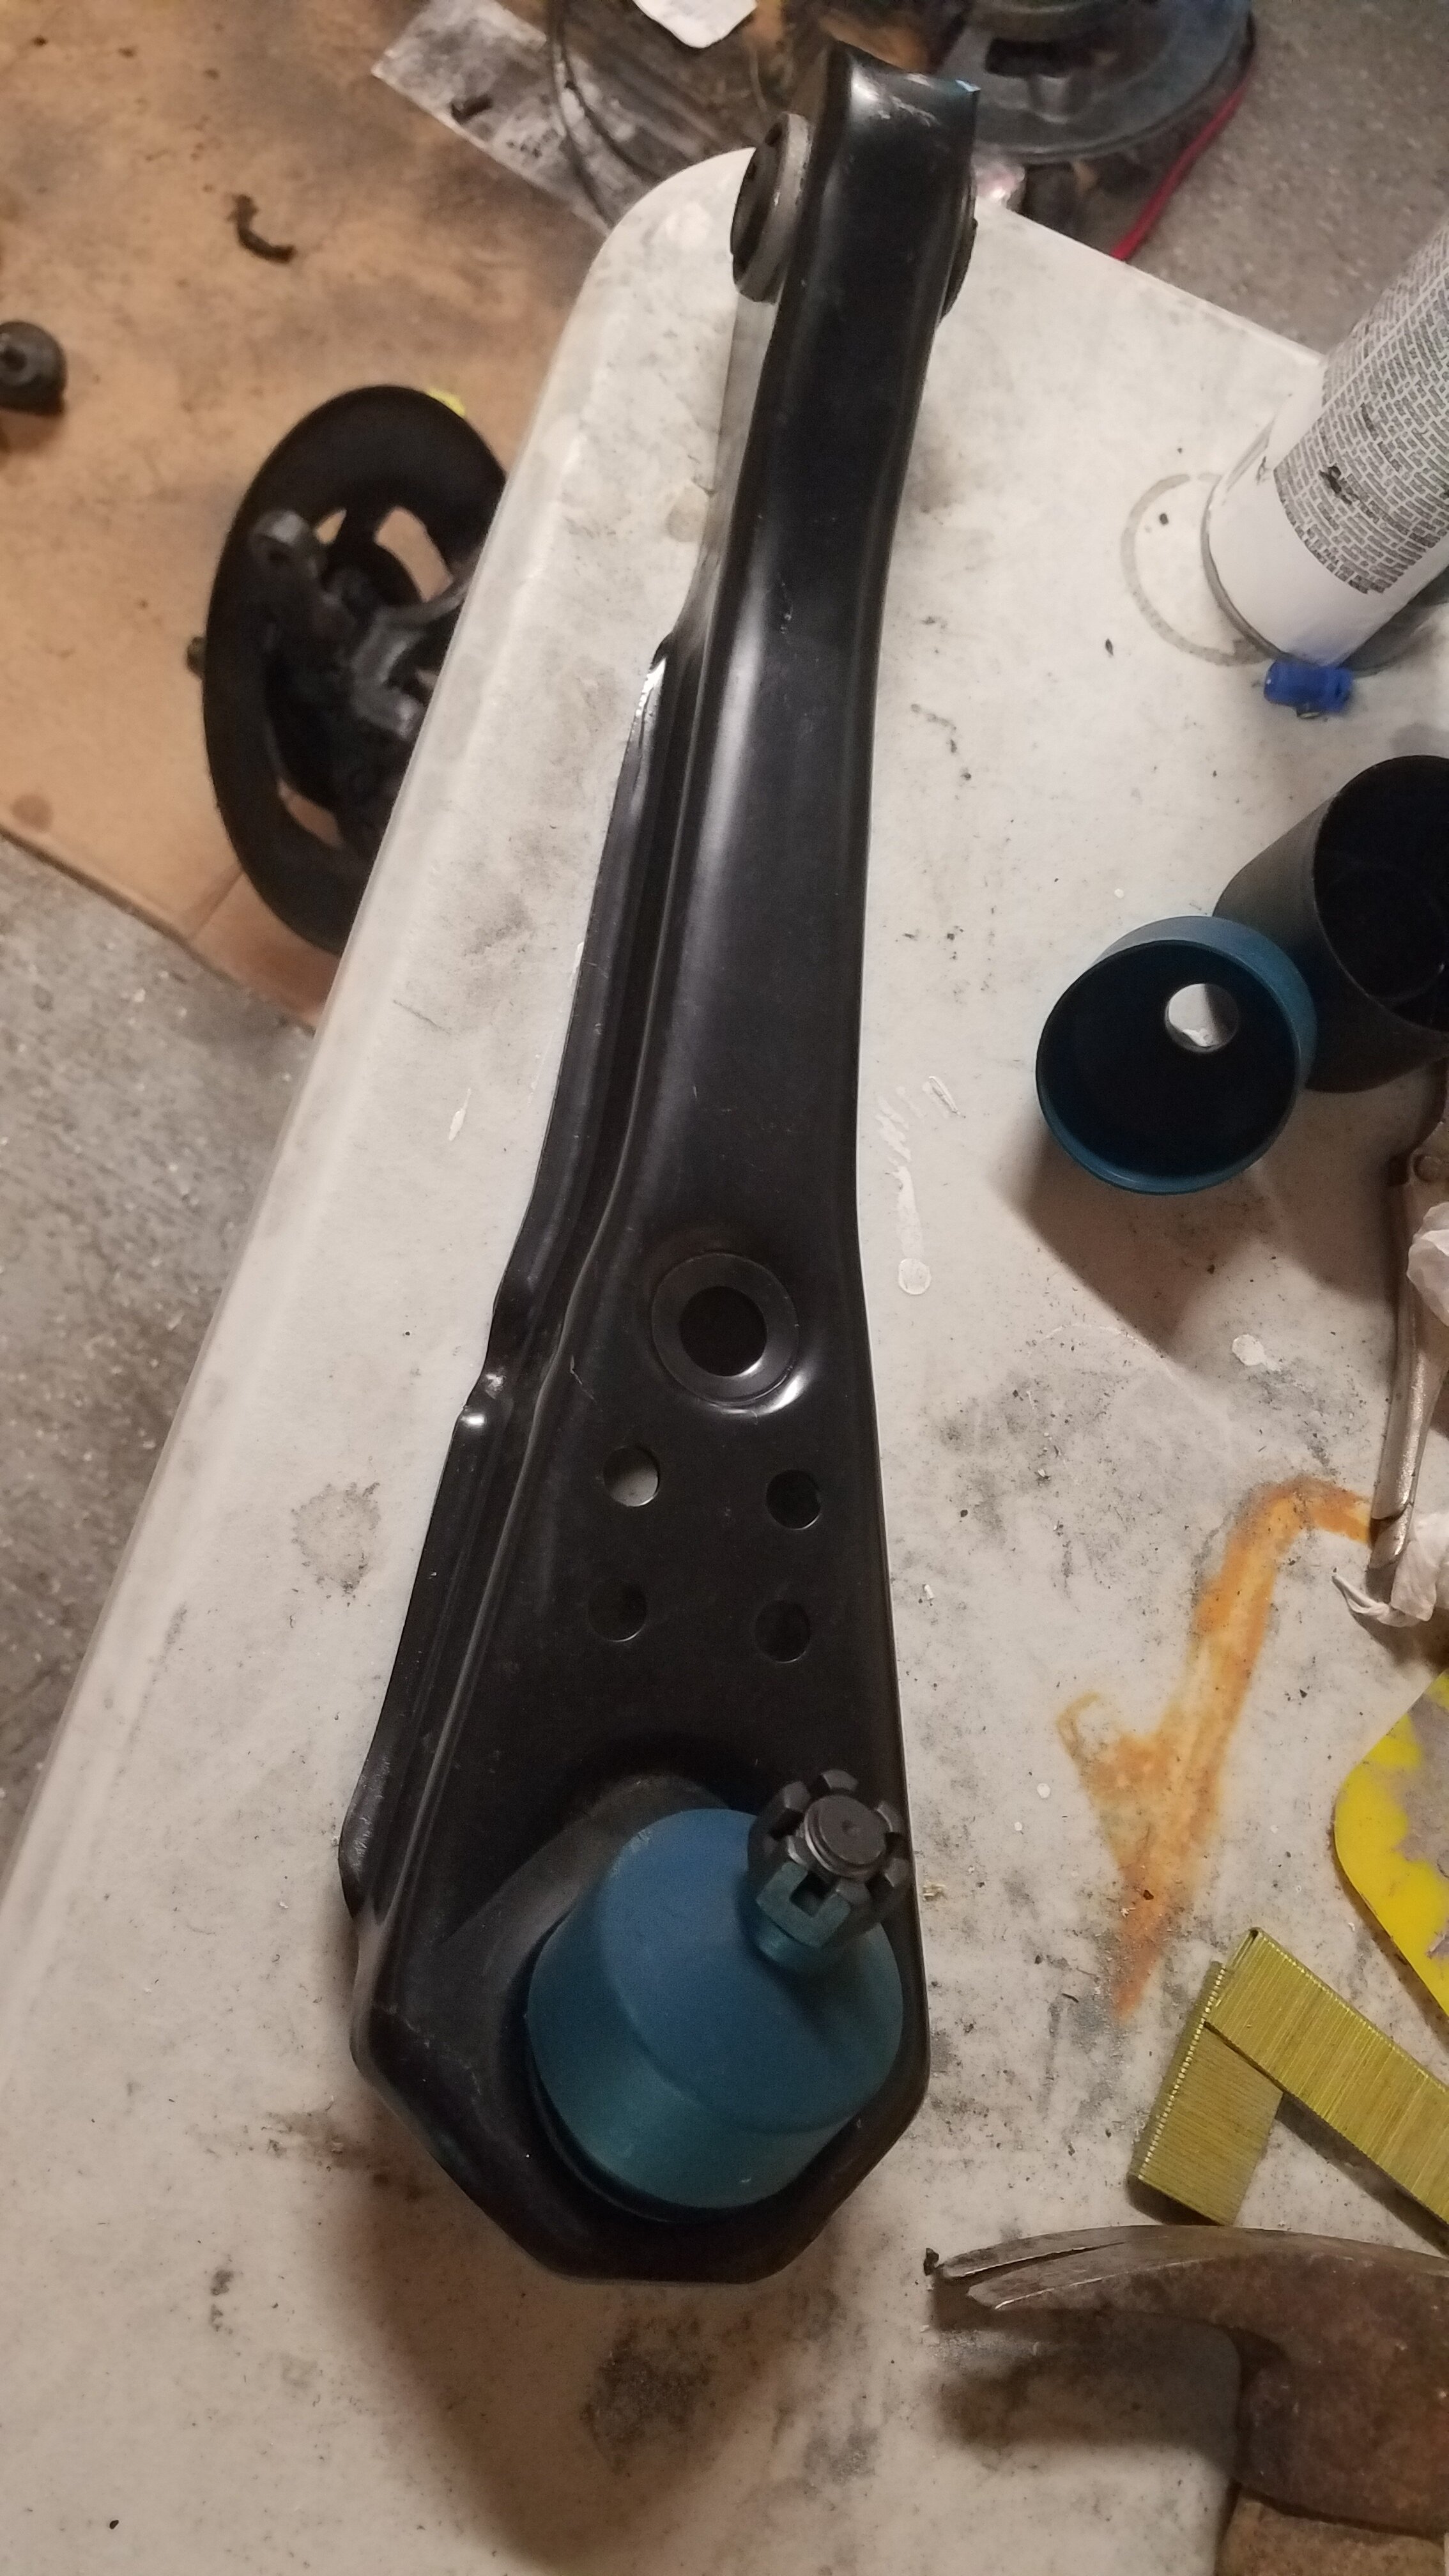
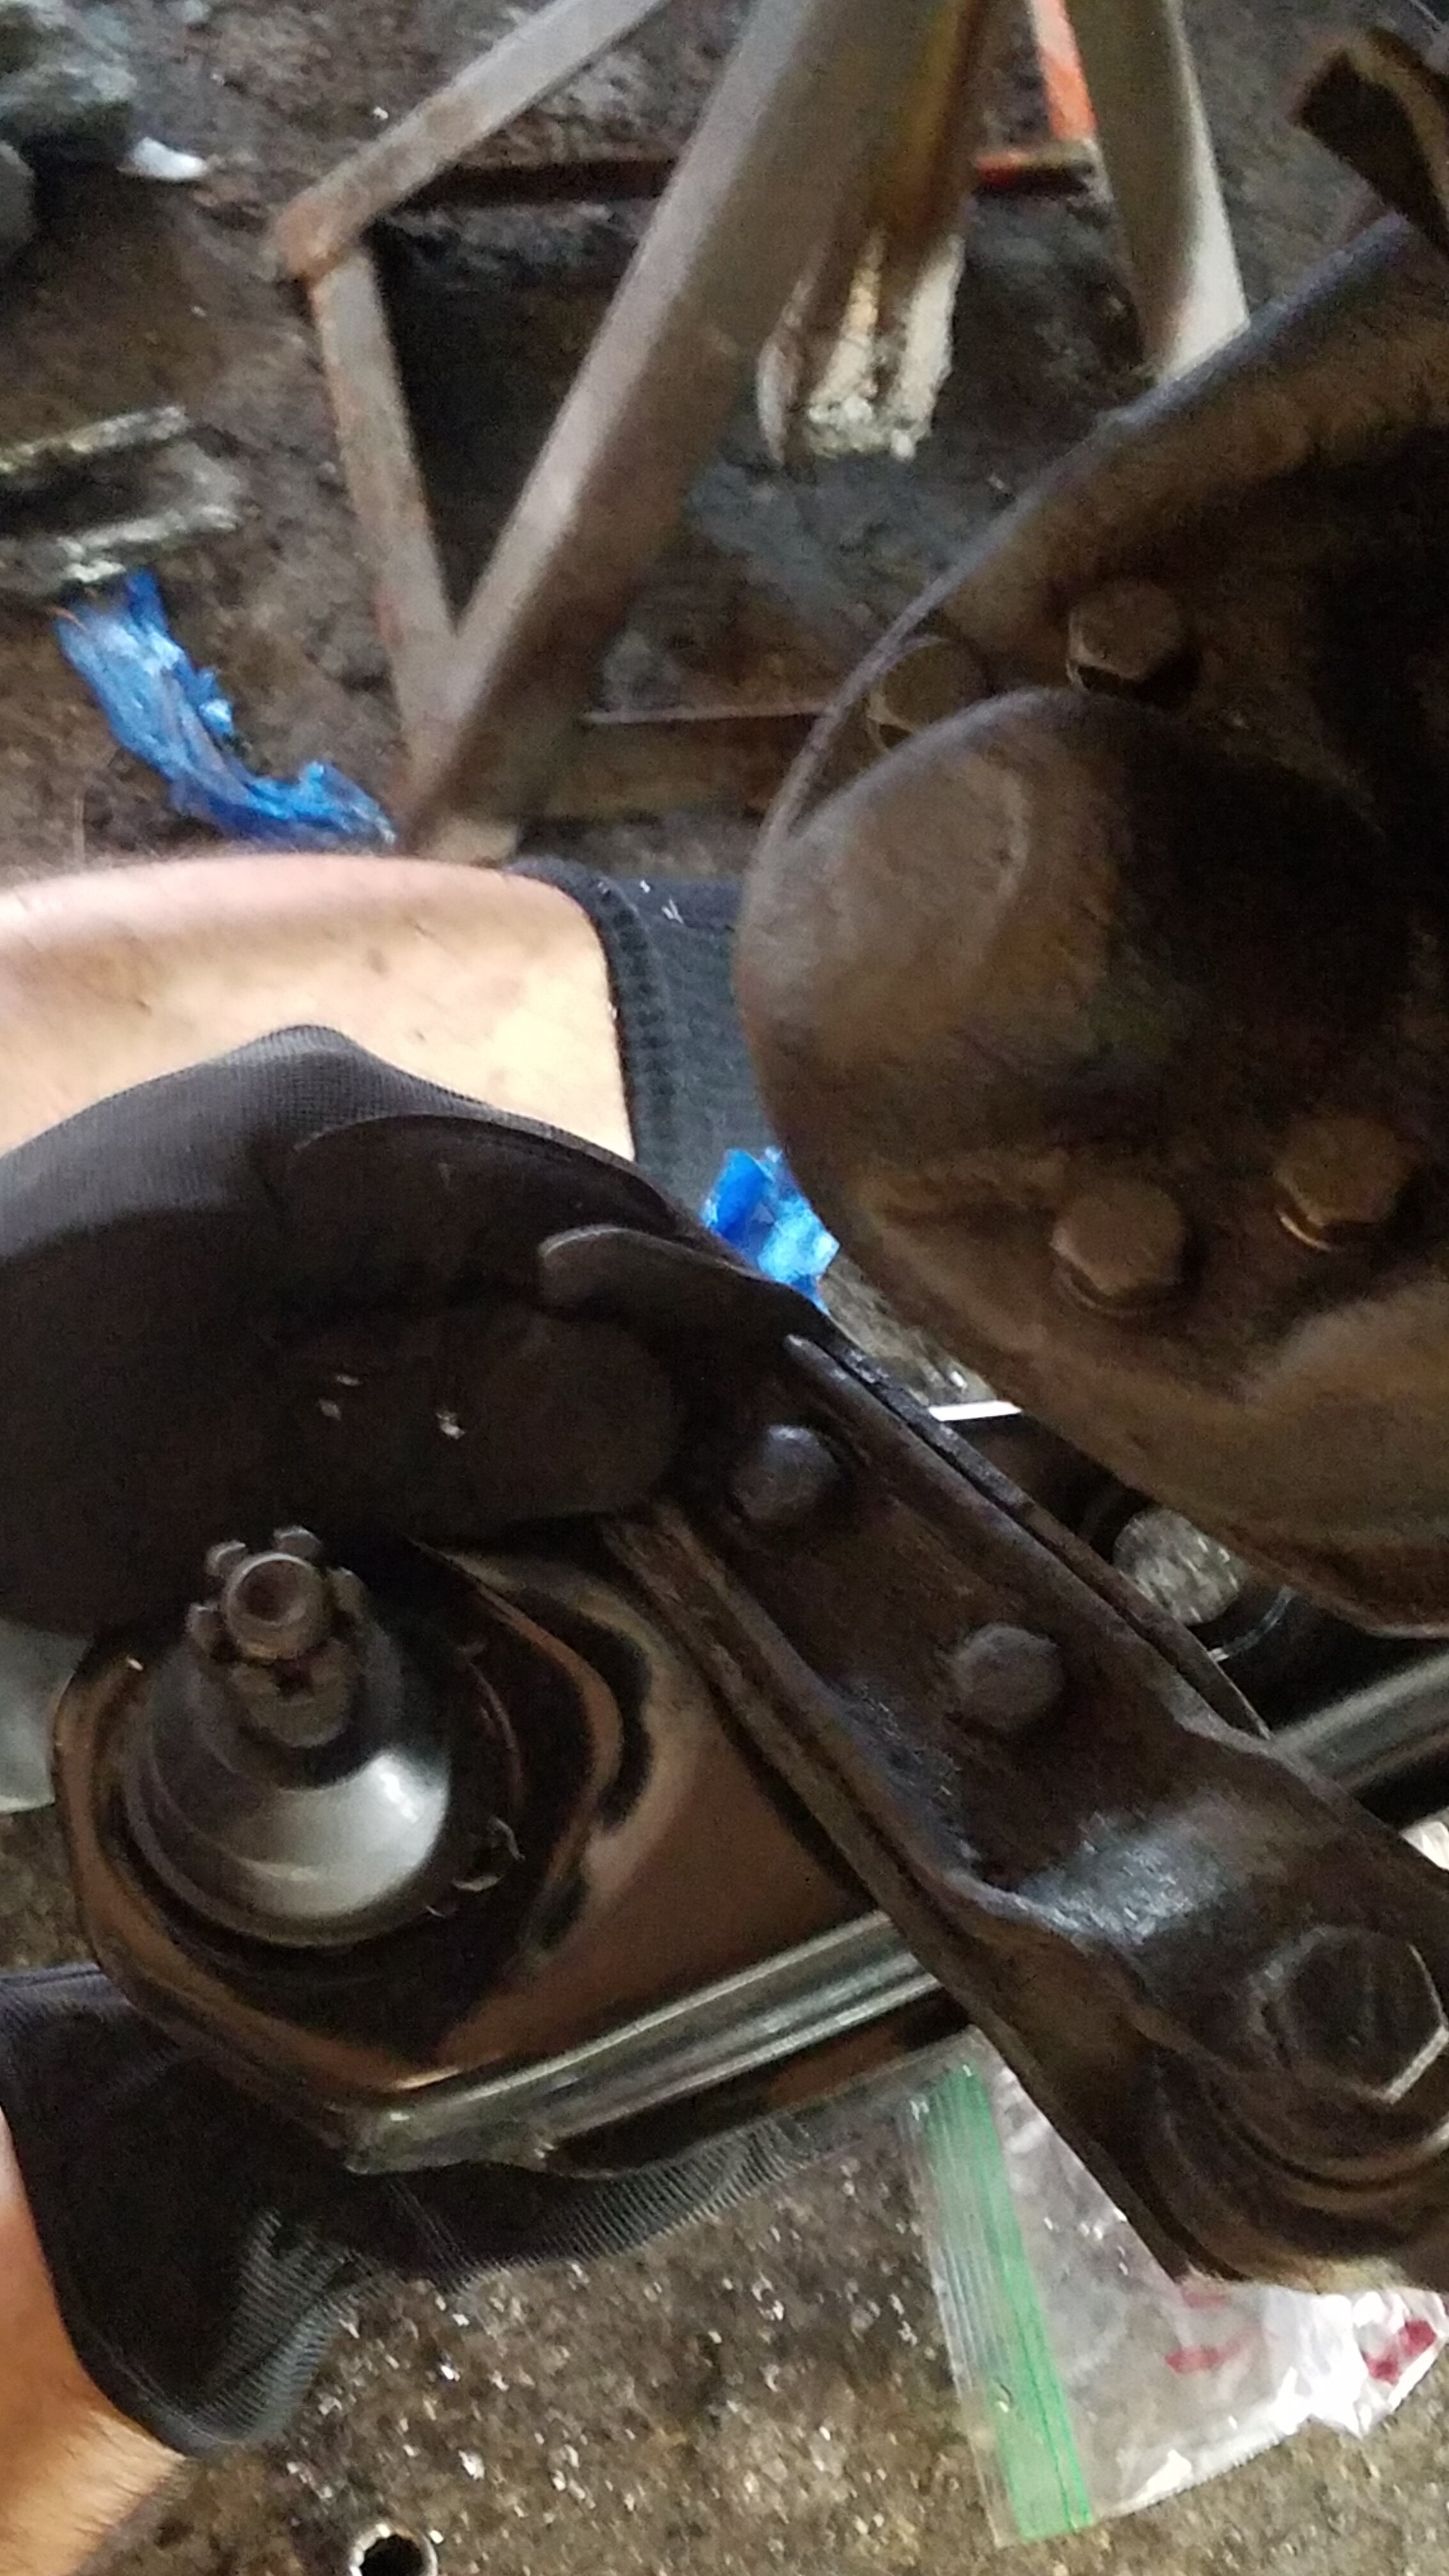
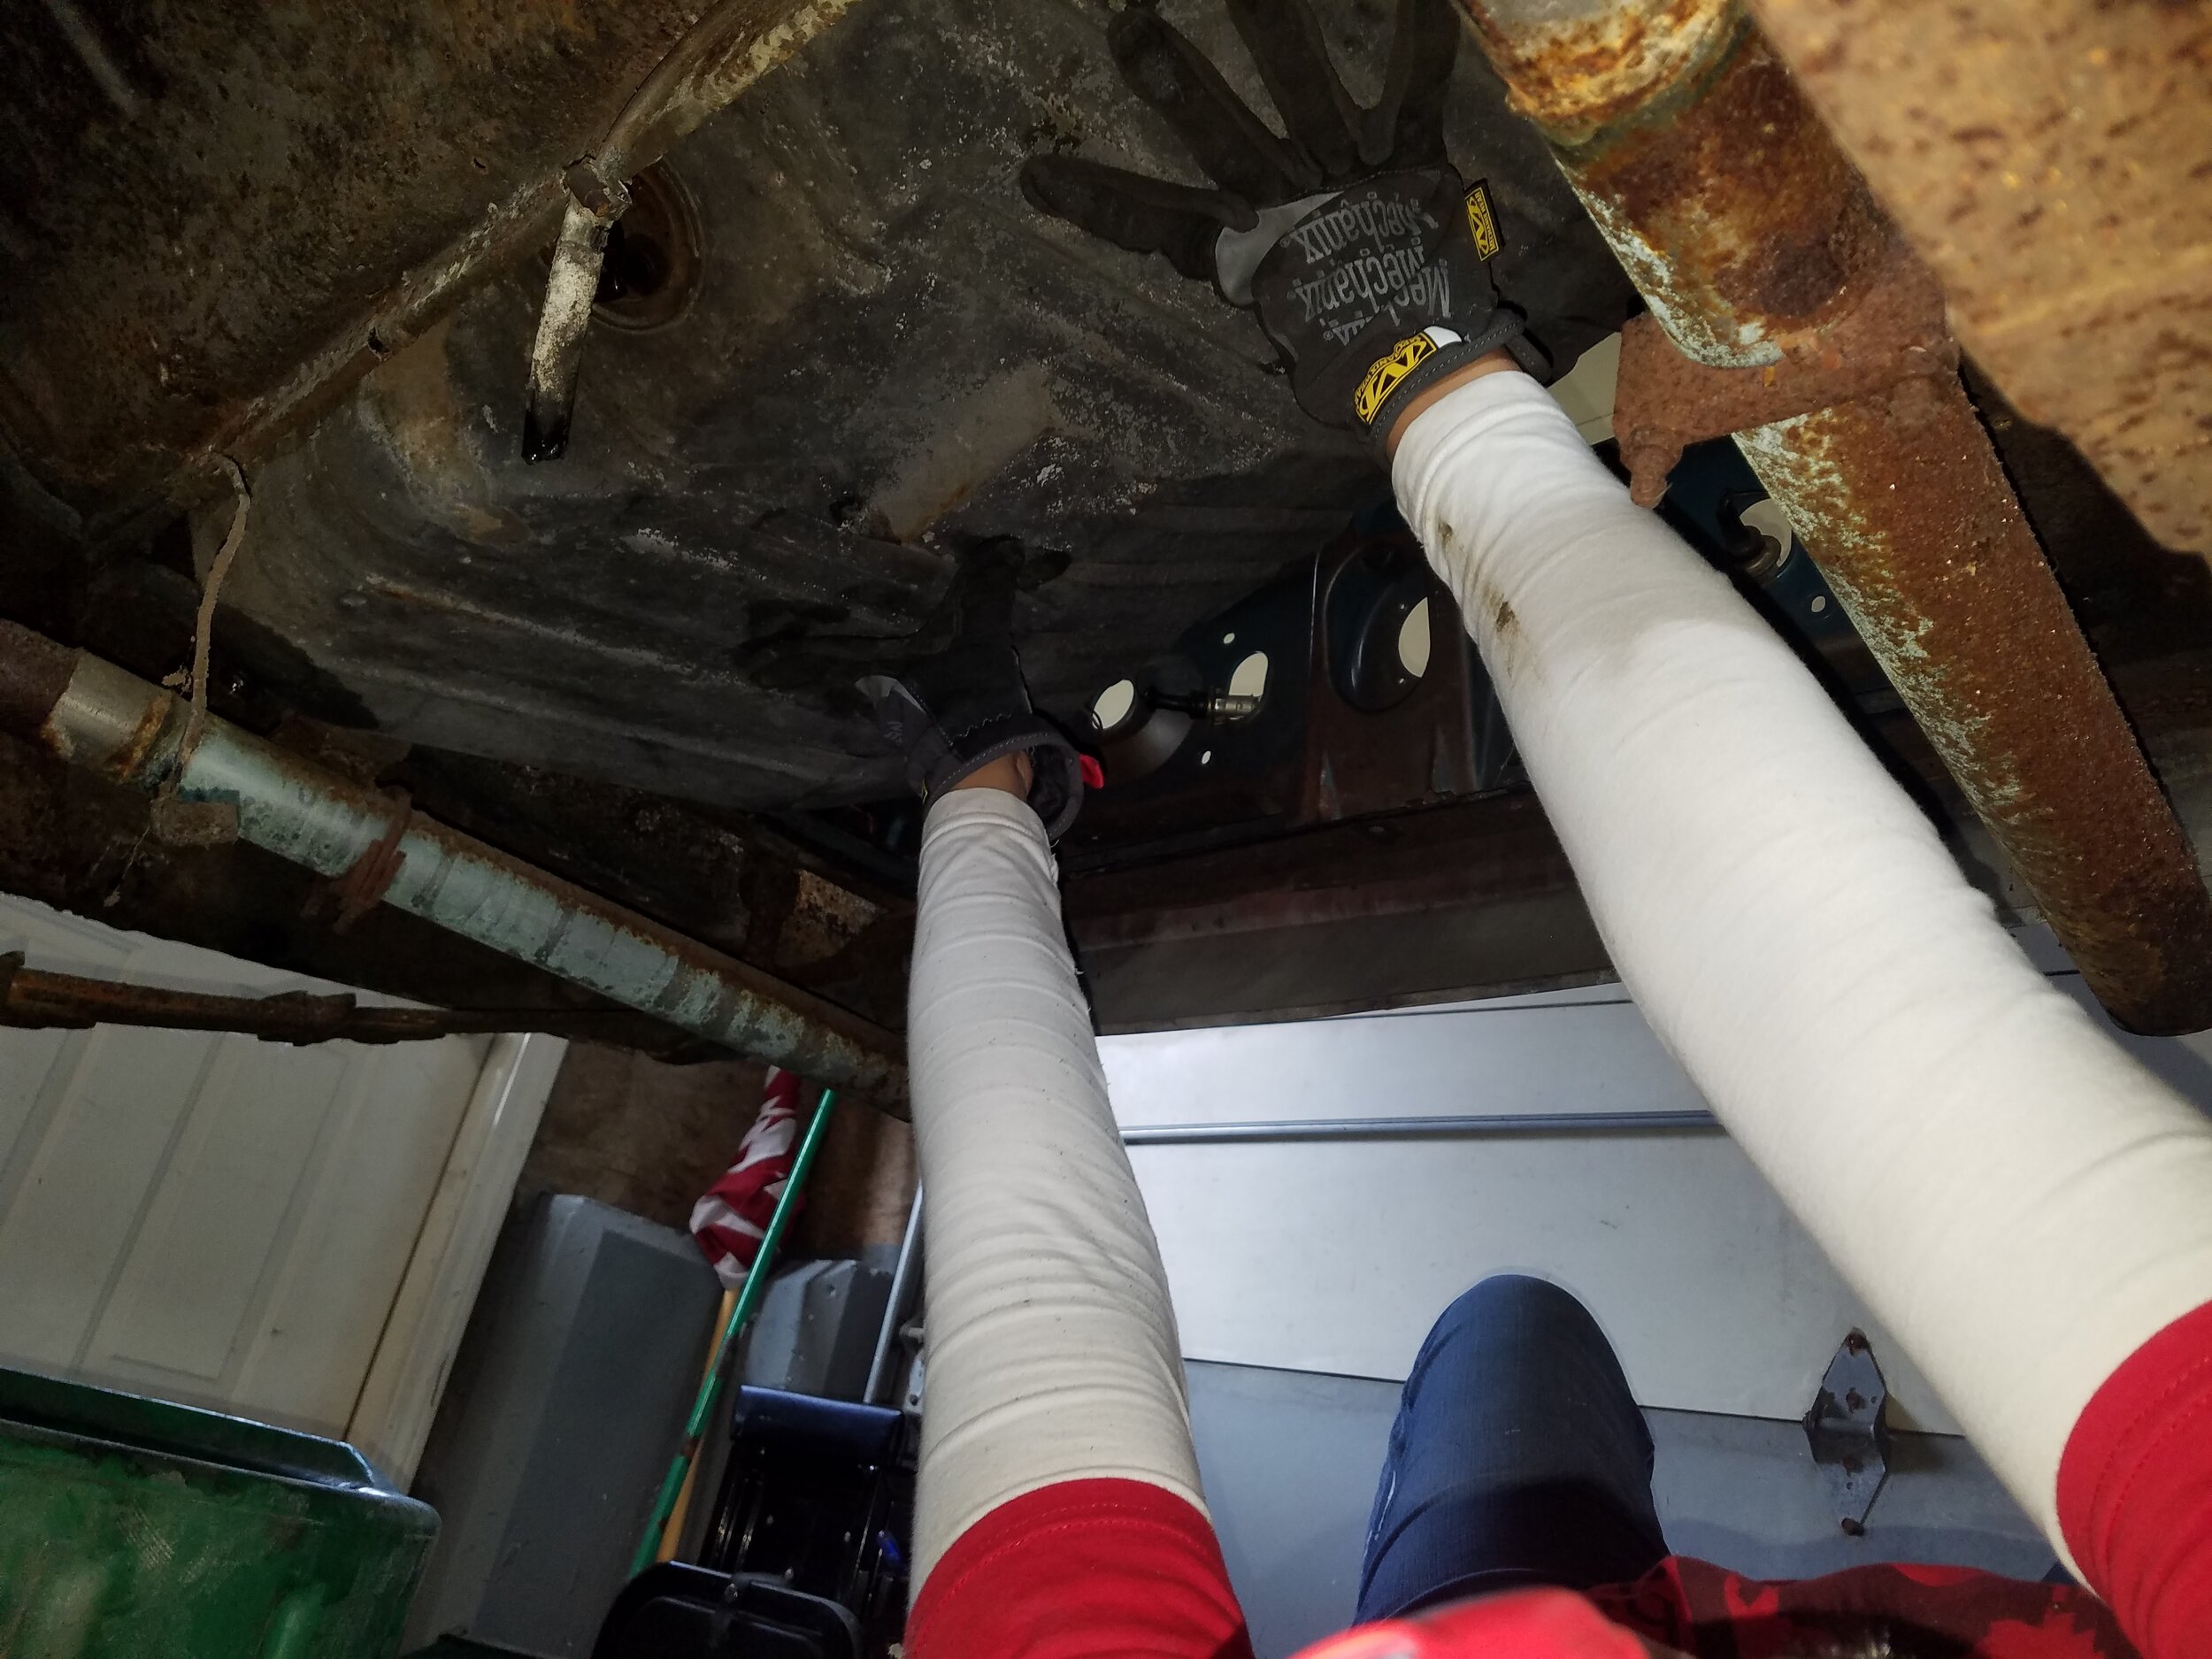
This was a VERY HARD job. It took many weekends between my cousin and I just to get the old ones off. These suspension parts were bolted on tight, for good reason. Add rust, and it was a project alright. My cousin had to drill some old ball joints out. I slammed on a lot of things. My cousin even had one of the those fork things to lift the ball joints out. No dice!

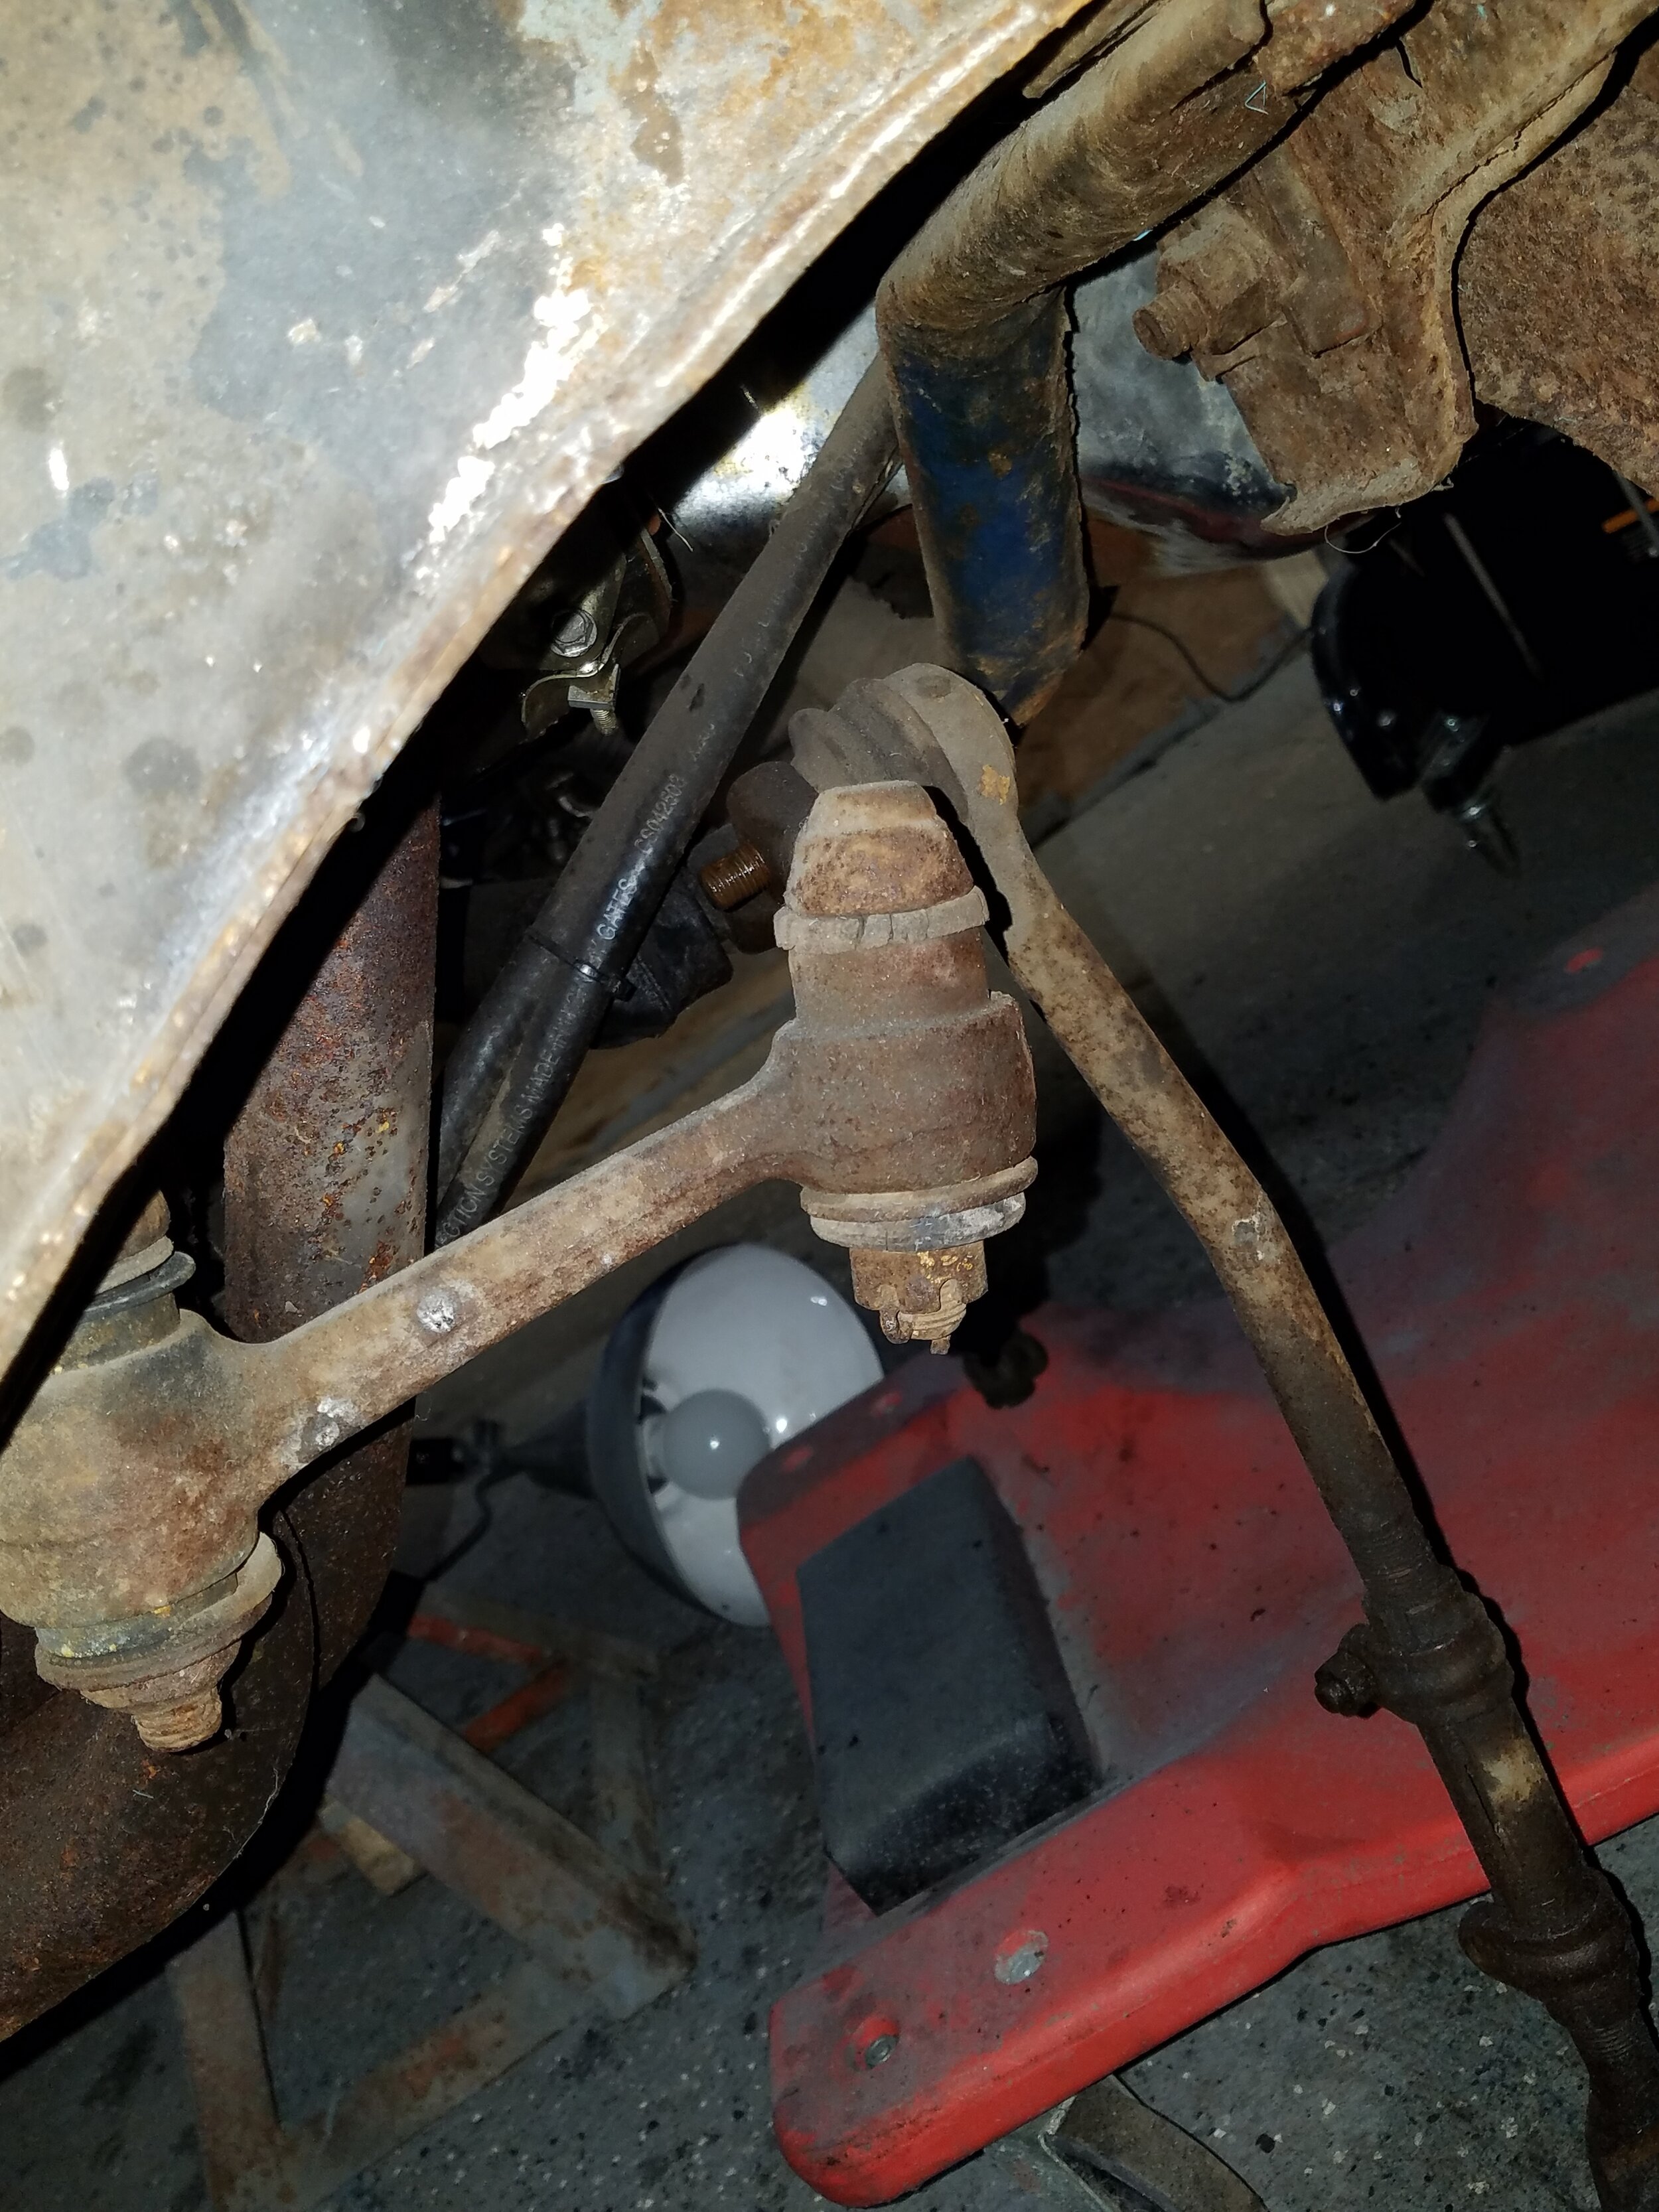
This was one of those projects that definitely makes you feel weak. But in the end it looks AWESOME! Be sure to remember how many rotations your tie rods had connecting the inner and outer…this helps to make sure alignment is close before having it professionally adjusted. Learn something new every day!

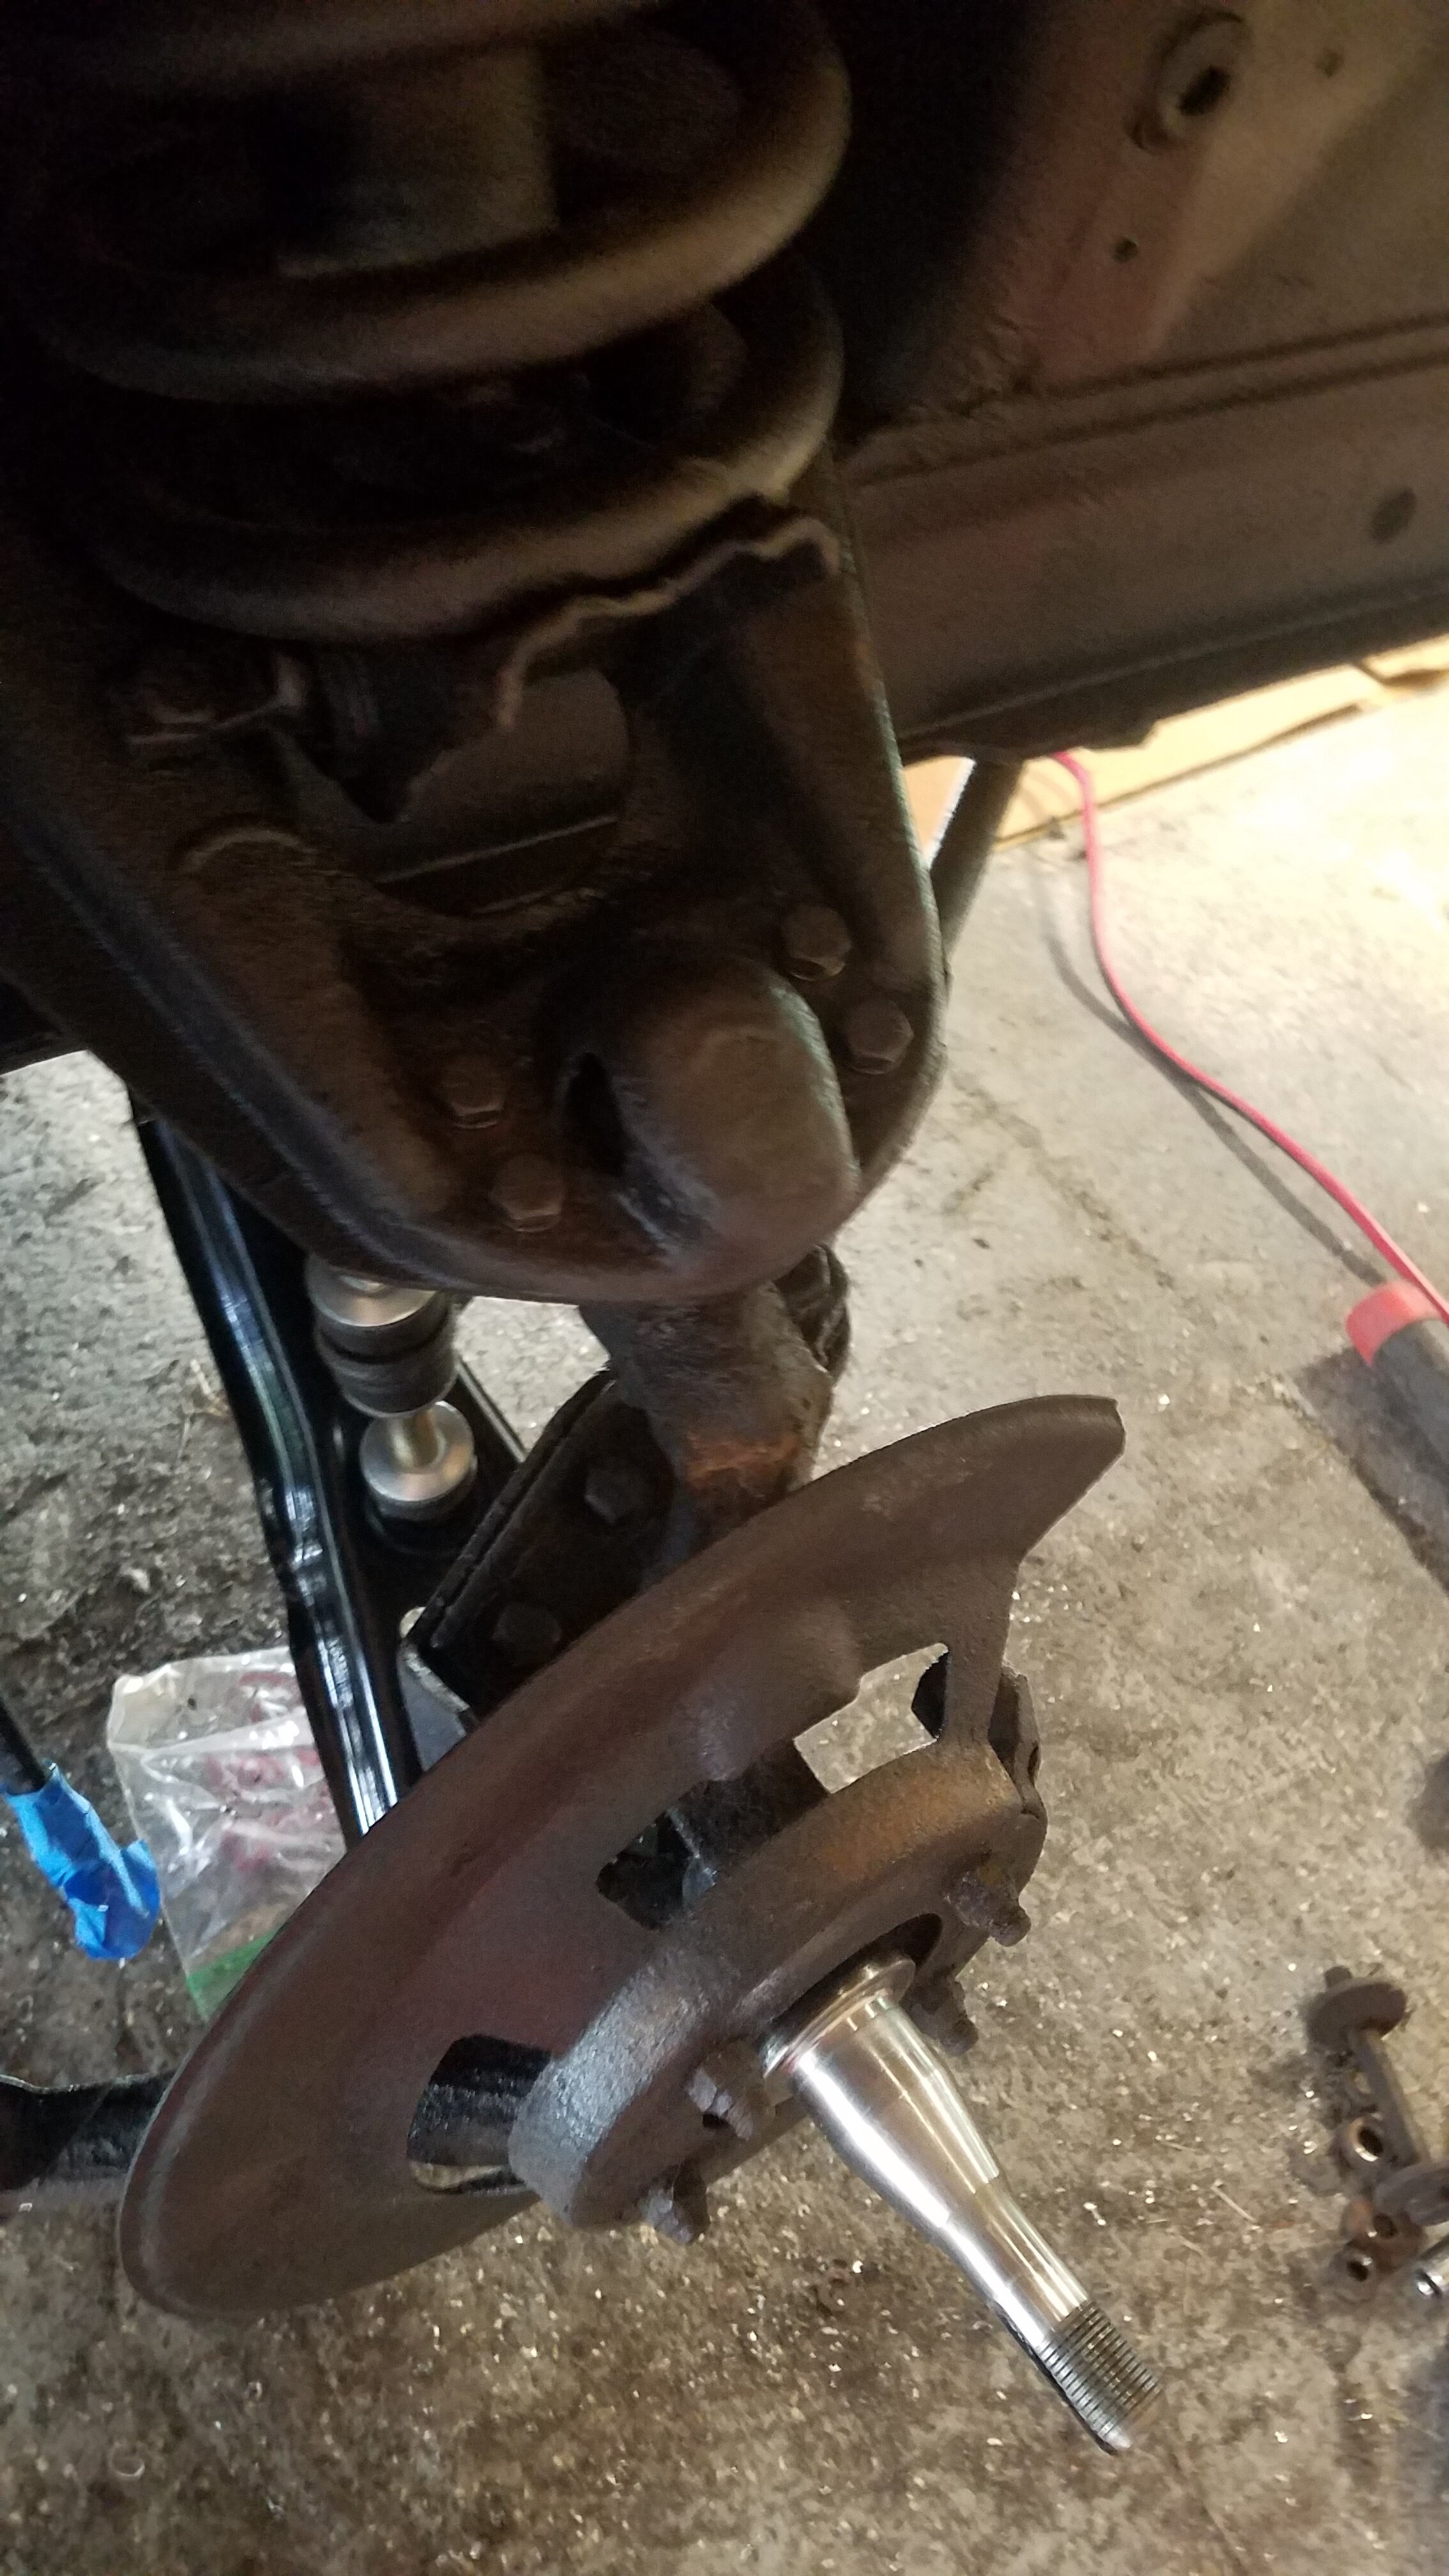
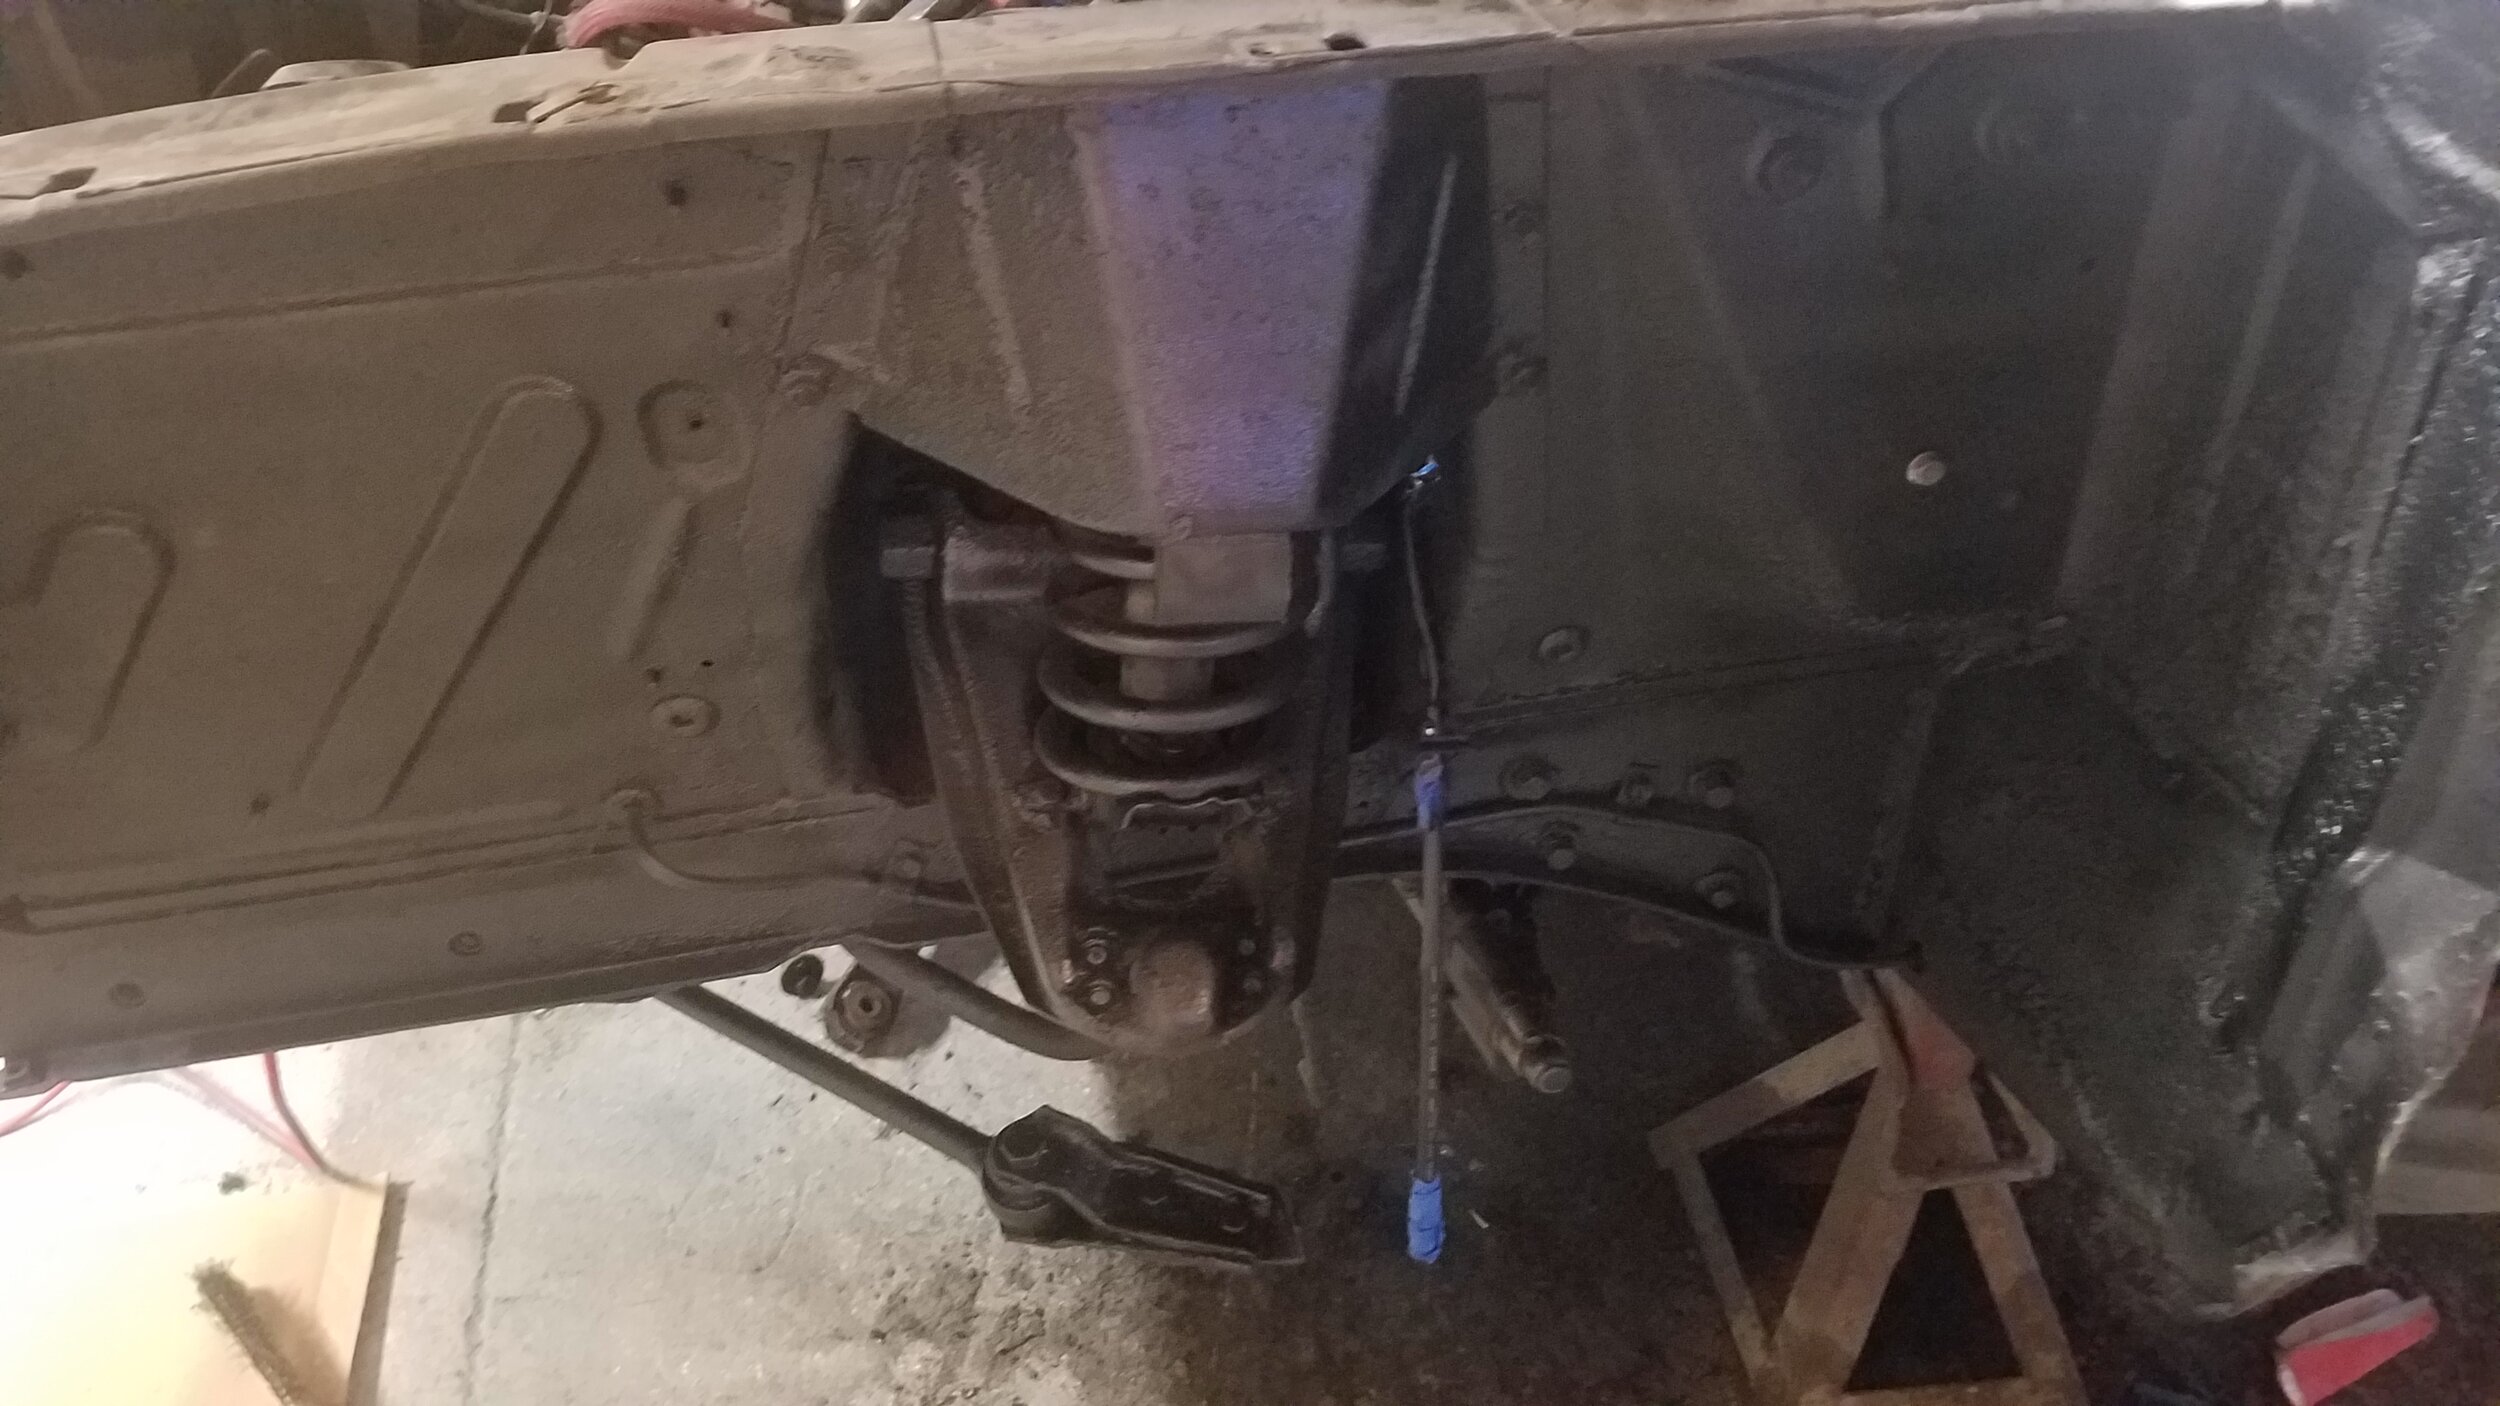
After getting it all together, I spray painted the inner fender using truck bed paint. That black with the new slotted silver rotors, and new brake lines/hoses, makes it all look very sharp under there, if I do say so myself.

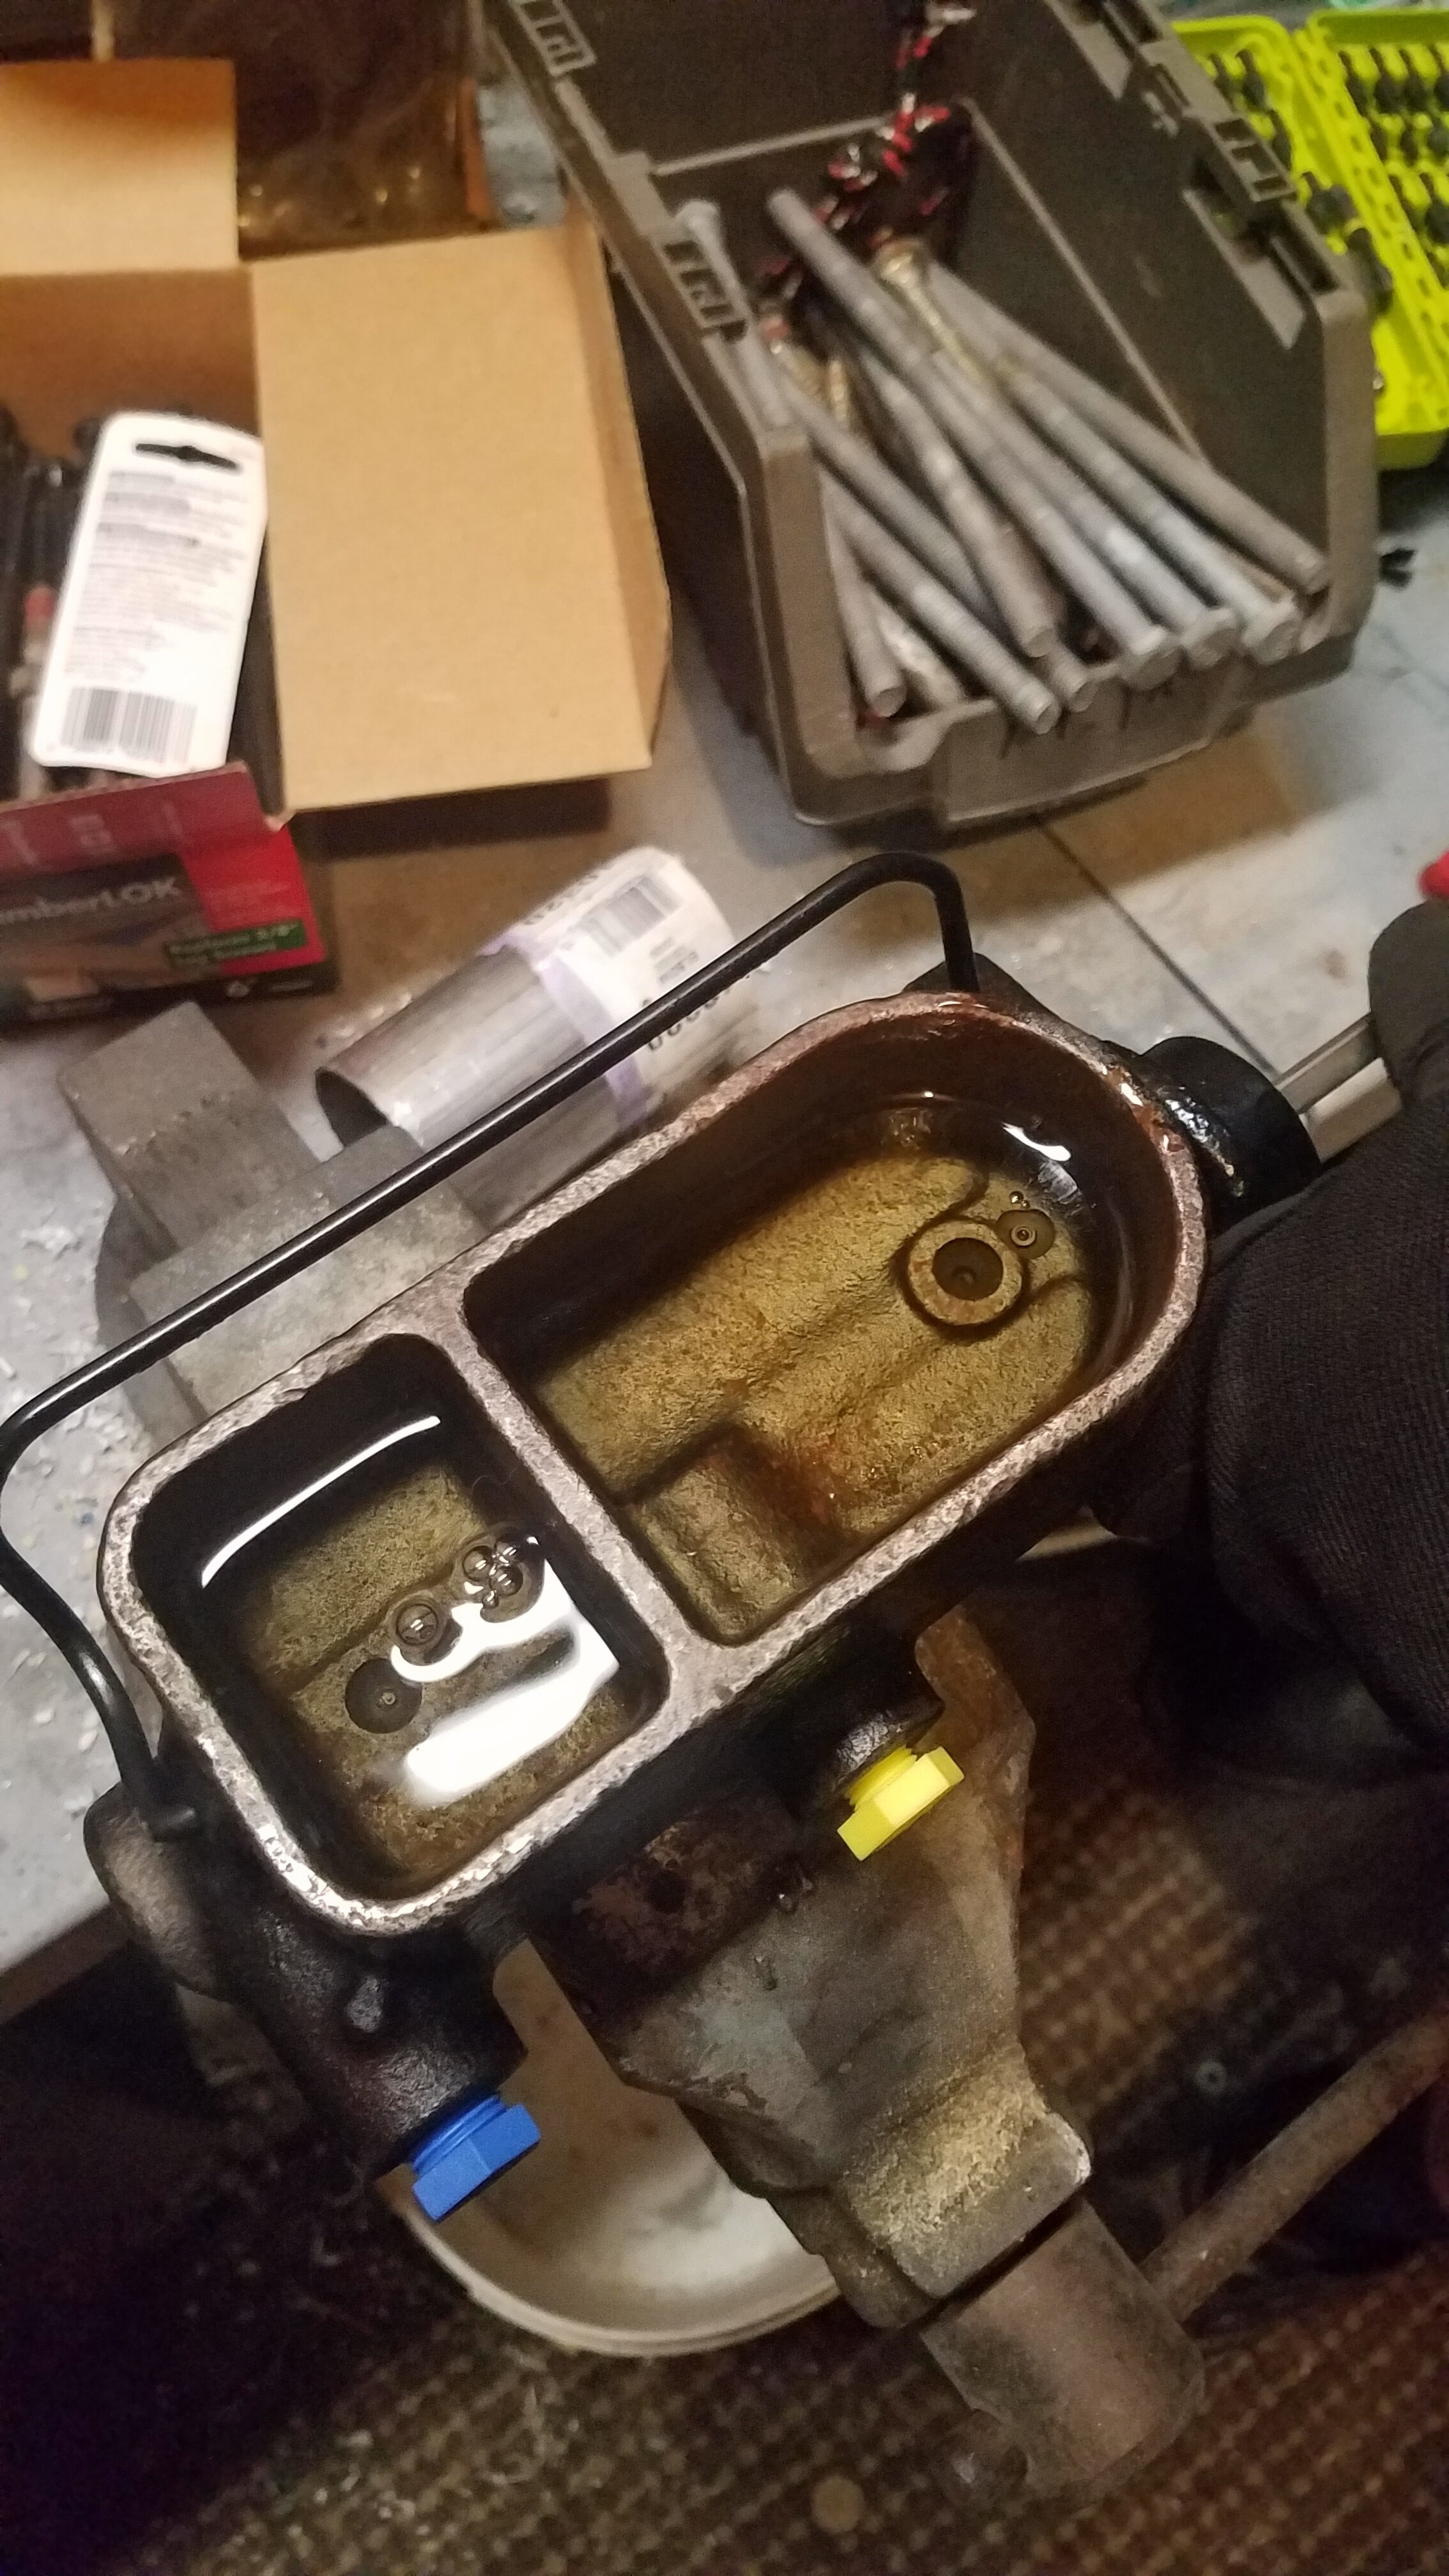
Also, my cousin worked on the master cylinder to help round out the brake project. My brother and I disconnected the gas lines from the tank as well.

I’m happy the way it all turned it out, but glad it’s over and hope I don’t have to repeat it for many many years.

Removal Day 3

I think today I finally learned my lesson. I need to take my to-do list for the day and cut it in HALF. This work is a lot harder and a lot more time consuming than I ever seem to think it is. I have a lot of half finished to-dos. Either because some bolts are too hard to get off and take a lot of elbow grease, (I need to get back to the gym) or we need to research how to take things apart first. Today was supposed to be a remove and replace day, but we got to some of the removal only. 

My brother helped out again today. First, we each took a door, and removed the handles and lock cylinders. We had to take the panels off to reach inside the door to get at some of the bolts and nuts. Then we moved on to tackle the gas tank.

My brother had to drill out some of the bolts on the on the tank that wouldn't budge. My cousin removed the drain plug, and we started to drain the gas out, while tackling some more trim removal and the removal of the tie rods. I was only able to get 1 outer tie rod removed today.

Once the gas seemed drained, we needed to remove the fill pip that attaches to the tank and leads behind the license plate between the the taillights. Removing the bolts were straight forward, but the fill pipe was still sealed to the tank pretty well. My brother was able to remove it, but not without it swiftly coming through the back and knocking him where the sun don't shine. OUCH!

I was safe under the car, tipping the remaining of the gas out, and removing the fuel lines connecting to the tank. Removed the float from inside the tank that indicates when you are low on gas. I'm hoping it works and can be reused in the new tank. 

Check out the picture below showing the 3 different shades of blue this car has been painted. The badge on the inside of the door was a great find though, and indicates the color code, as well the other specs, of the car when purchased.  

Clean Up & Take a Look

So here we are, day 1! Car was all hosed off and wiped down by my 6 year old godson. He's a huge gear head. From what I thought was rust and grossness from the previous pictures, just happened to be caked on WD-40 that my dad has soaked the car in to prevent rusting. Genius! But after the bath, the paint still shines pretty well, thought it will be stripped and redone. 

We did notice some rotting areas in the lower side panels and fender that will be patched later. Also, small areas of the trunk and hood have small rusted holes. It has been noted. 

After taking a look inside, everything seems to be in good shape to keep. So fingers crossed that the interior will not see much work. 

For safety sake, I'll be replacing the entire set of brake lines and hoses. Though it looks like creatures are living in the calipers, my cousin says they are in decent shape and the rotors are also very good. I will be ordering tie rods, brake lines, brake pads, and brake shoes. (This car came standard with front disc brakes and rear drums)

So, brakes is what we will tackle first. This also means replacing the master cylinder. My dad had purchased a new one, so this old one will be replaced. A good thing too, since you can definitely see the goo left behind when we removed it, and some is even in the brake booster connection. 

I learned a lot today about what everything is in the engine bay. Engine, where the oil goes, the transmission fluid, what's a brake booster?, the radiator...so many things. 

I know today was only assessment day, but to feel a little more accomplished, I had to remove the master cylinder, and head to Advanced Auto. Advanced Auto comes highly recommended from dad for service and quality, and their discount program. The only thing in stock at the store today was a new engine filter, and some Mechanix Gloves. I felt much better with progress after I installed the new filter. Doesn't it look great?! 

Also, the Mechanix Gloves were a must have! A lot of close spaces in there,  and I was already getting scrapes and cuts on my hands. (My hands are my money makers!) I did avoid the bright pink ones at Advanced Auto, so as to be taken seriously. Even though, as I ordered parts, I was asked twice, "are you sure?". 

Overall, an exciting day, and looking forward to getting started!