Removal Day 2

I was able to find a video on West Coast Classic Cougars that demonstrated how to find the practically hidden bolts that holds together to 2 pieces of the grille housing. It took a little while for me to find a wrench that fit, but I finally was able to take the left side off. VICTORY! The right one came off much pretty quickly.

The hideaway lights are run on vacuum hoses and a canister. My dad let me know that there is likely a leak or a problem with them, so my cousin also wanted me to remove that. The canister was locate behind the driver's side fender. Besides some rust falling in my eyes, (I know, I know. Always wear safety goggles...) it was pretty easy to remove. 

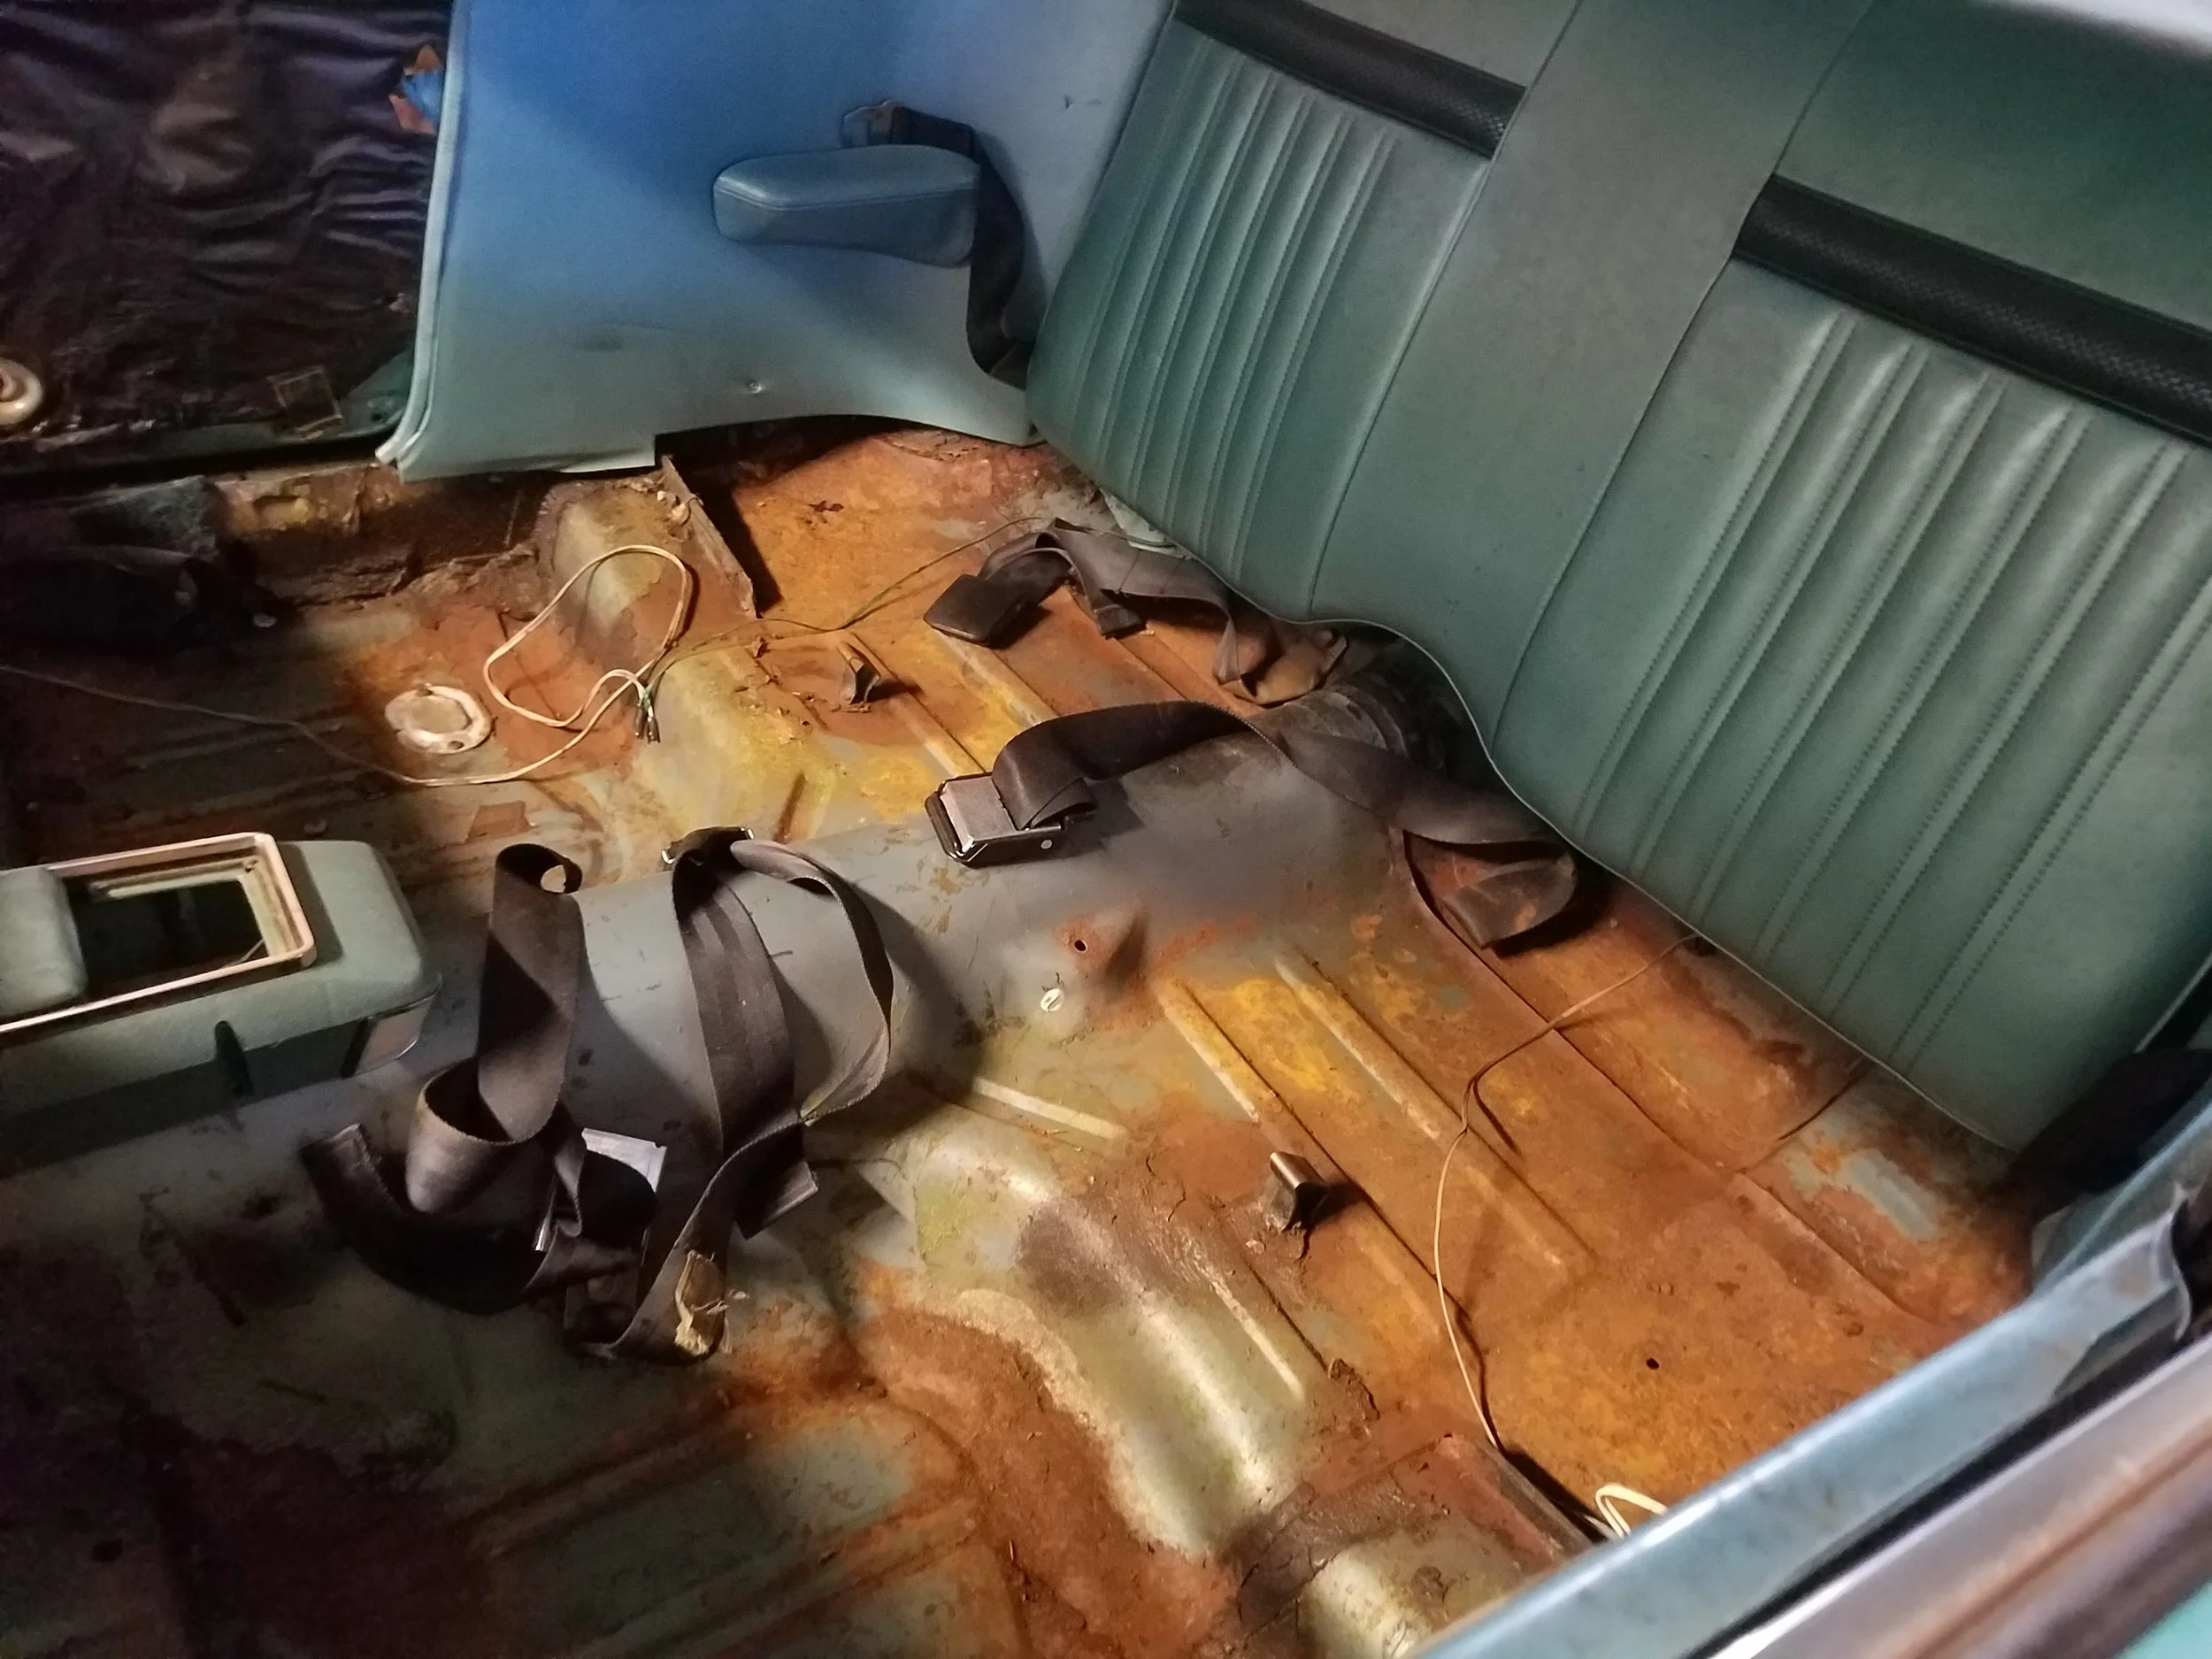
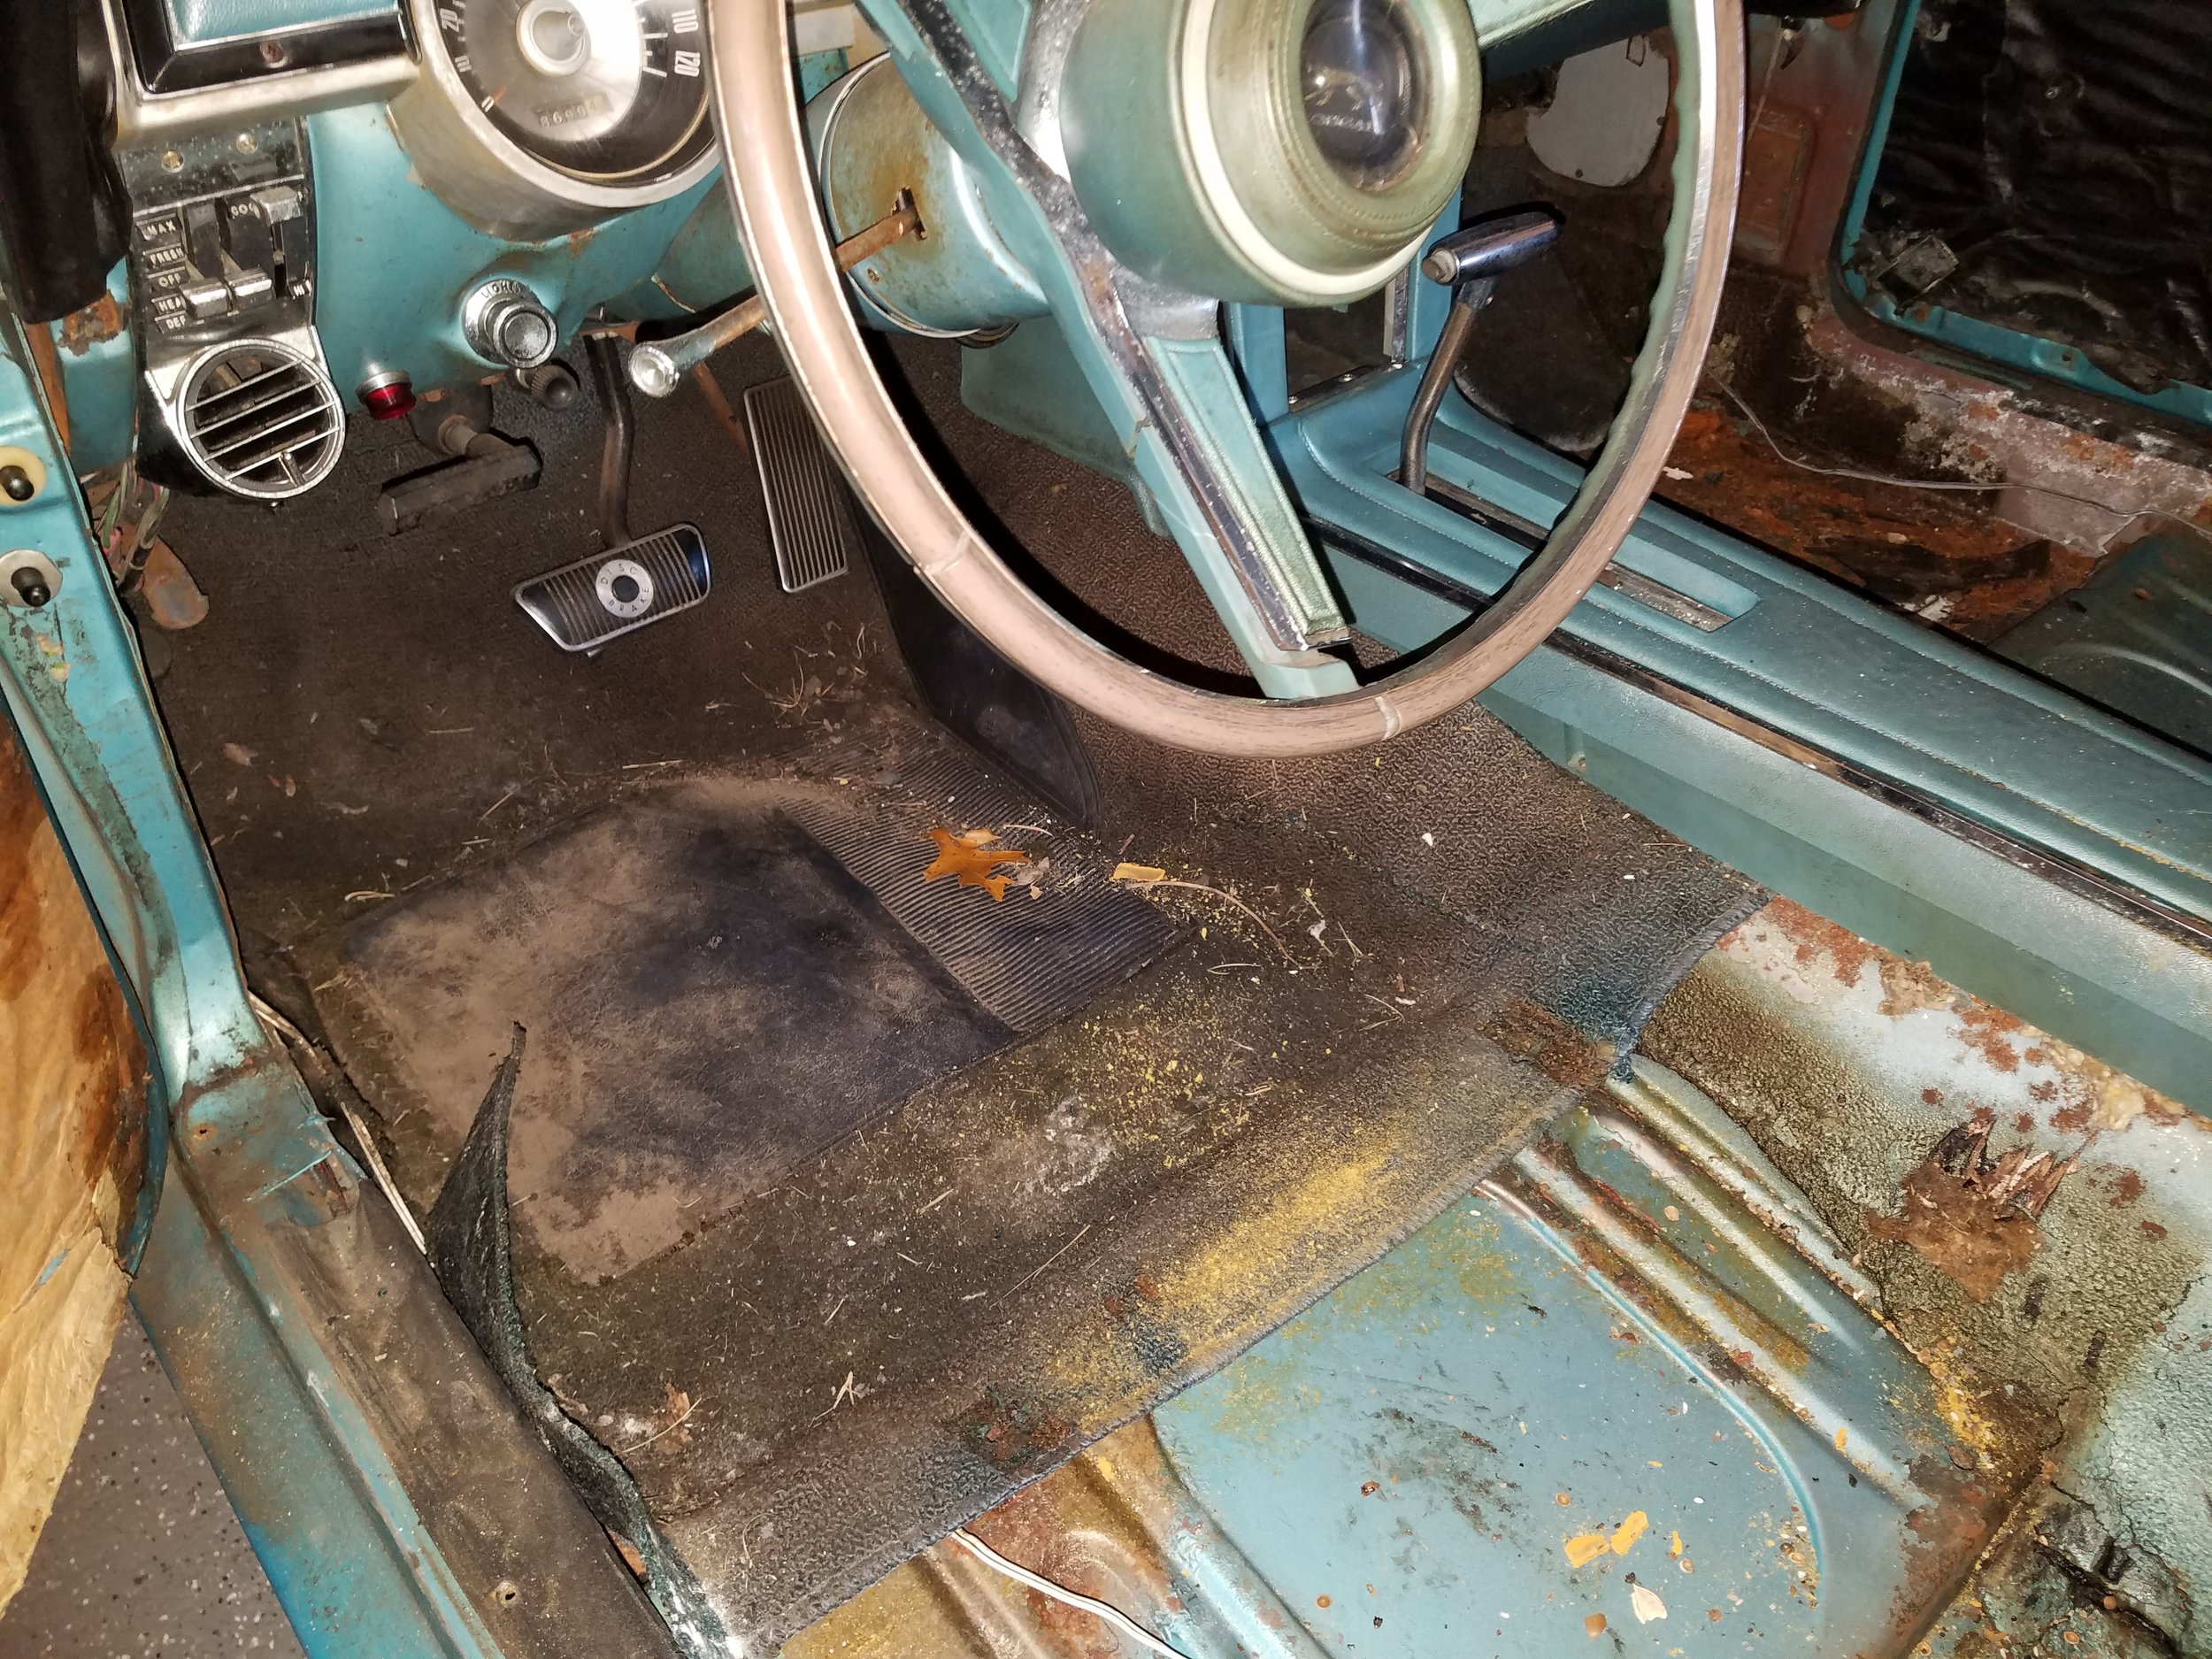
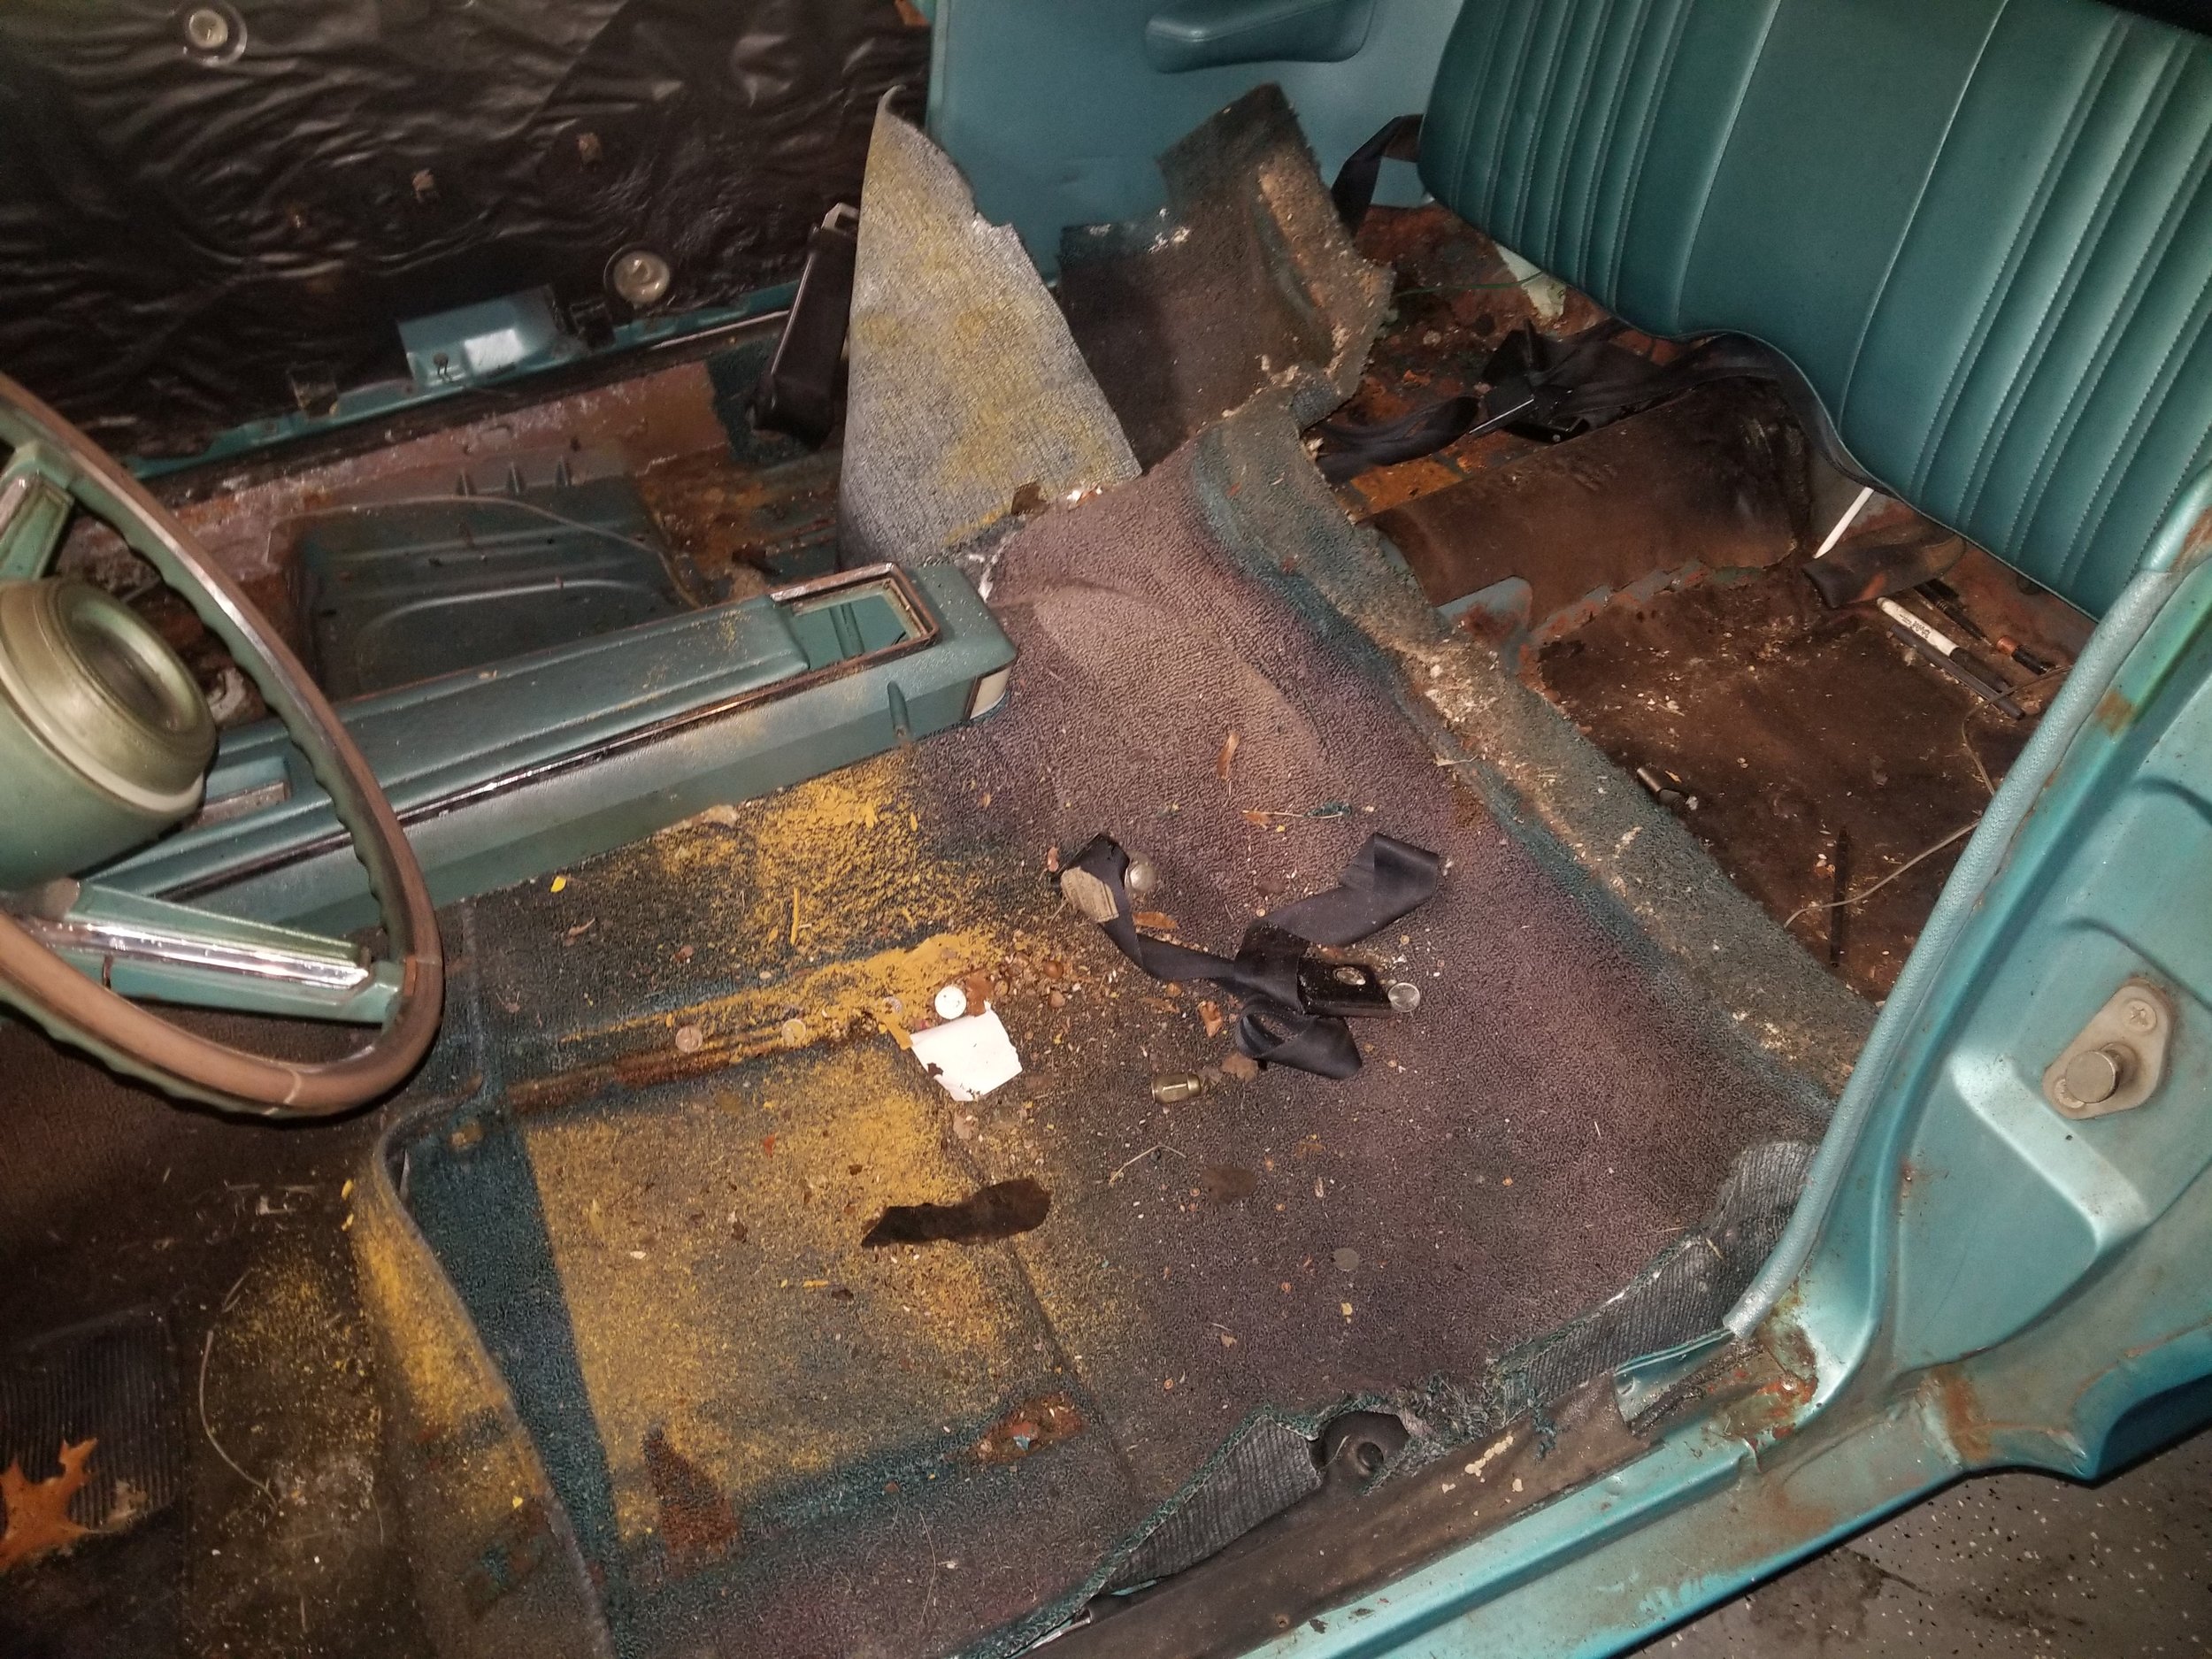
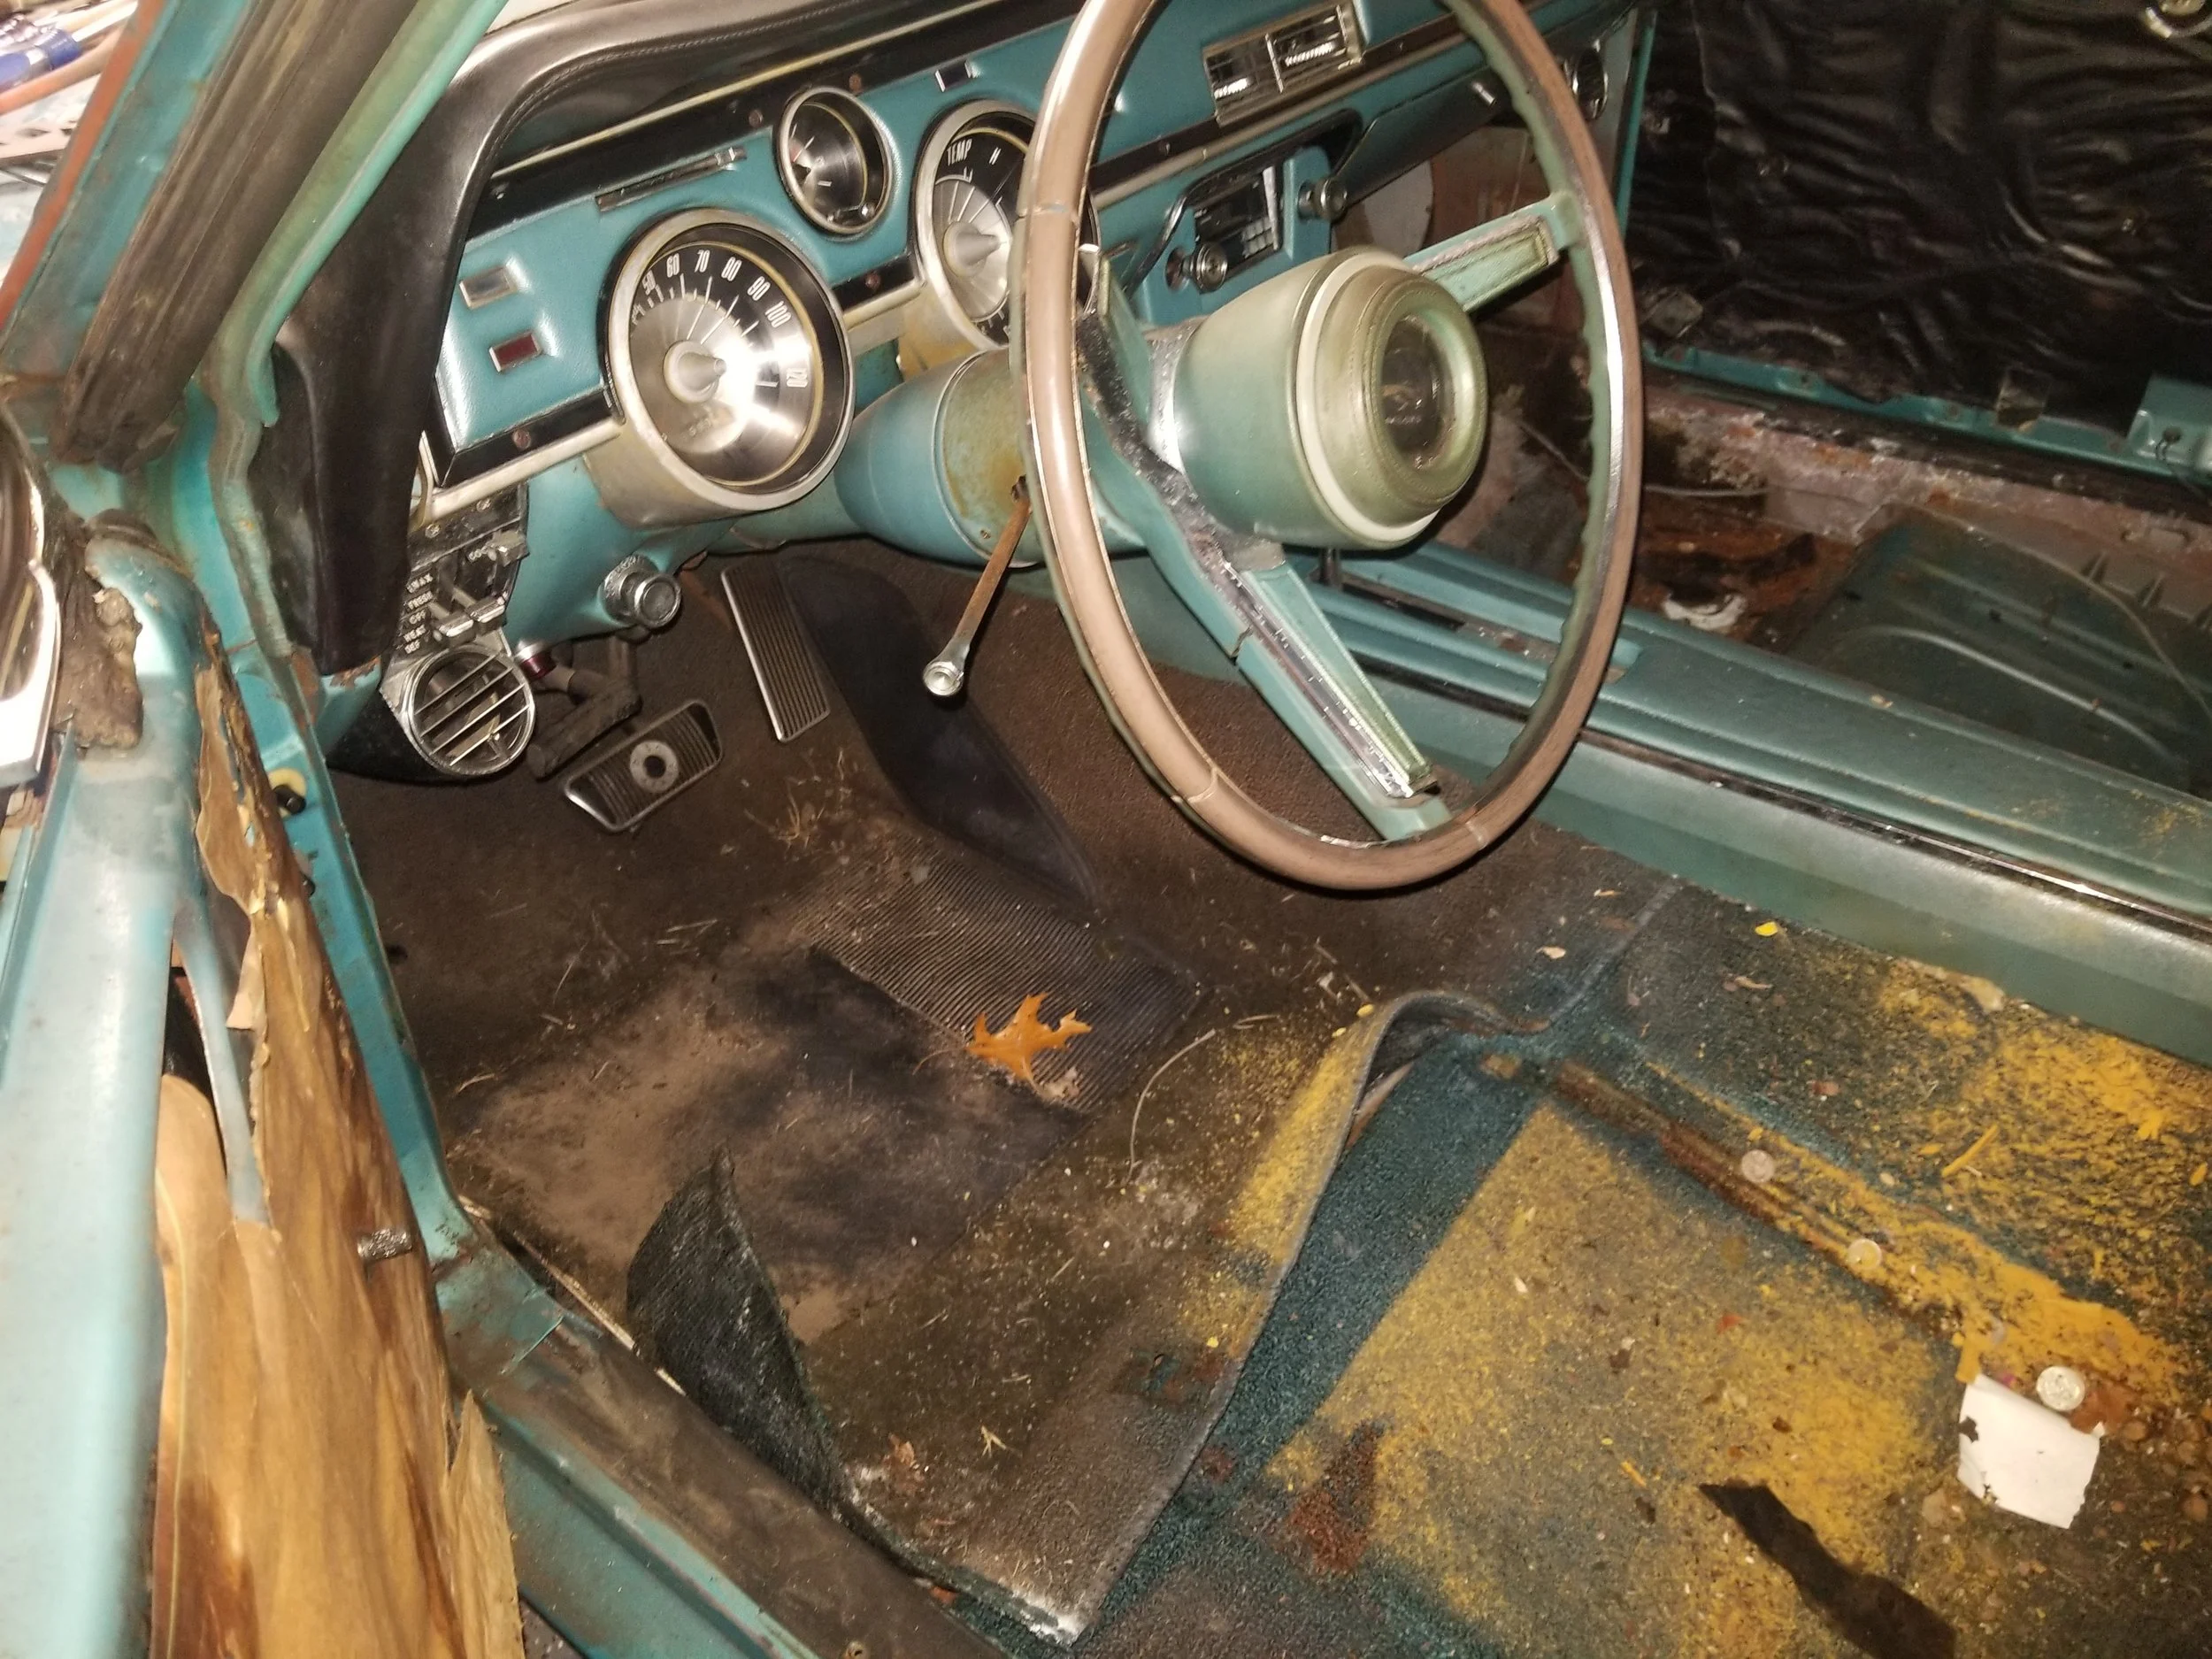
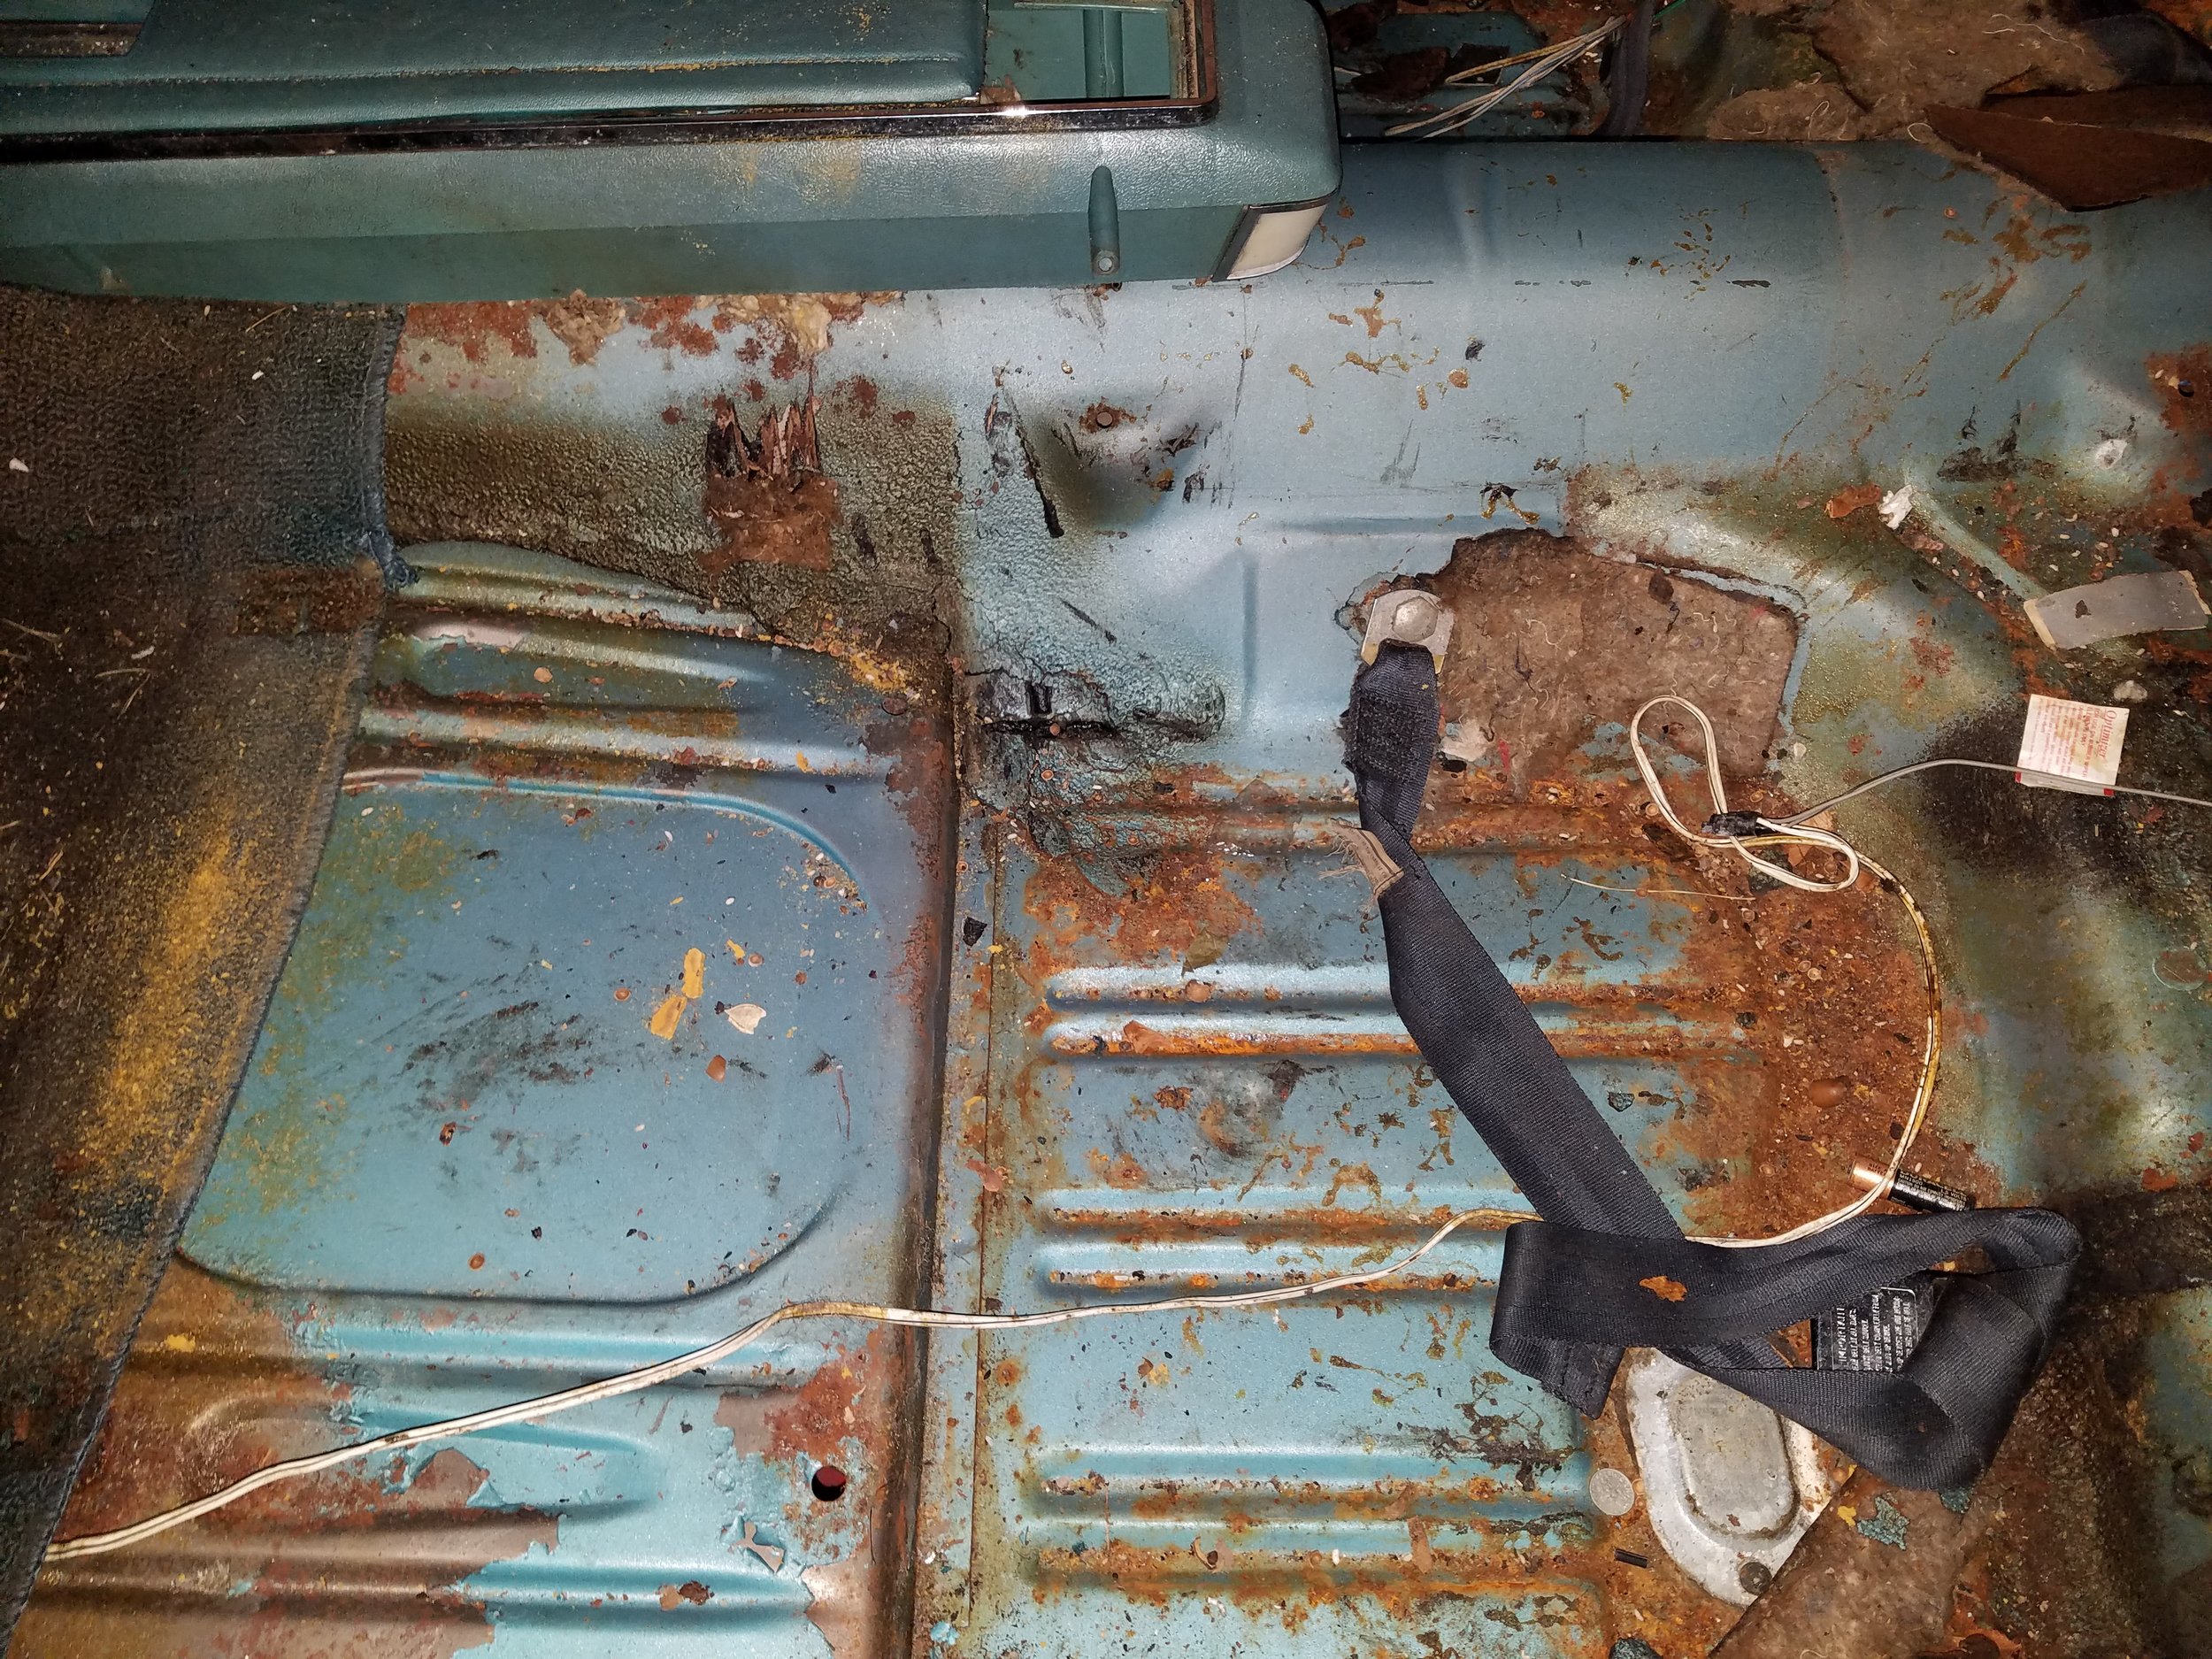
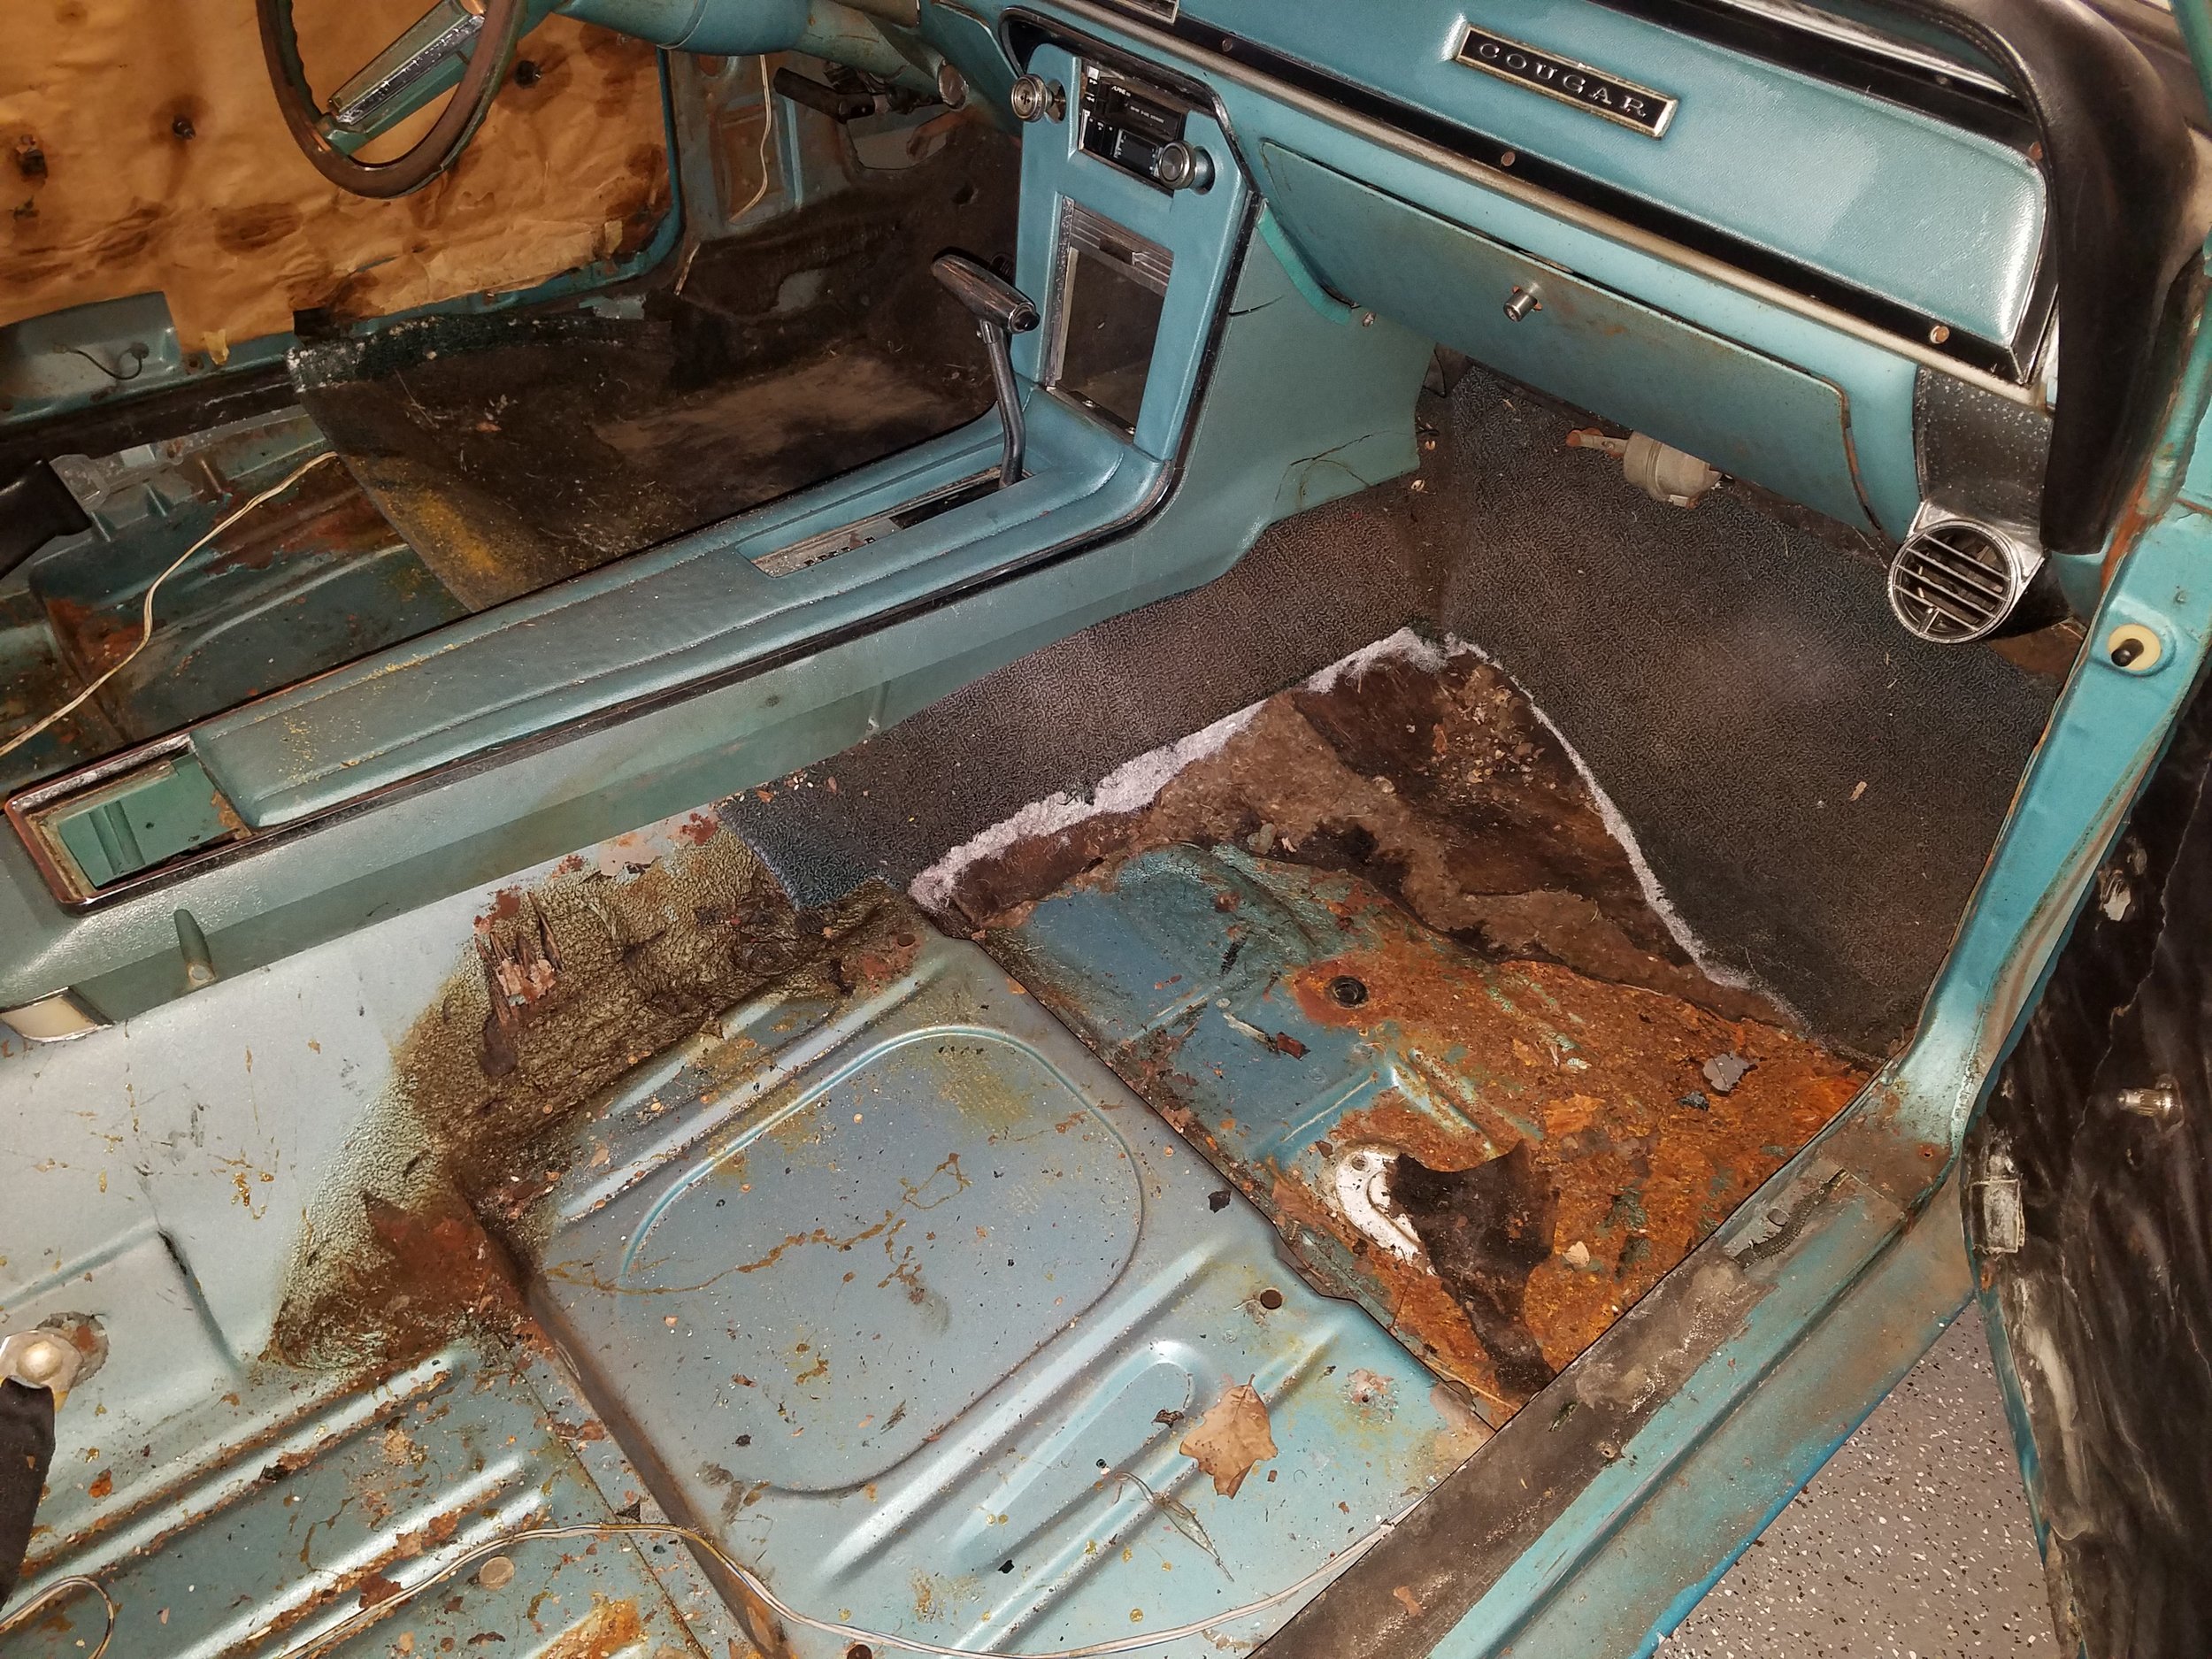
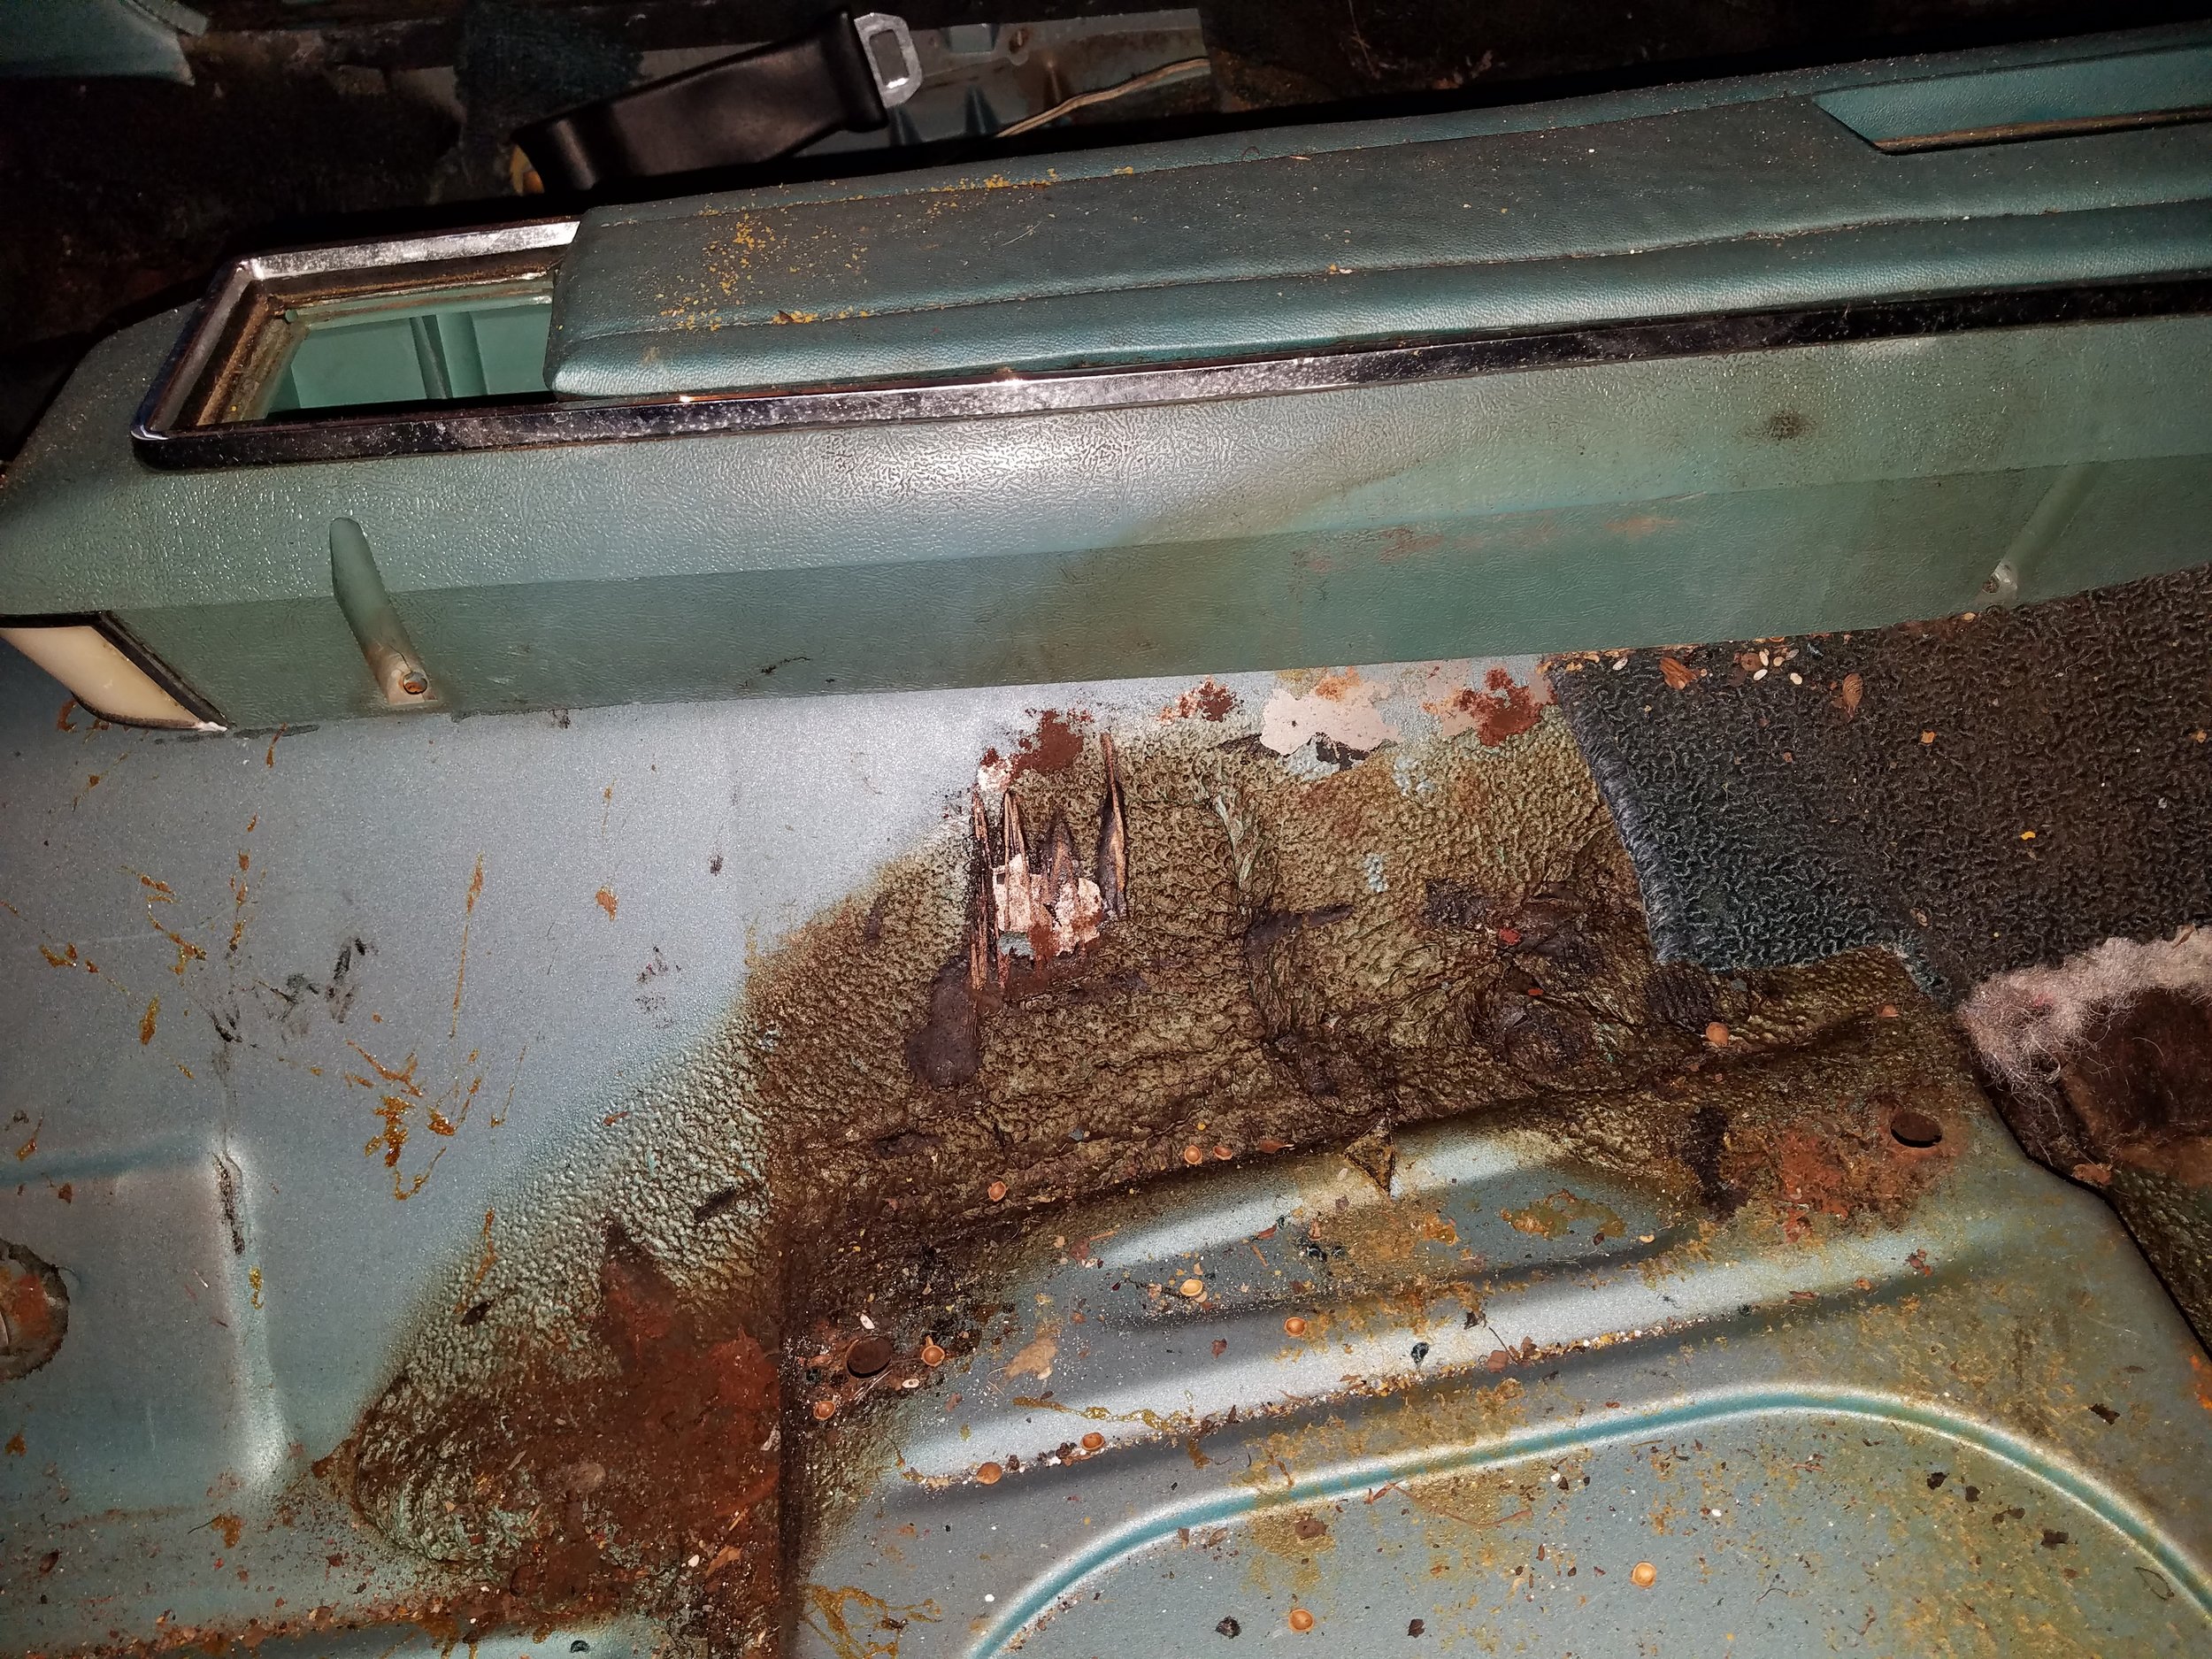
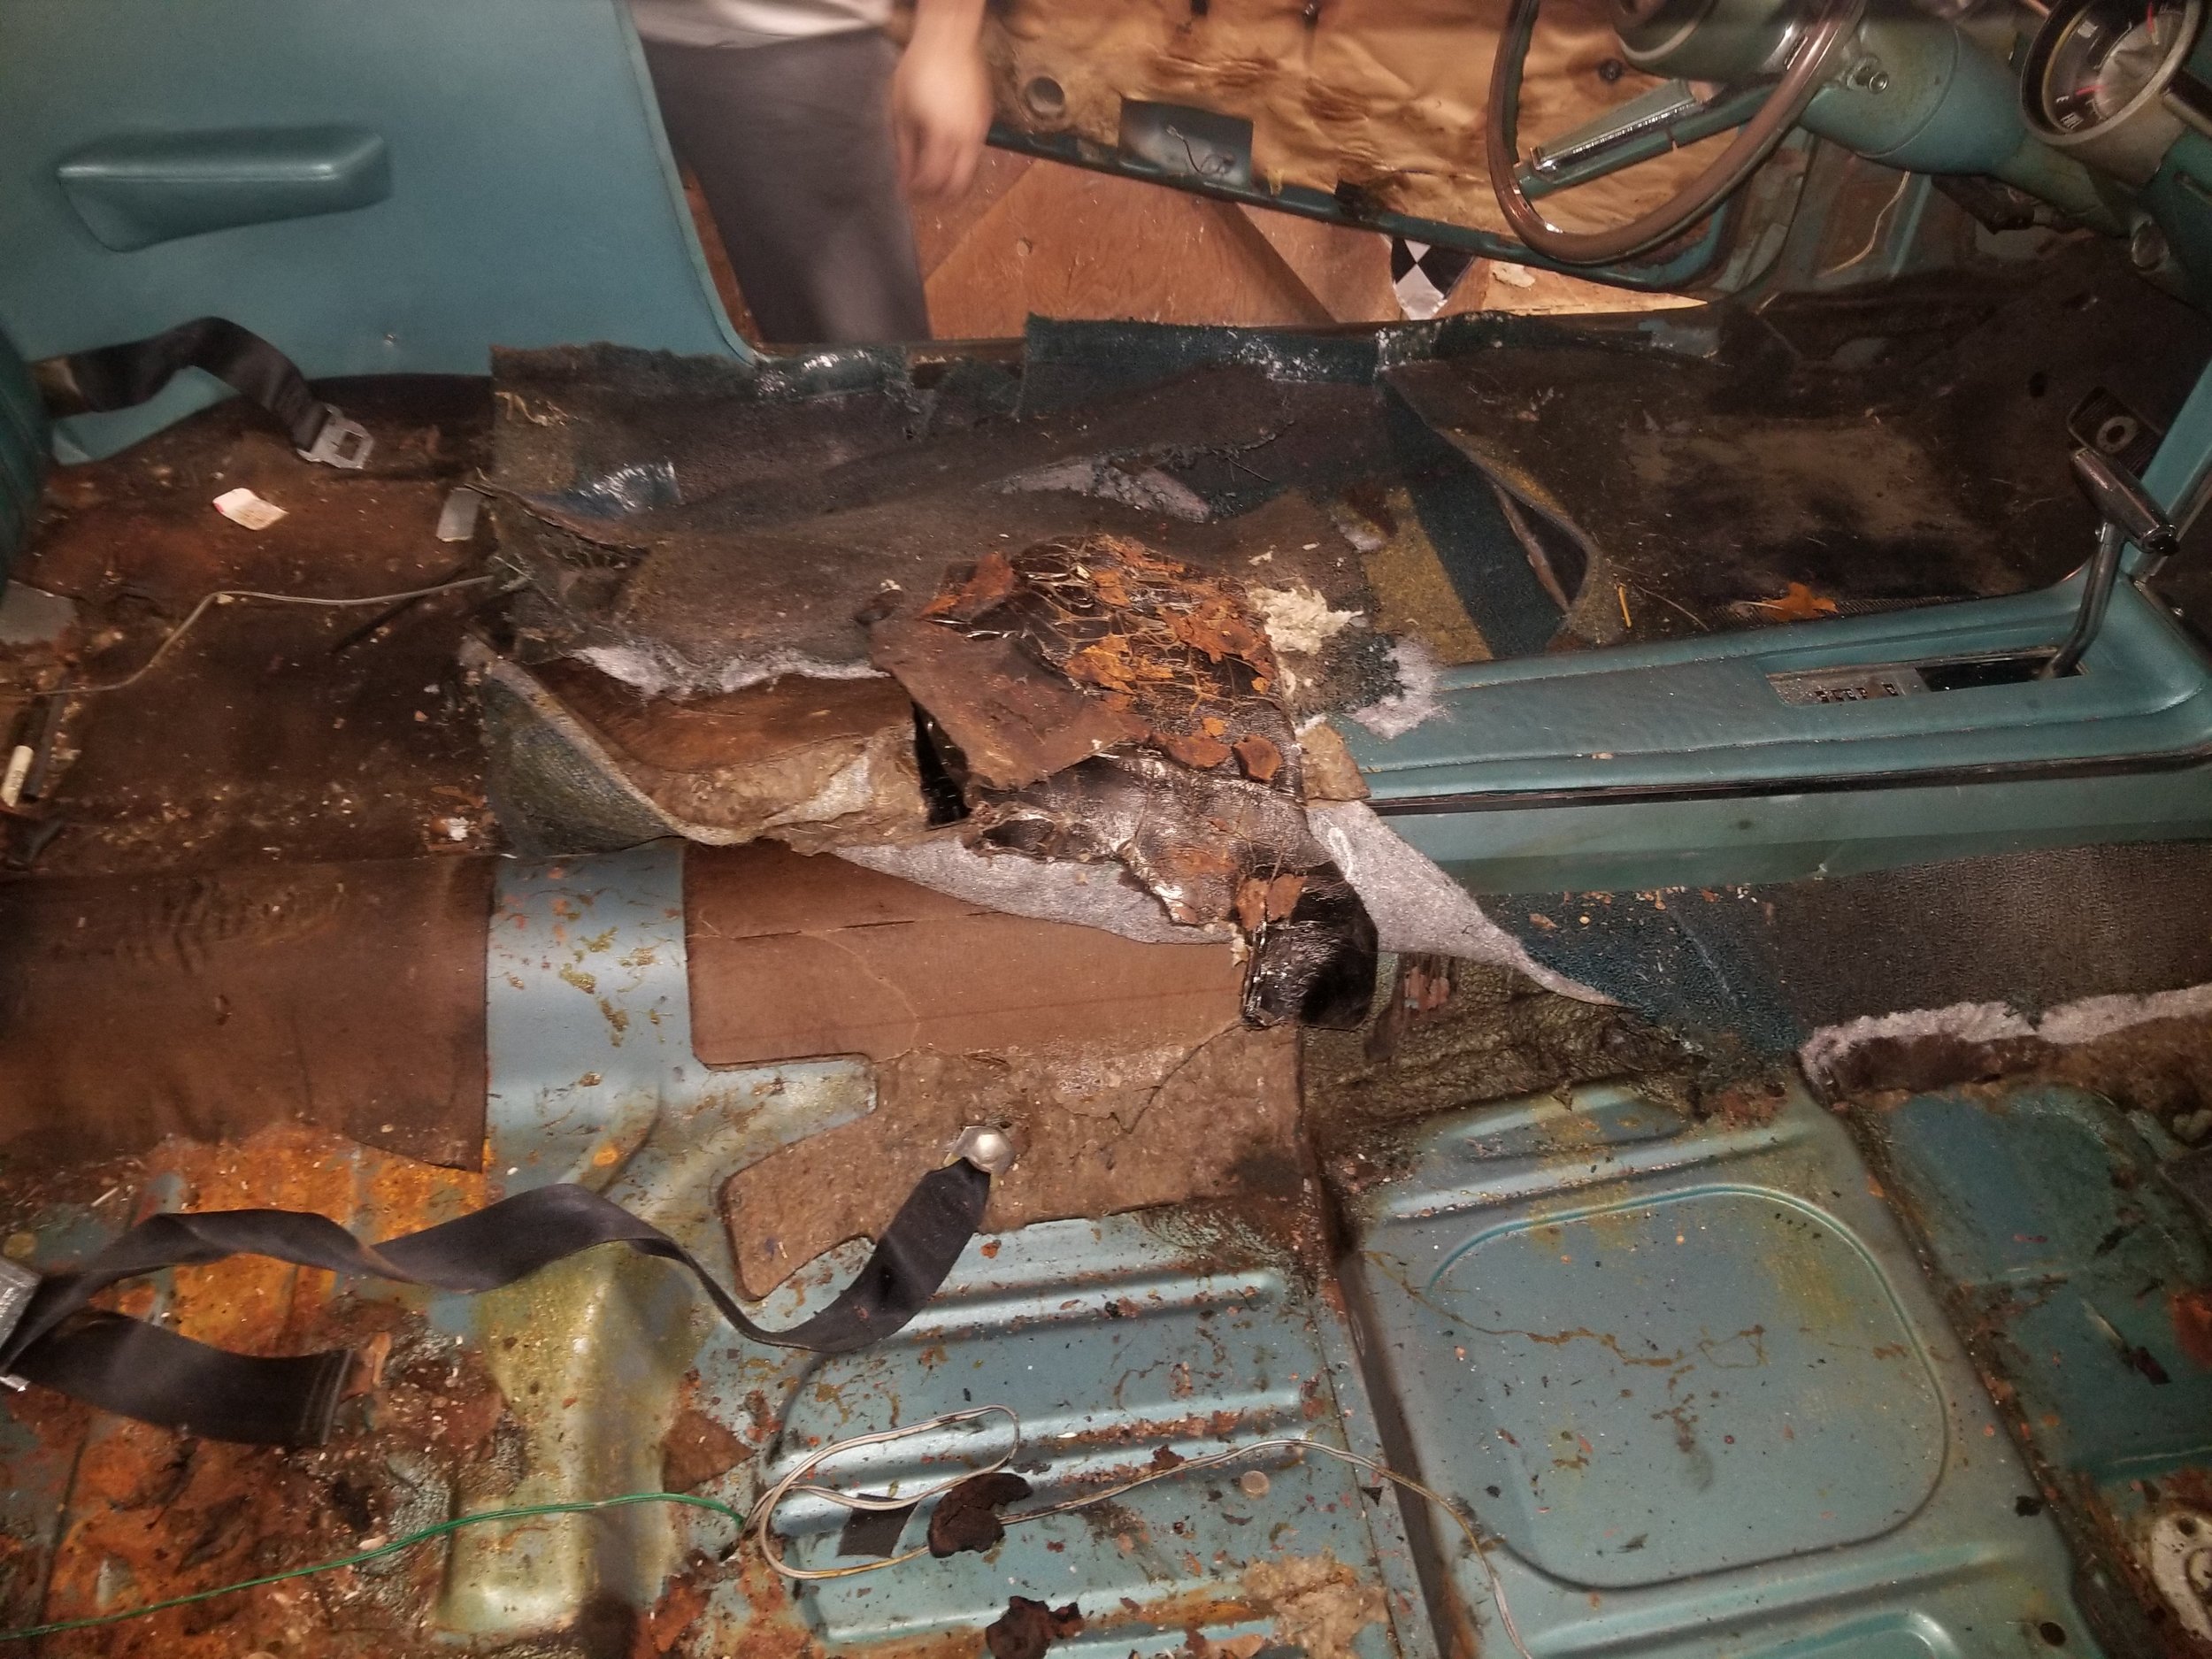
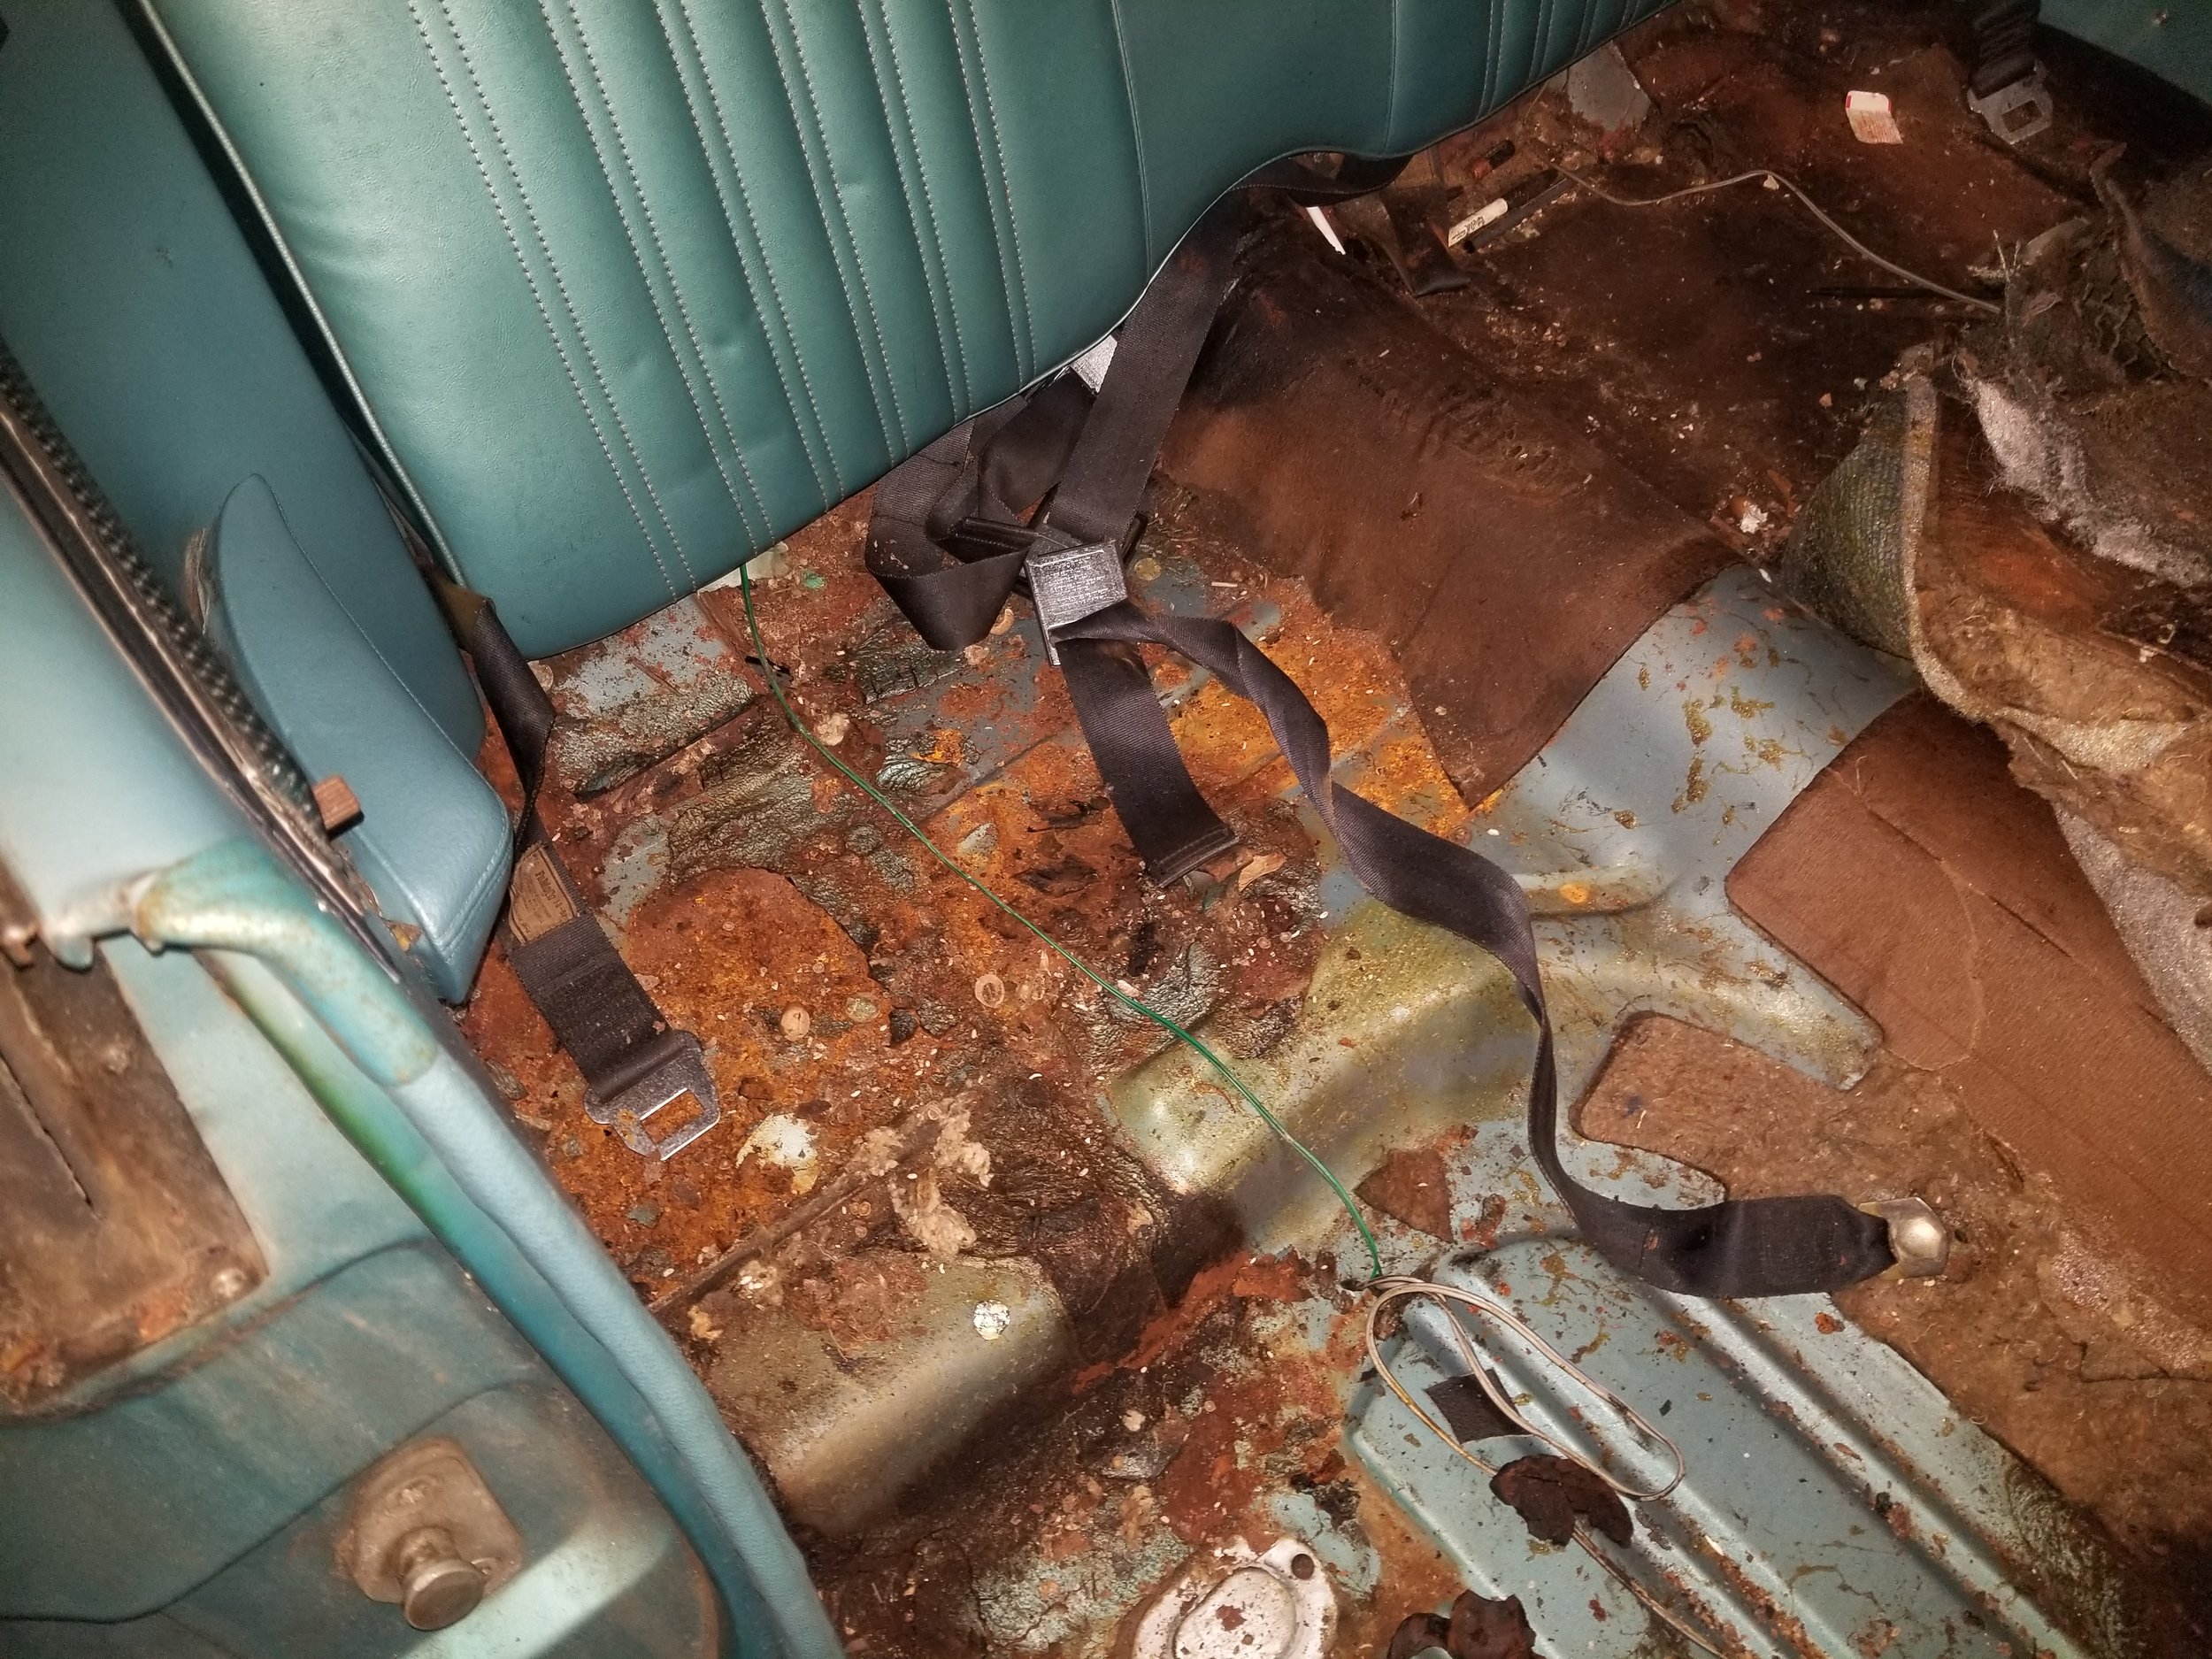
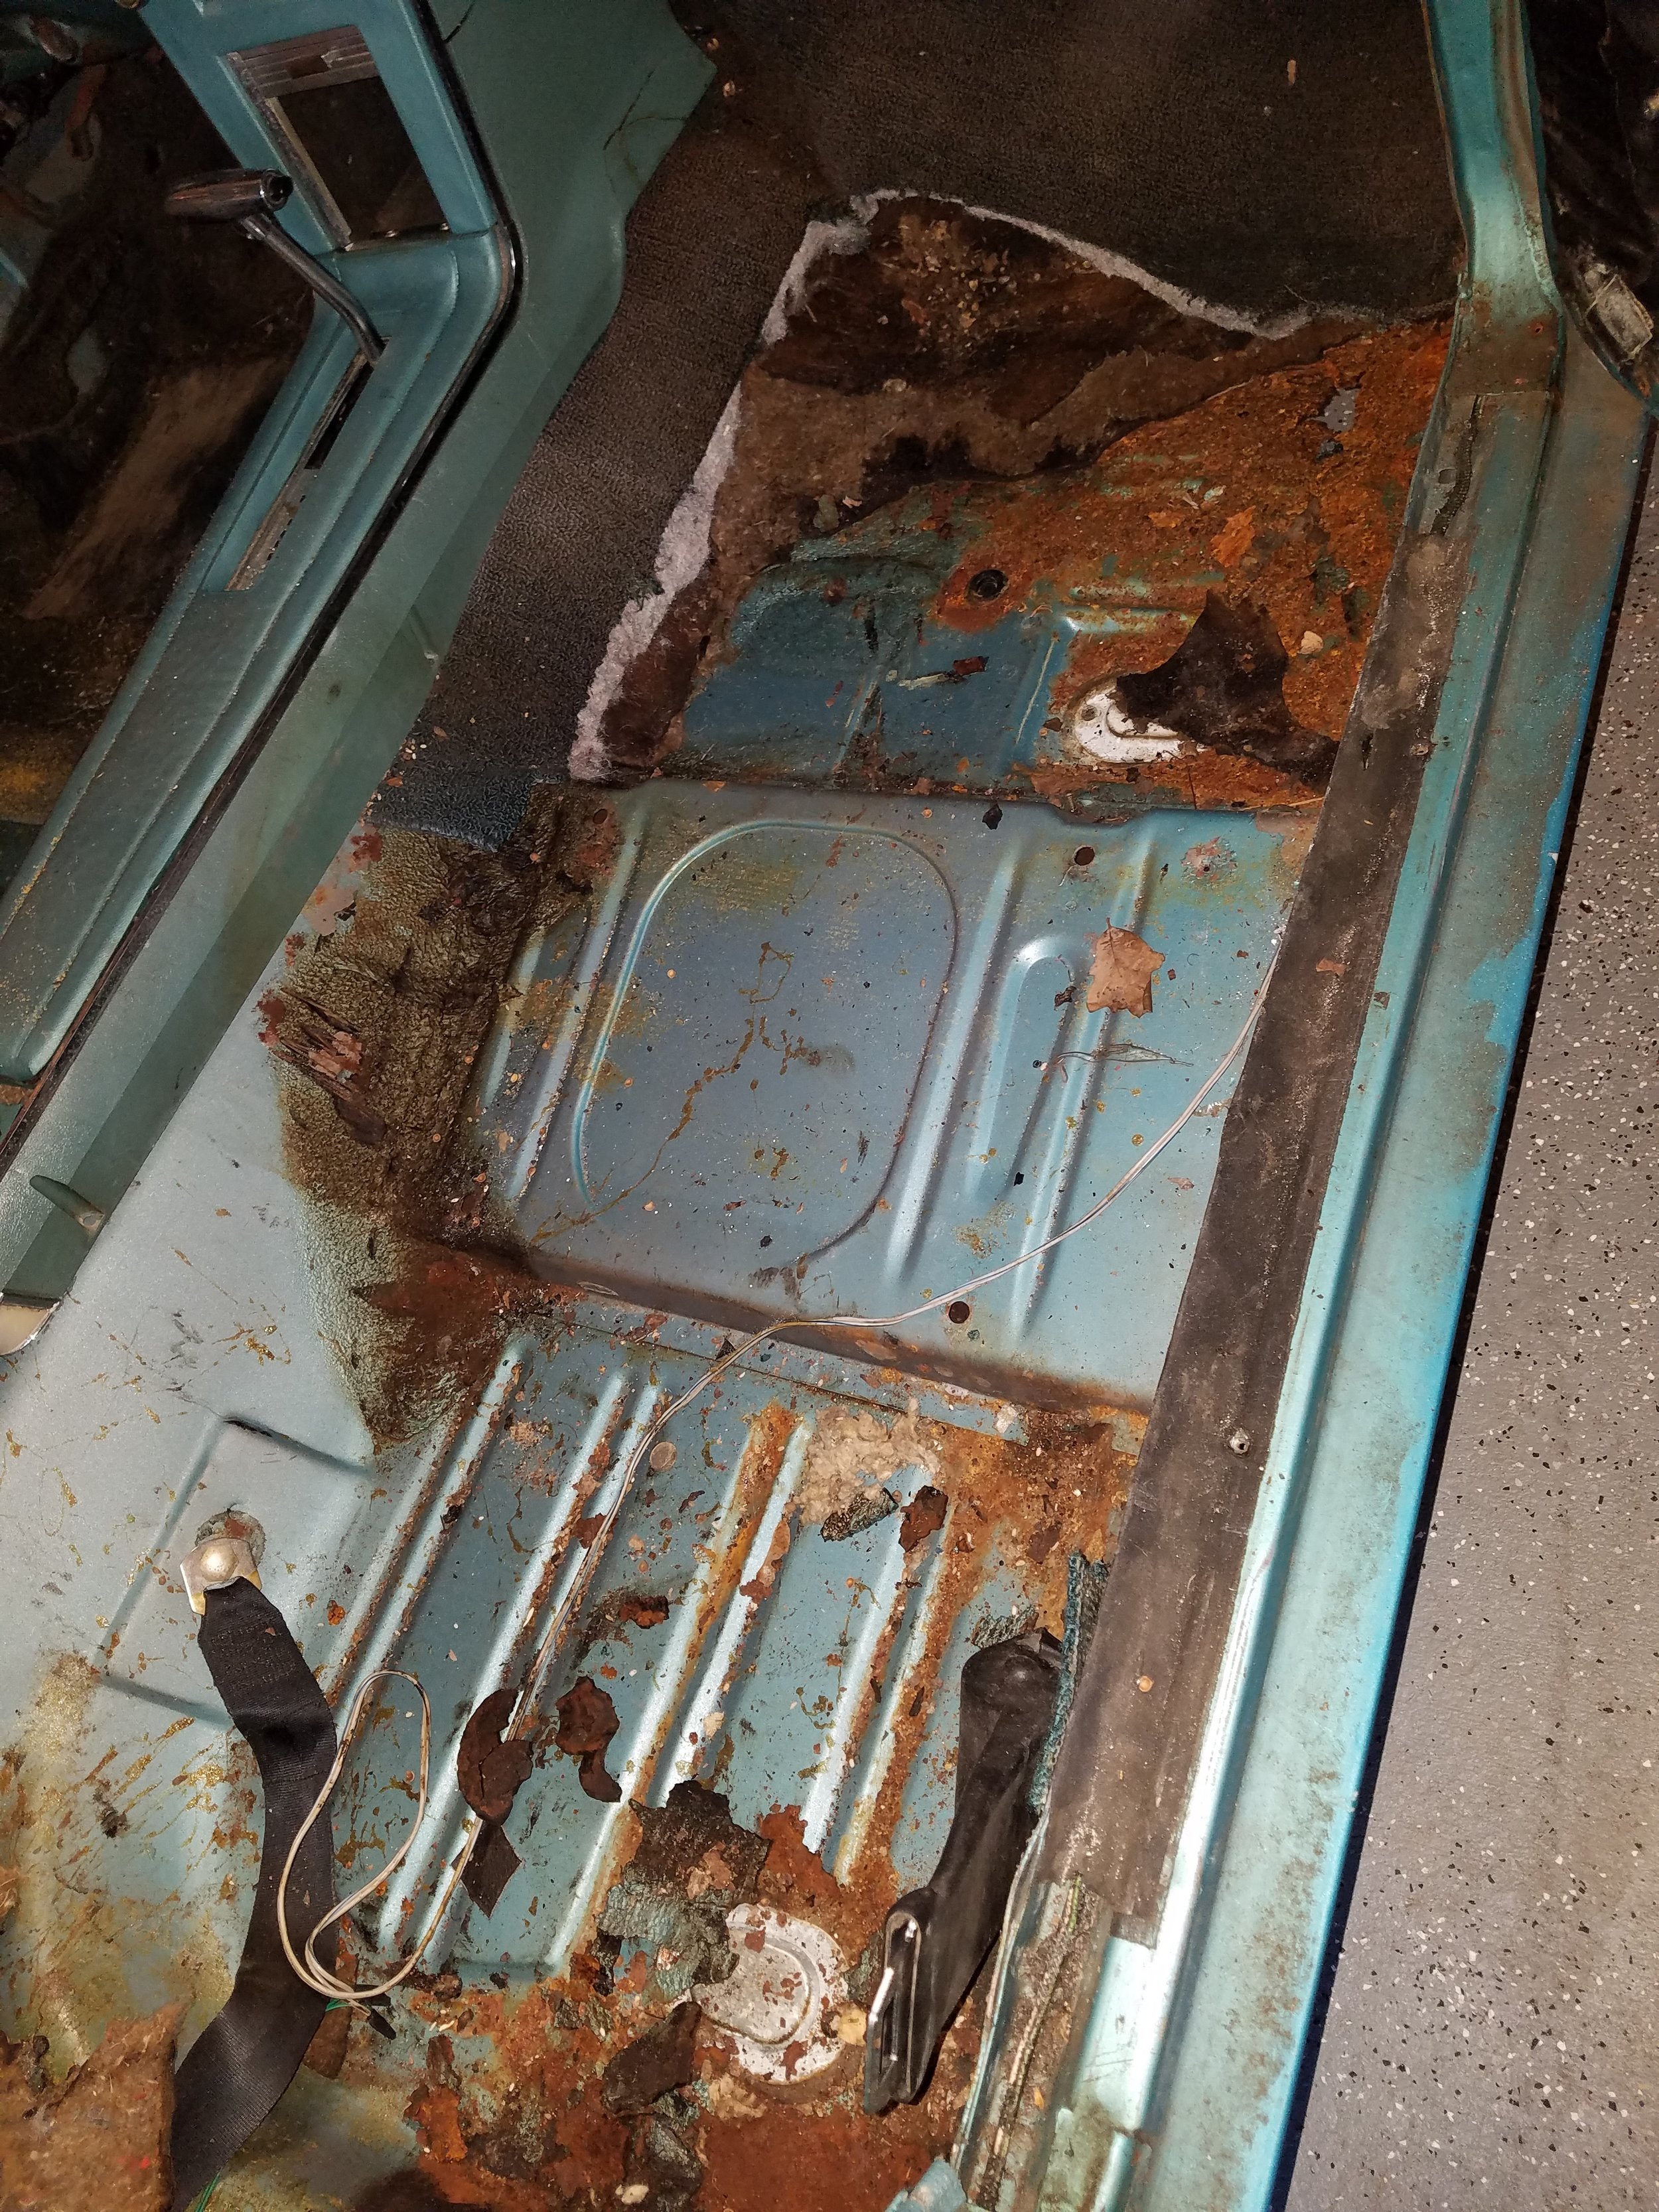
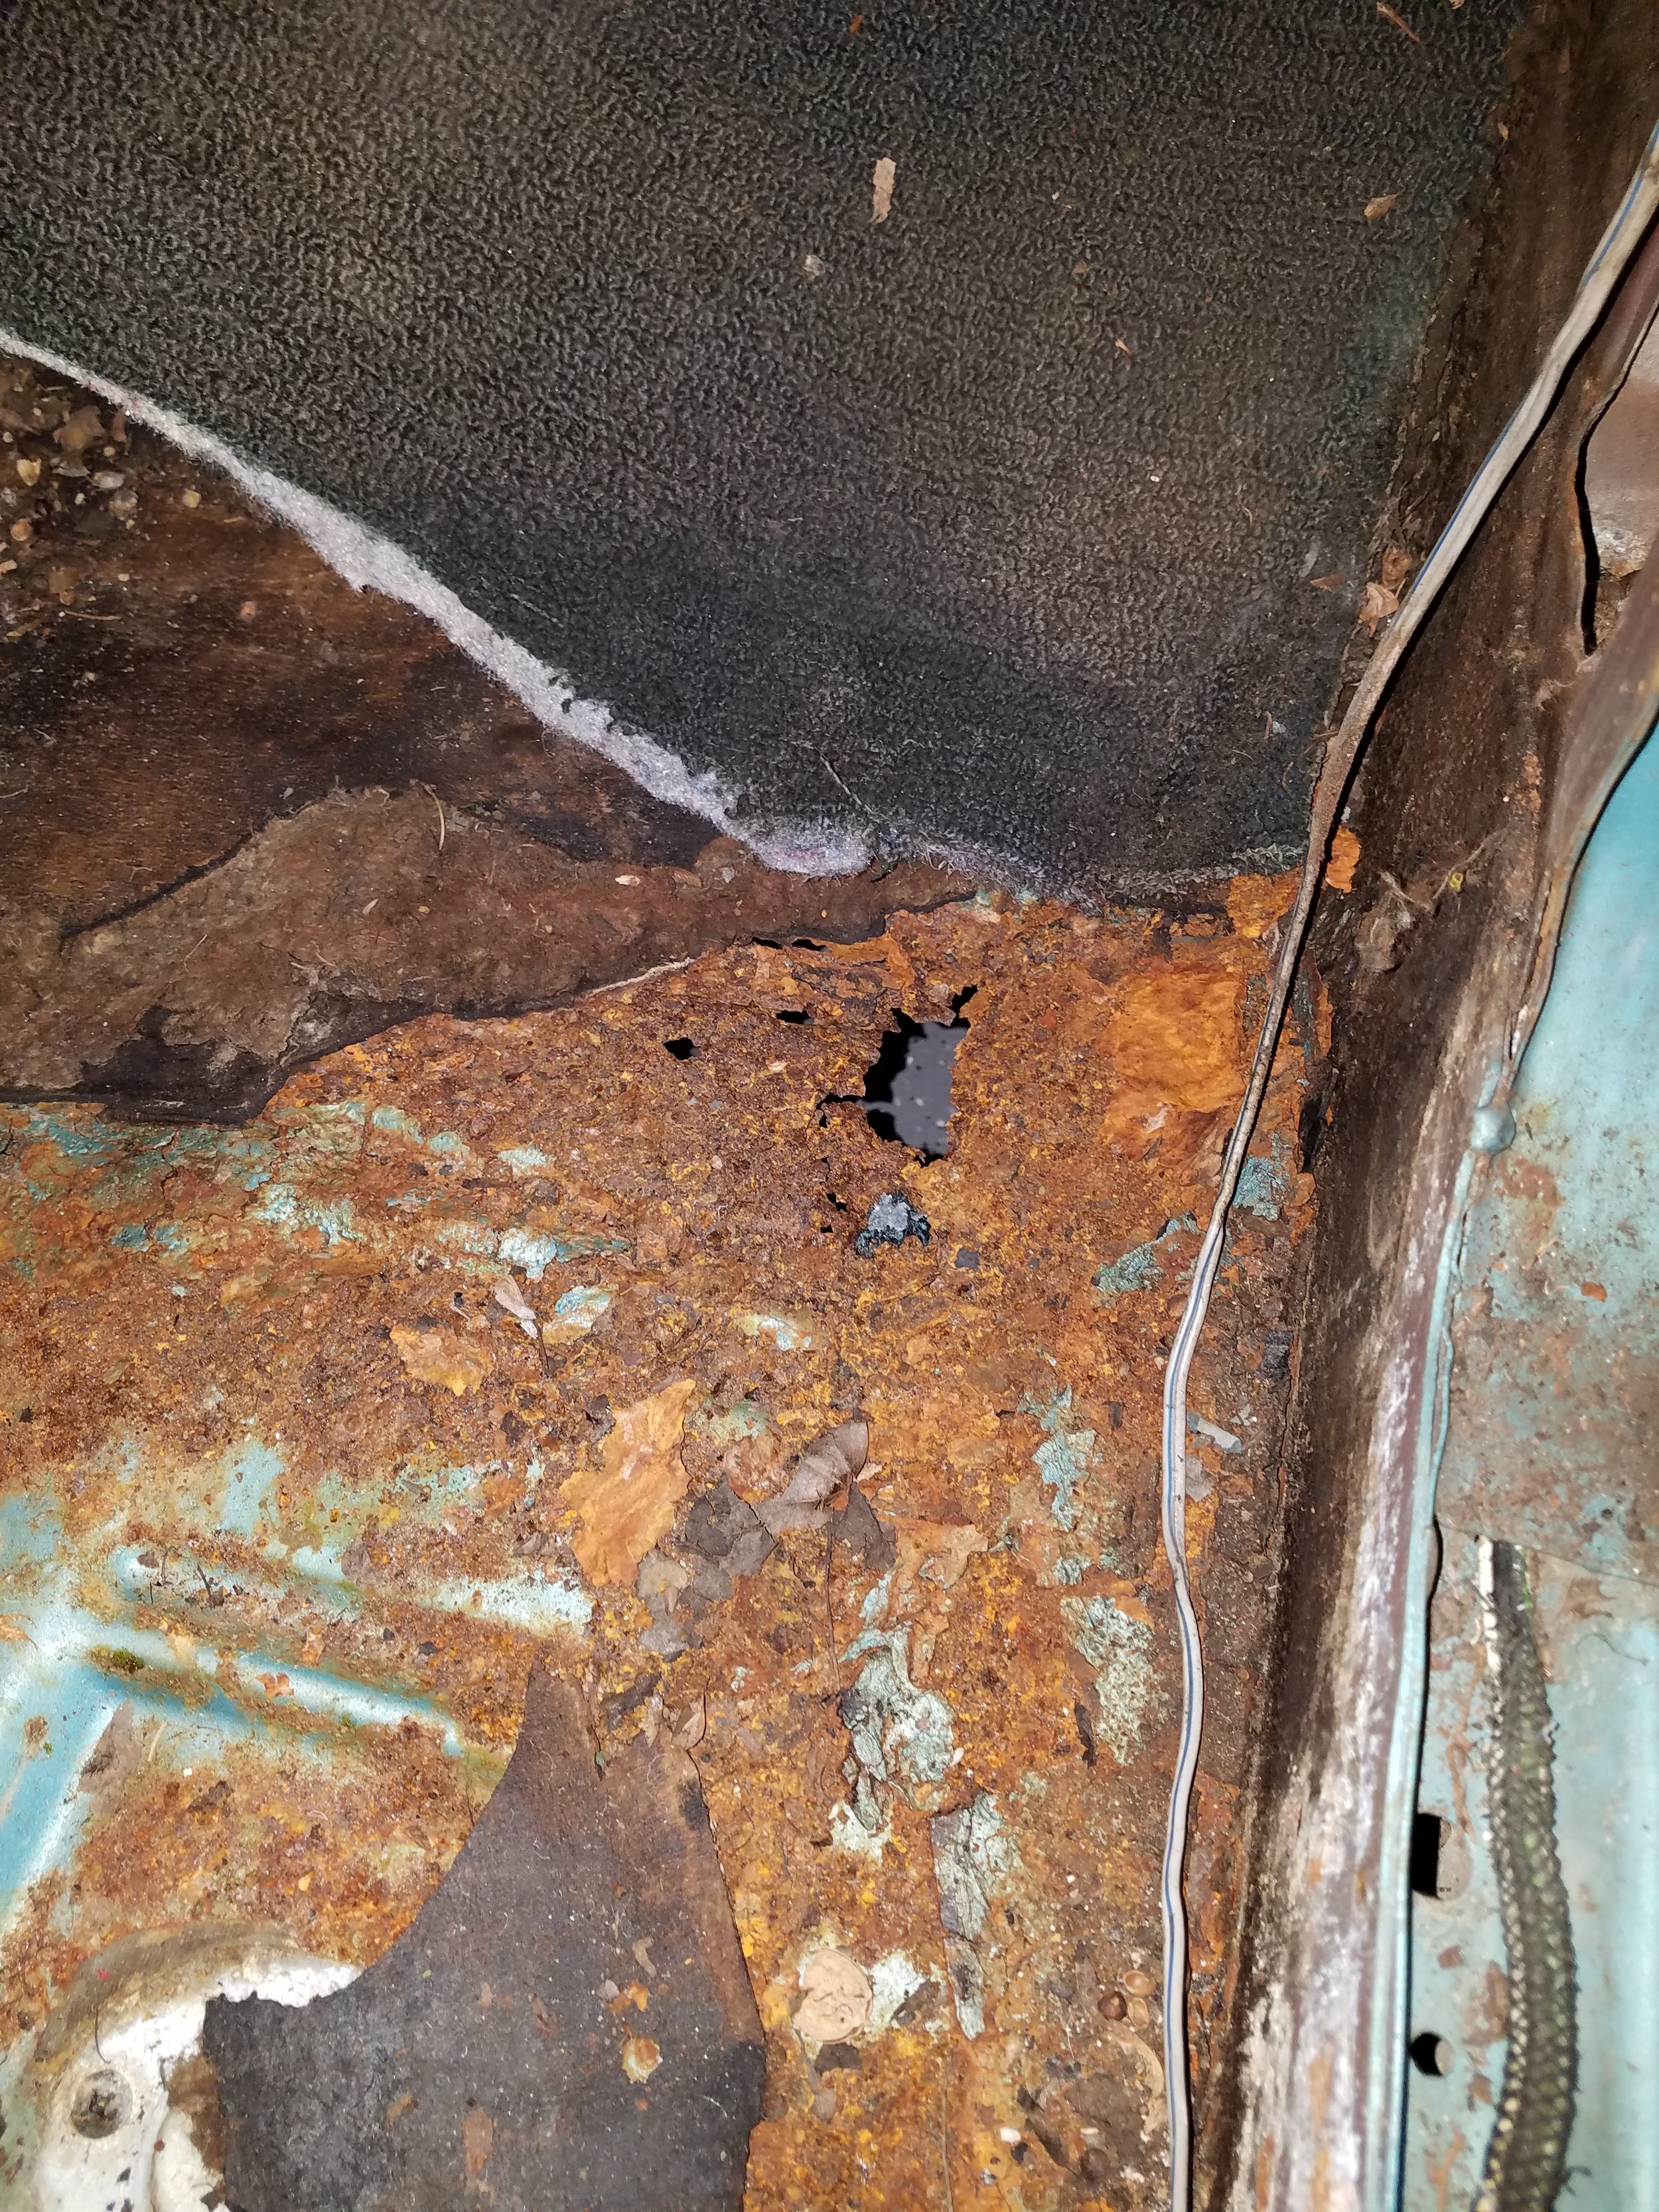
I spent the majority of my day removing the rest of the carpet and liner, and cleaning out all the rust to get the floor pans as clean as possible. I found about a dollar in change, but no gold. It smelled terrible in there! Probably could have used a mask. The soggy cardboard like floor liner definitely did a number on floor pan and there are some parts that I can see right through. Floor pans aren't that expensive though for this car, so we'll patch and replace where necessary.

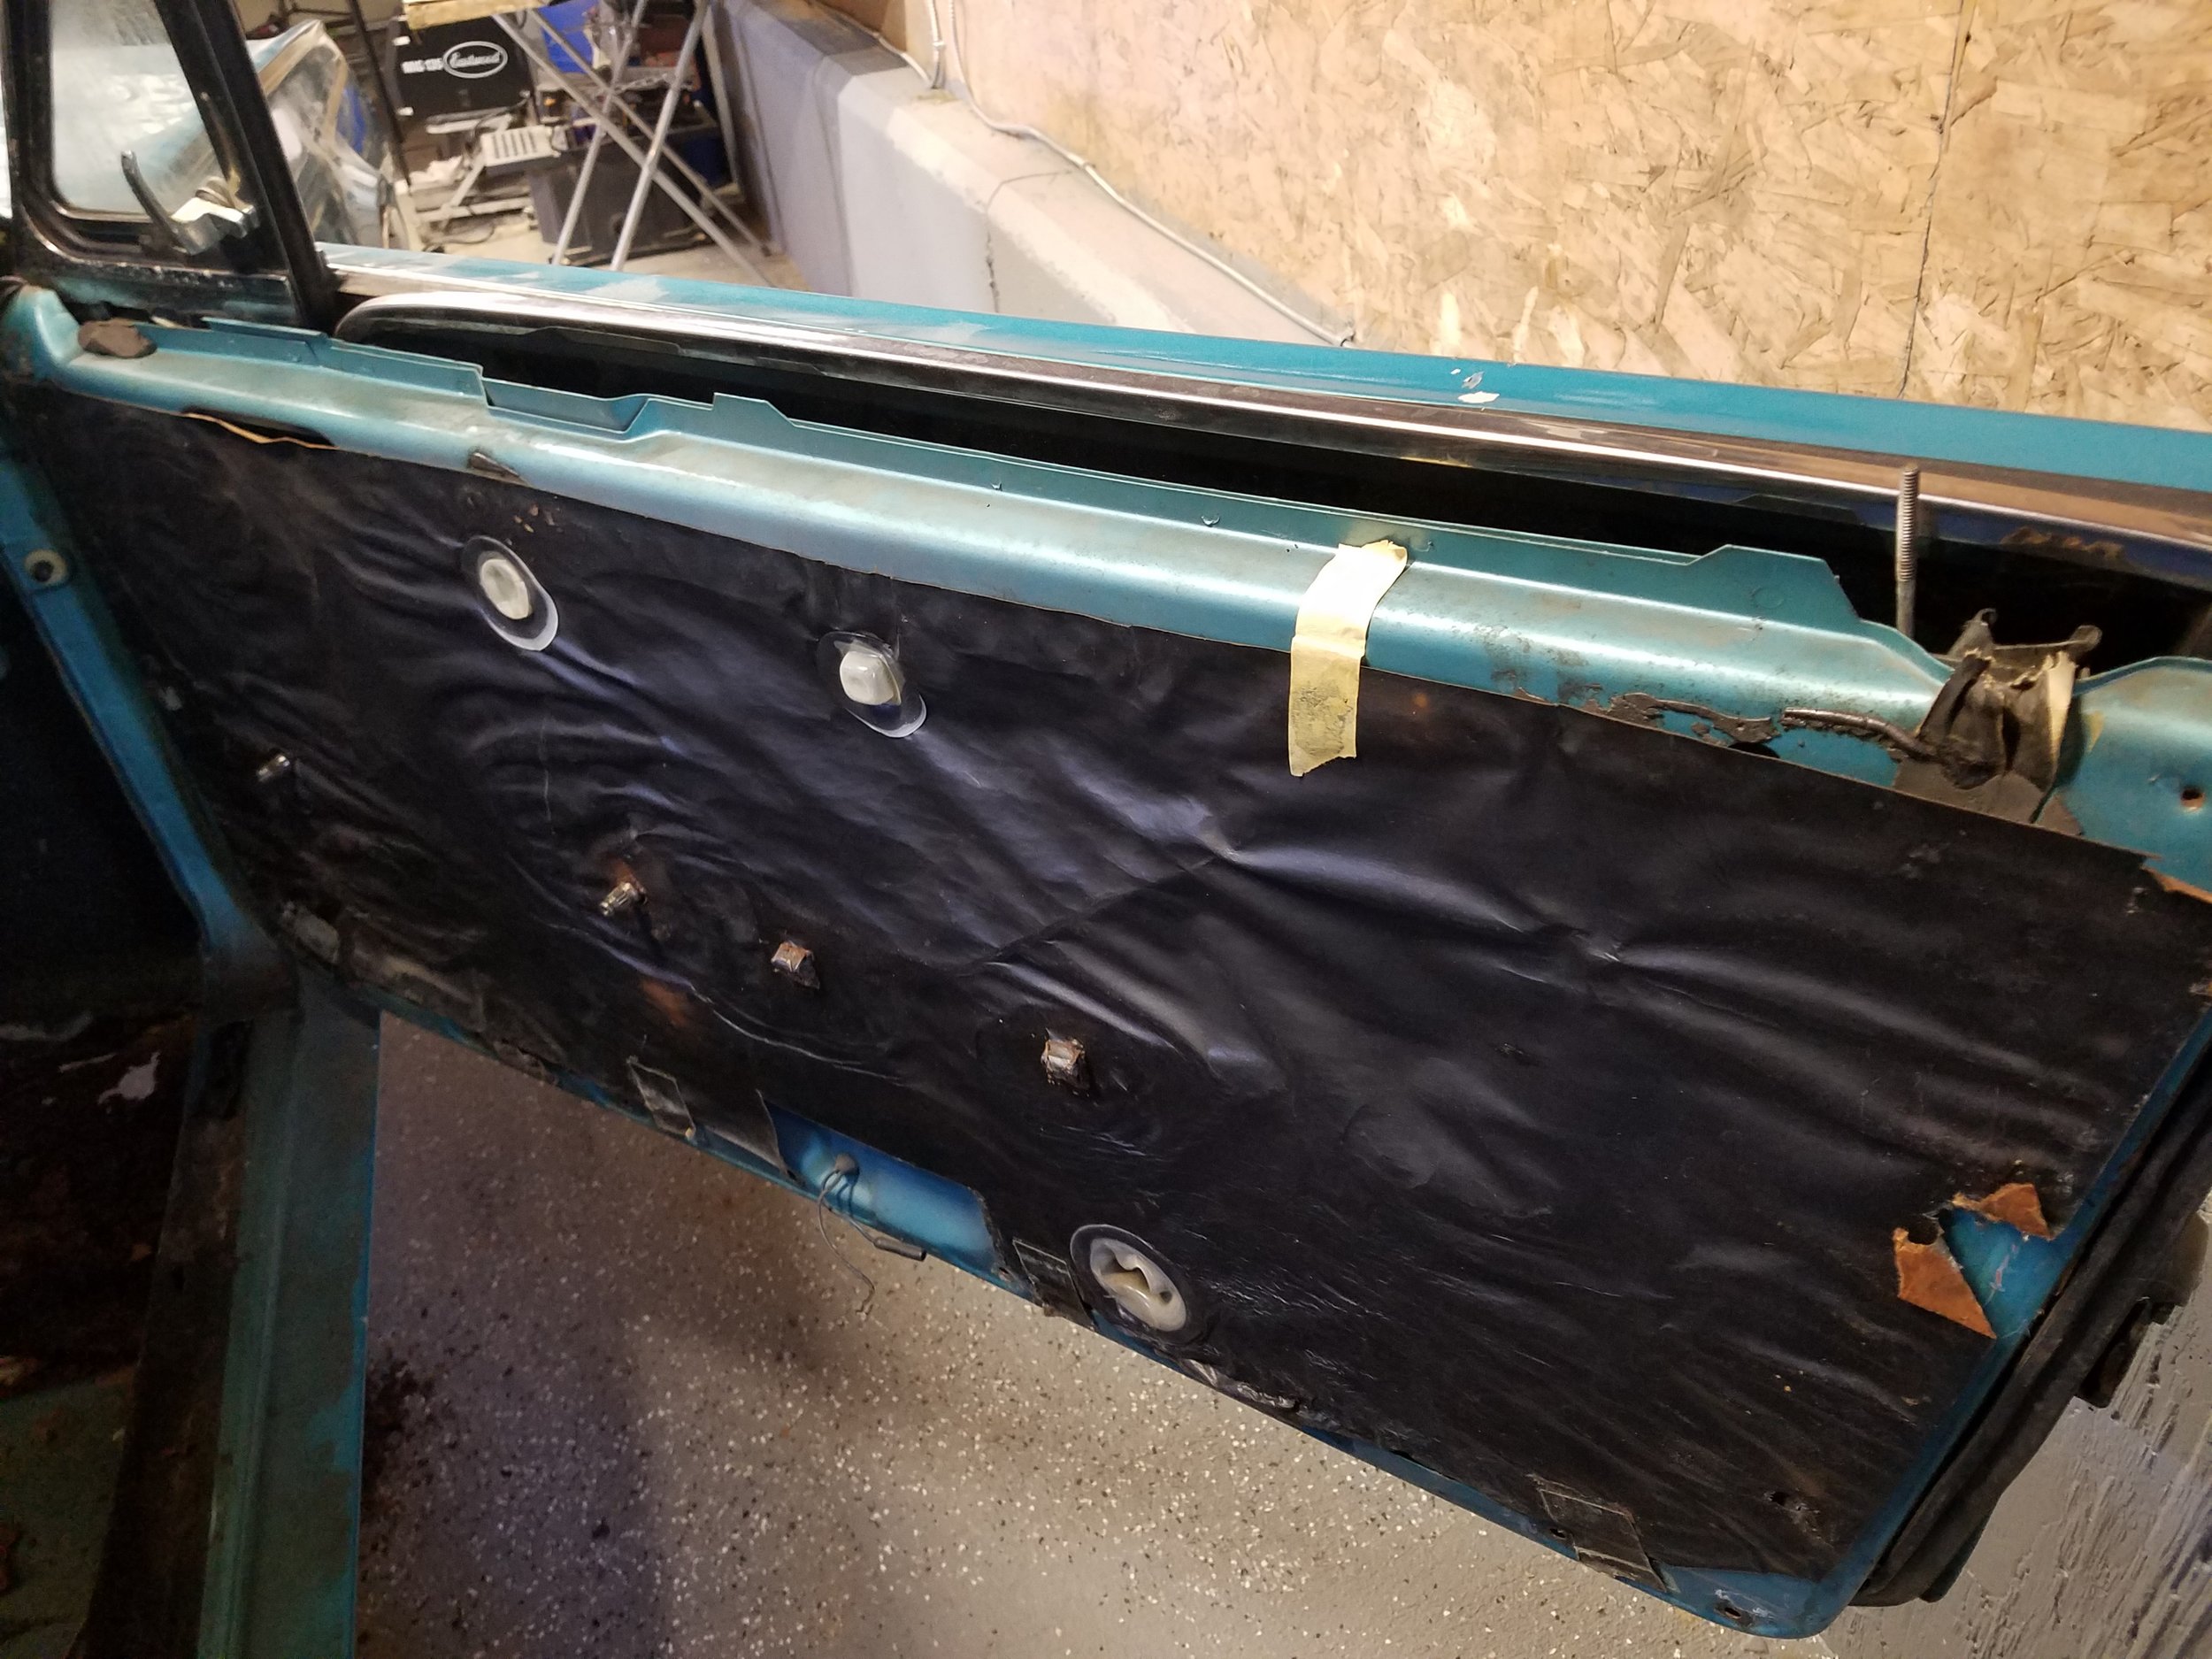
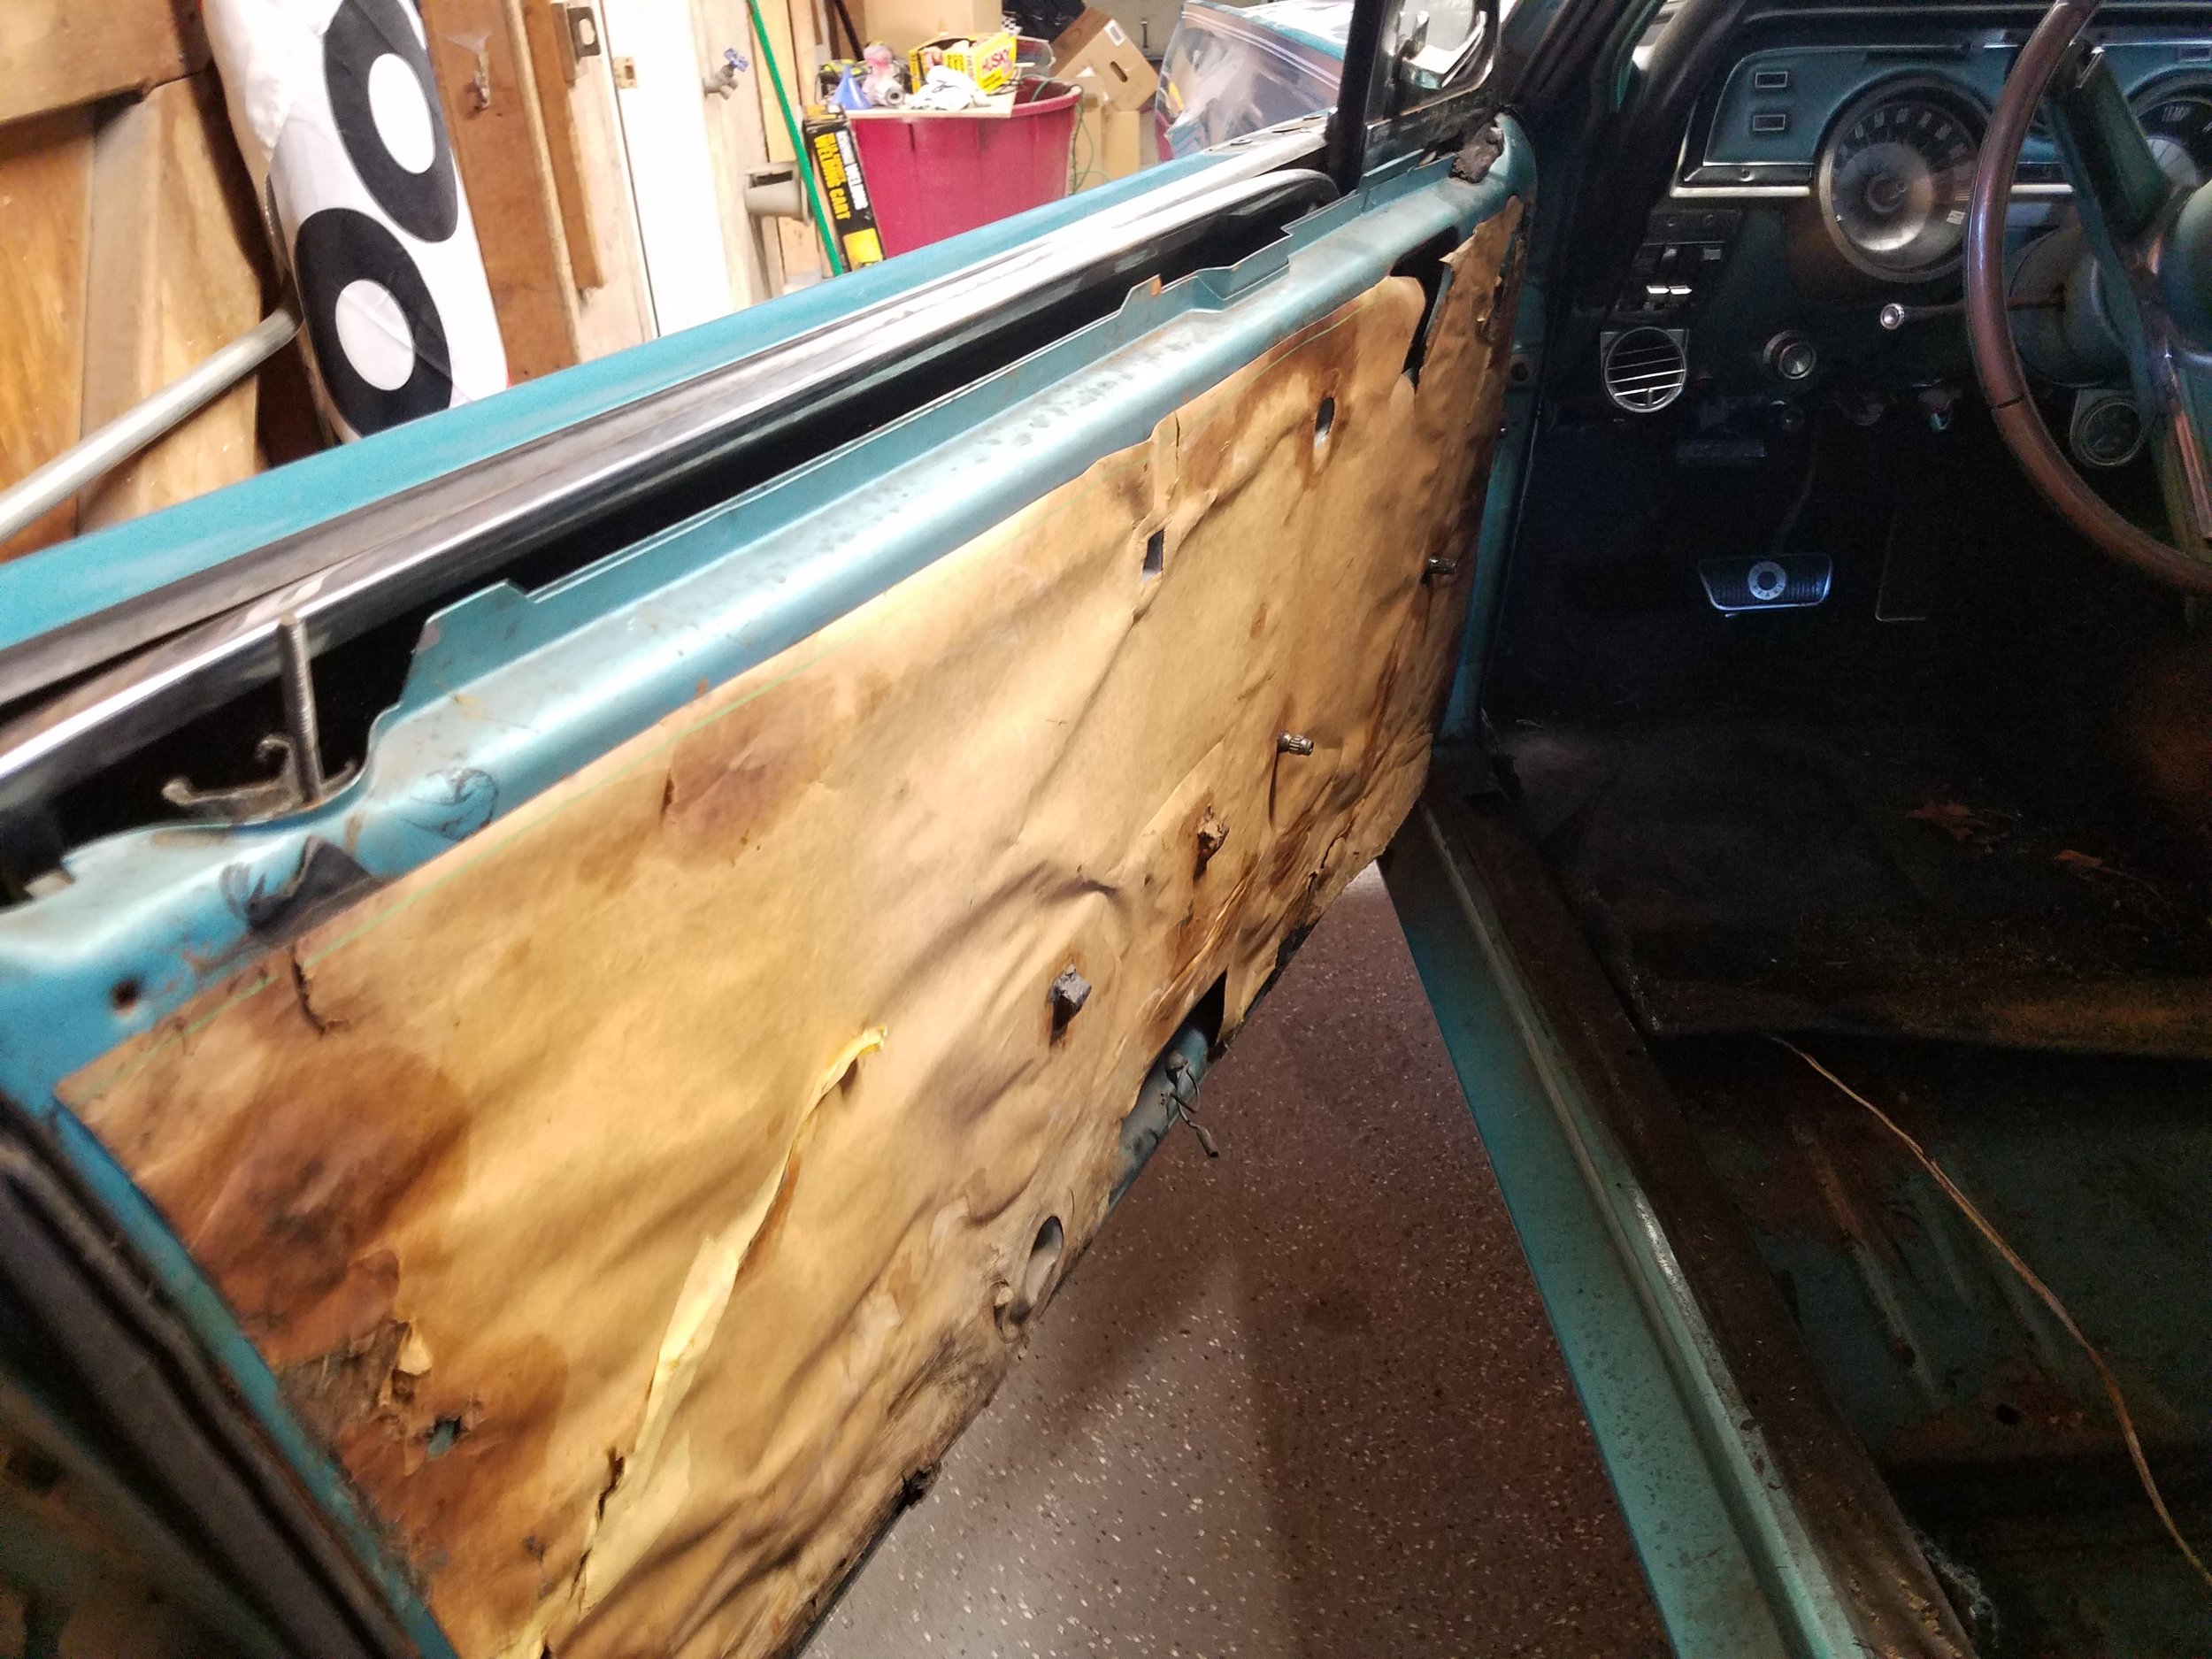
My brother came by later in the day to lend a hand. He was able to remove the wheel trim, some door trim, and pop out the tail lights as well. There's still lots of trim on this car to remove. Taking time with it though, because all of the trim is in great shape, and I have all the pieces. I don't want to break anything. 

Seat Removal

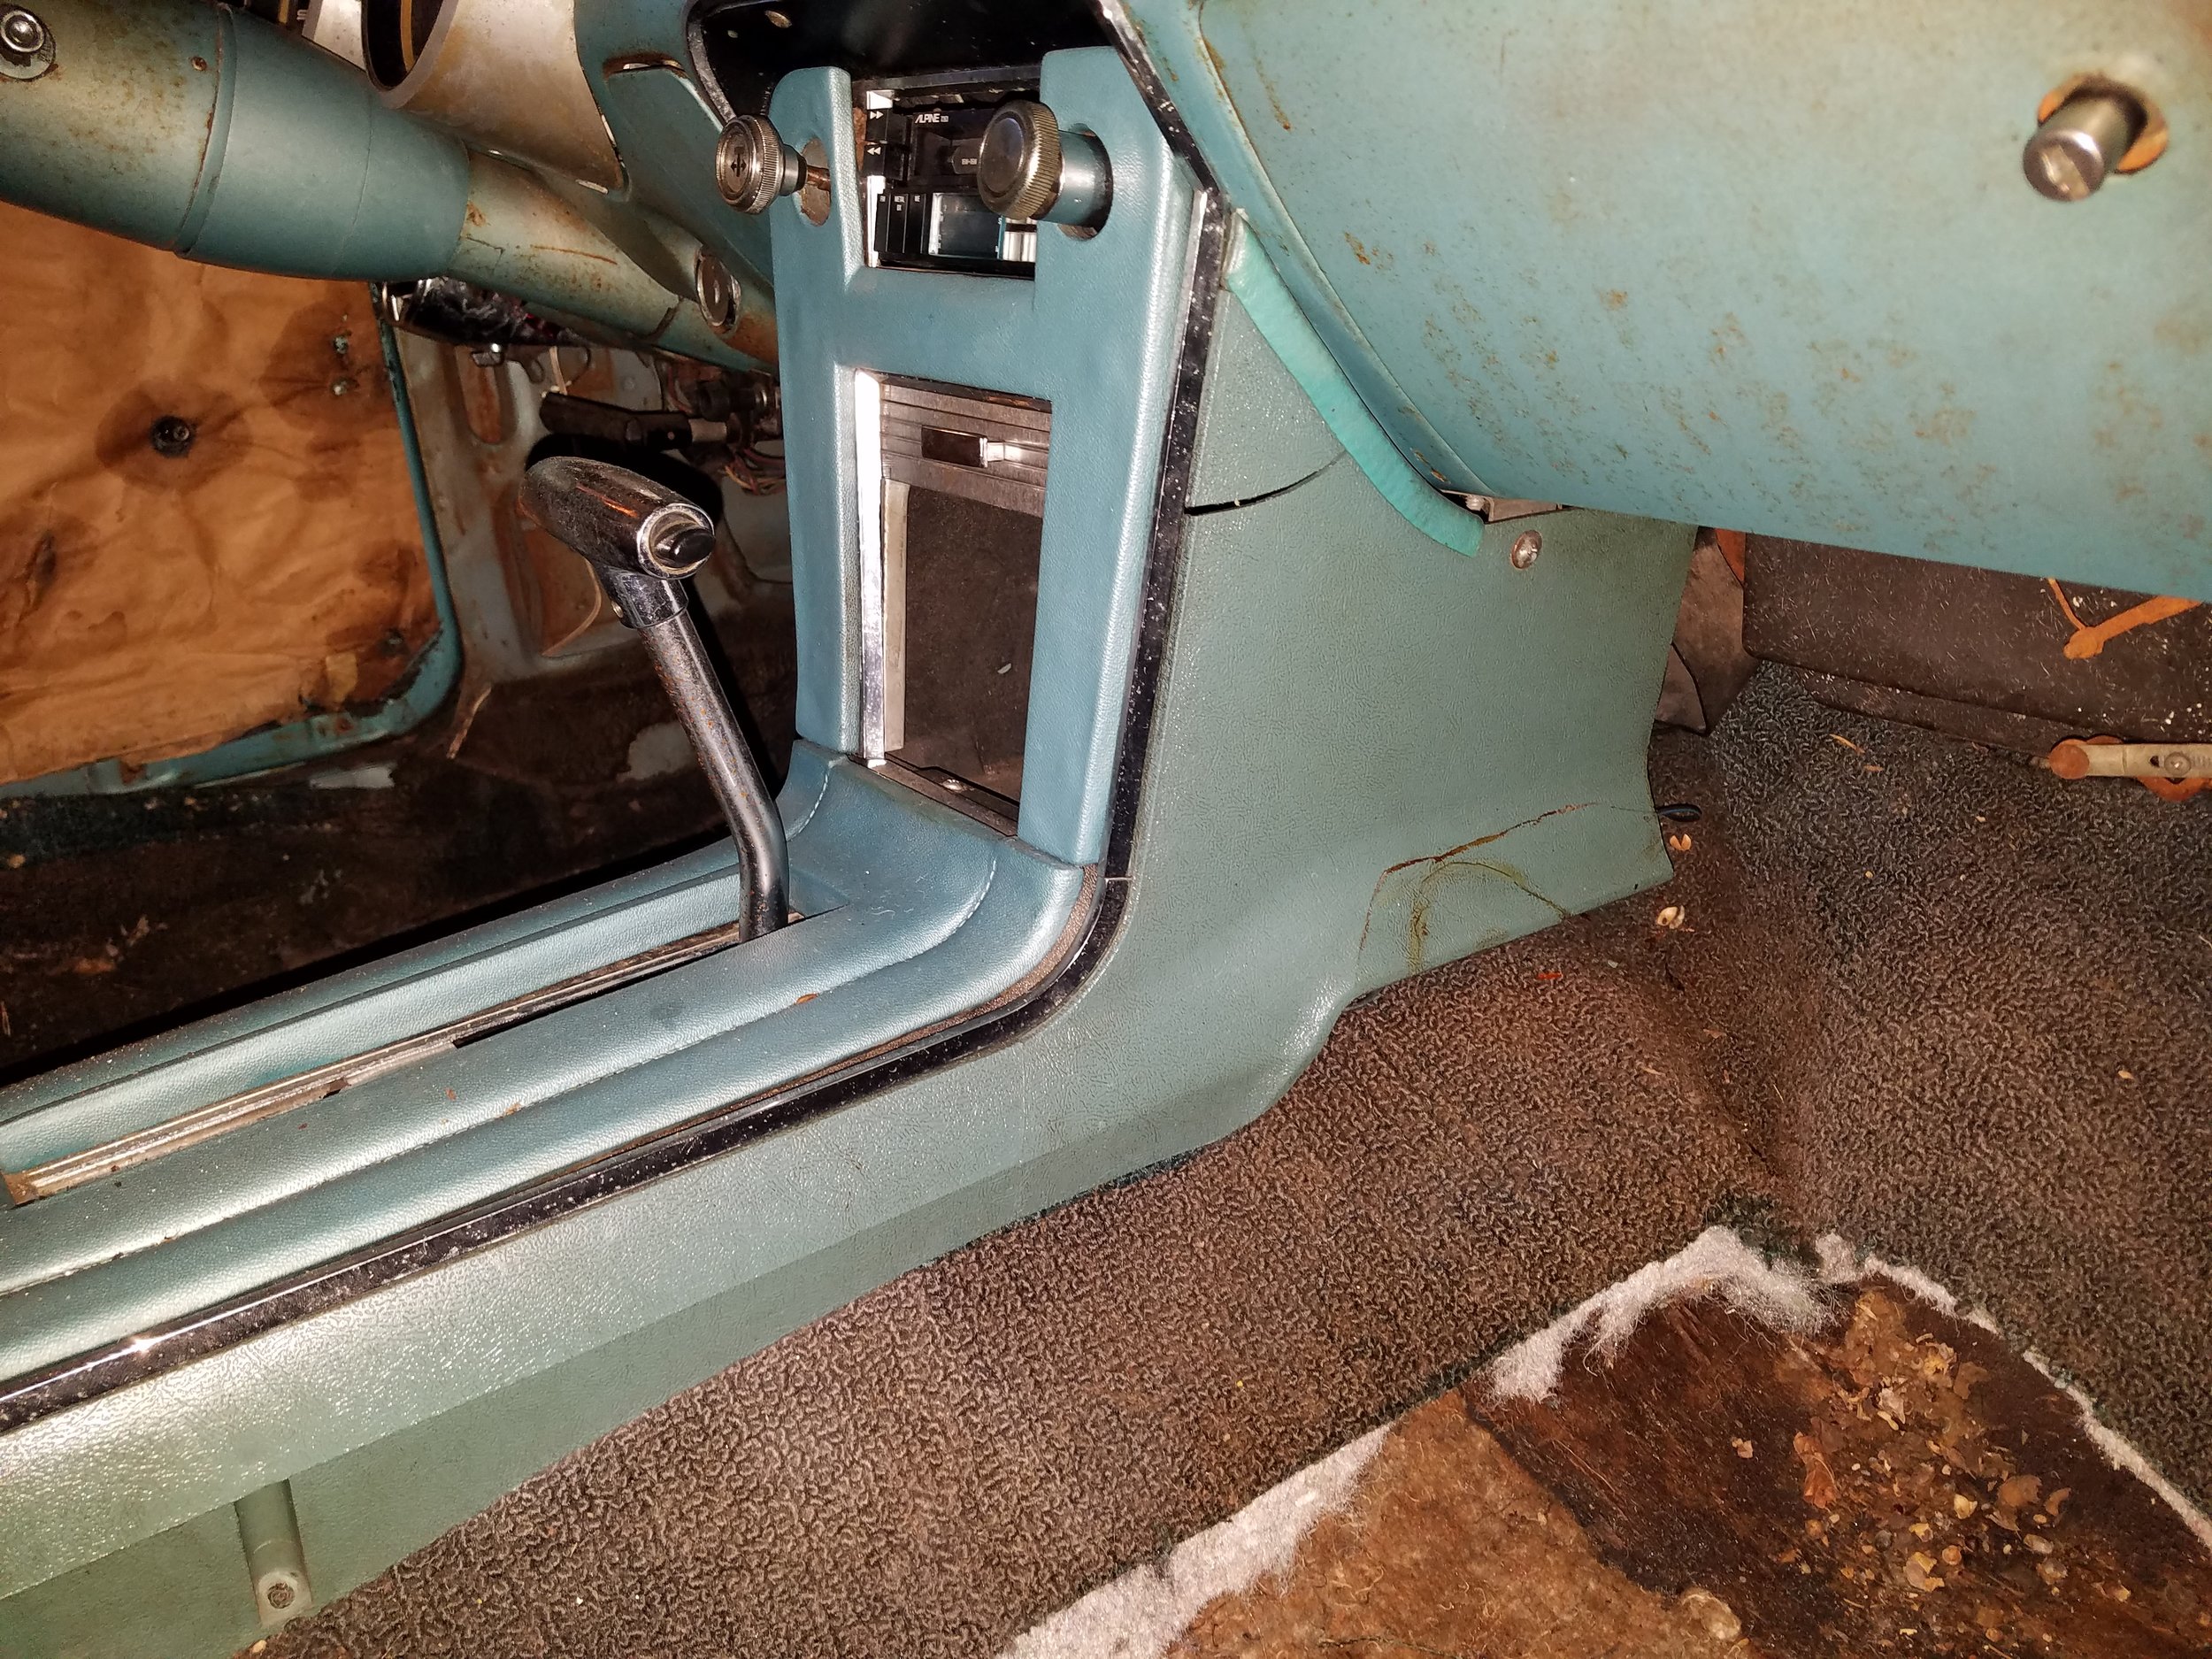
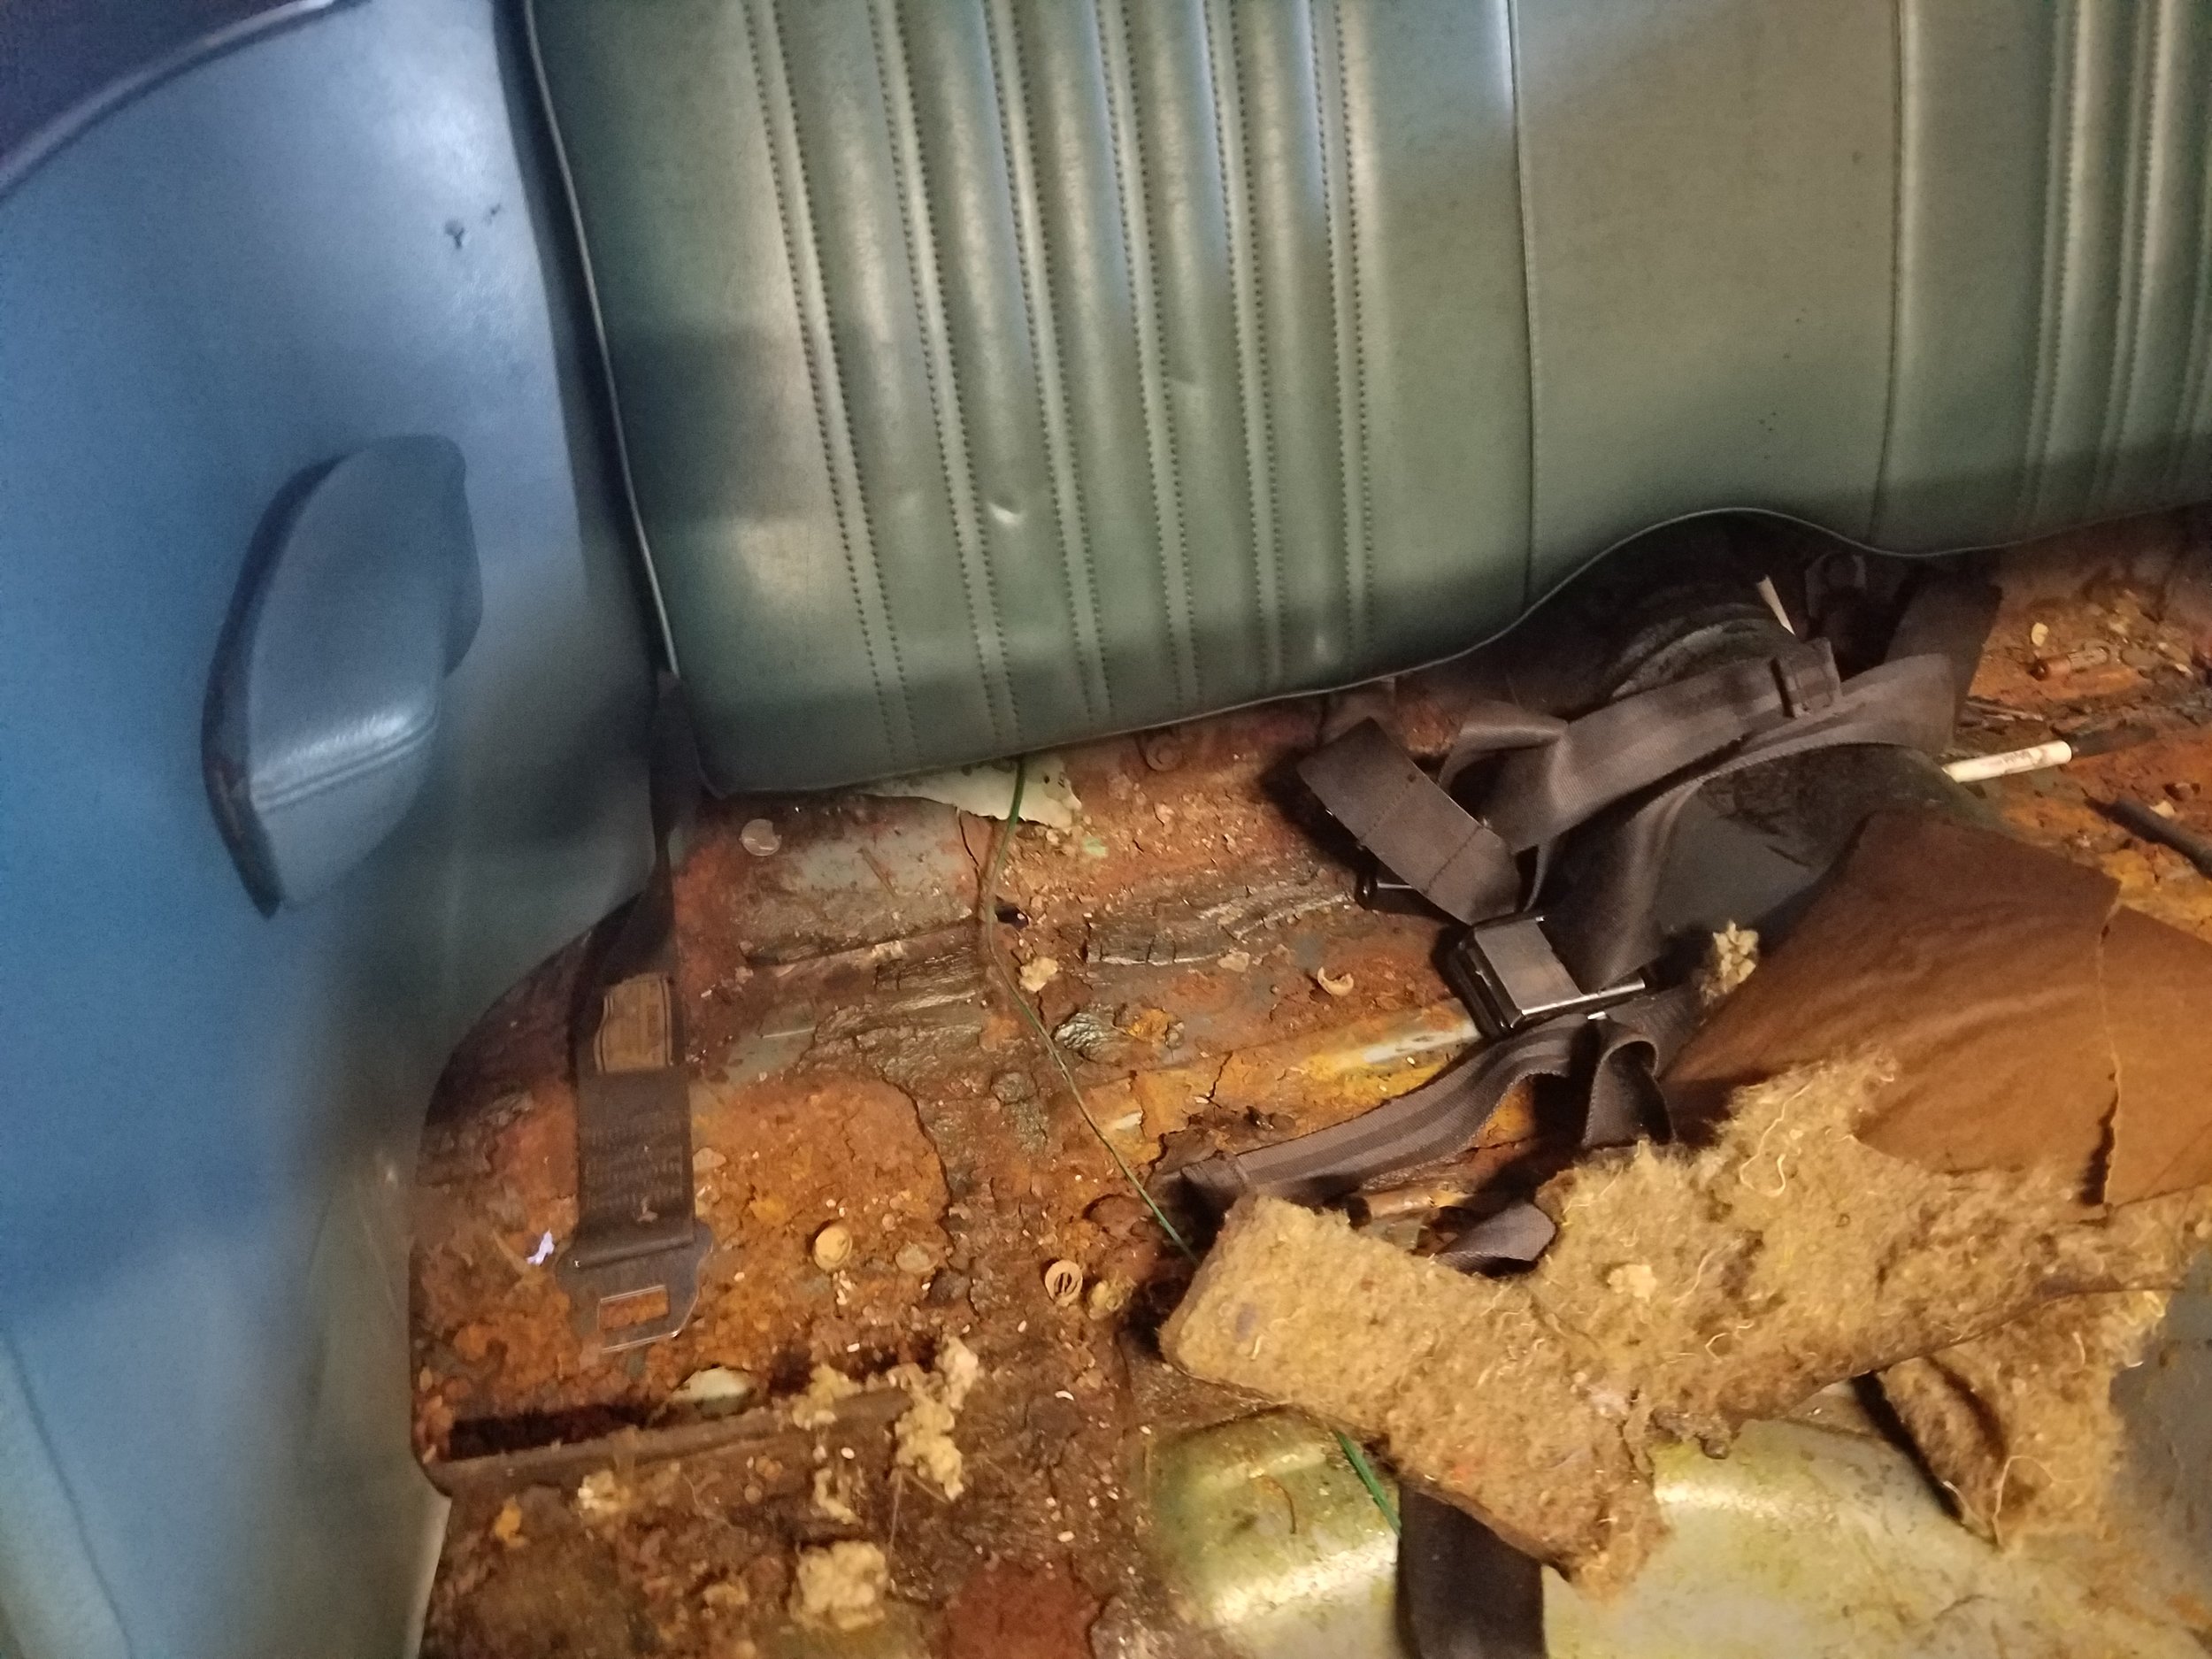
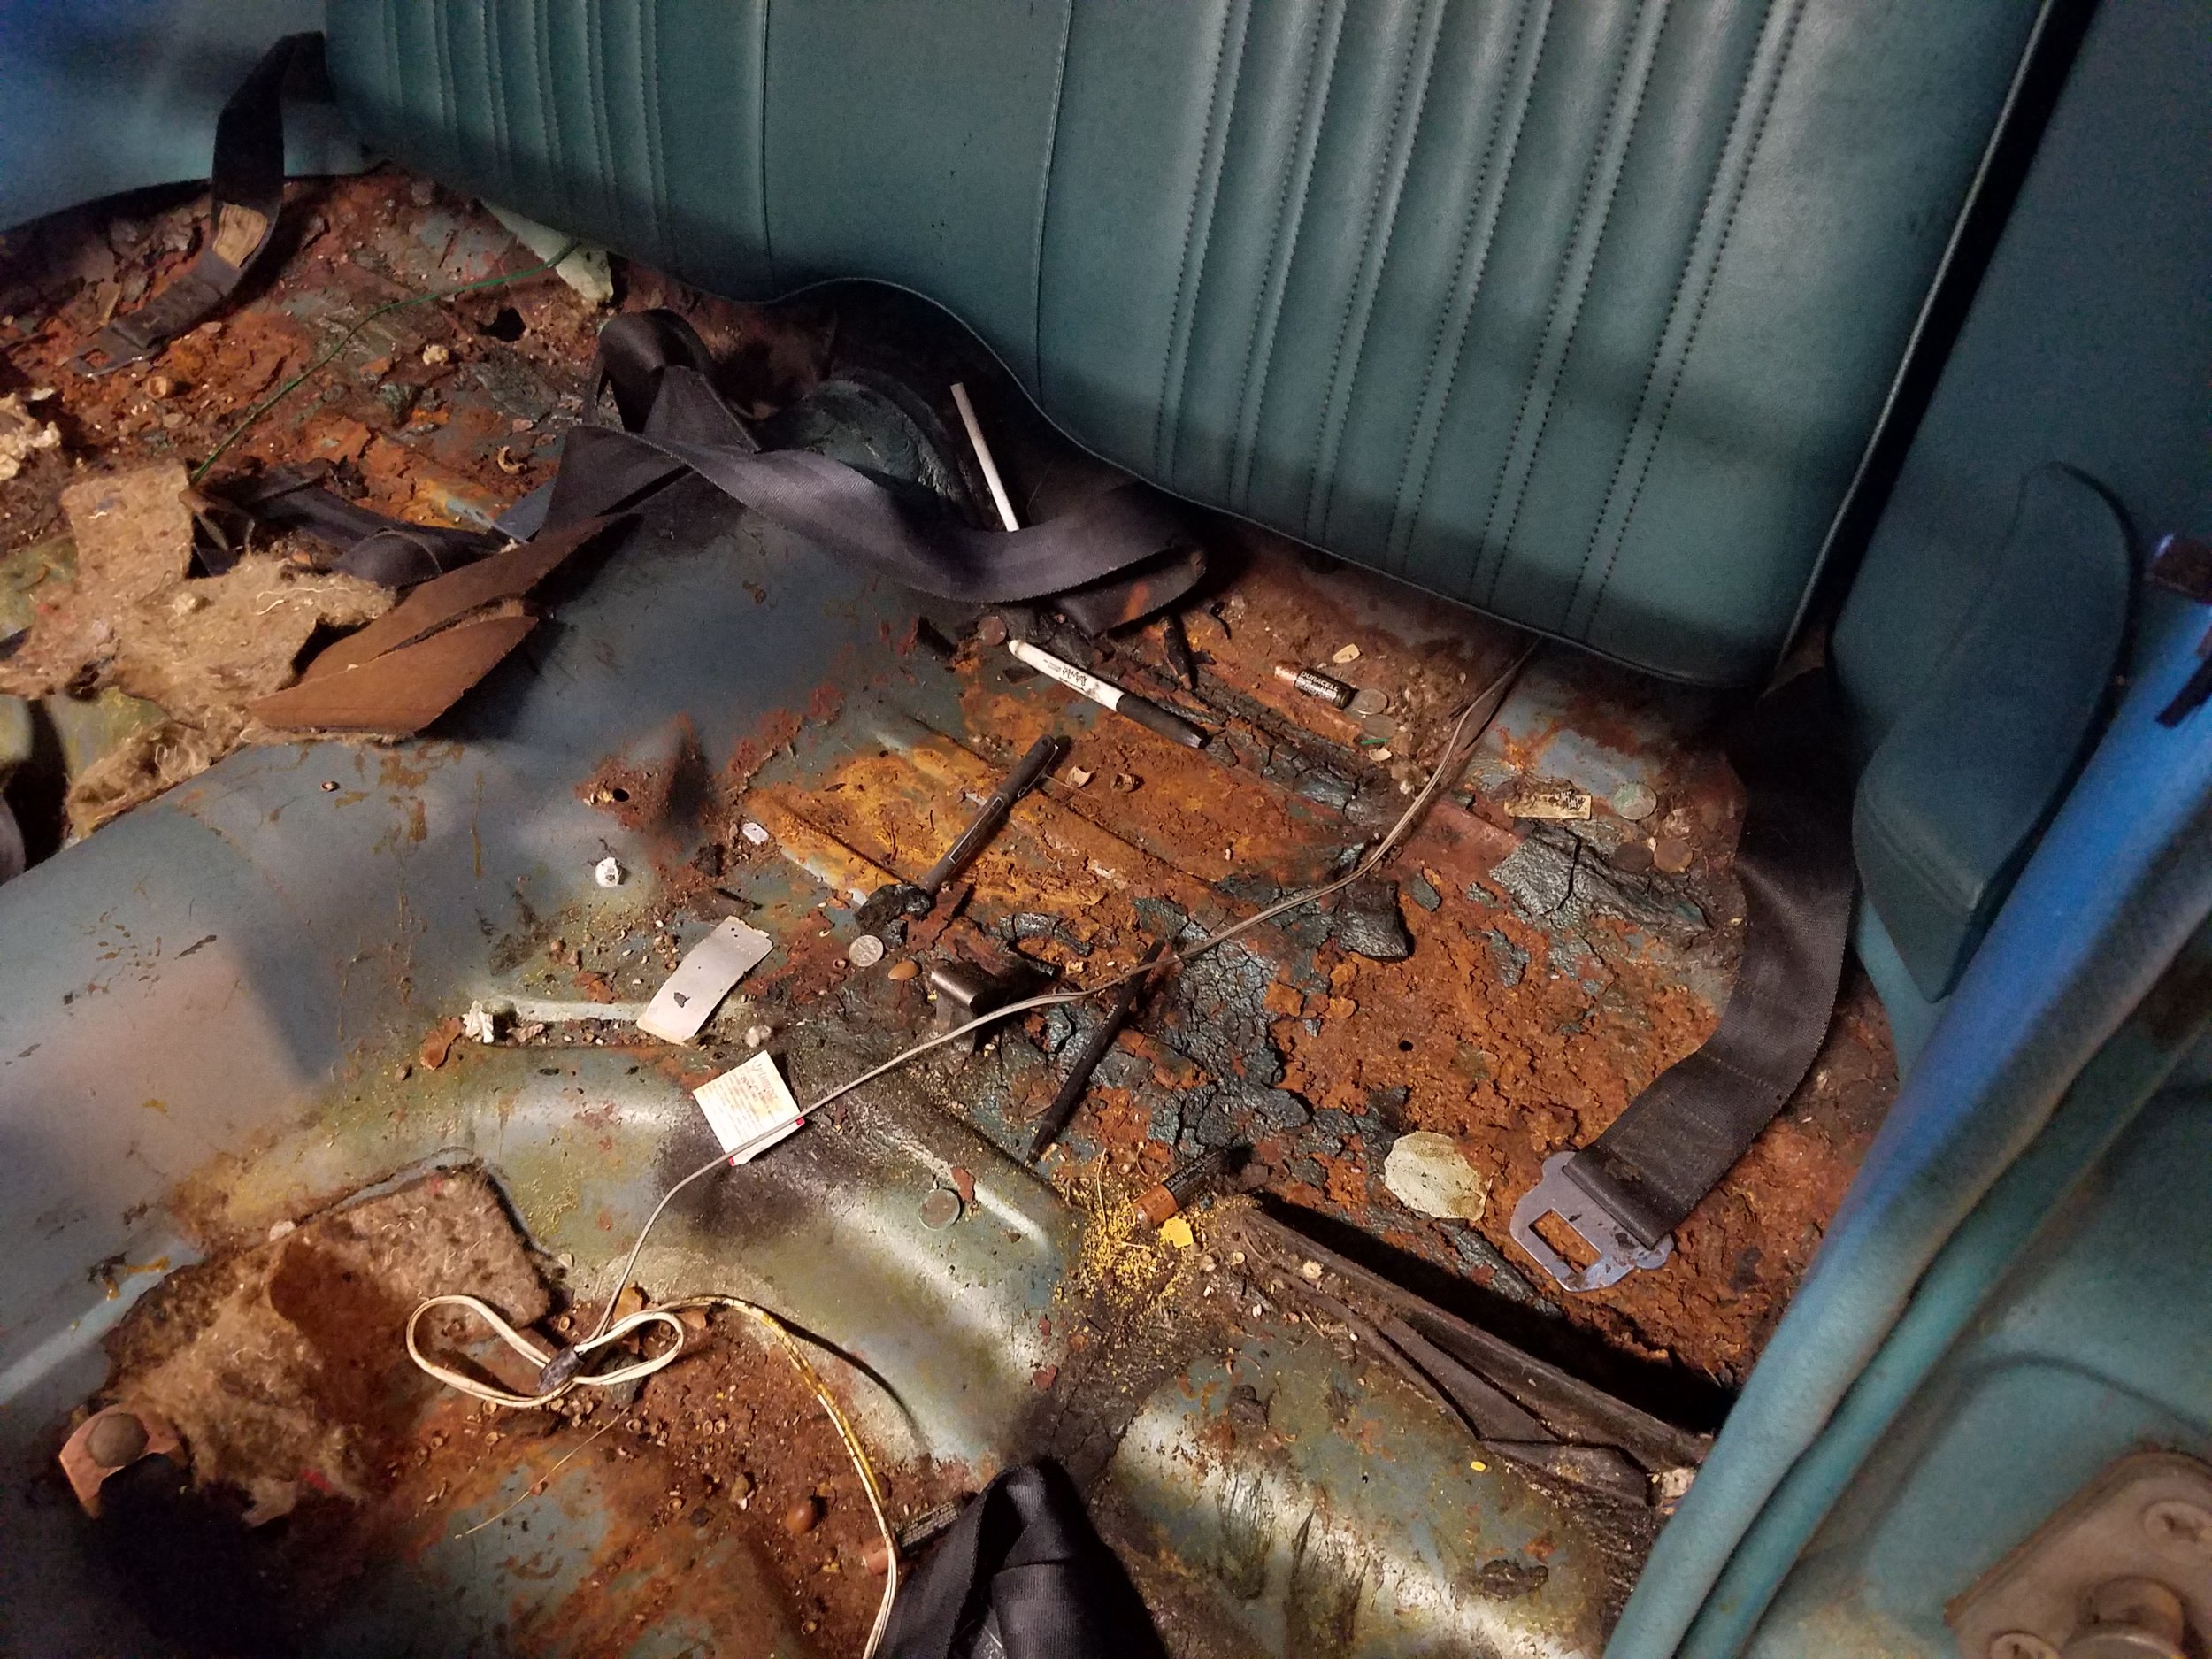
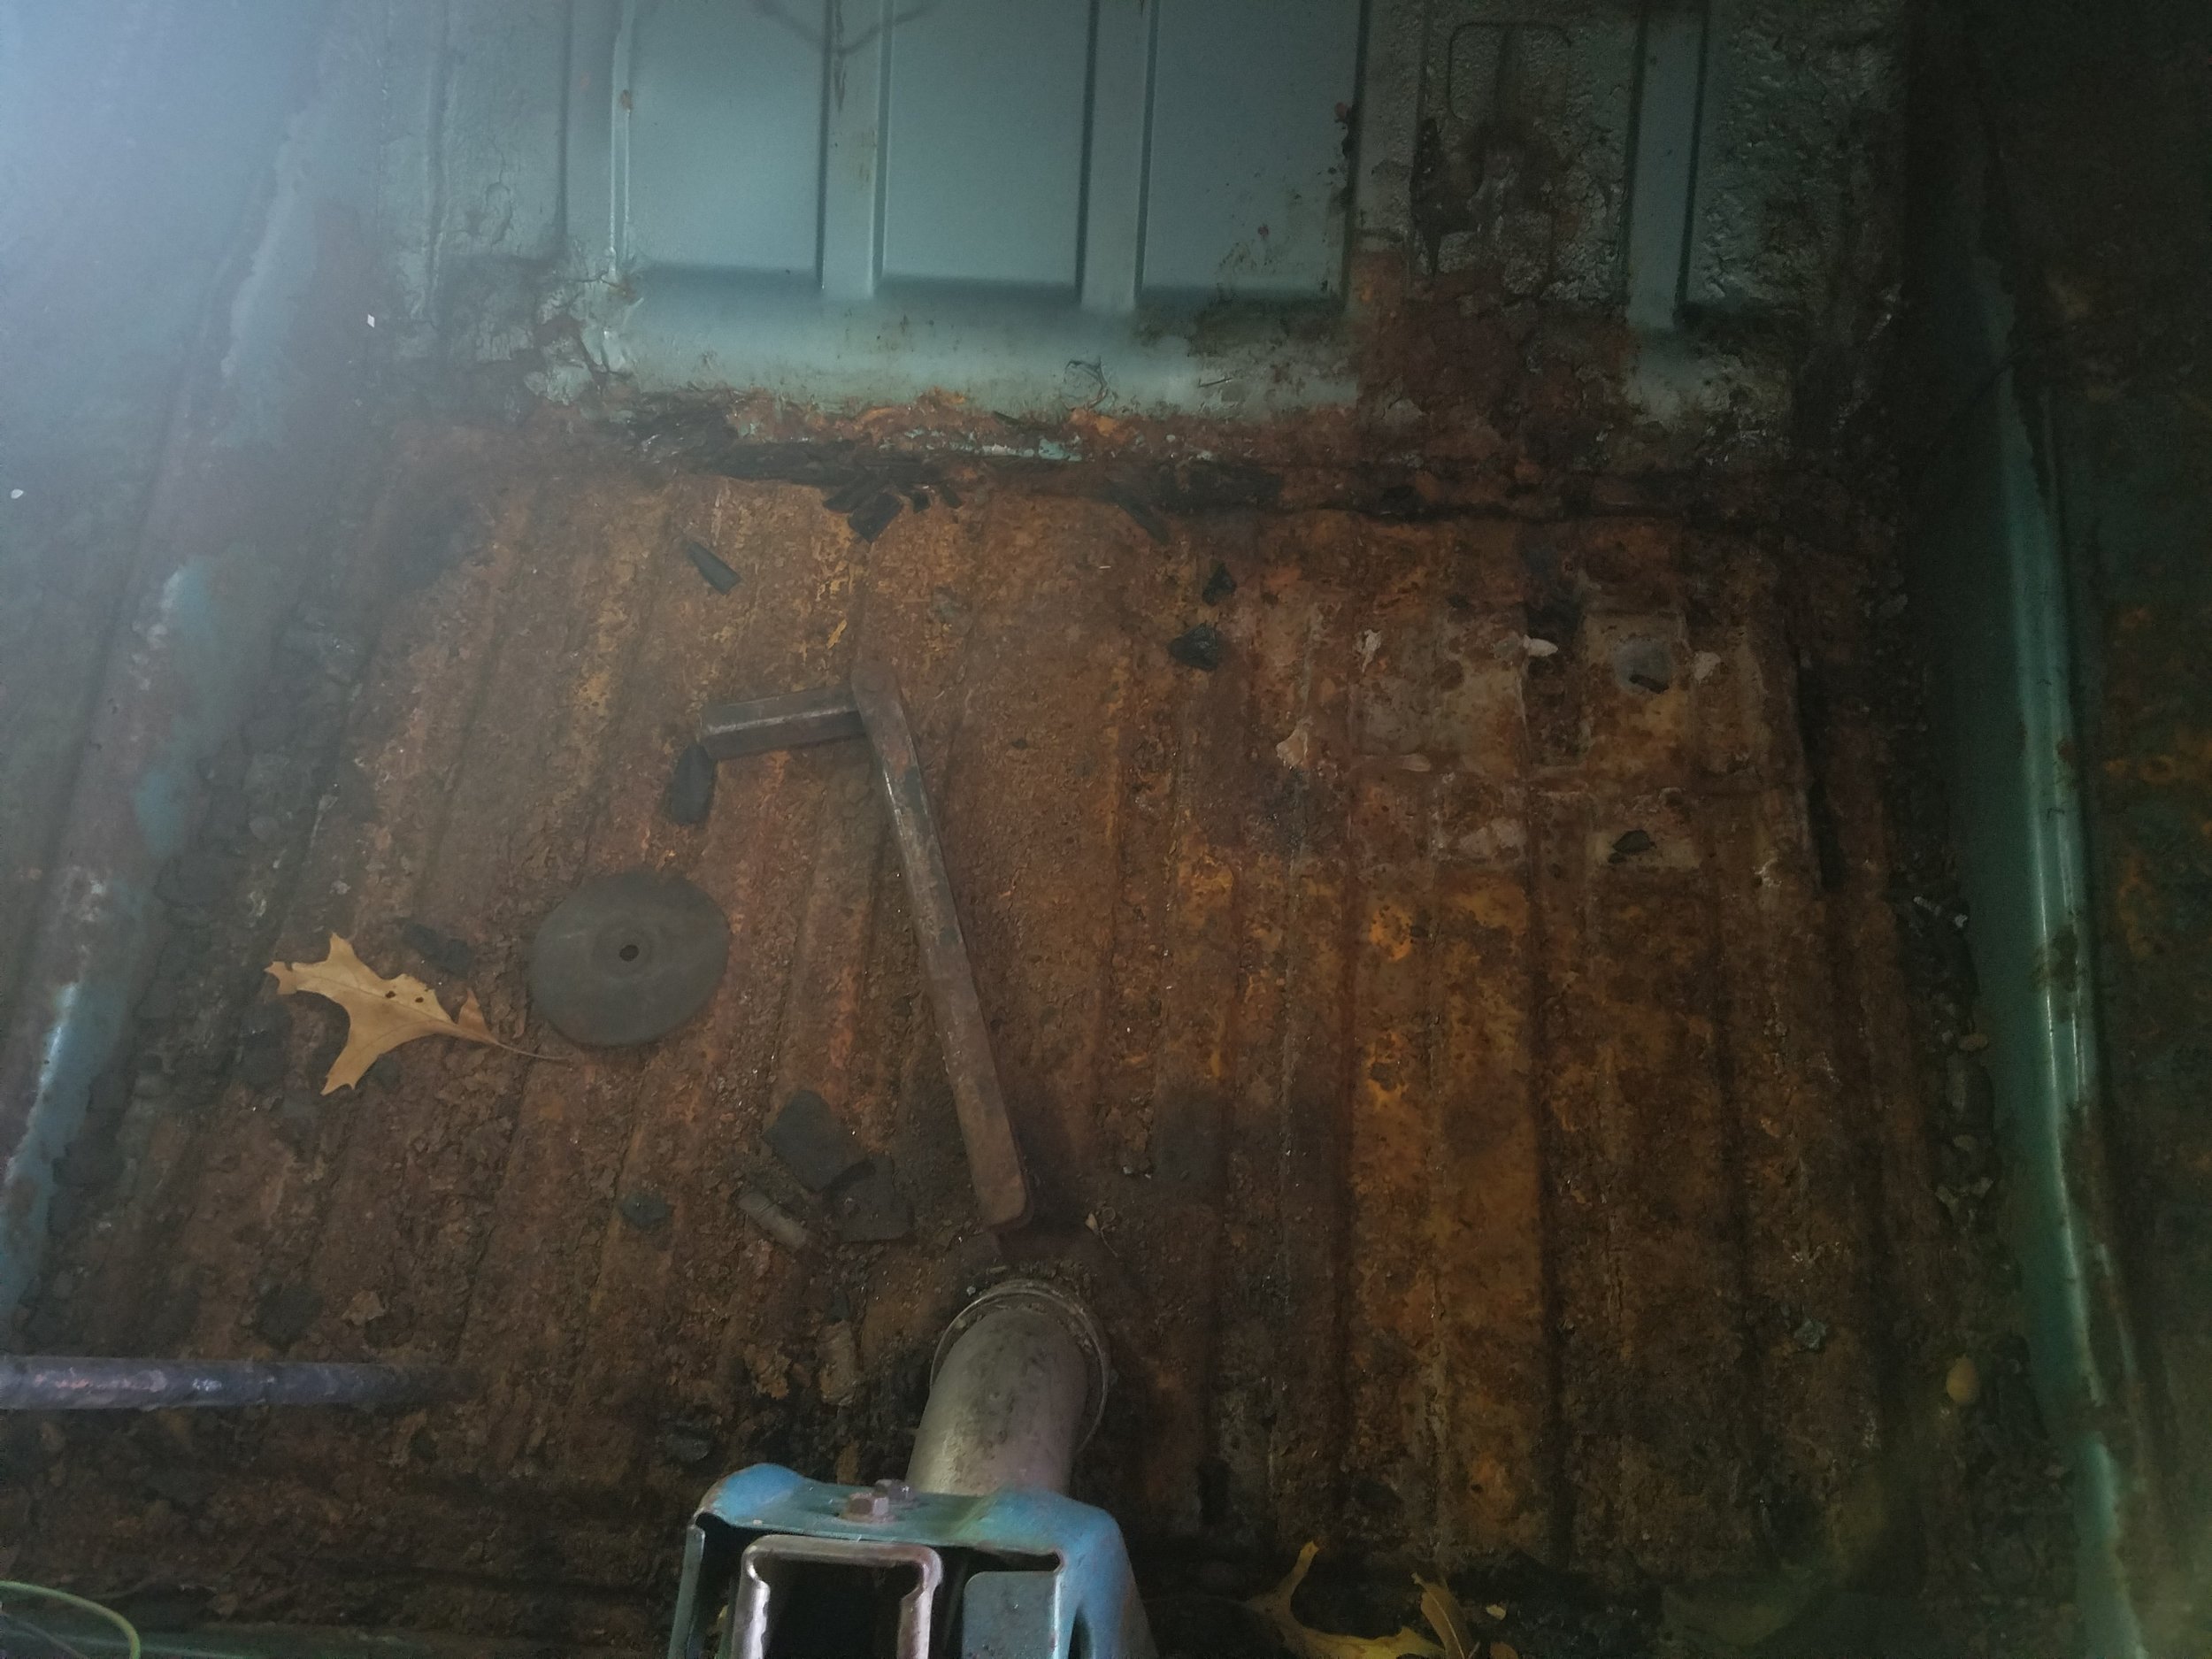
My cousins took out the seats and lifted up the carpet. They sent me the pictures below. They were inspecting the floor pan to see if it would need to patched.

The floor pans in the front will need to be replaced or patched. In the back, only a small patch will be necessary. Like the 60's Mustangs, the Cougar was lined with with a cardboard like pad under the carpet, and it seems to have just absorbed all moisture, and caused the rot in the pan. 

Take a look at that carpet! It's 3 different colors. I see some coins in the pictures, maybe there's some gold bars in there too. 

Removal Day One

Had another ambitious day in mind today. It took a bit of analyzing from my cousin and I to determine how to remove the bumper and grille housing. 

We were able to successfully remove the headlights, front bumper, and front valance. Also removed the parking lights in the front. I thought they were the fog lights, but apparently they didn't make fog lights in 1967. Removal takes hours. It really takes a lot of muscle to remove they old bolts. And some are just so hard to get to, you have take off other things you weren't planning to first. I can took care of bagging and labeling every screw, nut, and bolt. I'm trying to take exhaustive pictures, so I can remember how to put everything back together. I am very nervous though. It may be harder to put everything back on.

Also, started removing some of the trim from the front of the car. The piece on the driver fender extension and 'Mercury' emblem would have to wait another day. The Grille, which includes the hideaway headlights, was a puzzle. Each bolt taken out seemed to not loosen the housing at all. 

My cousin took a walk around the car with a screw driver to find the body rot. Only need a few patch panels for small parts of the quarter panels and fenders. 

Then I opened the trunk to clean it out. I labeled and organized all the parts with the ones we removed. Then, I removed the plaid patterned original trunk liner. It was old and musty, and ripped in some areas. Underneath, I noticed that the middle of the trunk was very rusty, but all around seemed in great shape and still painted the body color.  My cousin came around and said it was the gas tank. It was rotted through, but with all the rust on the top, I'll be adding a new gas tank to the list.