Feel Good on the Inside

My cousin has been working on the body quite a bit. I’m also very frustrated with the suspension, so, I’m using the time to make the interior look nice and fix some easier things. Or so I thought.

I love that the car has rear quarter windows that actually roll down, instead of pushing out. One side wouldn’t roll up all the way, or down. After trying to sit it back on the track, I realized the regulator was bent, and was better off buying a new one. I figured, what the heck, I’ll buy 2 and put new regulators in both sides. This was a day long project. The YouTube videos I watched were pretty straight forward, but getting my hands inside and seeing what to do was difficult. Especially since I was avoiding taking the whole thing apart. I mean the service holes are there for a reason, am I right?

And those stupid round knobby things that hold it into the track kept falling in the body. A bit of a pain, but finally got them both in and now they roll up nicely.

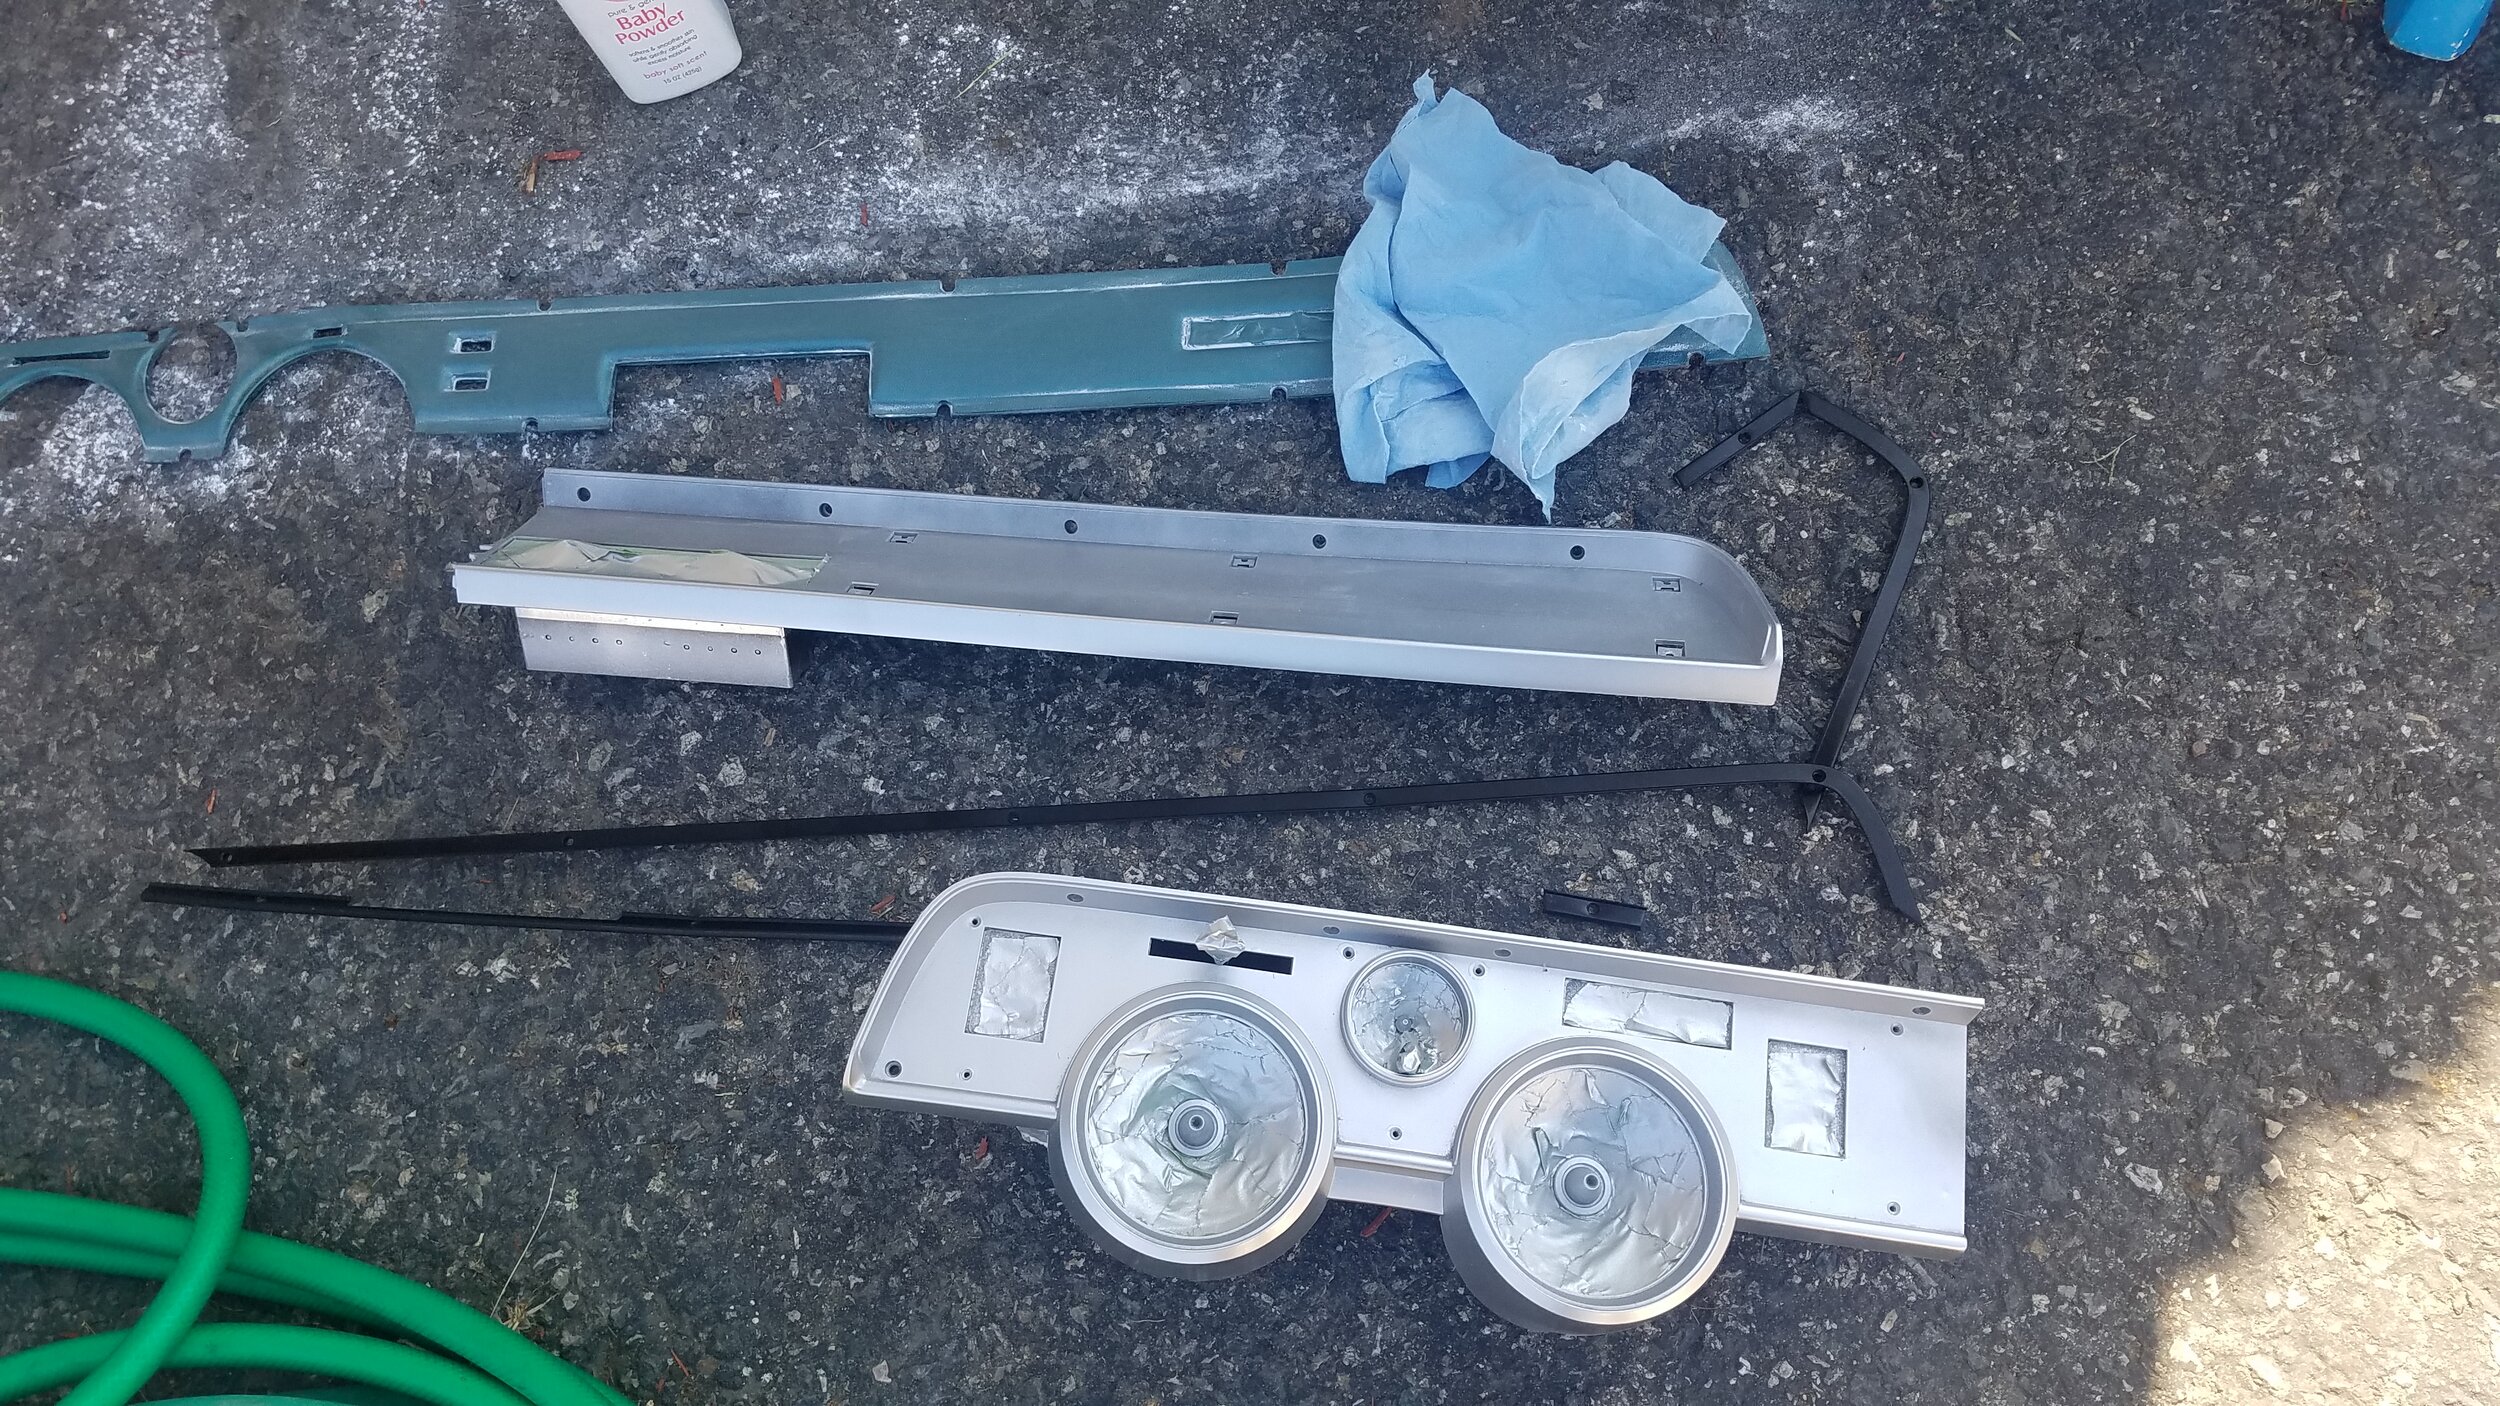
I was able to find interior plastic and vinyl paint that matches the original interior colors in spray cans. Many parts, like the center console and kick plates were very faded, so I thought it would be a good idea to bring them back to life a bit. While I was at it, I figured I’d paint the dash pad and center console pads as well.

I painted the gauges a silver color…only the bottom will be exposed, since the dash pad covers most of it. I repainted the metal trim that holds the dash pad on black as well.

The center console had some cracked pieces on the right side. I had all the pieces that fit back together, so it was suggested that I try to plastic weld it together again. It’s durable, sand-able, and paint-able. I was liking this idea because a new center console was buko bucks. The plastic weld was pretty easy to work with, and I really like the way it came out.

It was a very hot day so the paint was a bit tacky. I read a trick online to use baby powder to reduce the tack quickly. It worked great!

Now these parts will be ready to just be dusted off and put back into the car once the floors are done.

Removal Day 3

I think today I finally learned my lesson. I need to take my to-do list for the day and cut it in HALF. This work is a lot harder and a lot more time consuming than I ever seem to think it is. I have a lot of half finished to-dos. Either because some bolts are too hard to get off and take a lot of elbow grease, (I need to get back to the gym) or we need to research how to take things apart first. Today was supposed to be a remove and replace day, but we got to some of the removal only. 

My brother helped out again today. First, we each took a door, and removed the handles and lock cylinders. We had to take the panels off to reach inside the door to get at some of the bolts and nuts. Then we moved on to tackle the gas tank.

My brother had to drill out some of the bolts on the on the tank that wouldn't budge. My cousin removed the drain plug, and we started to drain the gas out, while tackling some more trim removal and the removal of the tie rods. I was only able to get 1 outer tie rod removed today.

Once the gas seemed drained, we needed to remove the fill pip that attaches to the tank and leads behind the license plate between the the taillights. Removing the bolts were straight forward, but the fill pipe was still sealed to the tank pretty well. My brother was able to remove it, but not without it swiftly coming through the back and knocking him where the sun don't shine. OUCH!

I was safe under the car, tipping the remaining of the gas out, and removing the fuel lines connecting to the tank. Removed the float from inside the tank that indicates when you are low on gas. I'm hoping it works and can be reused in the new tank. 

Check out the picture below showing the 3 different shades of blue this car has been painted. The badge on the inside of the door was a great find though, and indicates the color code, as well the other specs, of the car when purchased.  

Off With The Paint

My cousins and uncle were able to take the doors off today. They started to find ways to get the paint off. Apparently there were several colors and layers of paint on this car. 

They tried sanding and chemical stripping. The process was long. We'll need to talk about the best way to move forward with this process. 

There was some door rot on the bottom of both doors. One much worse than the other. The good news it can be patched pretty easily, and did not go beyond the very bottom outer edge of door. Counting my blessings that this car is in pretty good shape body wise, and (knock on wood) will only require some smaller patch work.